How to Do Stem Stitch: Easy Step-by-Step Embroidery Guide
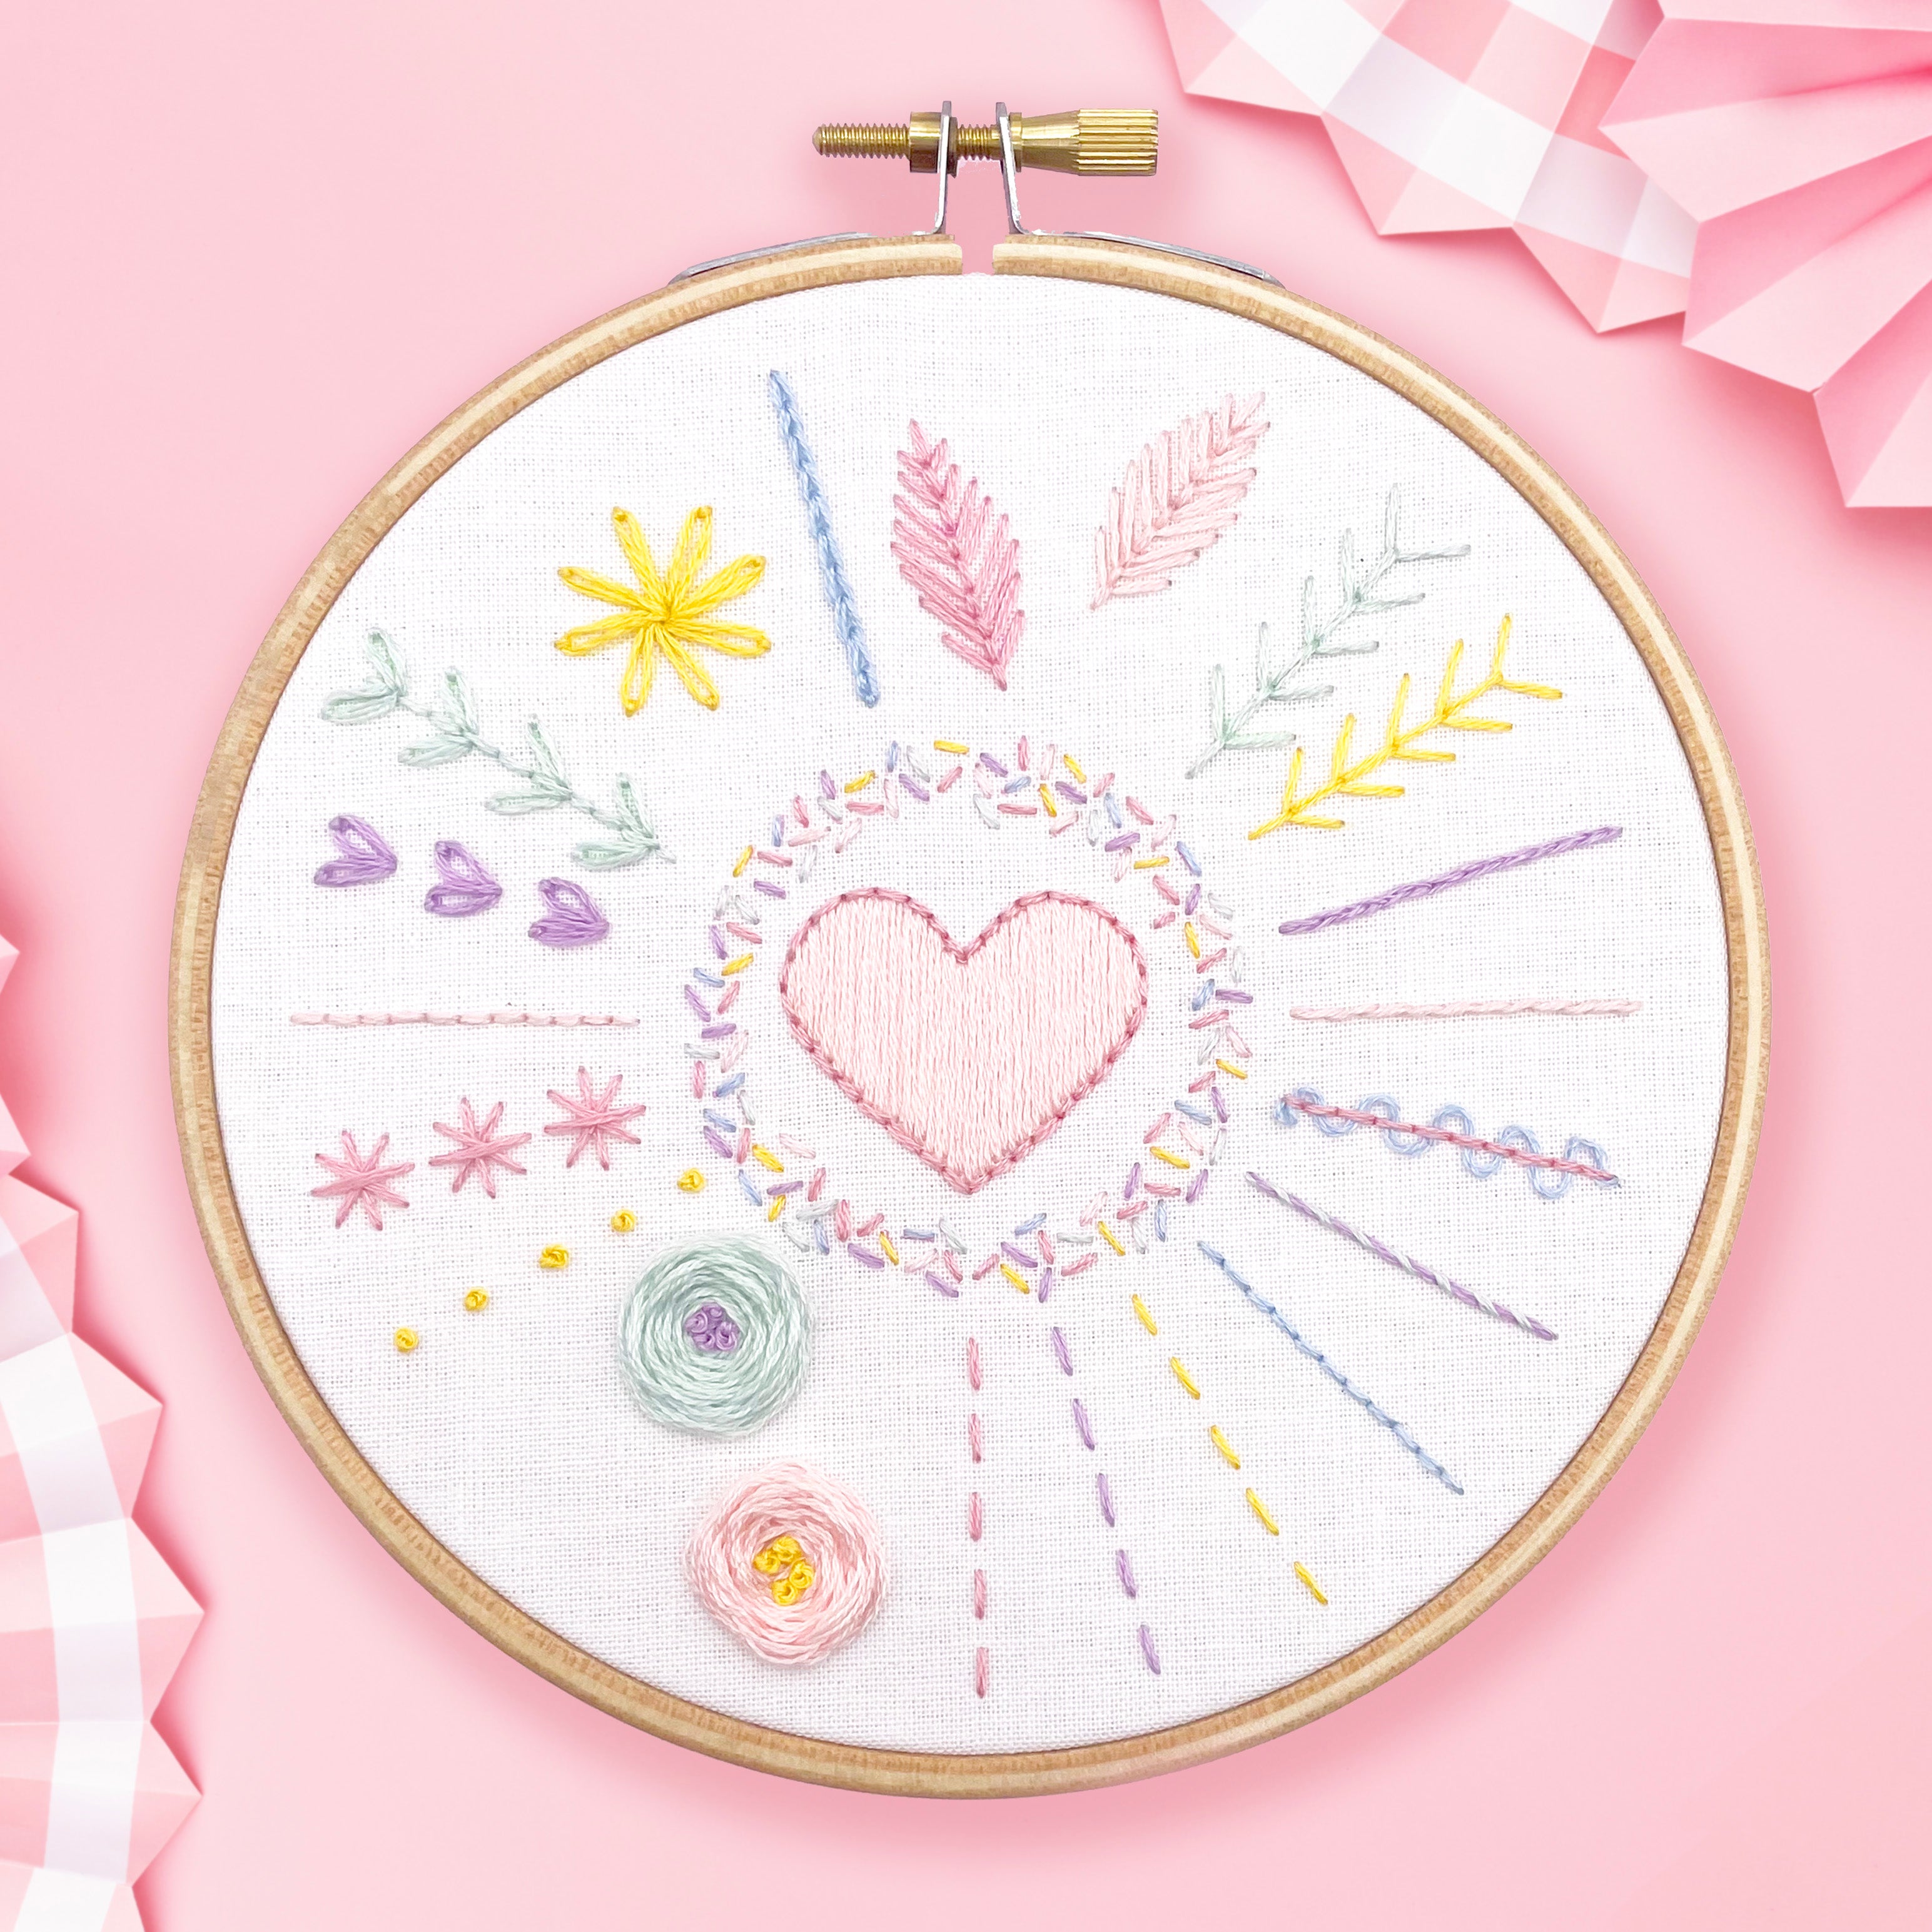
A softly textured stitch that’s ideal for curves, outlines, and floral stems.
What Is Stem Stitch?
Stem stitch is a versatile embroidery stitch that creates a twisted, rope-like line. It’s perfect for stitching gentle curves, floral stems, and outlines with a bit of softness and texture.
The technique is simple: each new stitch overlaps the previous one slightly, forming a continuous line that flows beautifully. It’s especially good for adding movement to botanical designs or anywhere you want a more organic, hand-drawn look.
If you’re working on leaves, lettering, or natural shapes, stem stitch is a lovely stitch to have in your embroidery toolkit.
How to Do Stem Stitch (Step-by-Step)

- Step 1: Make a single straight stitch from point 1 to point 2.
- Step 2: Bring the needle back up slightly ahead on the pattern line (point 3), overlapping the first stitch by about one-third.
- Step 3: Continue stitching in the same way, keeping the thread to the same side each time to create the rope-like effect (see 4 and 5).
Hope you’ve enjoyed learning this stitch.
While you’re here, why not check out my beginner-friendly embroidery kits and patterns?
Tips for Smooth Stem Stitch
- Always bring the needle up on the same side of the working thread for a consistent rope effect.
- Use shorter stitches for curves and longer ones for straight lines.
- This stitch looks beautiful on florals, text, and outline designs.