How to Do Back Stitch: Easy Step-by-Step Embroidery Guide
A neat and reliable stitch that’s perfect for outlines, lettering, and adding structure to your designs.
What Is Back Stitch?
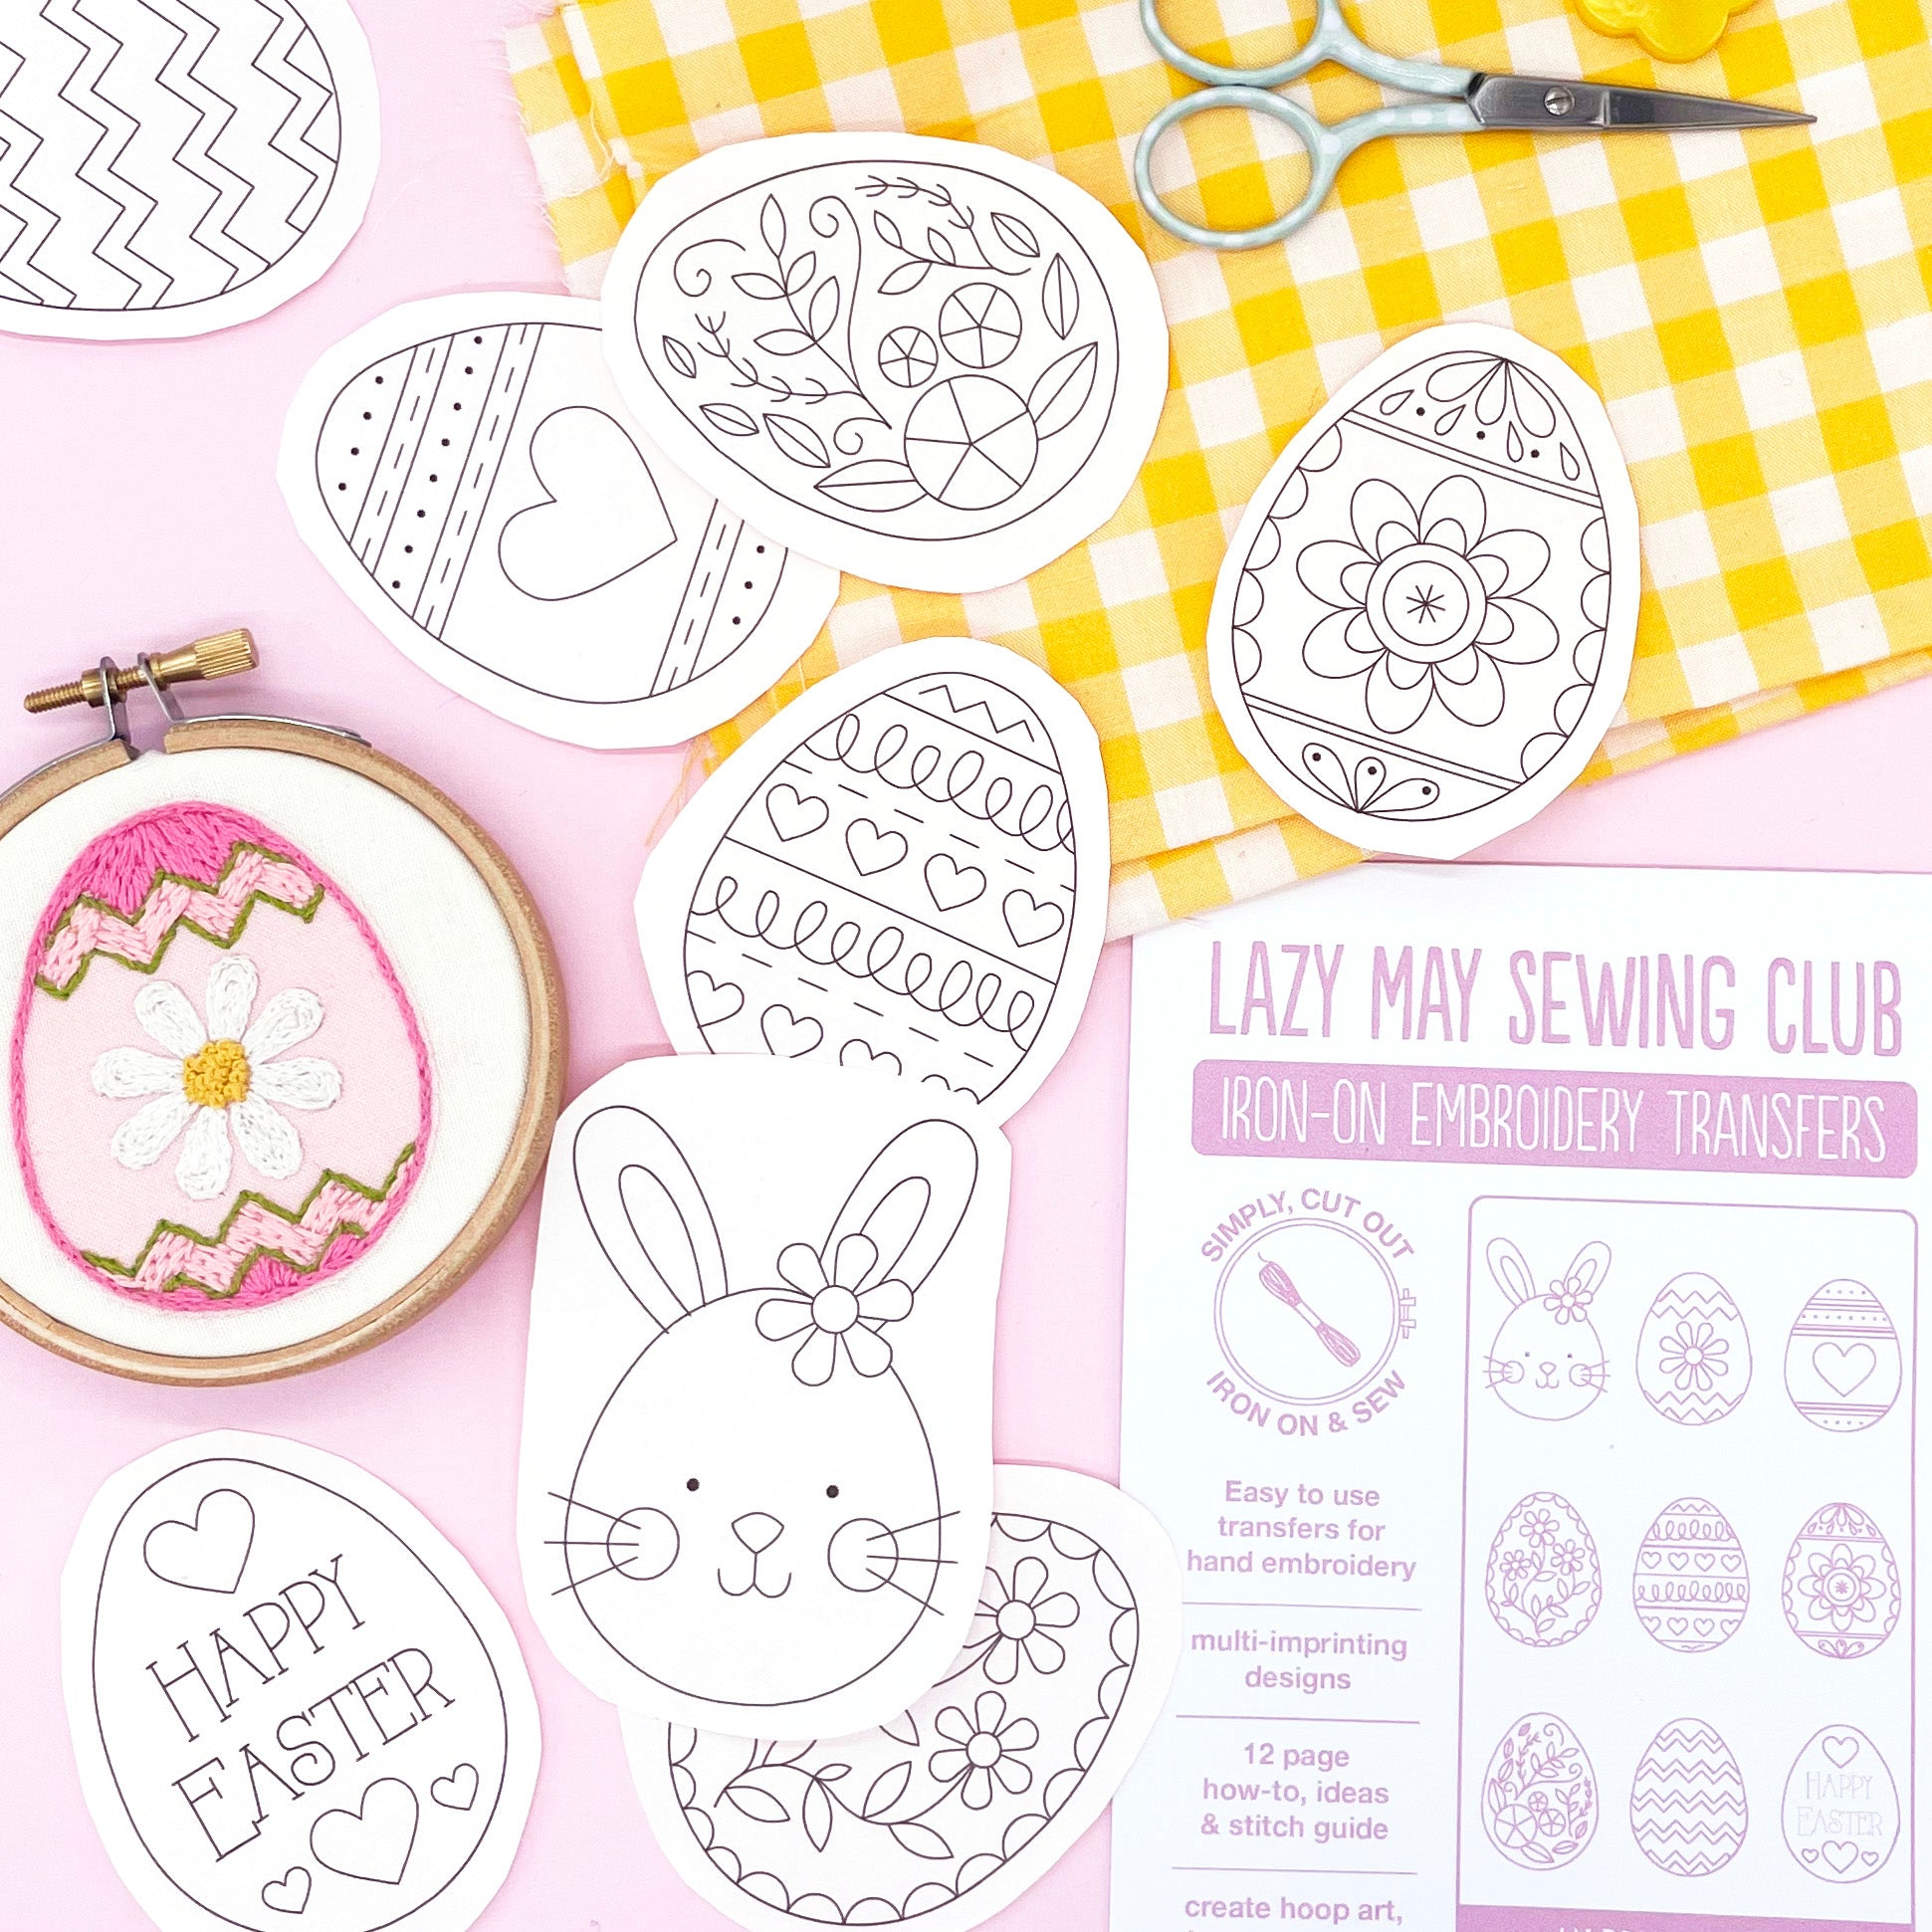
Back stitch is one of the most useful and commonly used embroidery stitches. It creates a solid line of stitching that’s ideal for outlining shapes, adding detail, or stitching words. If you’ve ever followed a printed embroidery pattern, chances are it uses back stitch somewhere!
It’s worked by stitching backwards along the line you want to follow, so each new stitch finishes where the last one ended. The result is a smooth, continuous line with no gaps—great for definition and contrast in your design.
Back stitch is beginner-friendly, easy to control, and really satisfying once you get into the rhythm of it. A must-have in your stitching toolkit.
How to Do Back Stitch (Step-by-Step)

- Step 1: Bring your needle up through the fabric a short distance from the start of your pattern line.
- Step 2: Insert the needle back through the fabric at the beginning of the line to make your first stitch.
- Step 3: Bring the needle up a stitch length ahead, then insert it back down at the end of the previous stitch. Continue stitching backwards along the line to form a solid row.
Hope you’ve enjoyed learning this stitch.
While you’re here, why not check out my beginner-friendly embroidery kits and patterns?
Tips for Neat Back Stitch
- Try to keep your stitch lengths even for a smooth, consistent line.
- Use shorter stitches when stitching curves or detailed shapes.
- Perfect for outlining other stitches like satin stitch or filling shapes after.


