How to Do Seed Stitch: Easy Step-by-Step Embroidery Guide
A simple filler stitch that’s great for adding texture and scattered detail to any design.
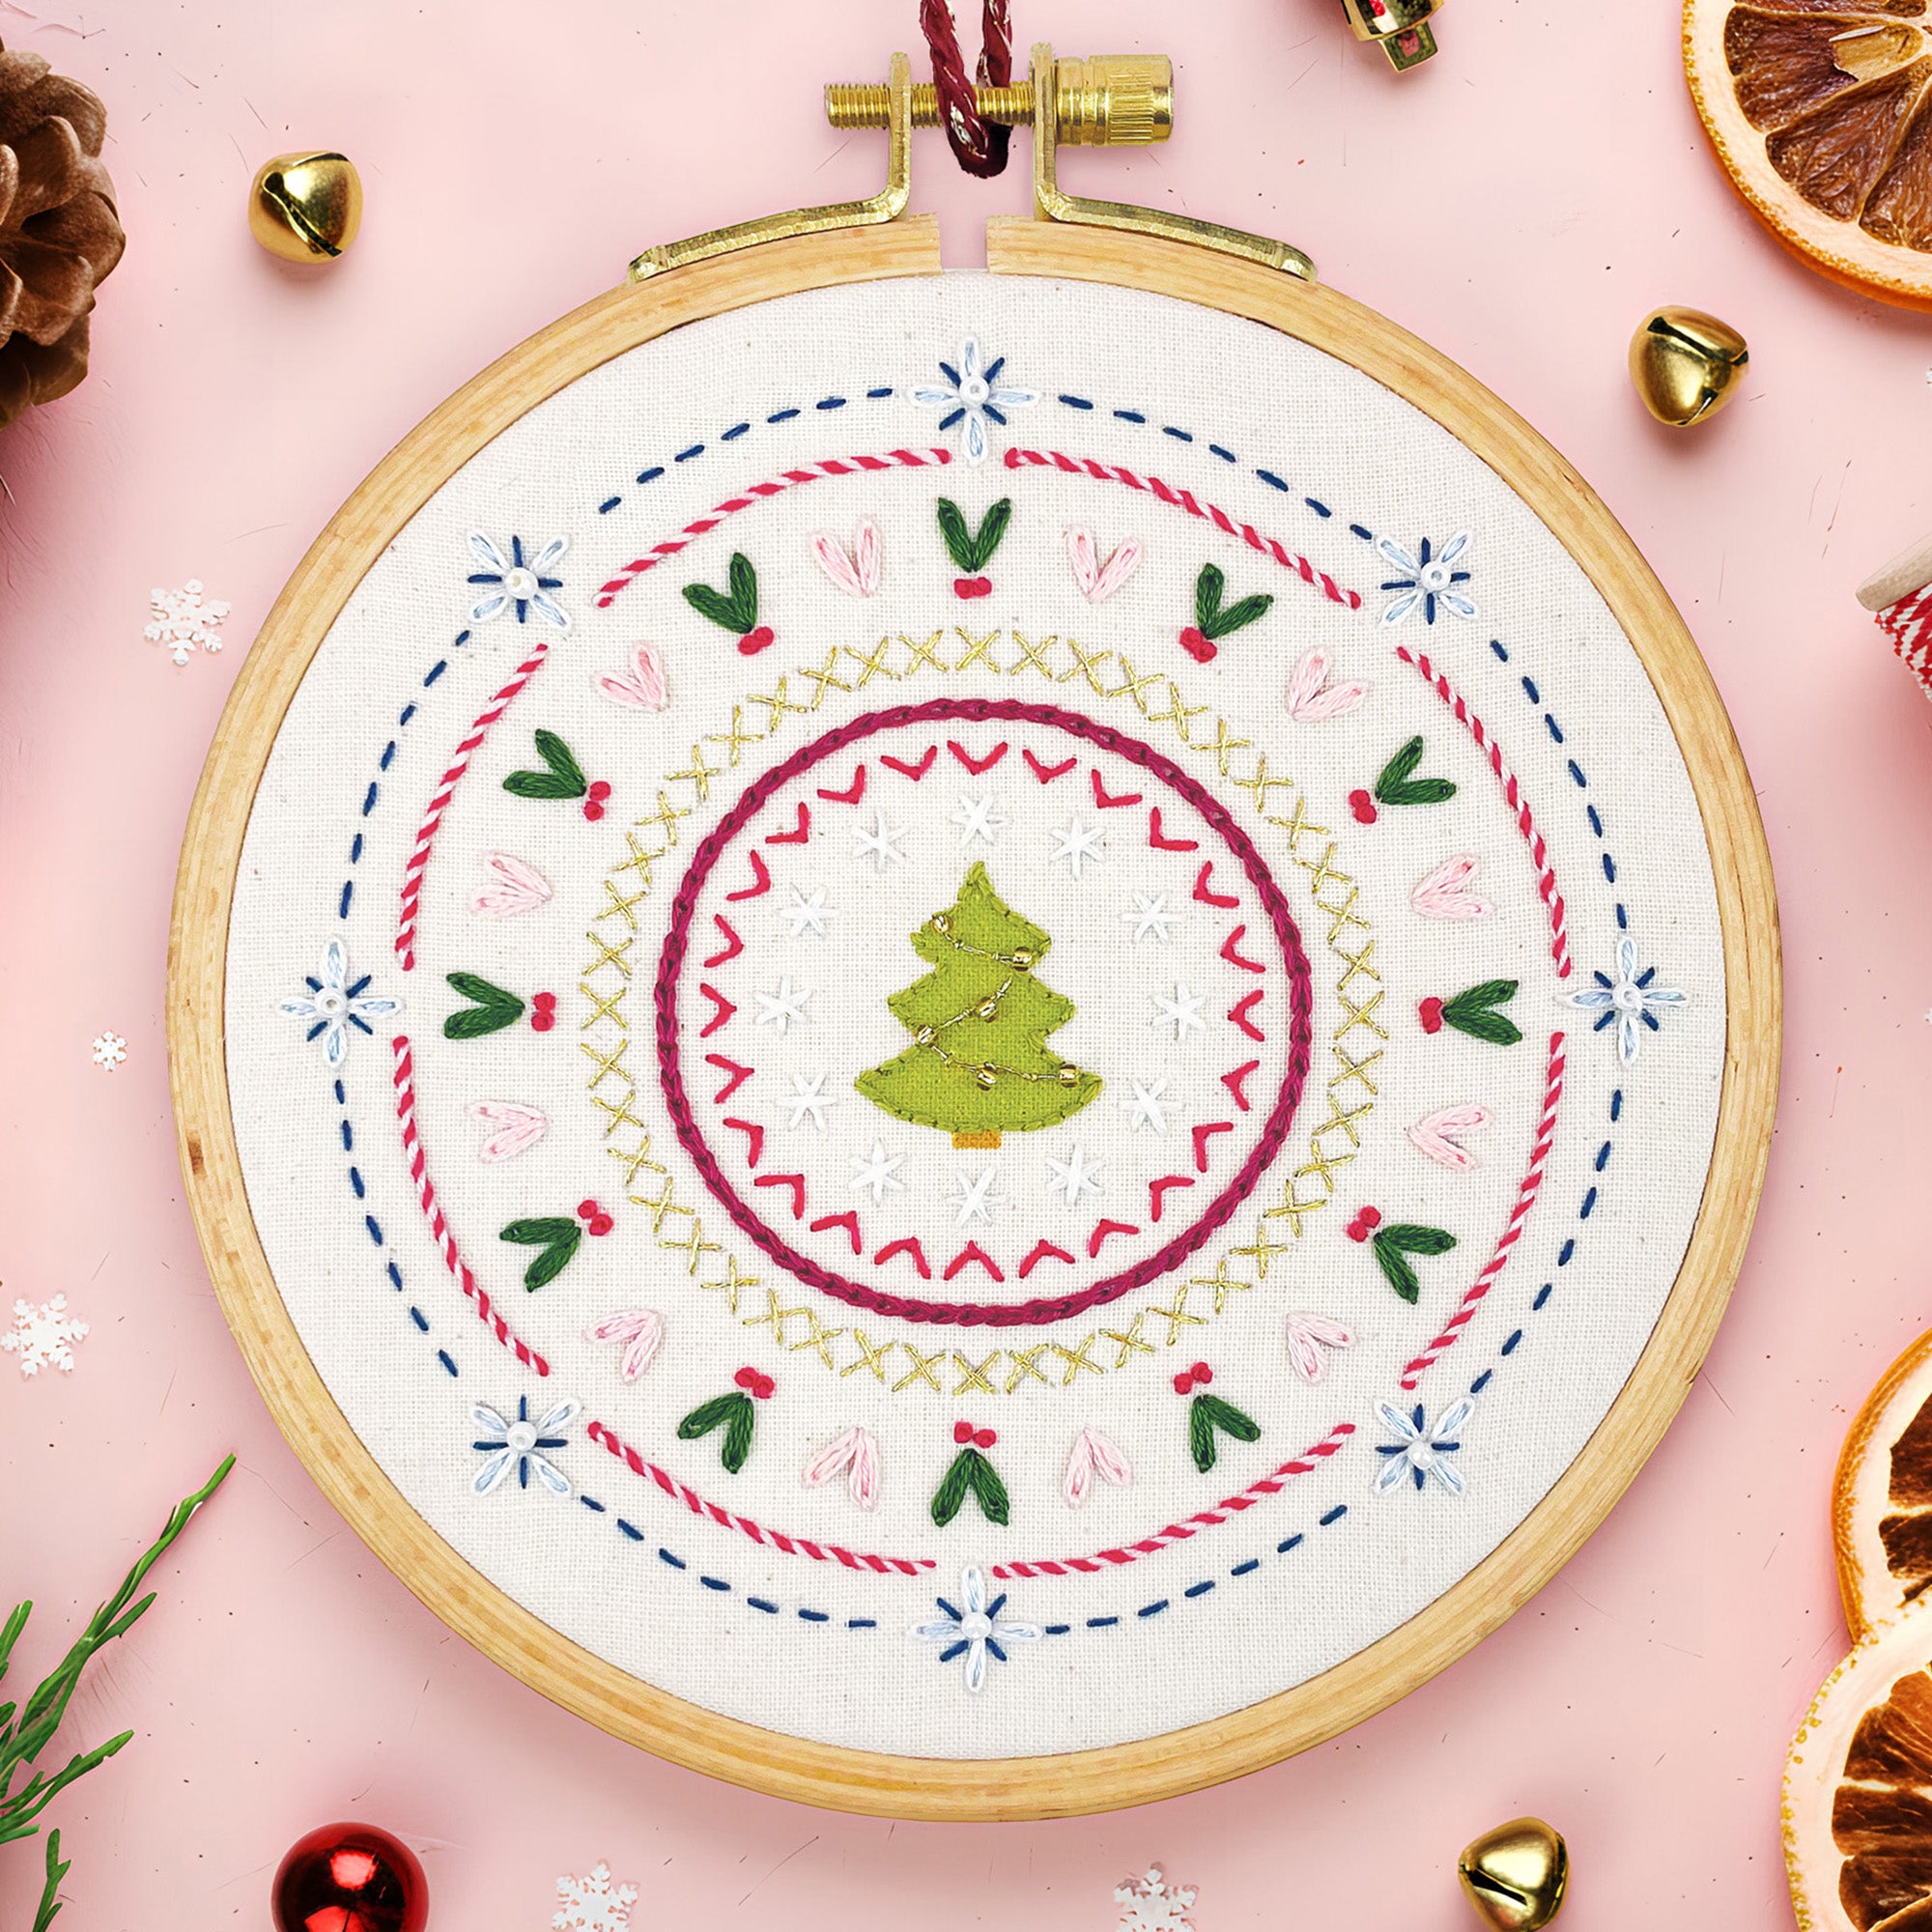
What Is Seed Stitch?
Seed stitch is a wonderfully easy embroidery stitch made up of tiny, single straight stitches worked in random directions. It’s perfect for beginners and is often used to fill in shapes or add light texture and visual interest.
The effect is a little like scattered grains or sprinkles—hence the name! Because the stitches don’t follow a fixed direction, it’s ideal for creating a natural, hand-done look. It’s especially lovely in floral designs, backgrounds, and borders where you want a bit of softness or movement.
If you want something relaxing and meditative to stitch, seed stitch is a great go-to.
How to Do Seed Stitch (Step-by-Step)

- Step 1: Bring your needle up through the fabric at your starting point.
- Step 2: Make a small straight stitch in any direction and insert the needle back down.
- Step 3: Repeat with more small stitches, scattering them in different directions, keeping the spacing fairly even.
Hope you’ve enjoyed learning this stitch.
While you’re here, why not check out my beginner-friendly embroidery kits and patterns?
Tips for Neat Seed Stitch