How to transfer embroidery designs to fabric: 5 easy ways for beginner embroiderers
If you're just starting out with hand embroidery, one of the first things you'll need to know is how to get your design onto the fabric. Luckily, there are several simple and reliable ways to do it, whether you're stitching at the kitchen table or curled up on the sofa.
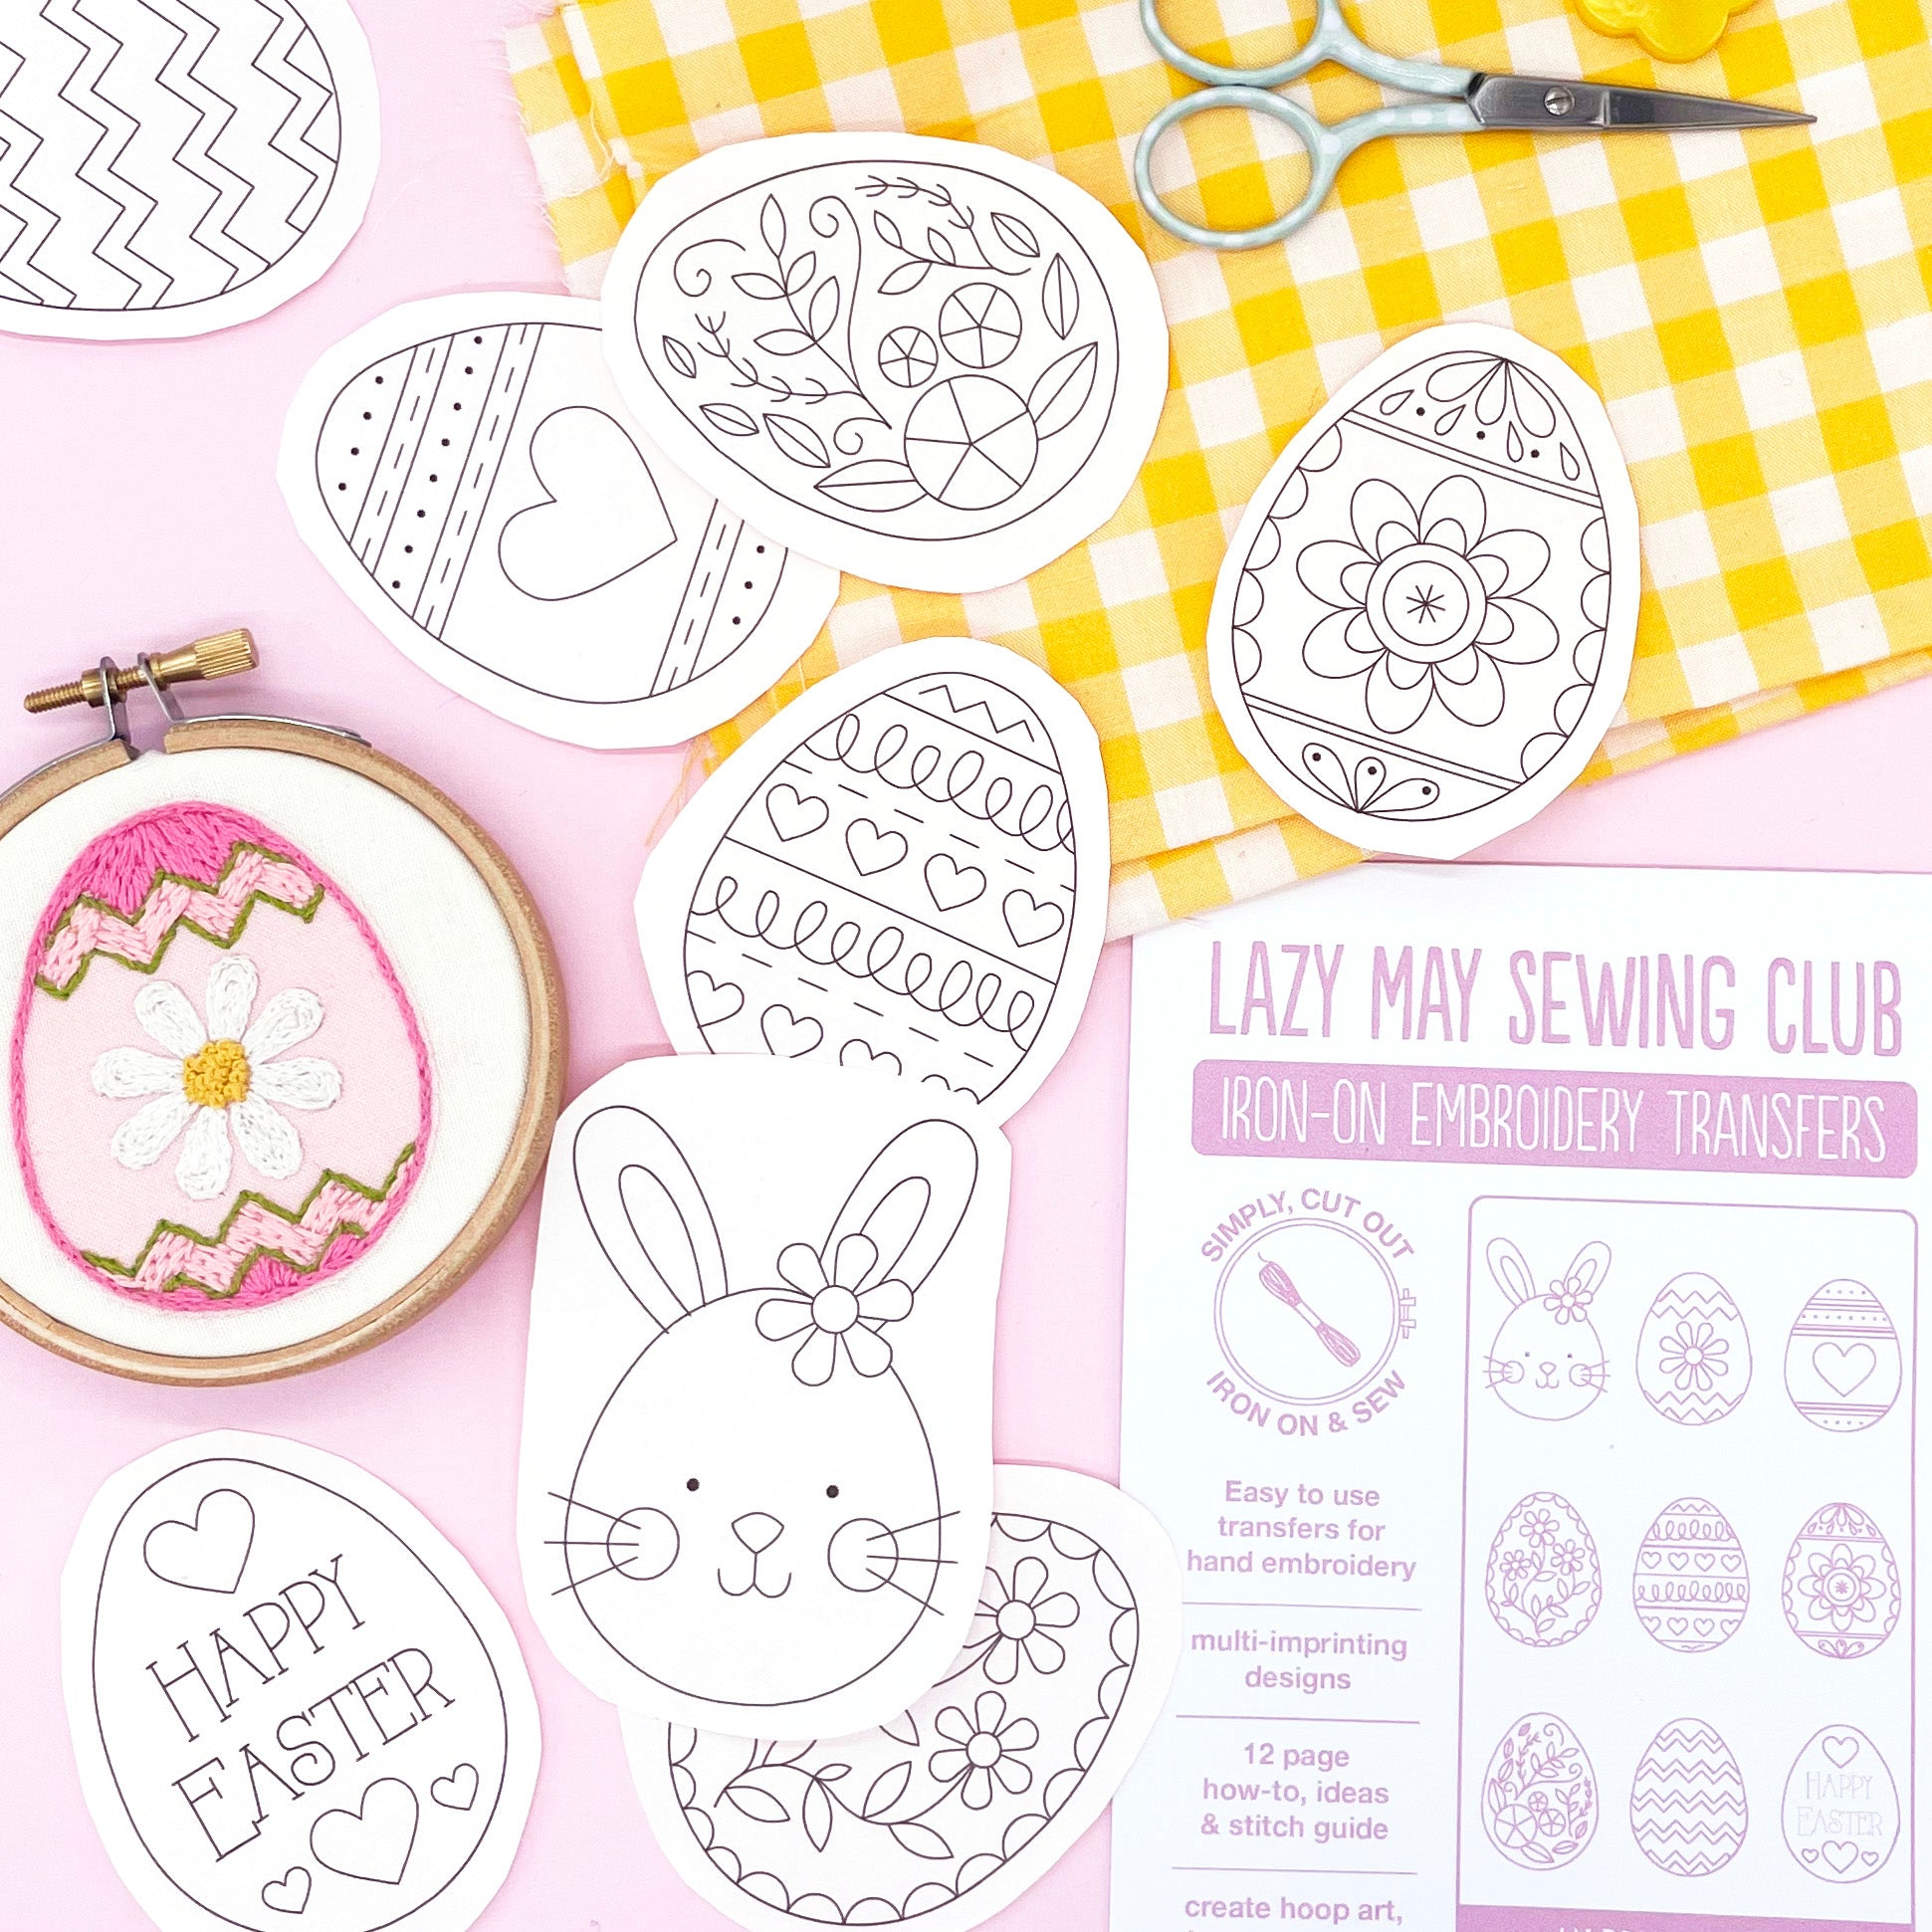
1. Iron-on embroidery transfers

Iron-on embroidery transfers are one of the quickest and easiest ways to get a design onto fabric. Place the printed transfer face down, apply a hot, dry iron, and the design transfers directly onto the fabric, ready to stitch.
Works best on: light-coloured cottons and linens.
Not ideal for: dark fabrics or synthetic materials.
Top tip: Always test your transfer on a scrap of fabric first to check placement and heat settings.
Shop Iron-On Embroidery Transfers
2. Tracing an embroidery design using a tablet

A tablet or iPad can double up as a lightbox for tracing embroidery designs. Place your design on the screen, tape your fabric over the top, and trace carefully using a heat-erasable embroidery pen, fine fabric marker, or soft pencil.
Works best on: pale, lightweight fabrics.
Top tip: Turn your screen brightness right up and tape everything down securely to prevent shifting.
Heat-erasable pens are especially useful for tracing, as the lines disappear when heat is applied. Always test on a scrap first, as some colours can leave faint marks on certain fabrics.
3. Window tracing method

If you don’t have a tablet or lightbox, a bright window works just as well. Tape your paper design to the glass, place your fabric on top, and trace using a suitable pen or pencil.
Works best on: light-coloured or thin fabrics.
Top tip: Choose a bright day and tape both the design and fabric securely to keep lines neat.
4. Stick and stitch embroidery patterns

Stick and stitch embroidery patterns are printed onto water-soluble fabric. Peel off the backing, stick the design directly onto your fabric, and stitch through it. Once finished, the pattern rinses away with warm water.
Works best on: dark fabrics, denim, clothing, and textured surfaces.
Top tip: If ironing after rinsing, place your embroidery between two towels to avoid flattening the stitches.
Shop Stick and Stitch Patterns
Which embroidery transfer method should you choose?
The best embroidery transfer method depends on your fabric and project. Iron-on transfers and tracing work well for light fabrics, while stick and stitch patterns are ideal for darker or textured materials. Most embroiderers use a mix of methods depending on what they’re stitching.
Embroidery transfer FAQs
Are iron-on embroidery transfers suitable for beginners?
Yes. Iron-on embroidery transfers are ideal for beginners because the design transfers directly onto the fabric with clear lines to stitch over.
Which embroidery transfer methods wash out?
Some methods, such as stick and stitch patterns and heat-erasable pens, wash or fade away. Iron-on transfers are permanent and should be fully covered with stitching.
Which transfer method works best on dark fabric?
Stick and stitch embroidery patterns are the best option for dark or textured fabrics, as tracing and iron-on methods can be difficult to see.
Looking for beginner-friendly embroidery patterns and transfers? You can browse the full range of kits and designs at Lazy May Sewing Club.


