How to Do Split Stitch: Easy Step-by-Step Embroidery Guide
A classic stitch that’s great for outlines, borders, and creating texture with a hand-drawn feel.
What Is Split Stitch?
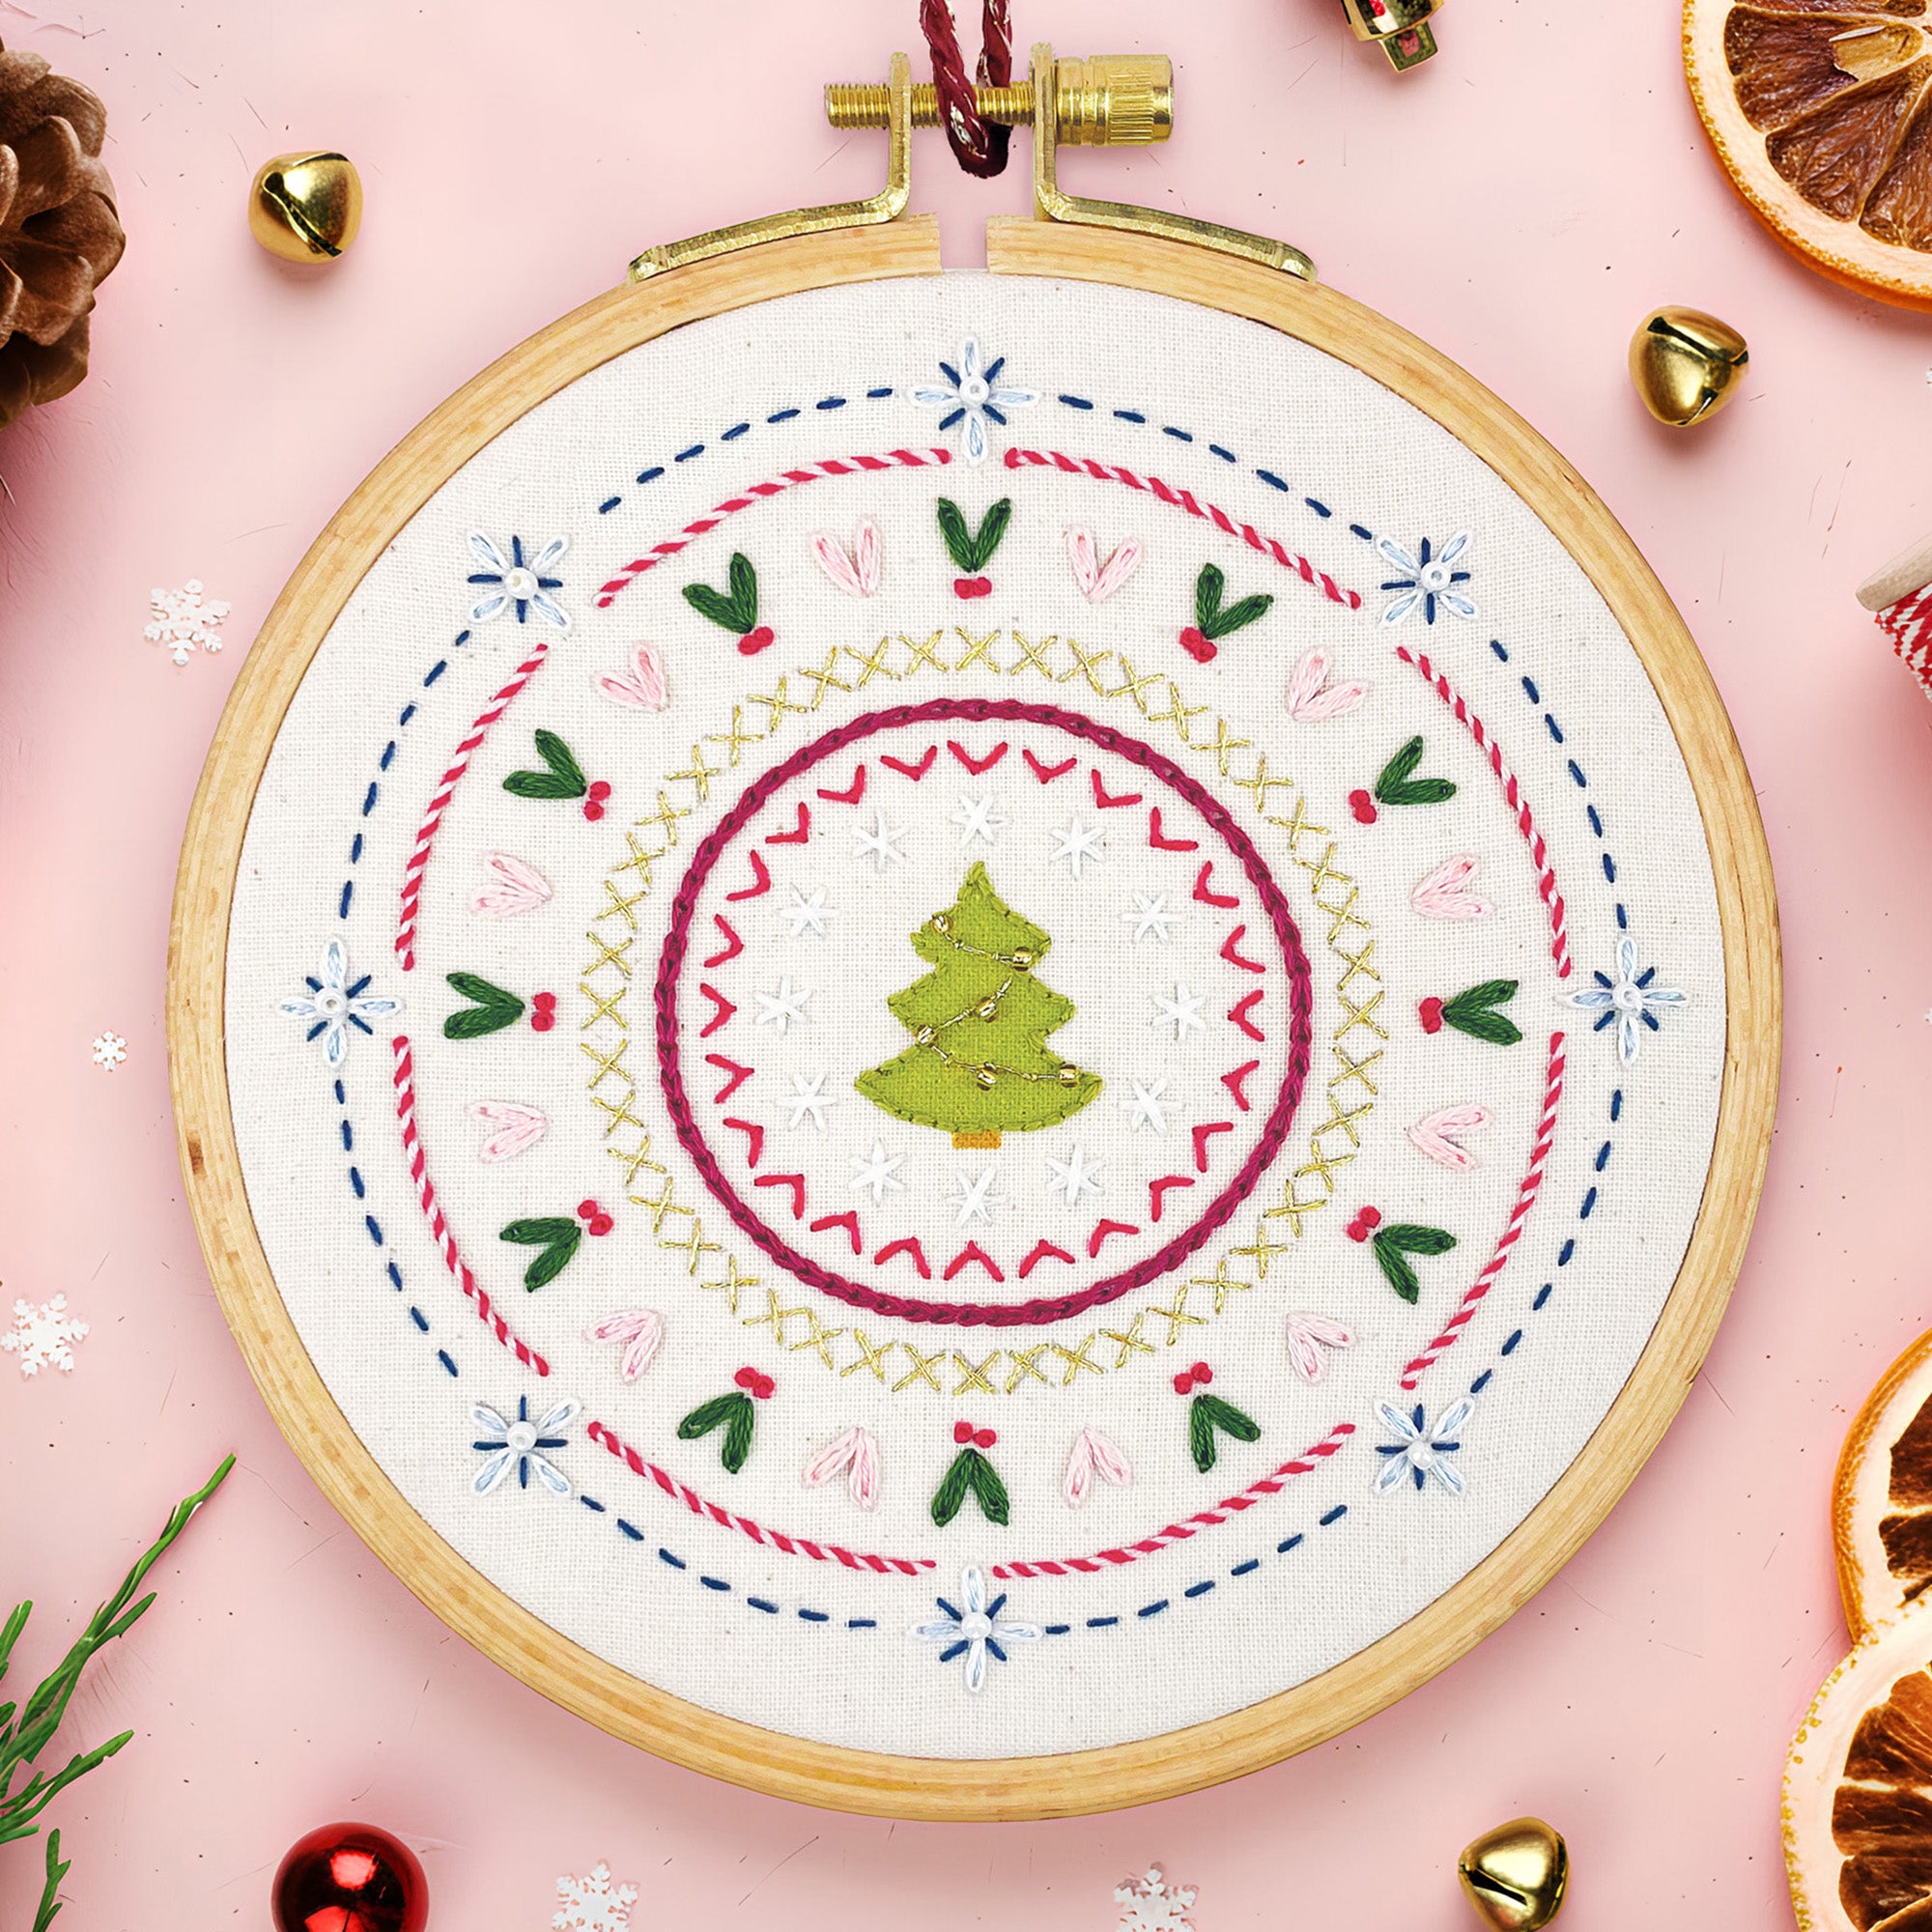
Split stitch is a versatile embroidery stitch that forms a soft, rope-like line. It’s made by splitting each previous stitch with your needle, which creates a slightly textured effect that’s perfect for outlines, borders and even filling in shapes.
It’s often used in traditional embroidery, especially for lettering or adding a slightly chunkier line than back stitch. It follows curves beautifully and gives your designs a nice organic look.
If you like stitching detail with a bit of texture, split stitch is a lovely, simple option to add to your stitching toolkit.
How to Do Split Stitch (Step-by-Step)

- Step 1: Make a straight stitch from point 1 to point 2.
- Step 2: Bring the needle back up through the middle of the previous stitch.
- Step 3: Insert the needle ahead on the line to create your next stitch, again splitting the thread with your needle. Continue in this way to form a neat, slightly textured line.
Hope you’ve enjoyed learning this stitch.
While you’re here, why not check out my beginner-friendly embroidery kits and patterns?
Tips for Neat Split Stitch
- Use a sharp needle to make splitting the stitches easier and cleaner.
- Keep your stitch lengths short and consistent for a smooth line.
- This stitch works especially well for curves and detailed outlines.


