How to Do Star Stitch: Easy Step-by-Step Embroidery Guide
A fun decorative stitch that creates small starbursts—perfect for scattered details, florals or festive sparkle.
What Is Star Stitch?
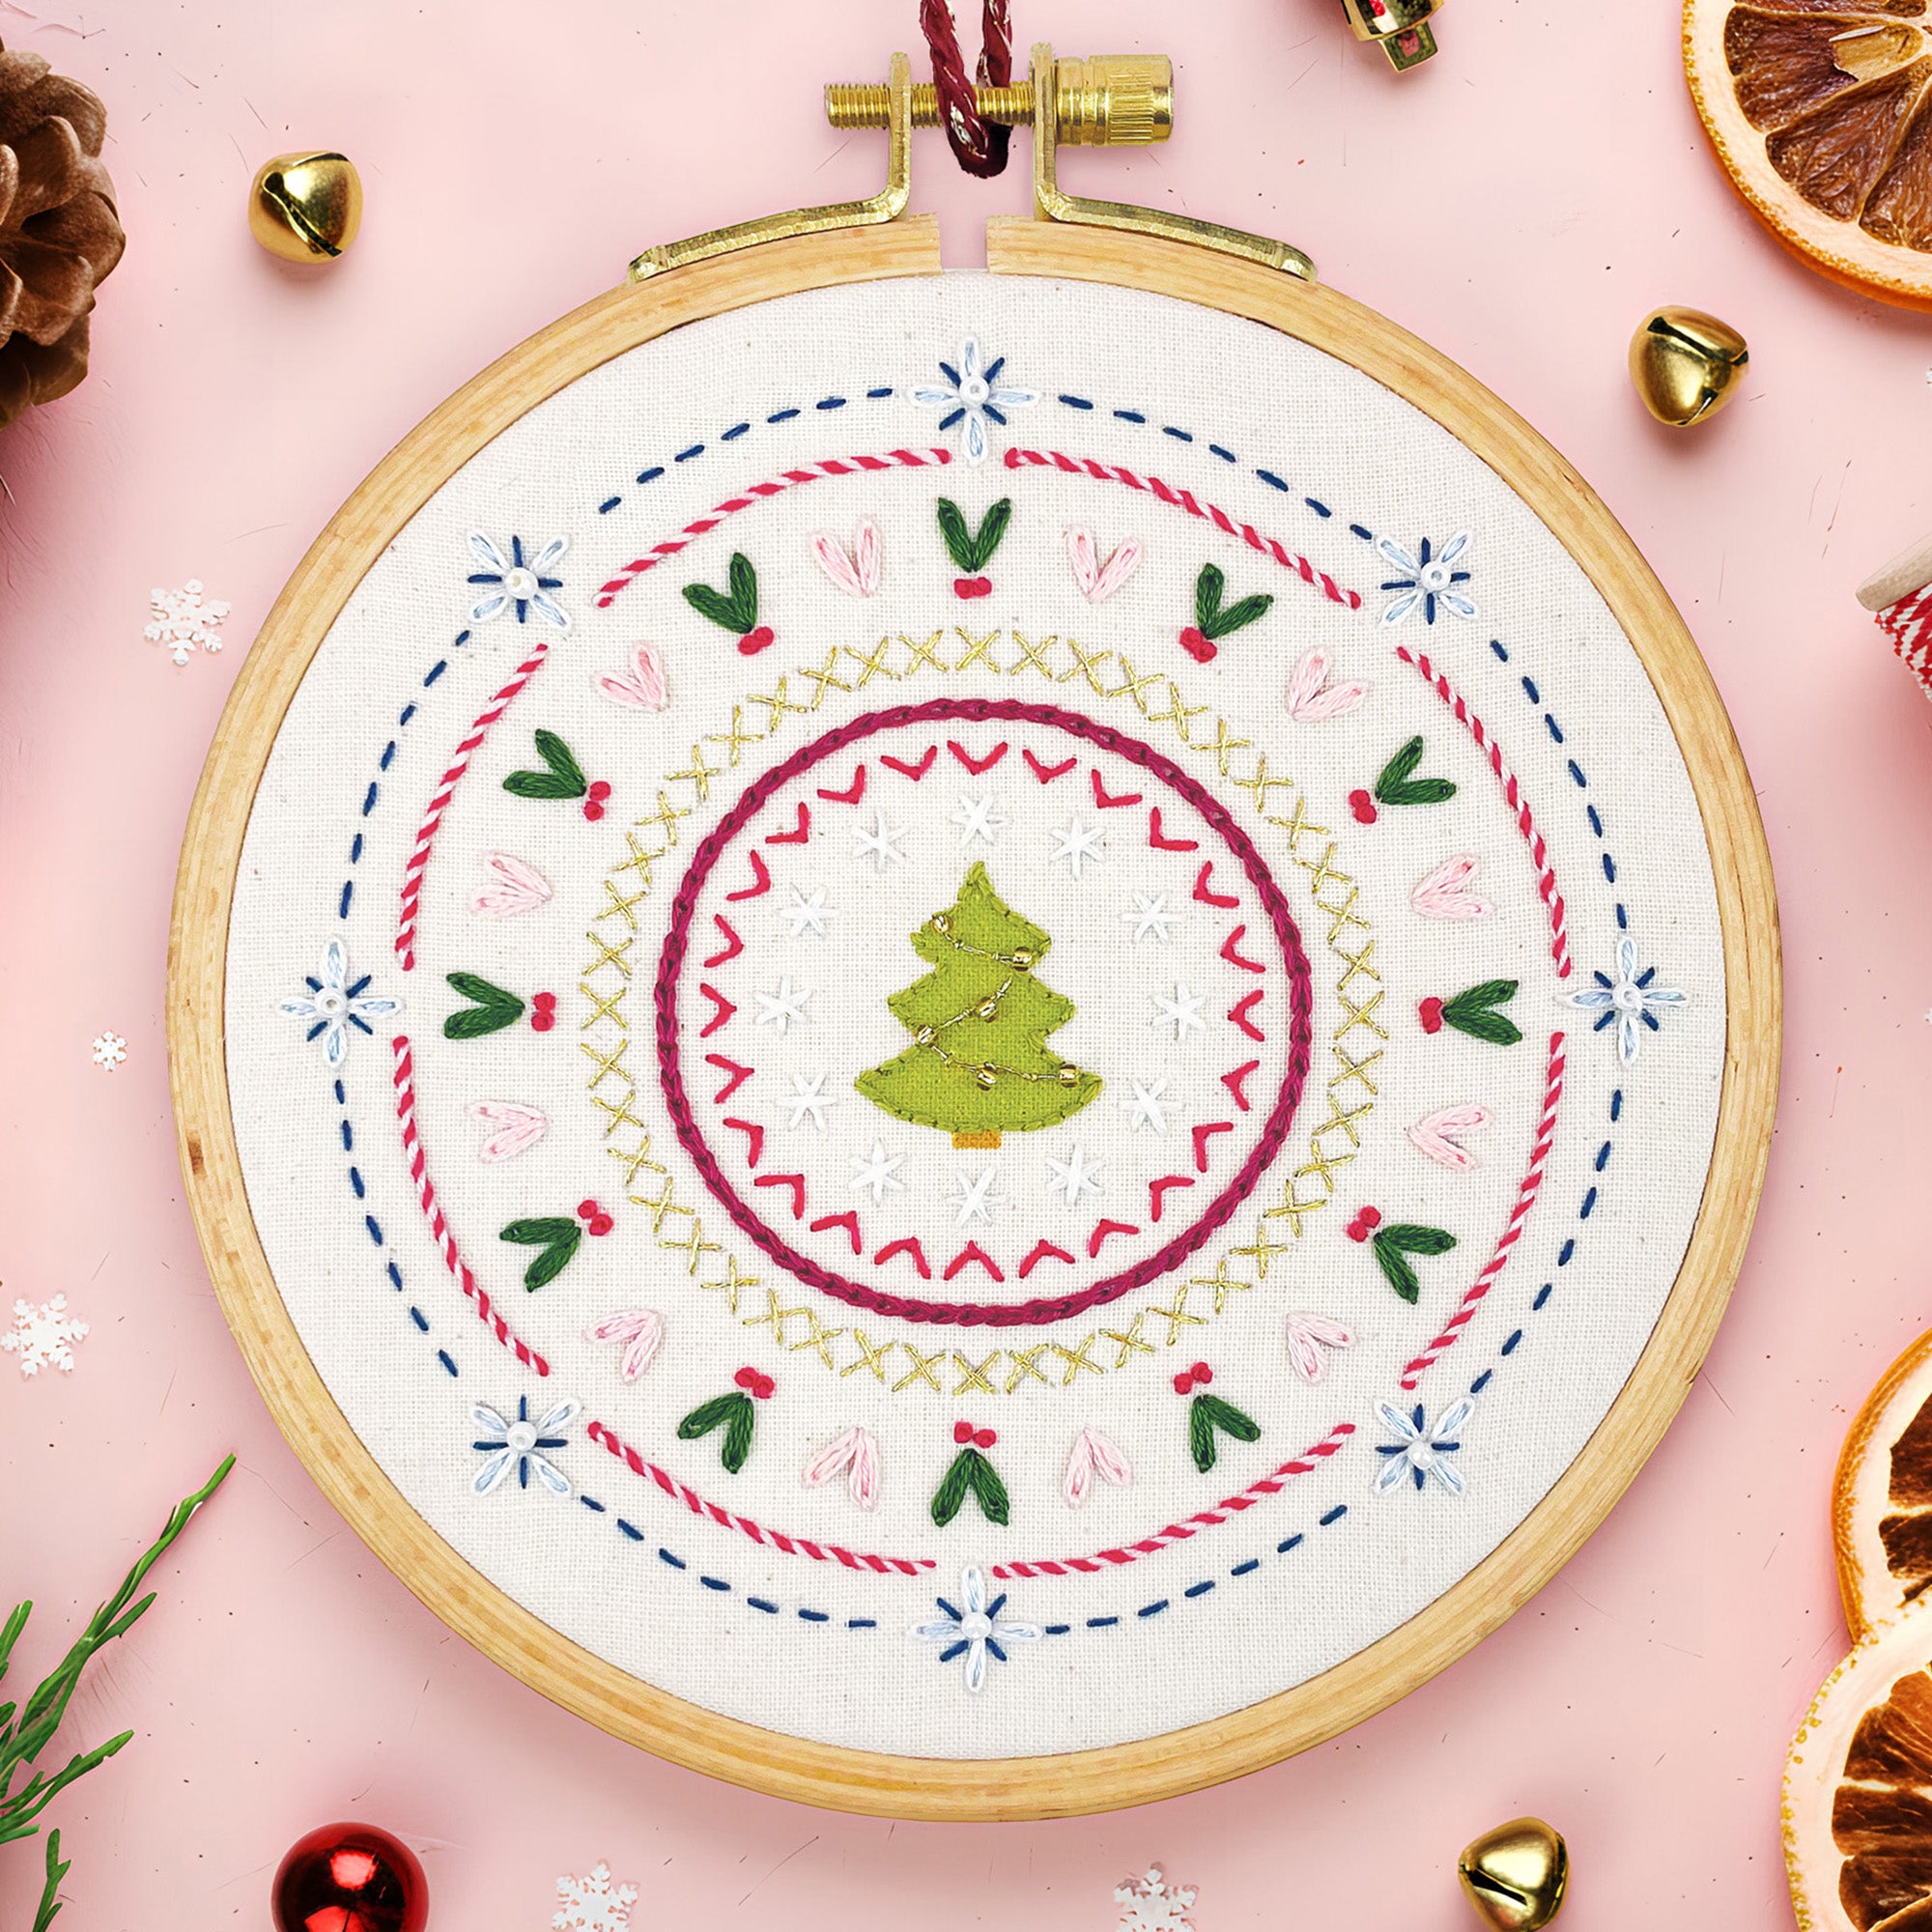
Star stitch is a decorative embroidery stitch made by overlapping straight stitches in a set pattern to create a radiating star or asterisk shape. It’s a lovely way to add scattered sparkle, tiny florals, or fill in designs with a subtle texture.
Each star is made by working a series of evenly spaced straight stitches around a centre point. You can change the number of spokes for different effects, or work them closely together for a more textured look.
It’s a simple stitch with striking results—great for beginners and fun for layering too.
How to Do Star Stitch (Step-by-Step)

- Step 1: Begin by bringing your needle up at the starting point of your first spoke.
- Step 2: Make a straight stitch across to the opposite side of the star shape.
- Step 3: Repeat this for each spoke, bringing your needle up and down in a regular pattern until your star is complete.
- Step 4: Try to keep all the stitches the same length for a neat, even look.
Hope you’ve enjoyed learning star stitch.
While you’re here, why not check out my beginner-friendly embroidery kits and patterns?
Tips for Star Stitch
- Mark your centre point and spoke lines lightly on the fabric for a balanced result.
- Keep your thread tension even to avoid puckering.
- This stitch looks lovely in metallic or variegated thread for a bit of extra shine.