How to Do Cross Stitch: Easy Step-by-Step Embroidery Guide
A classic counted stitch that’s perfect for simple motifs, alphabets, and patterned designs.
What Is Cross Stitch?
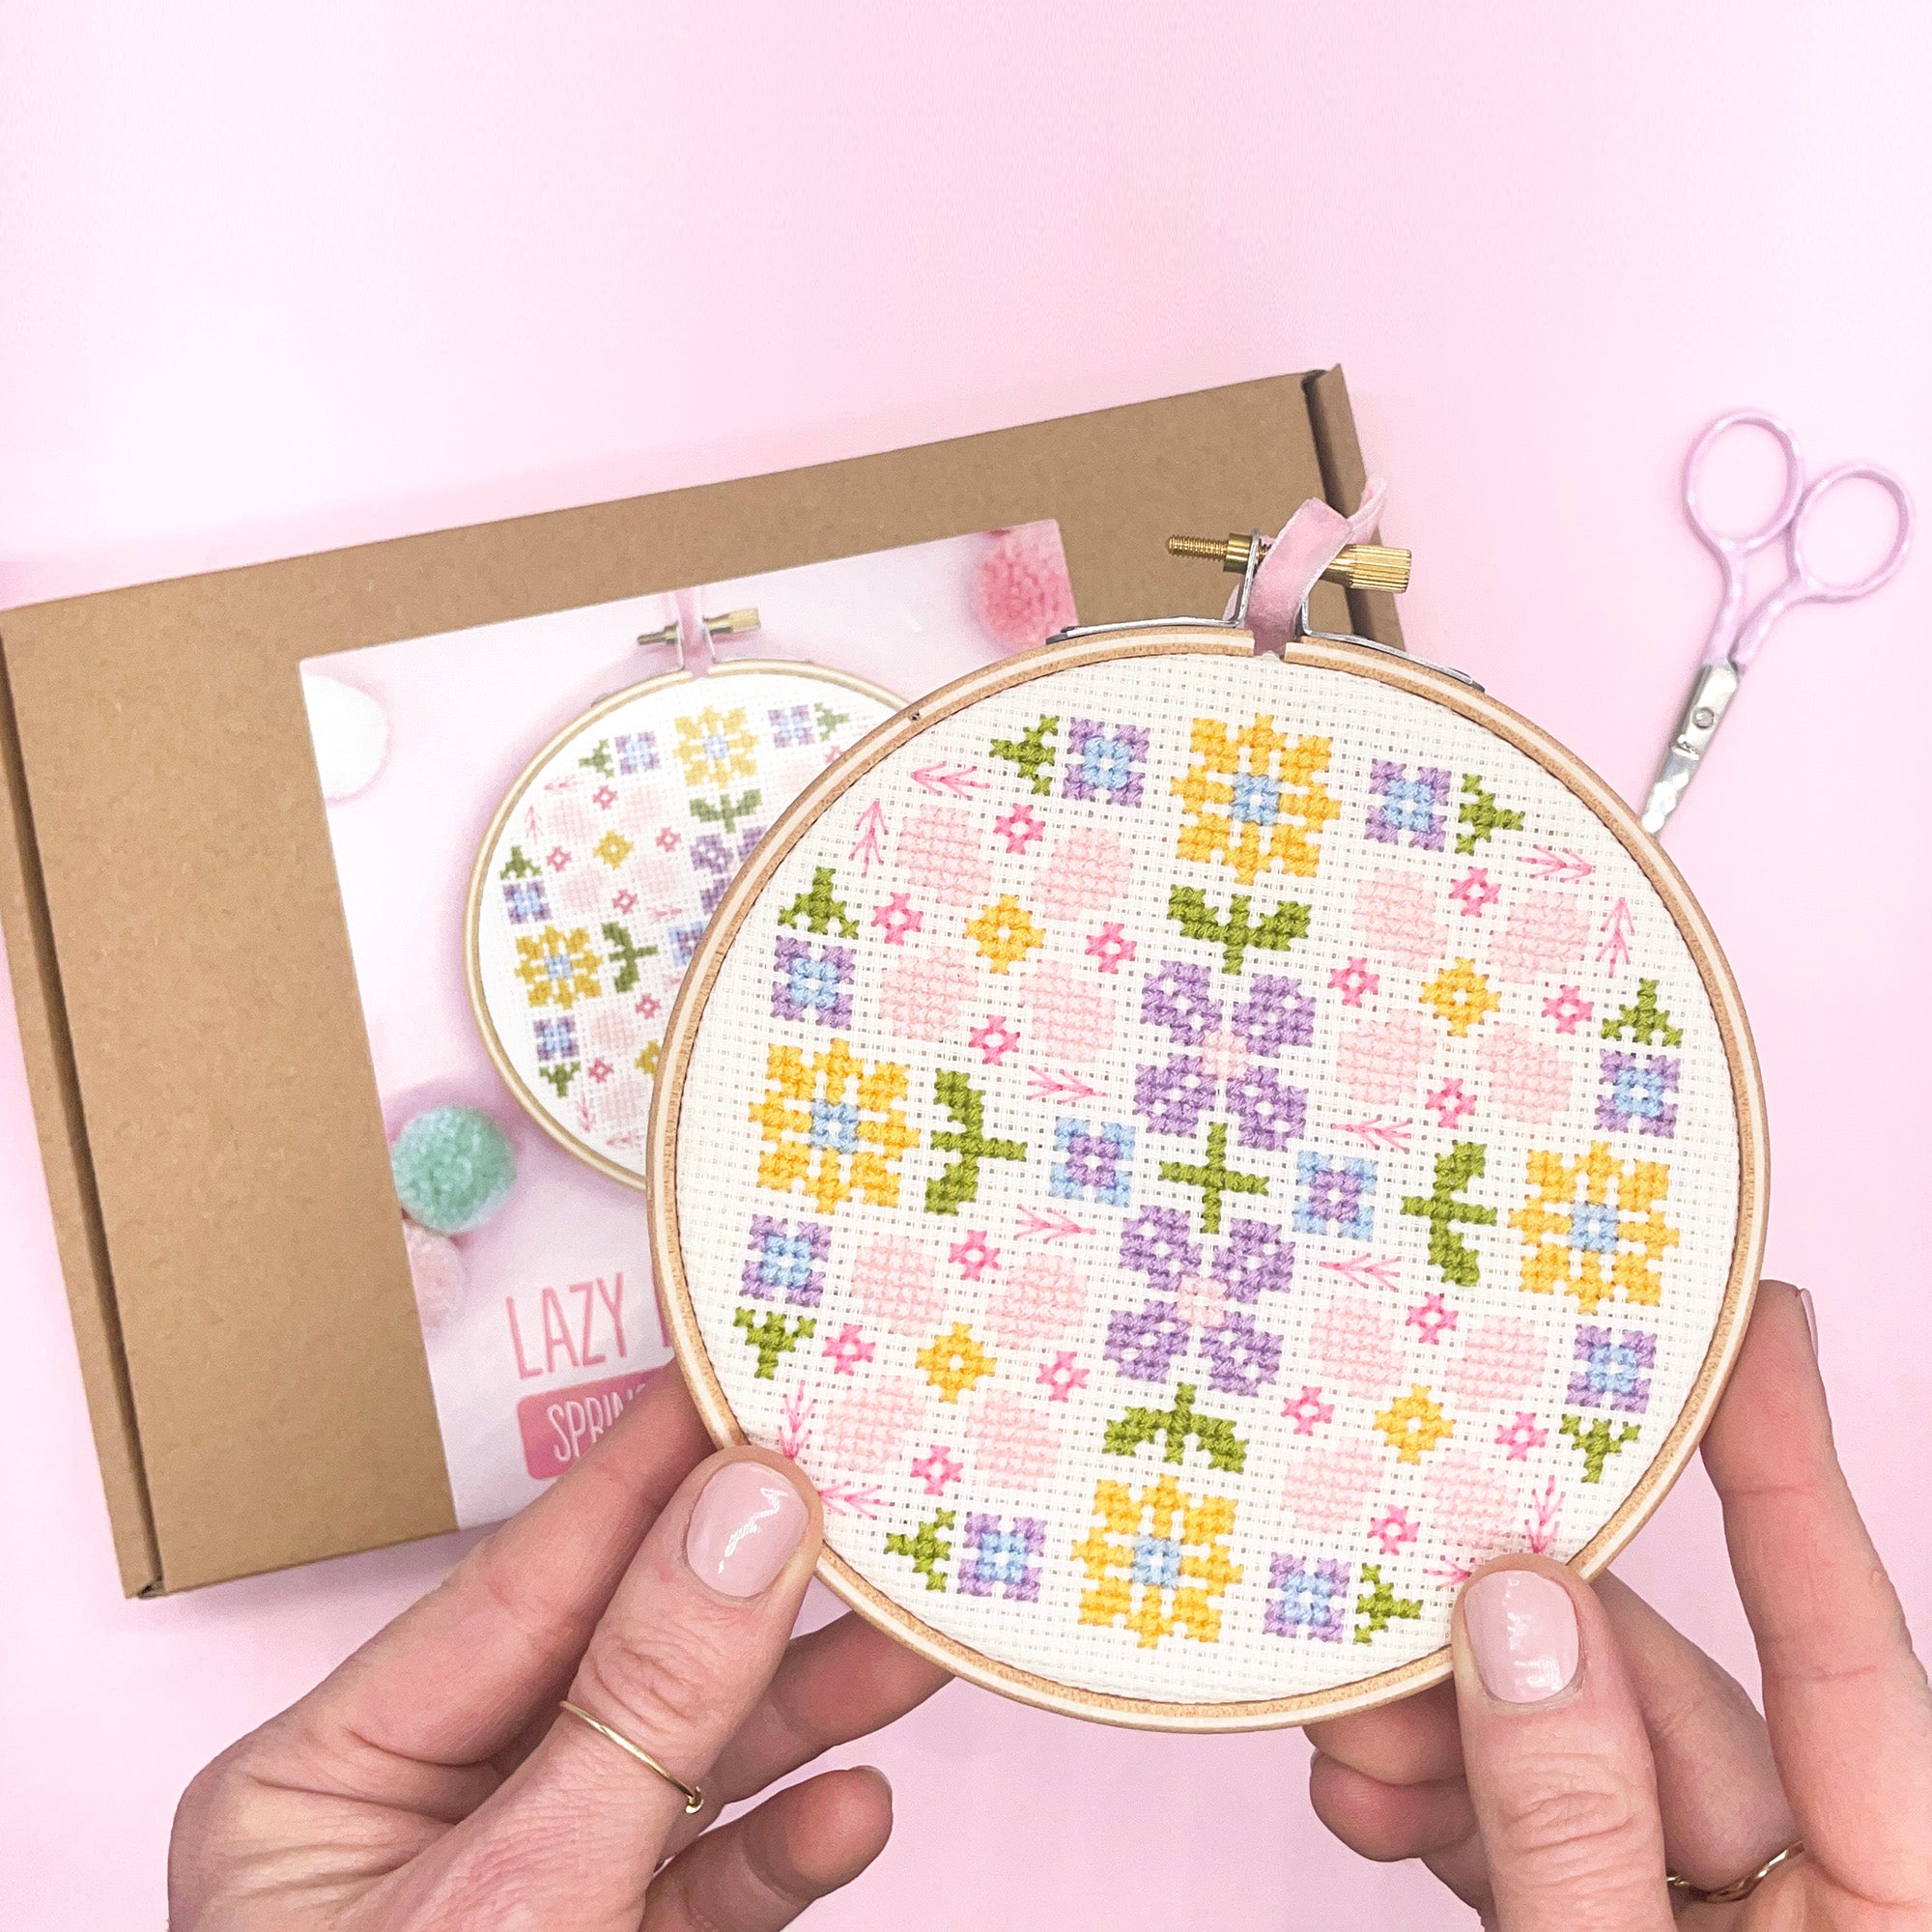
Cross stitch is one of the most recognisable and accessible embroidery stitches. It creates small ‘X’ shapes by layering two diagonal stitches and is usually worked on even-weave fabric like aida, where the holes help keep your stitches consistent.
This stitch is often used for counted cross stitch designs, such as alphabets, animals, florals, or samplers. You can work each stitch one at a time or make a full row of diagonals in one direction, then return with the second stroke to complete each ‘X’.
Whether you're stitching a neat pattern or adding tiny accents, cross stitch is a versatile and satisfying technique to master.
How to Do Cross Stitch (Step-by-Step)

- Step 1: Bring your needle up through the bottom right hole of the square and insert it into the top left to make a diagonal stitch.
- Step 2: Bring the needle back up through the bottom left hole and insert it into the top right, forming an ‘X’ shape.
- Step 3: Repeat this across the row, either one stitch at a time or in batches for quicker stitching.
Hope you’ve enjoyed learning cross stitch.
While you’re here, why not check out my beginner-friendly embroidery kits and patterns?
Tips for Cross Stitch
- Keep your thread tension consistent so each ‘X’ sits flat without pulling or puckering the fabric.
- Always cross your stitches in the same direction (e.g. bottom left to top right) for a neater finish.
- Use an embroidery hoop to maintain even tension and avoid distortion.


