How to Do Satin Stitch: Easy Step-by-Step Embroidery Guide
A smooth, shiny stitch for filling shapes with solid colour—perfect for petals, lettering and bold motifs.
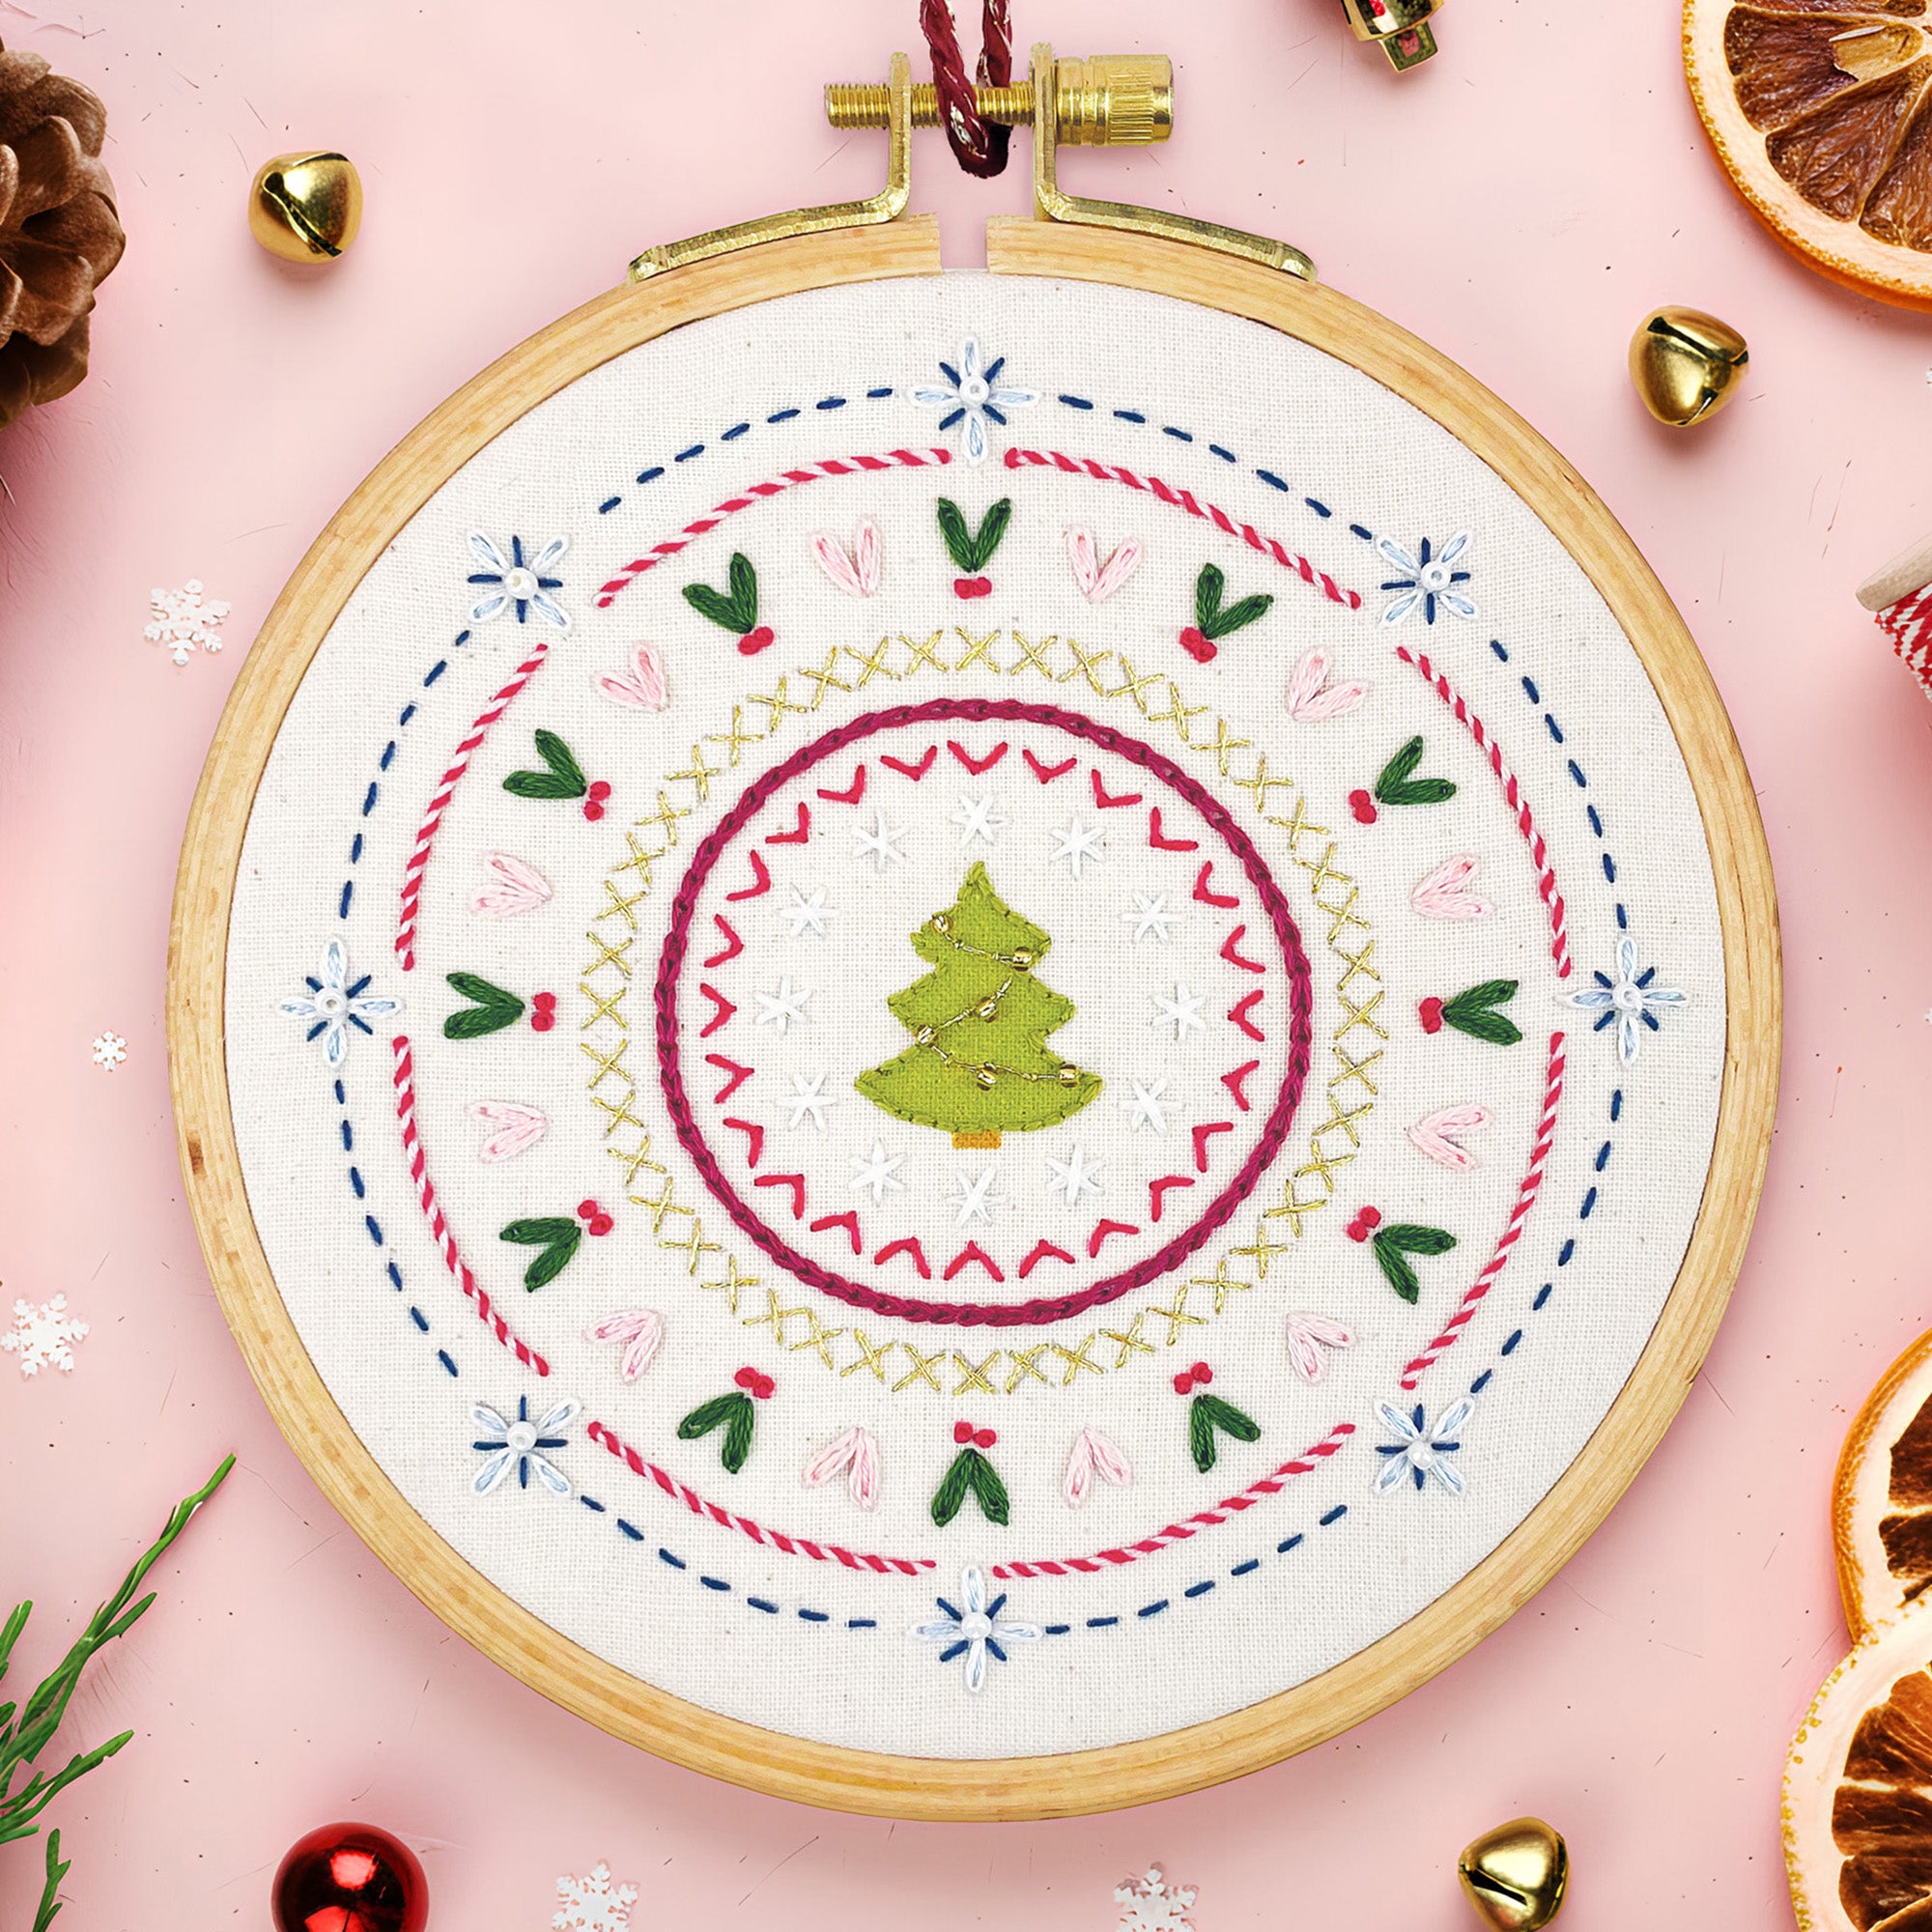
What Is Satin Stitch?
Satin stitch is a classic embroidery technique used to fill shapes with neat, closely packed straight stitches. It creates a beautifully smooth, satin-like surface—great for bold, modern designs or adding softness and shine to more traditional work.
This stitch is ideal for filling petals, leaves, lettering or solid motifs. You can work it in narrow lines or larger blocks, depending on the area you want to fill. For bigger shapes, it's helpful to divide the space into smaller sections first to keep your stitch angle consistent.
It takes a little practice to get your stitches neat and even, but once you’ve got the rhythm, it’s really satisfying to do—and the finish looks so polished.
How to Do Satin Stitch (Step-by-Step)

- Step 1: Bring your needle up through the fabric at one edge of the shape you want to fill.
- Step 2: Insert the needle back down on the opposite edge to create a long straight stitch.
- Step 3: Repeat the process side-by-side, keeping your stitches close together so no fabric shows through.
- Step 4: If you’re filling a large shape, use guide stitches to divide it into sections and keep your angle consistent.
Hope you’ve enjoyed learning satin stitch.
While you’re here, why not check out my beginner-friendly embroidery kits and patterns?
Tips for Satin Stitch
- Use shorter stitches for curved shapes to keep the outer edges neat.
- Try a single strand of thread for smaller details, or multiple strands for bold areas of colour.
- Work slowly and check your angle every few stitches to keep things looking tidy.