How to Use Stick and Stitch Embroidery Patterns
Want to add embroidery to clothes without tracing or drawing your design first? This is one of the easiest ways to get started.
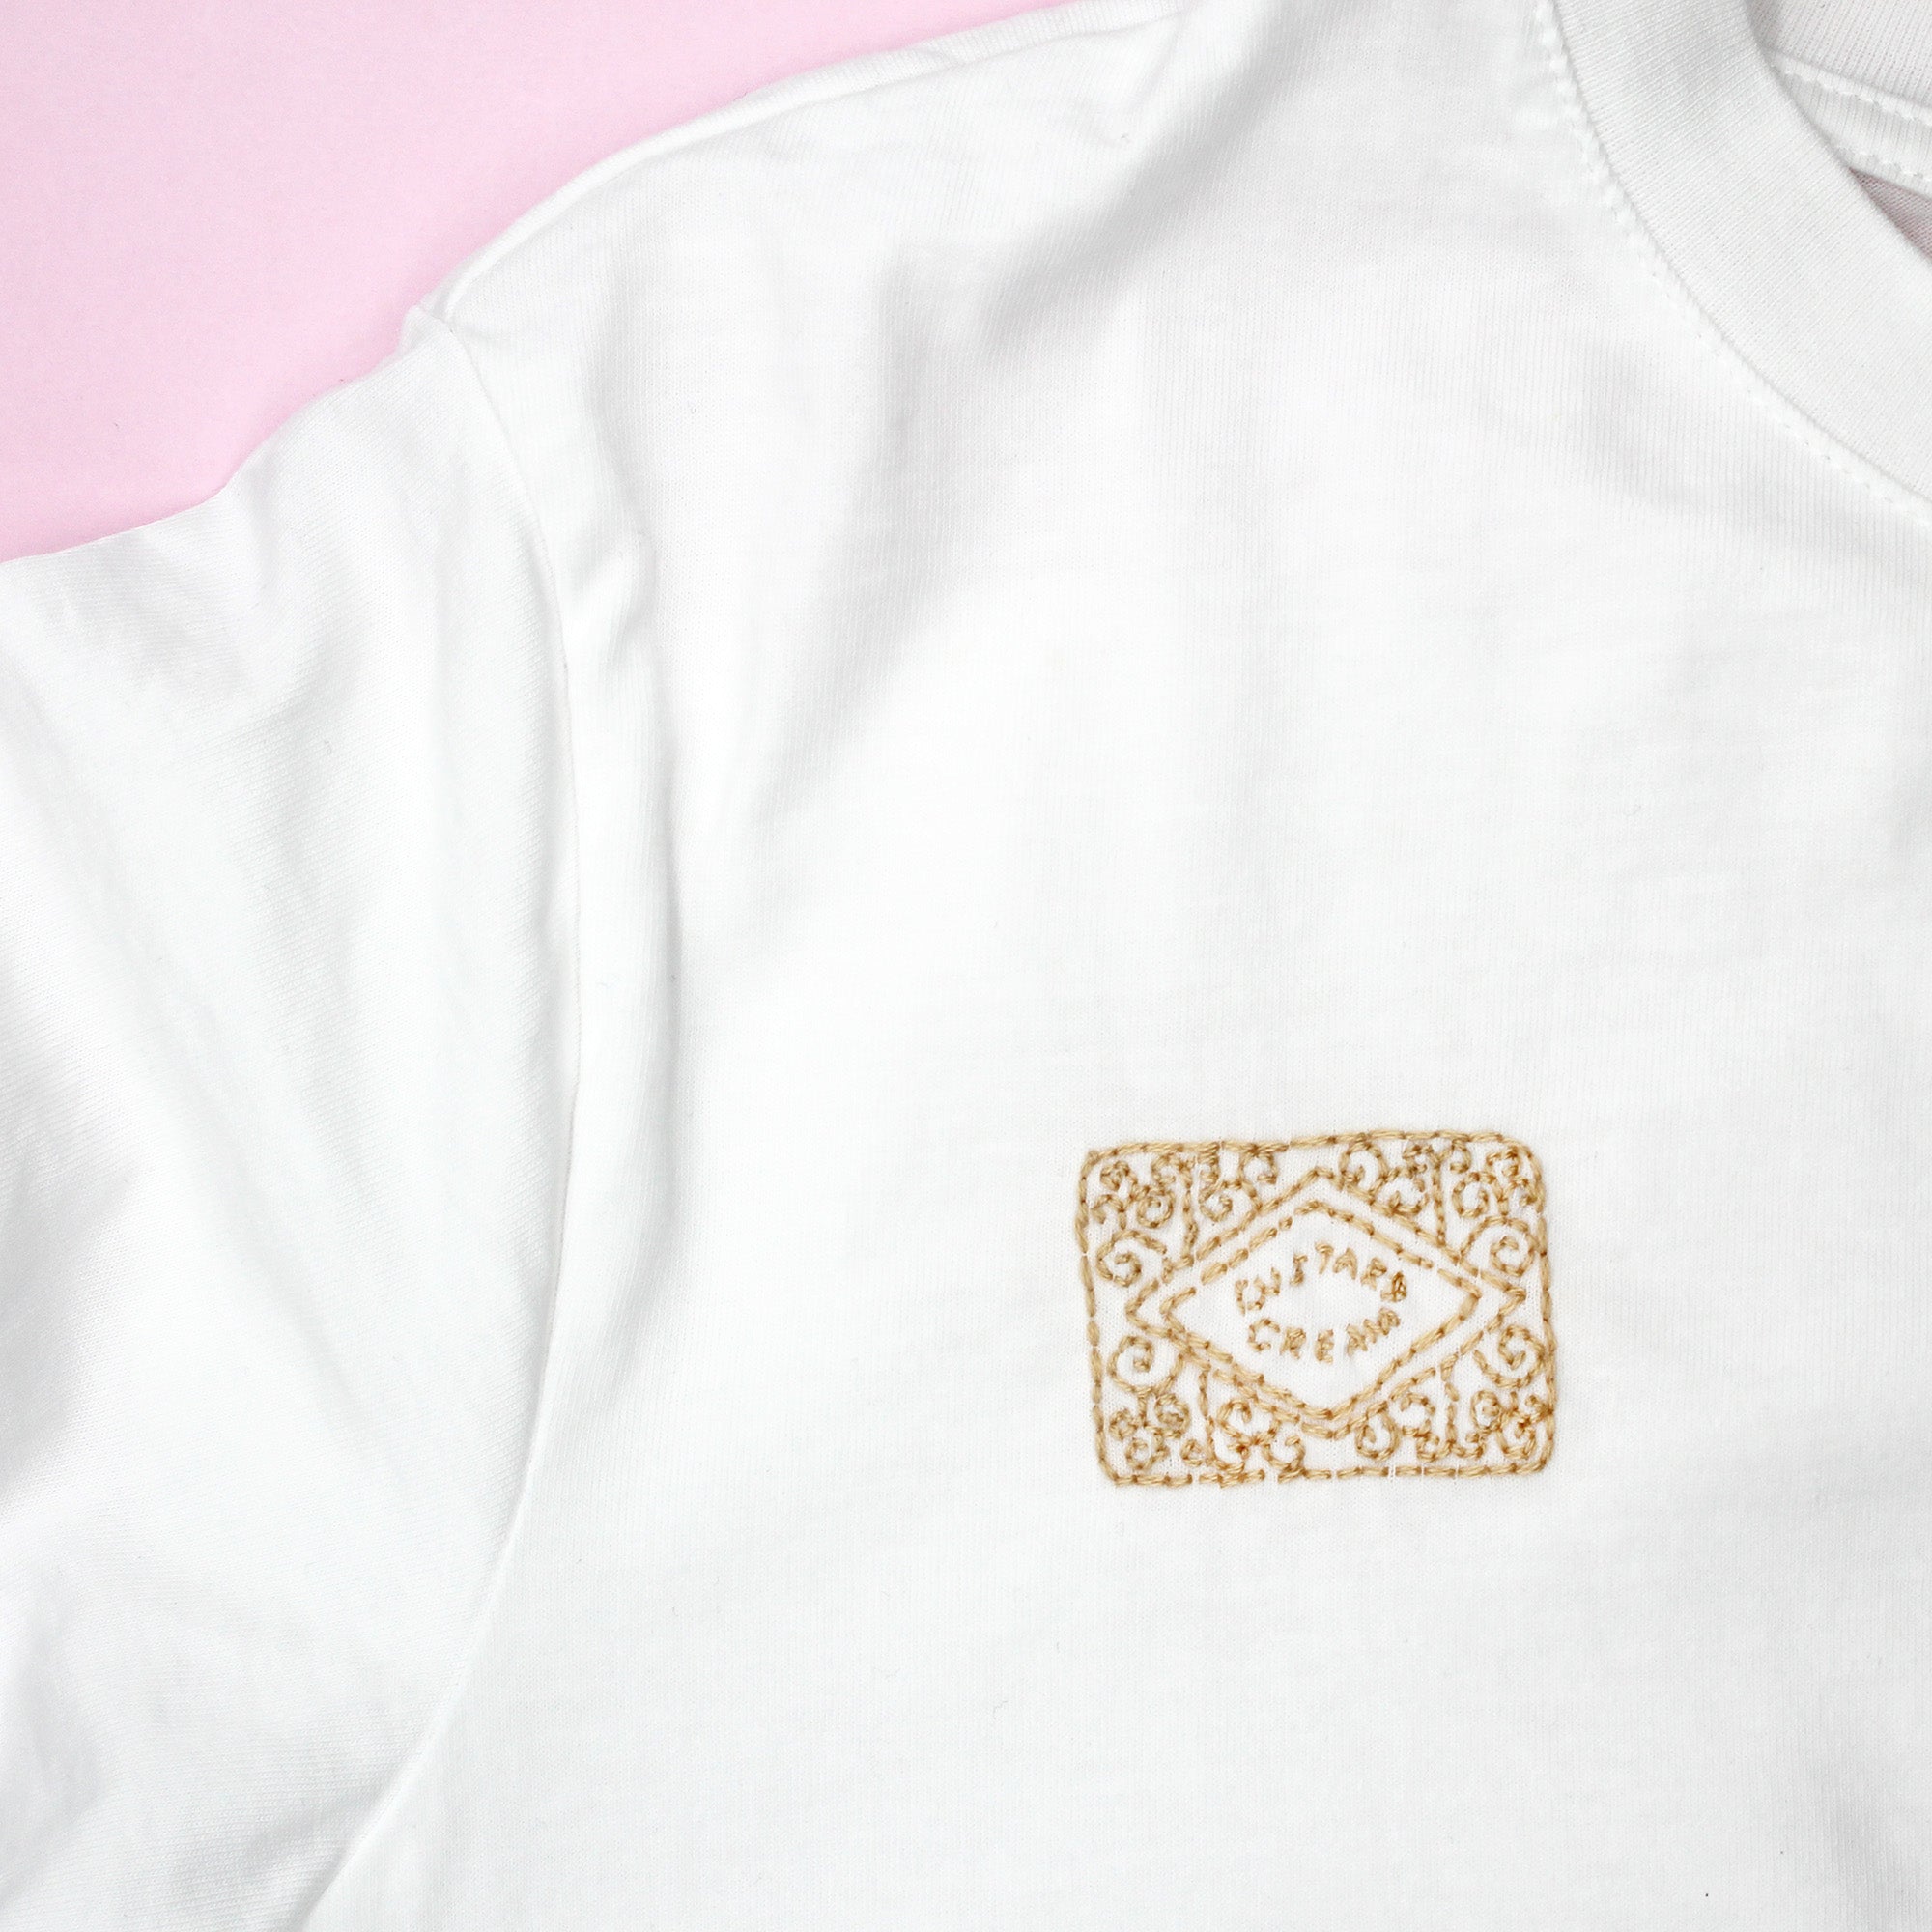
Stick and stitch embroidery patterns are designed to make stitching simple, even if you’ve never picked up a needle before. You just peel, stick, stitch and rinse away.

What is stick and stitch embroidery?
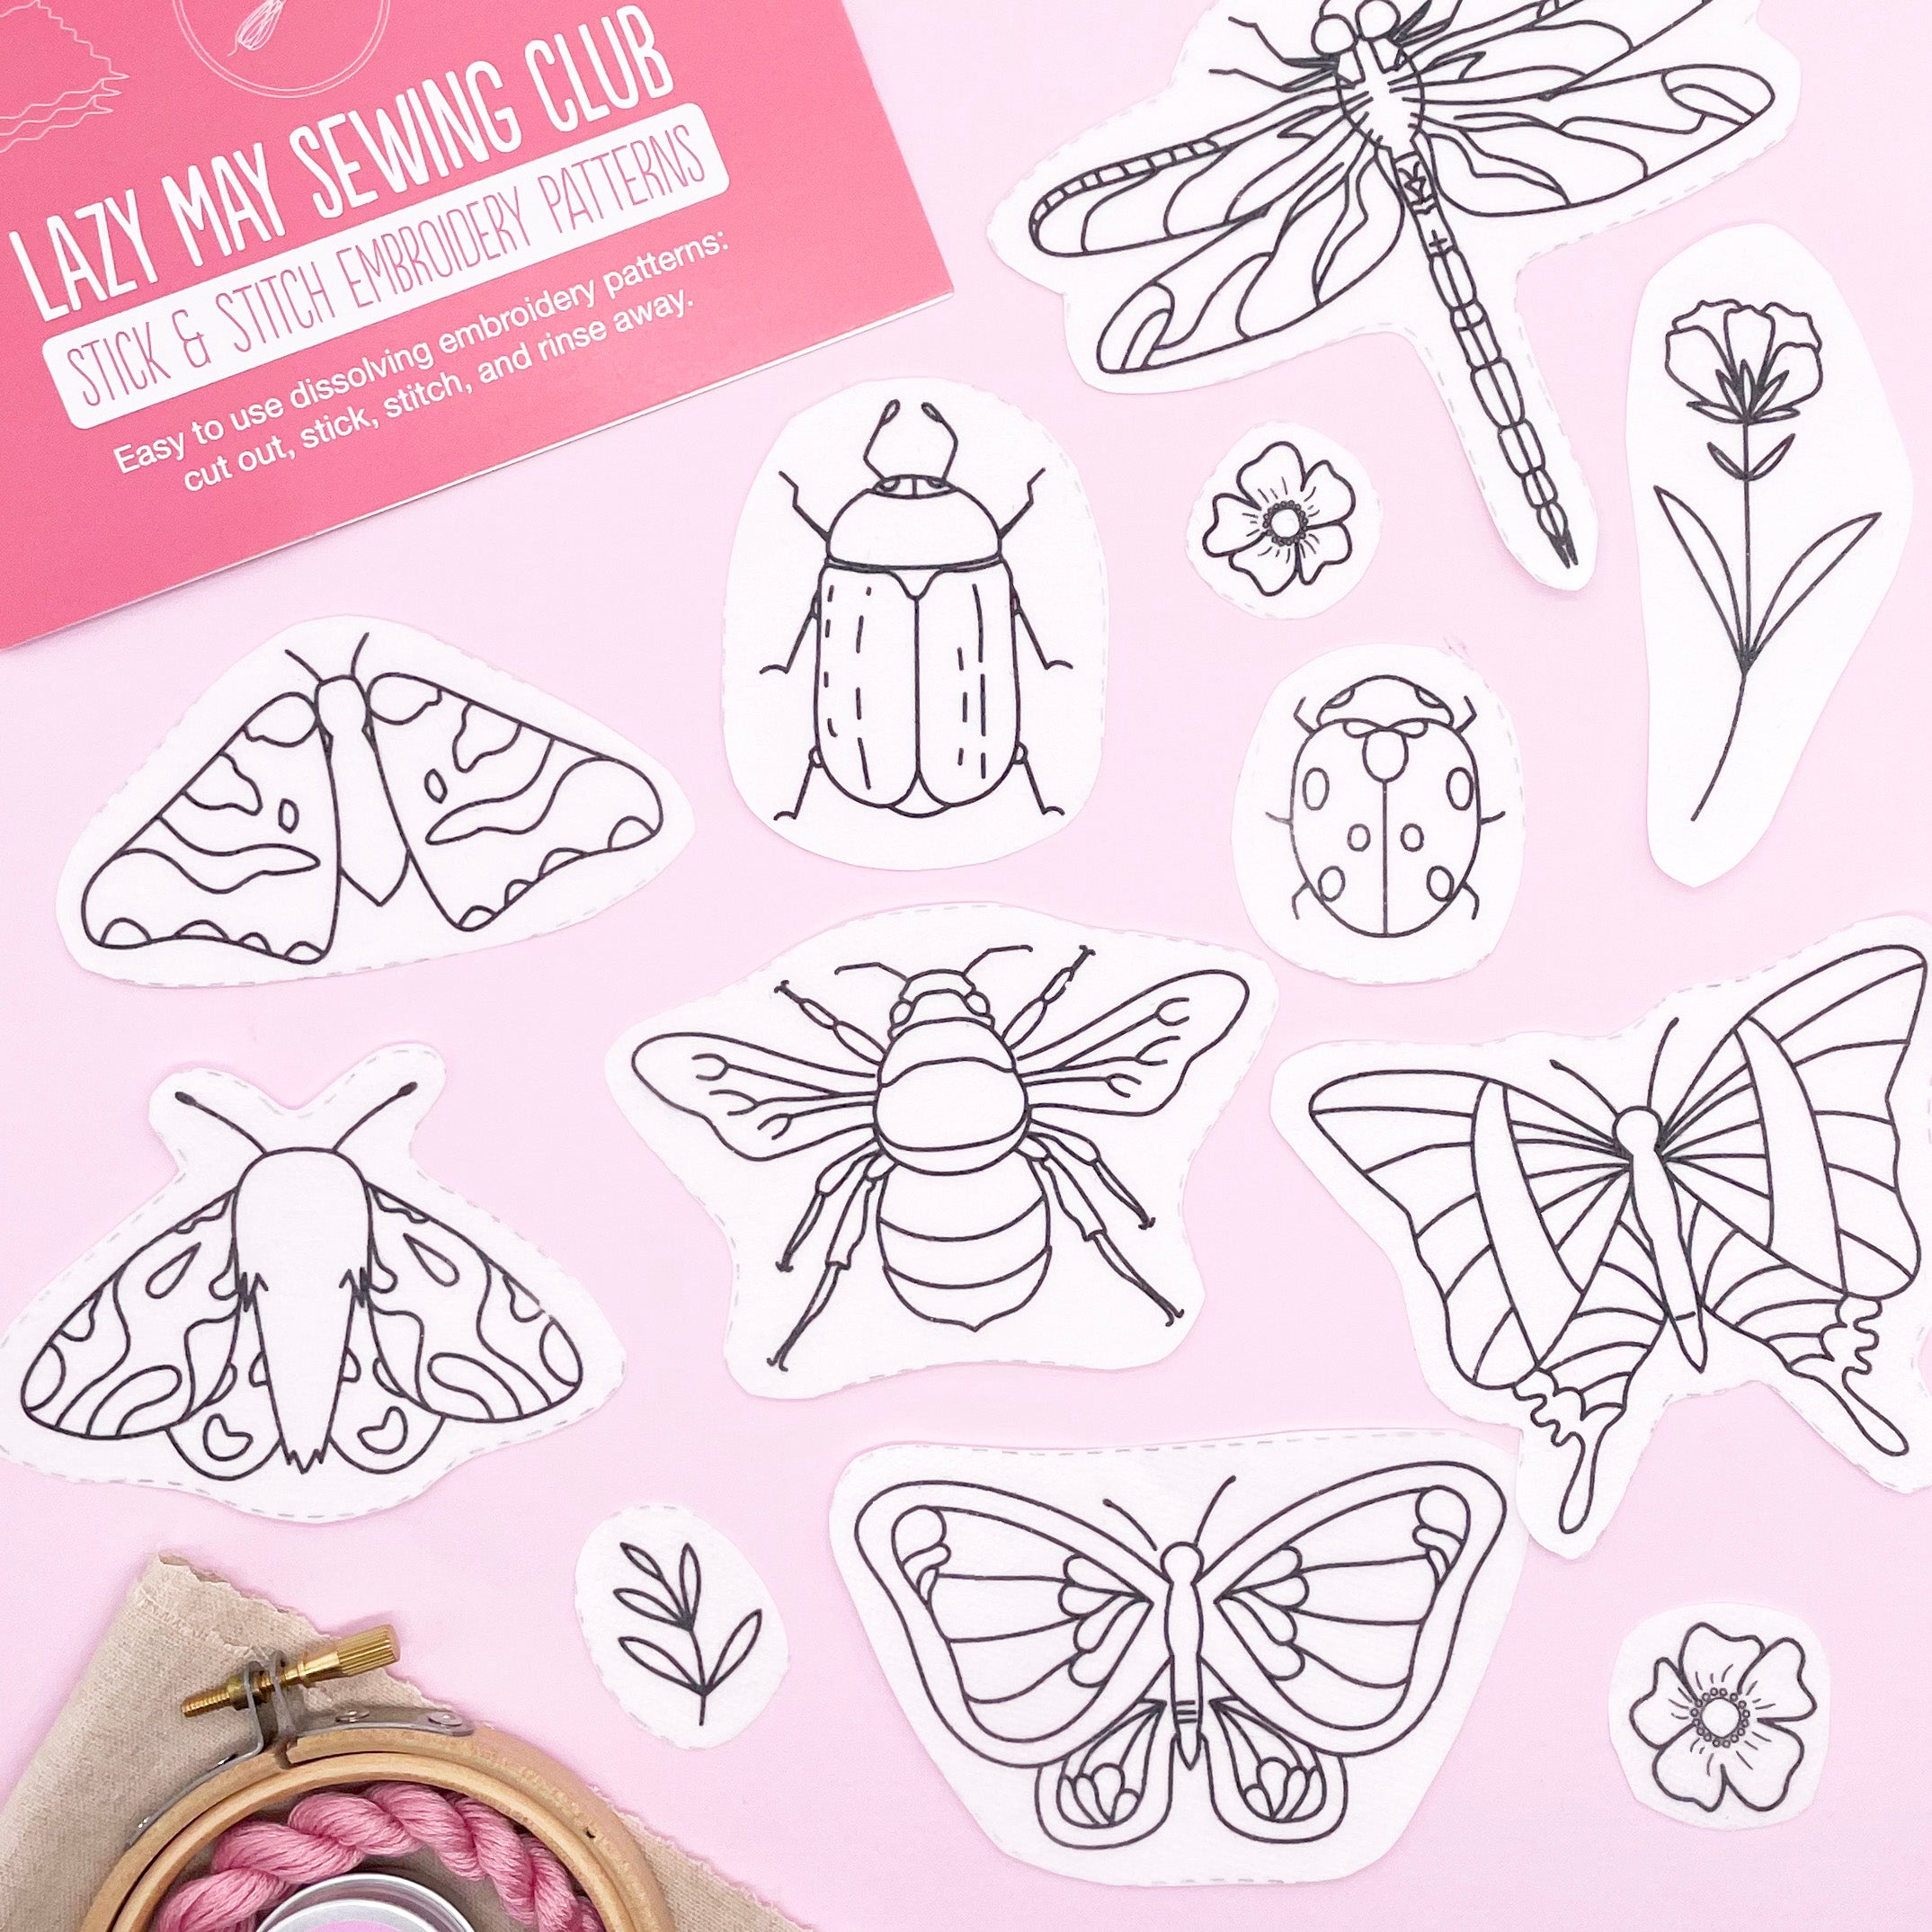
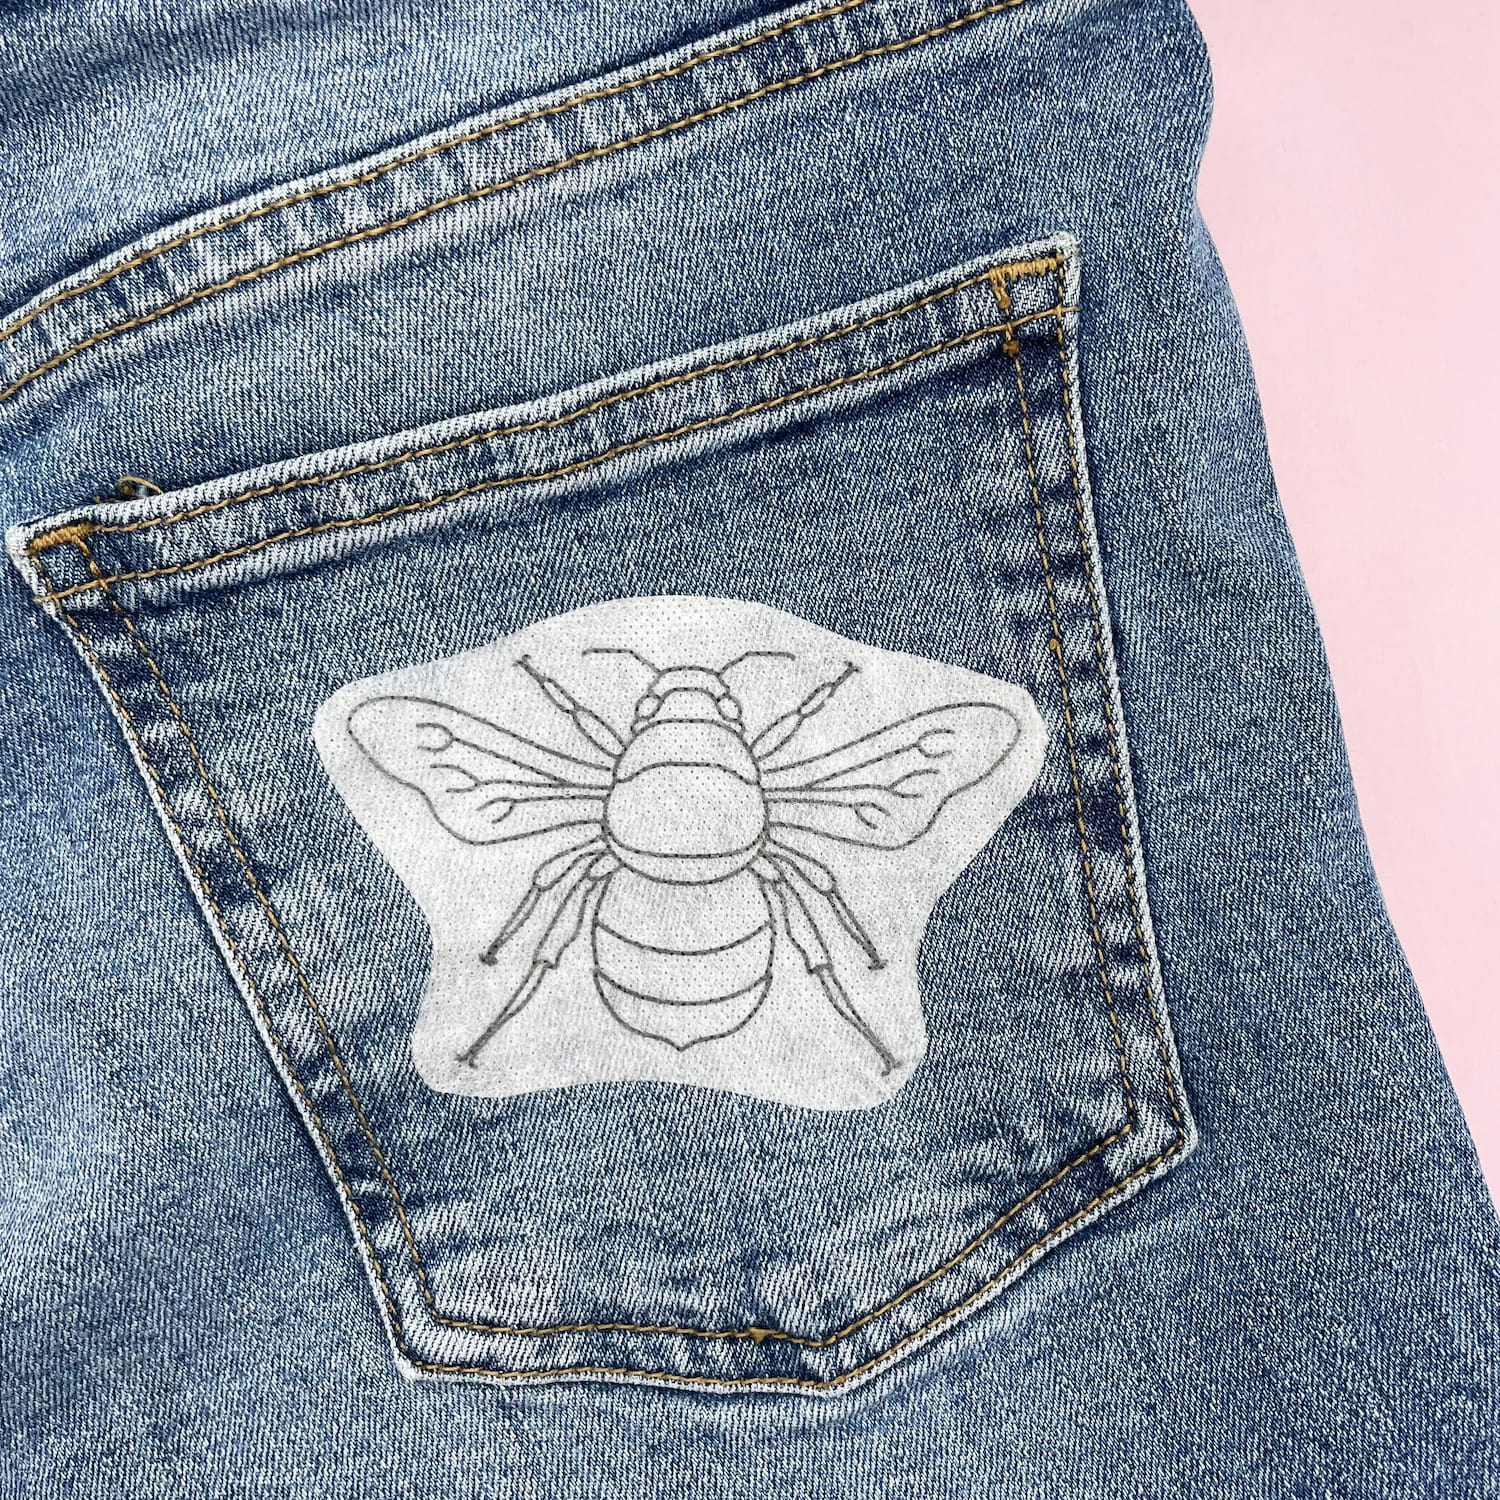
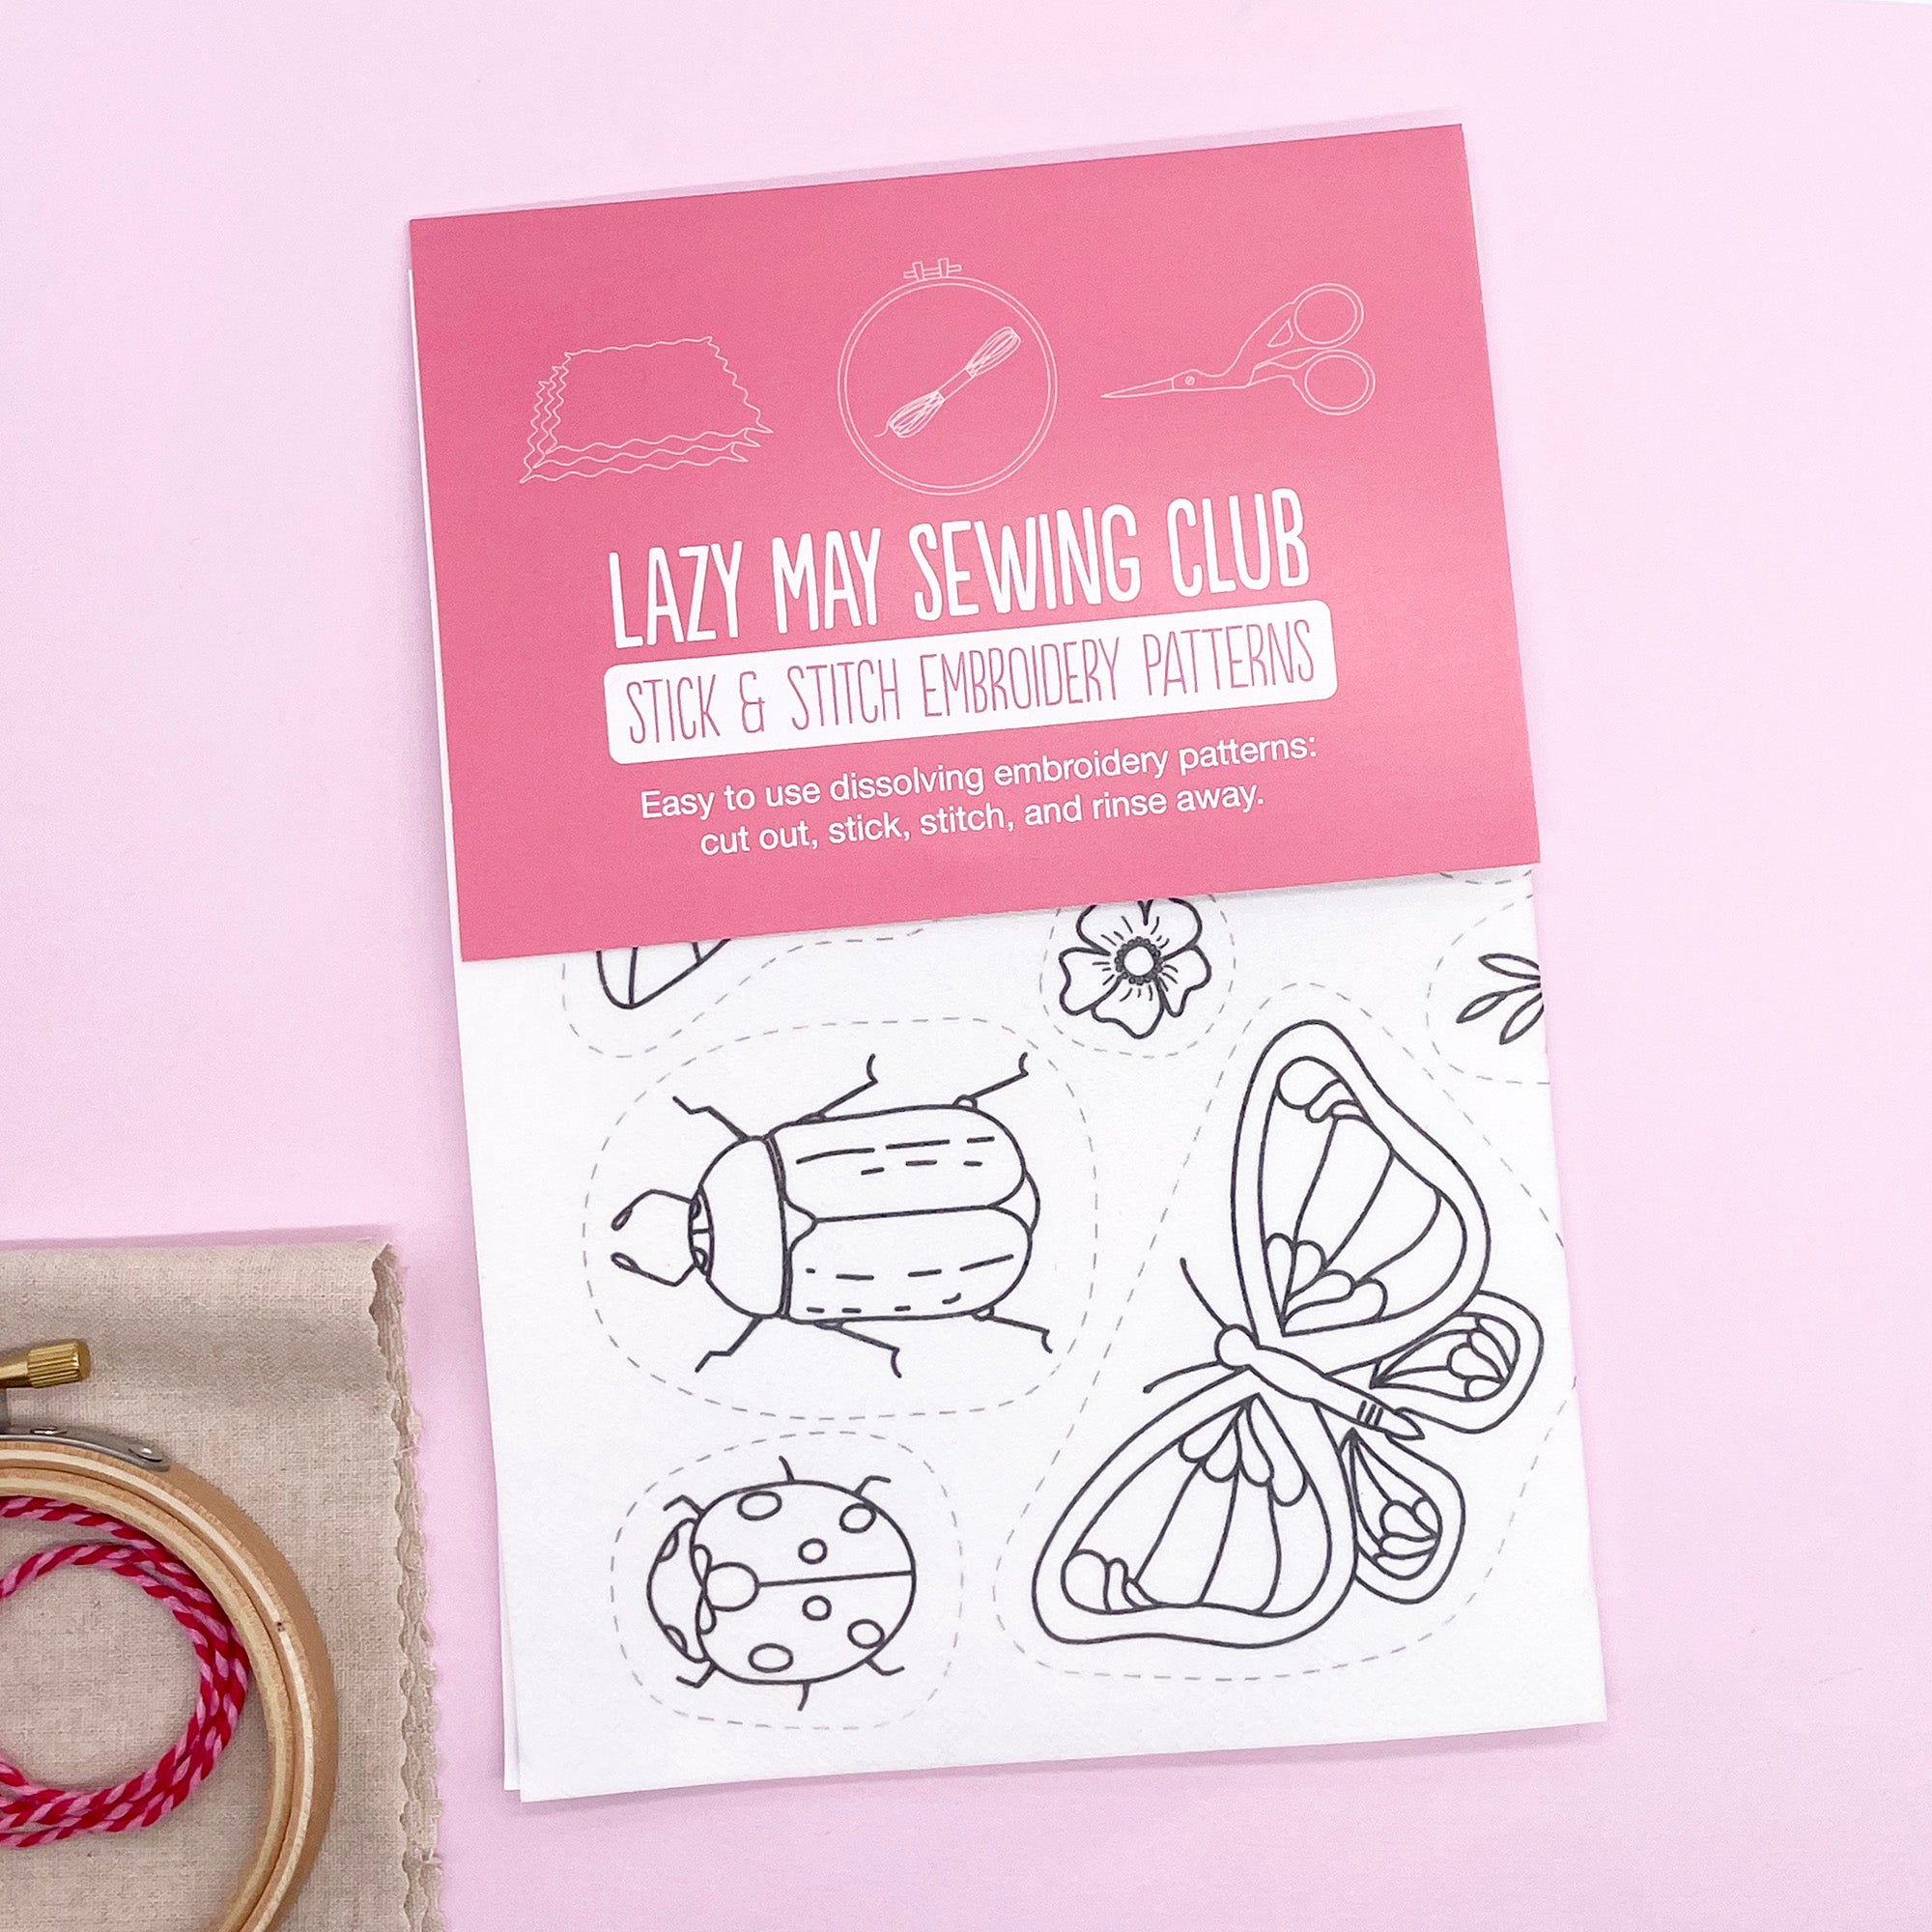
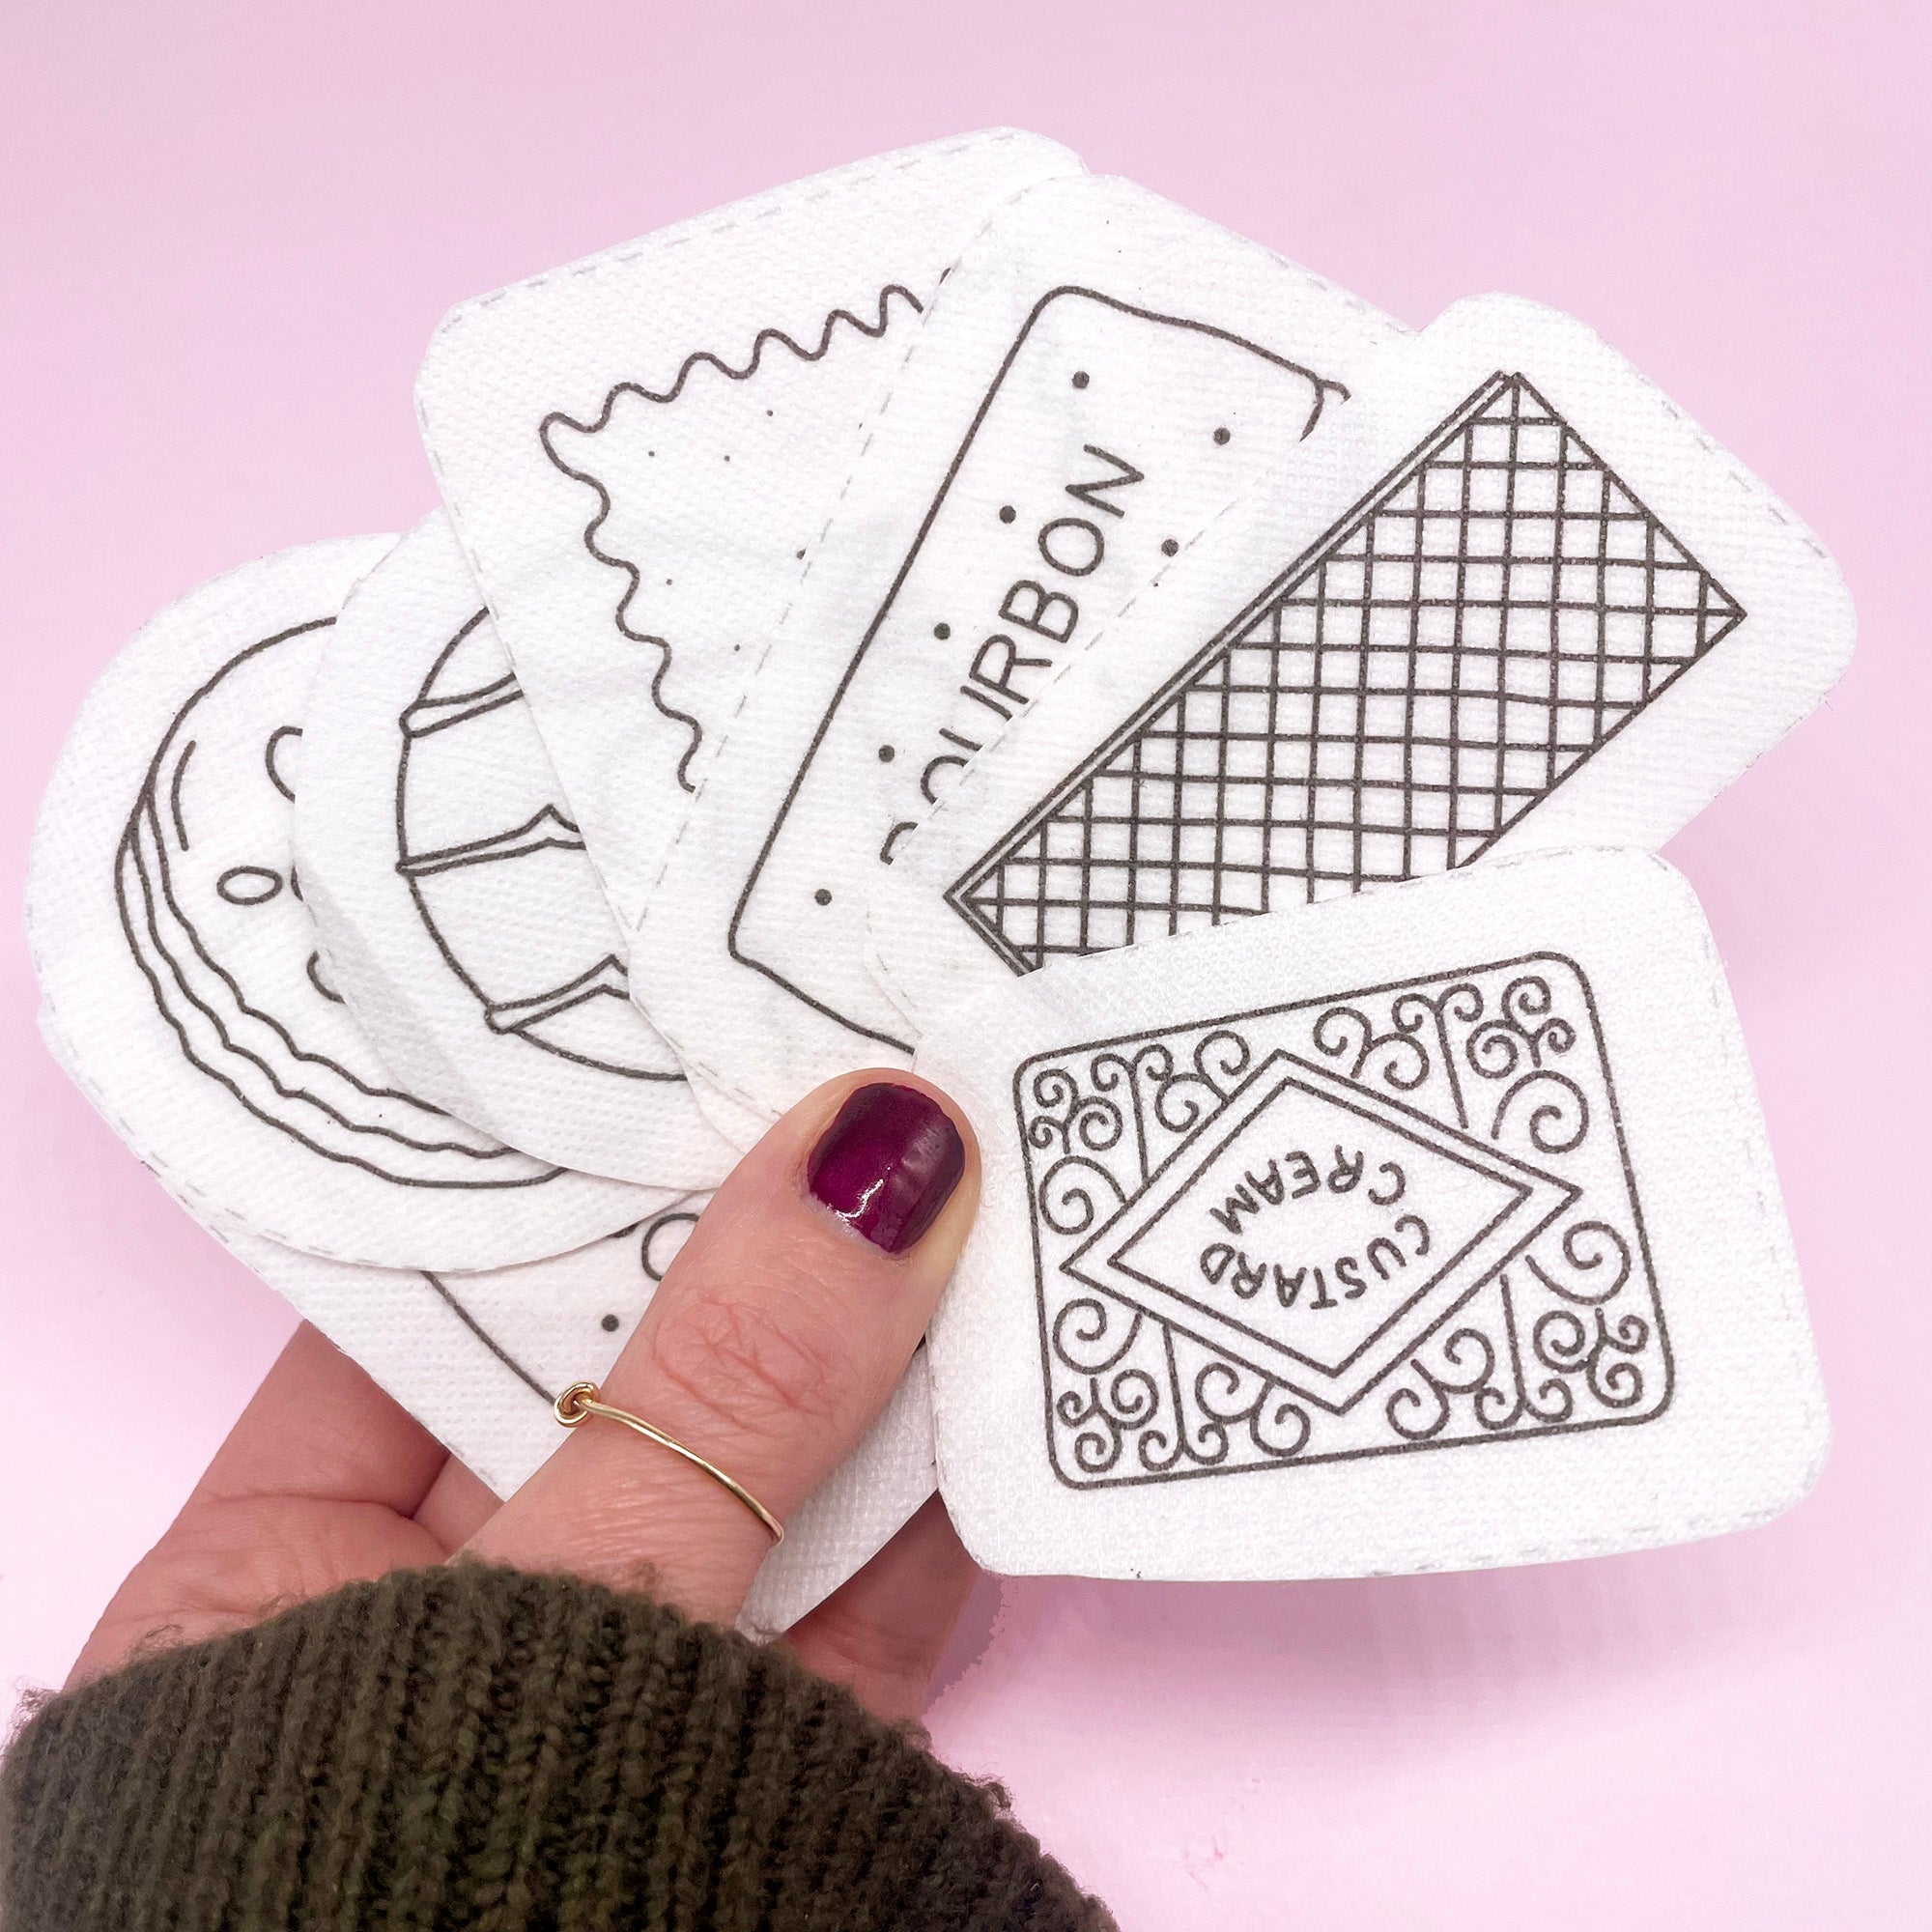
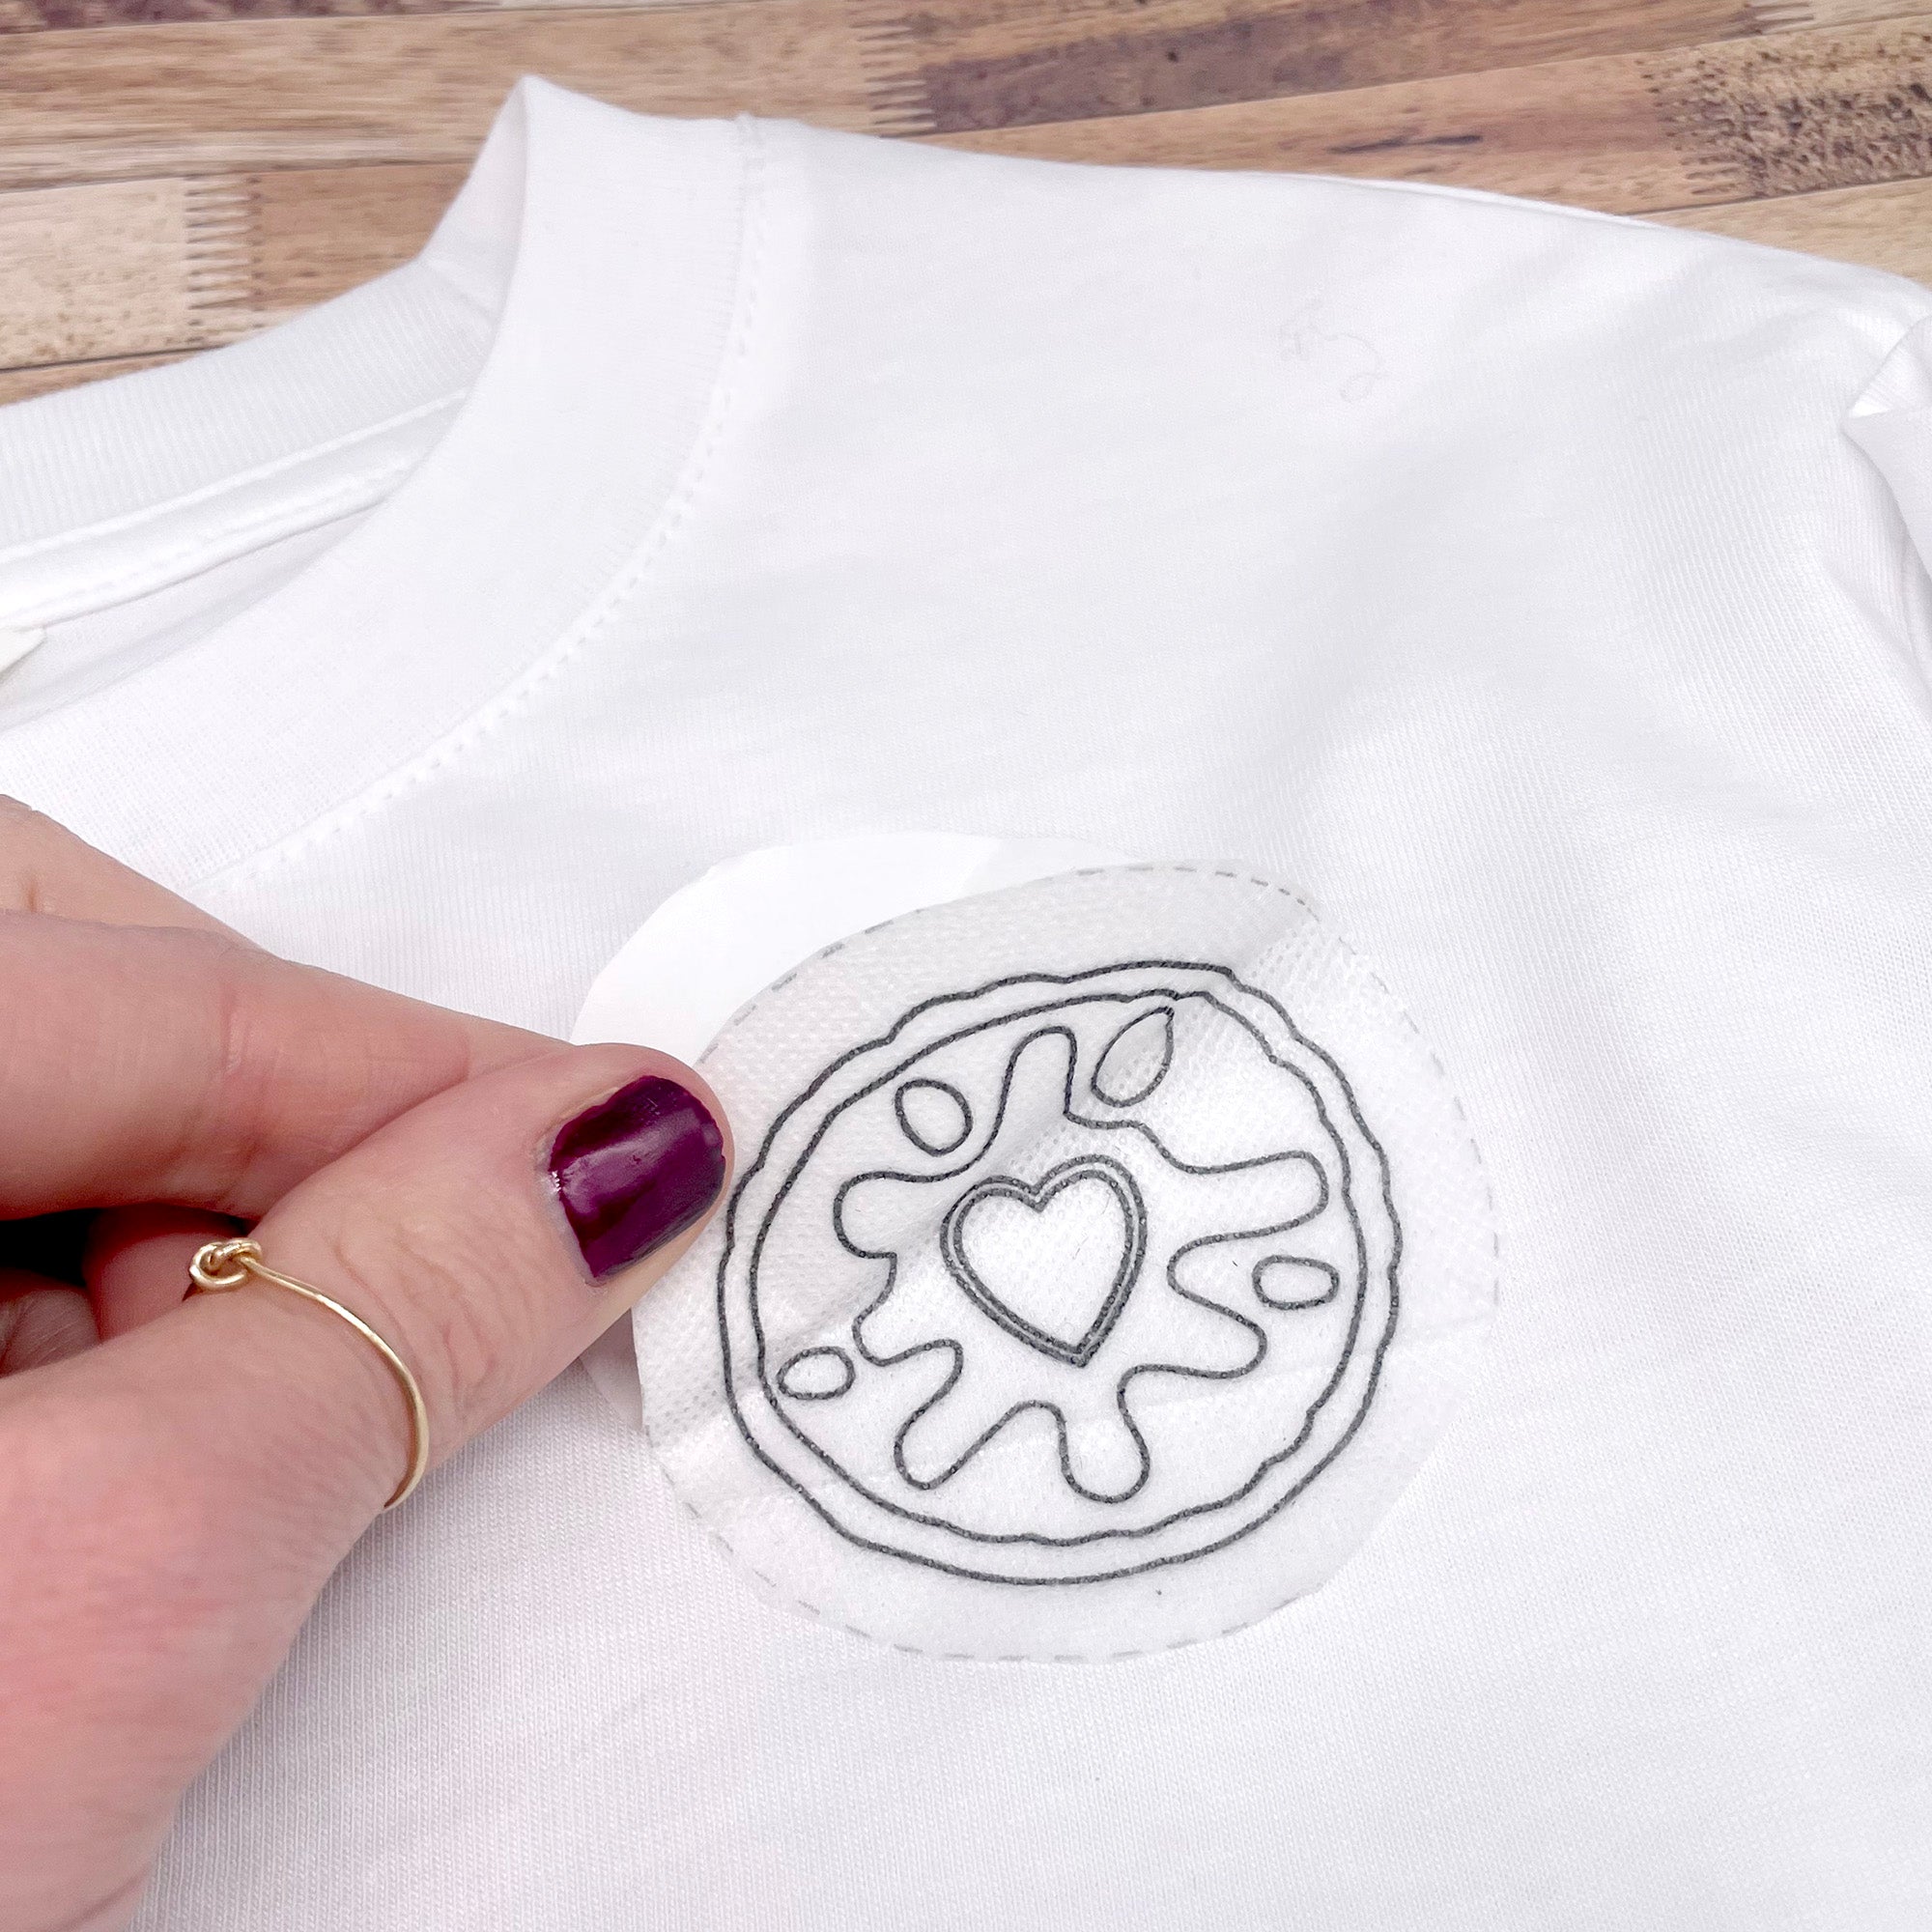
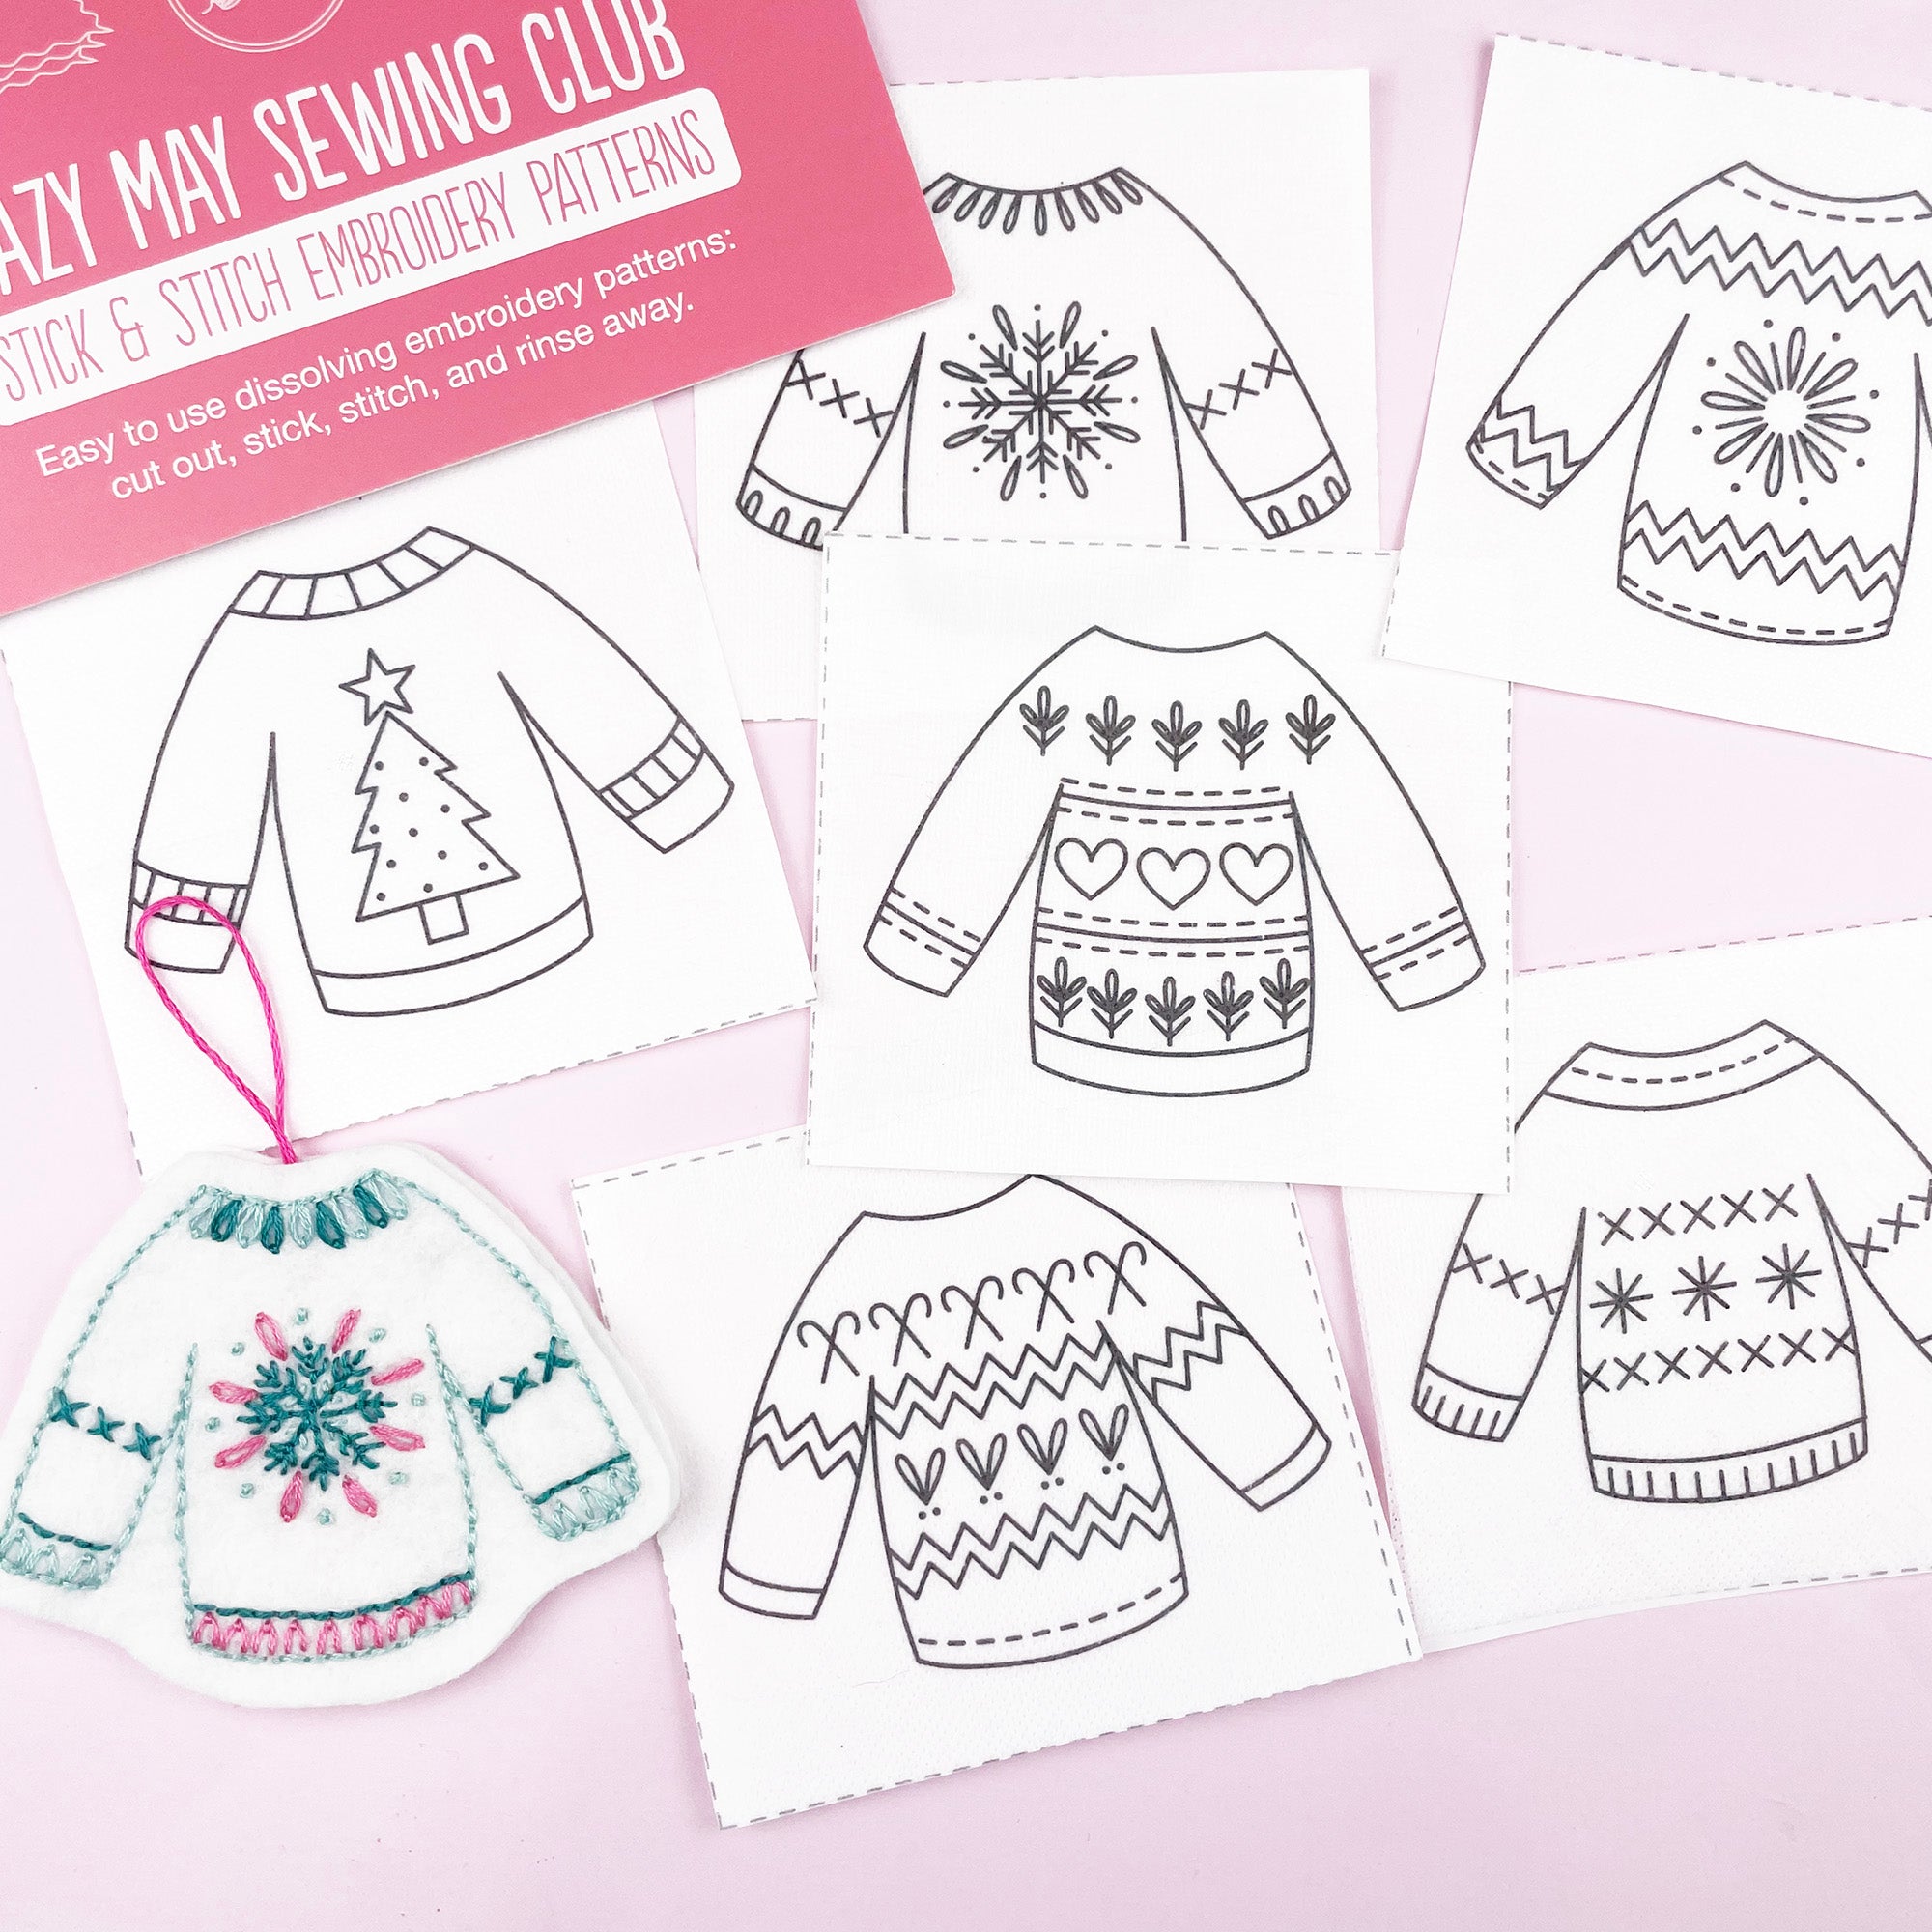
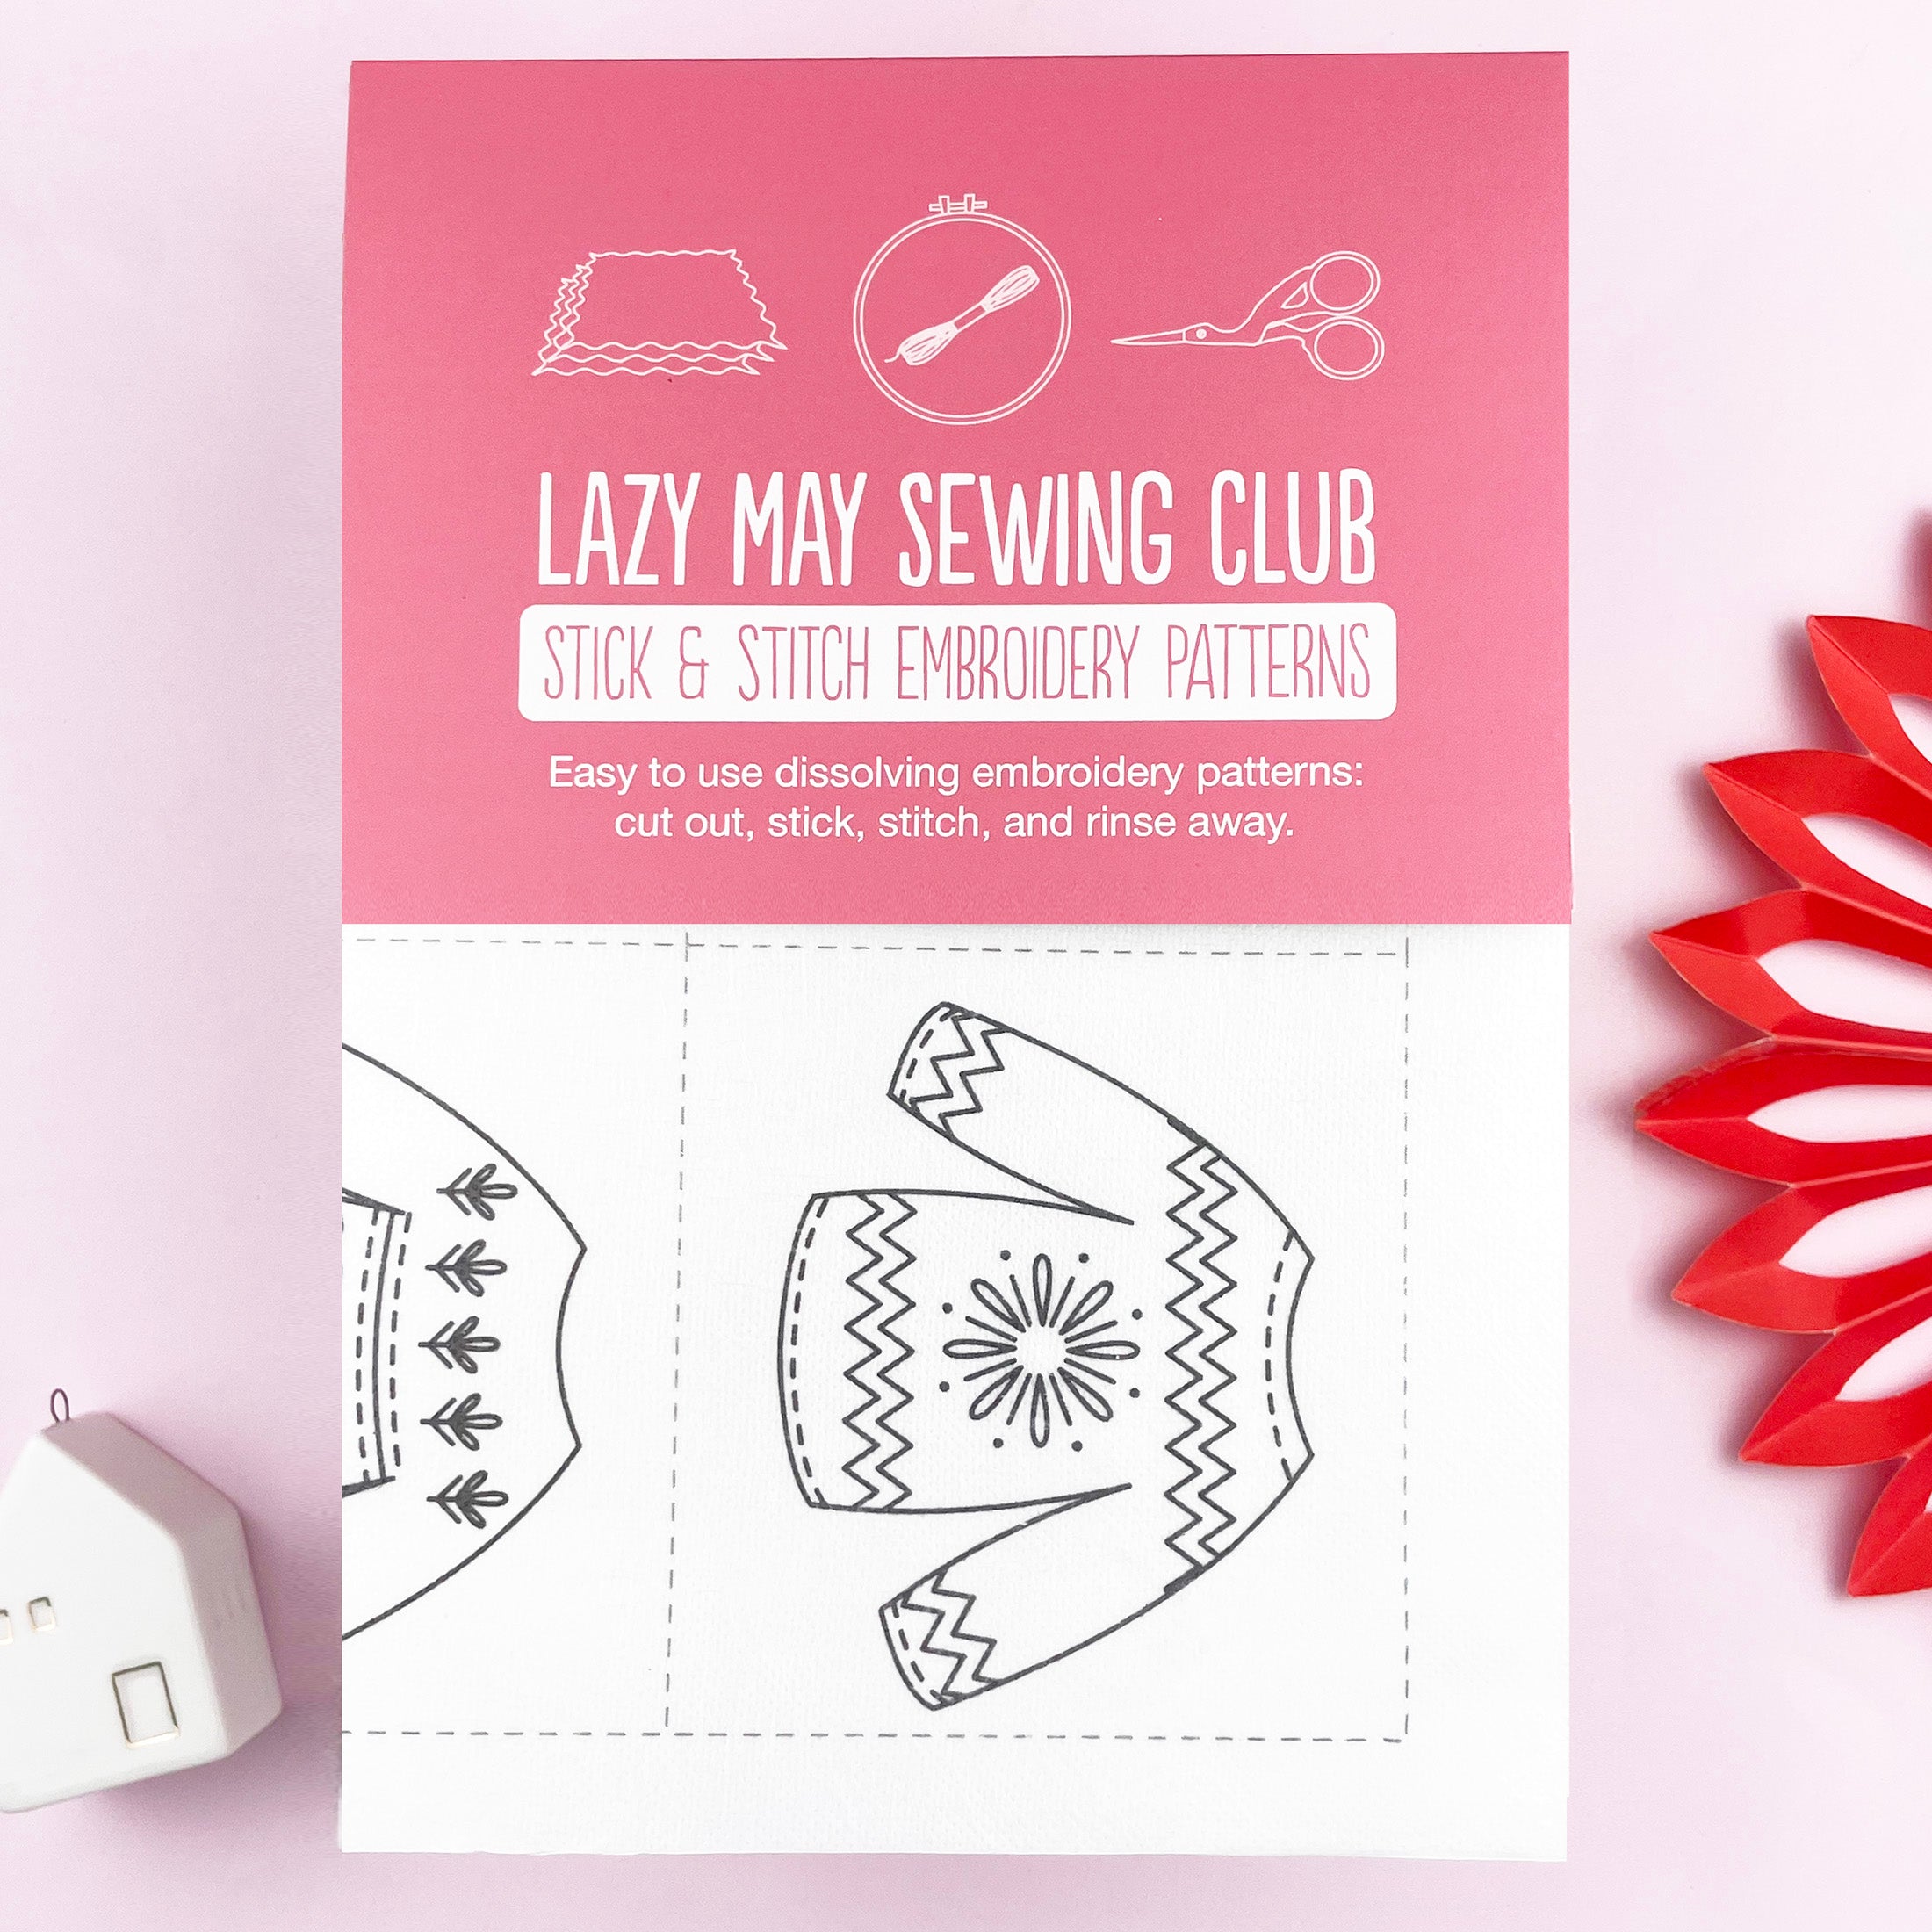
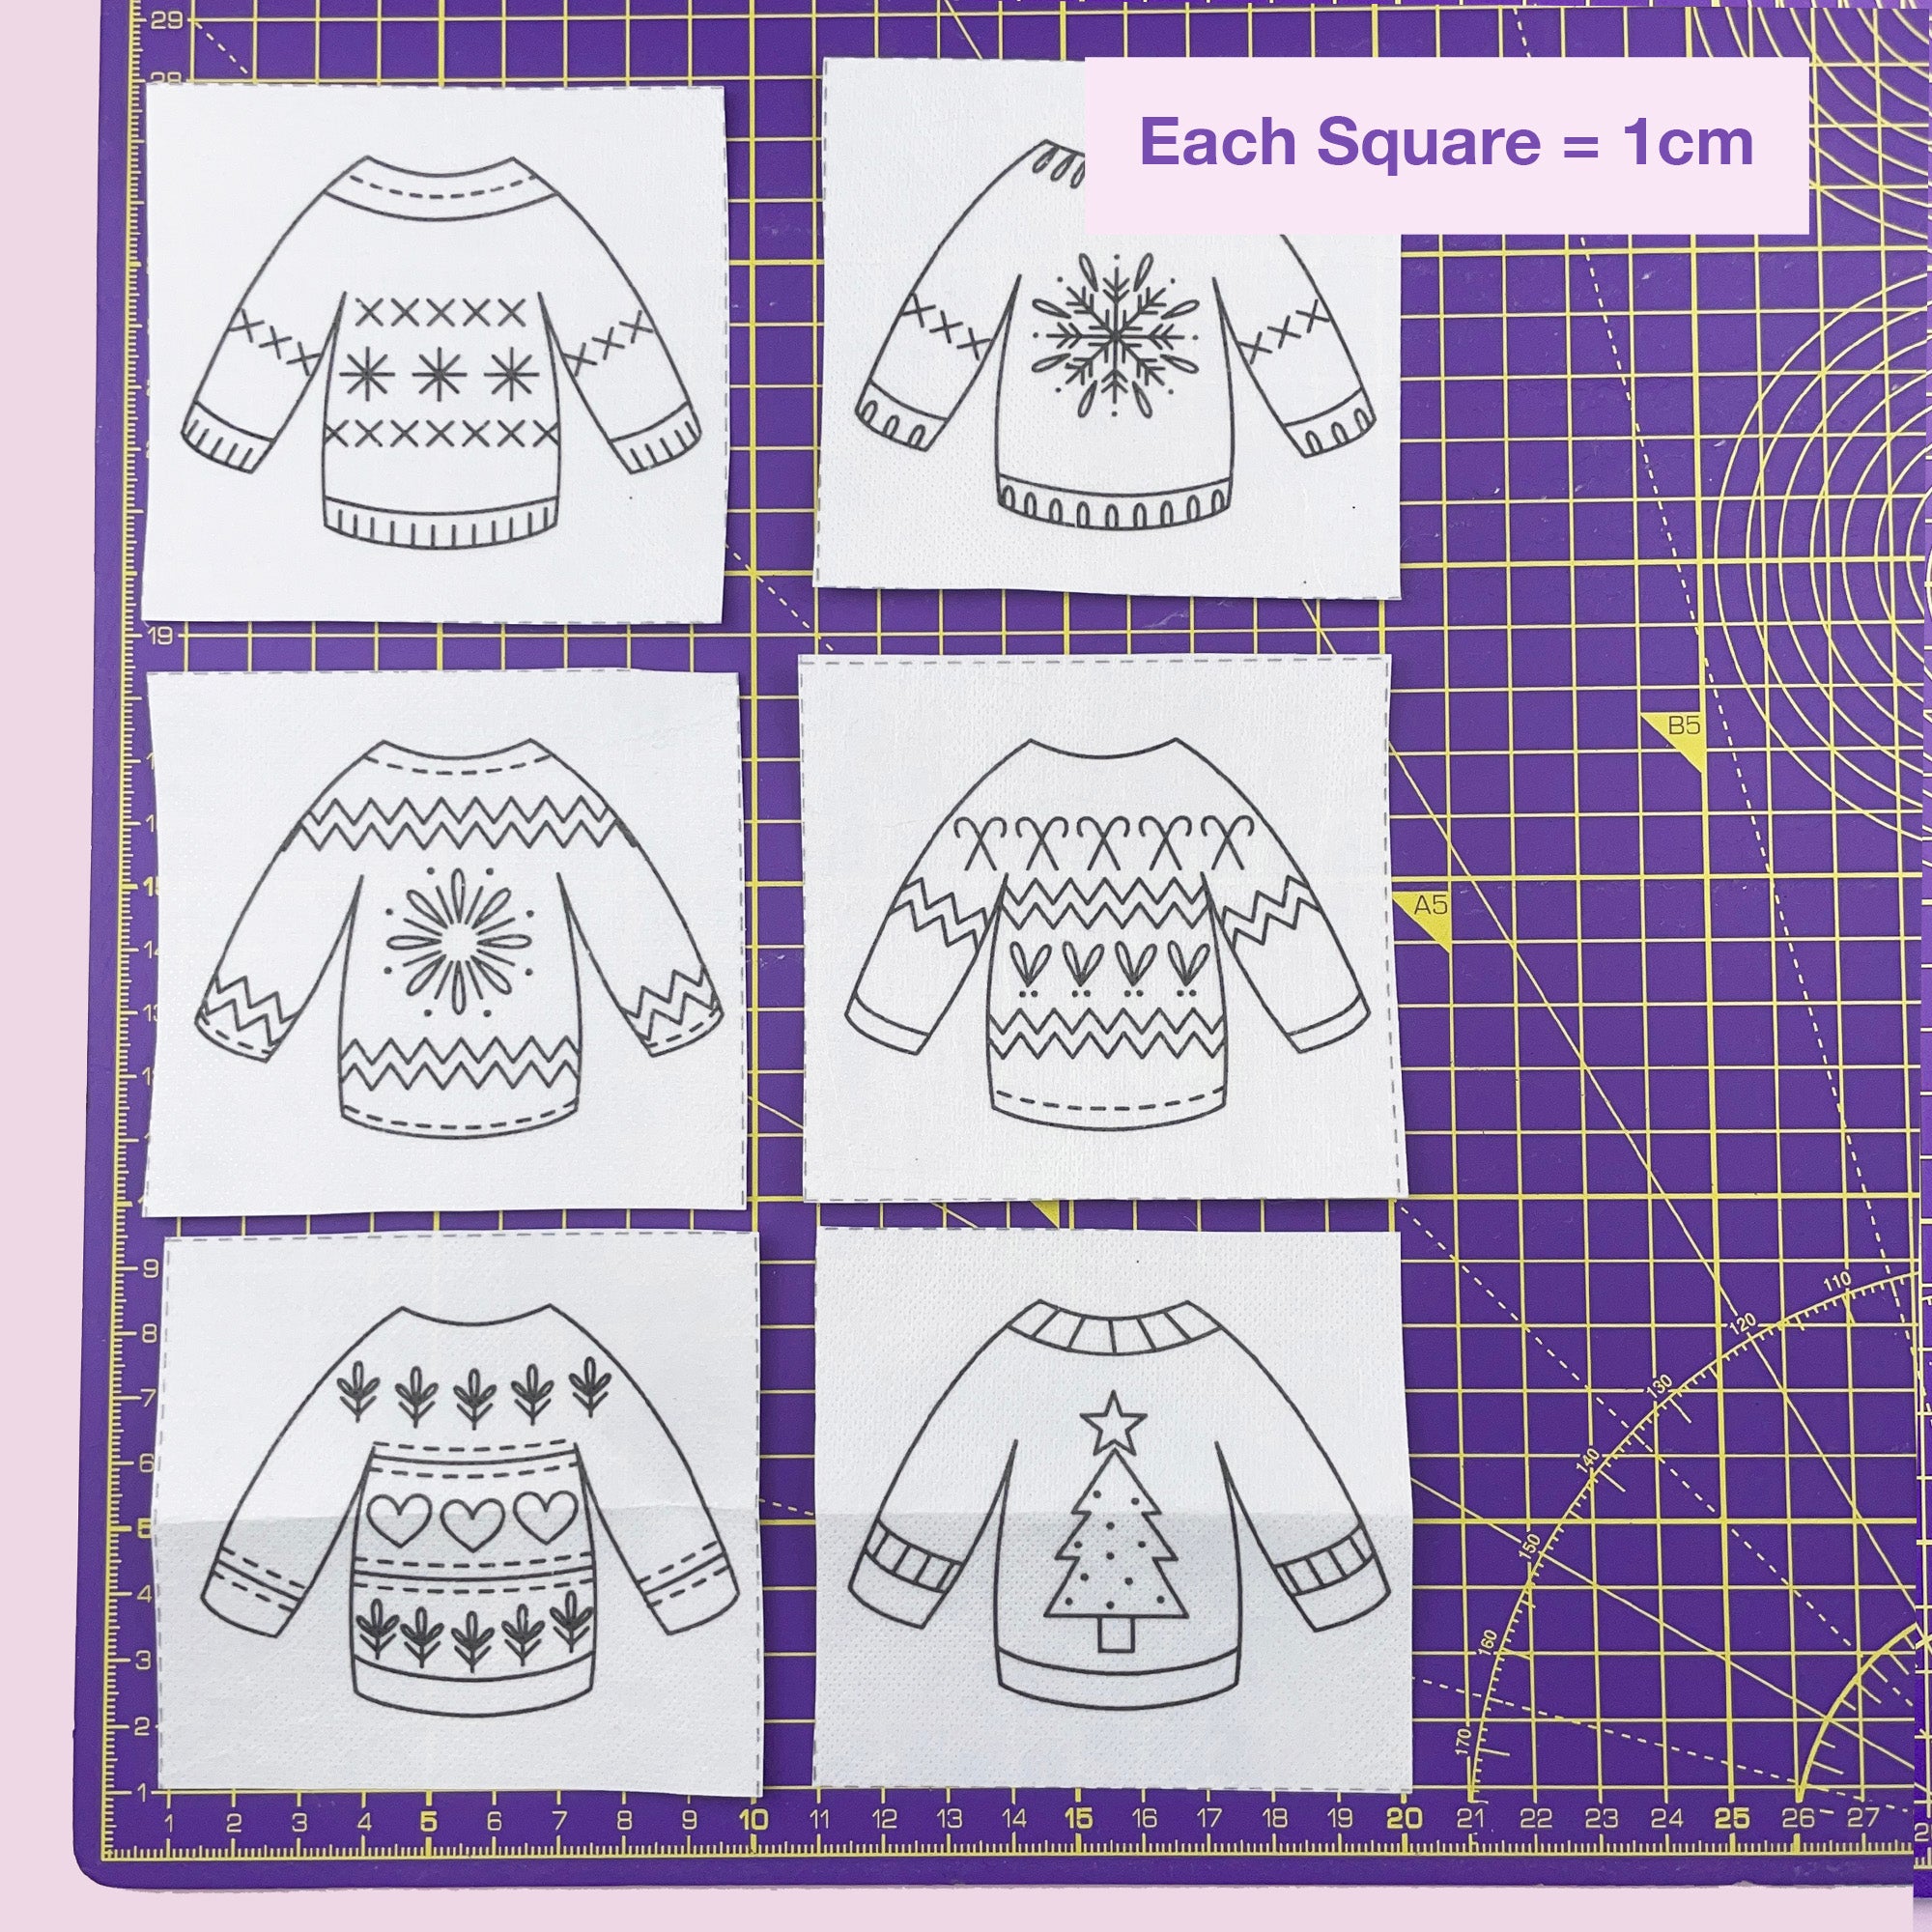
Stick and stitch embroidery patterns are printed onto a special water-soluble paper. You peel off the backing, stick the design onto your fabric, stitch over the lines, then rinse the paper away when you’re done.
It’s a simple method that removes the need for tracing or transferring designs by hand.
In short: peel, stick, stitch and rinse away.

When should you use stick and stitch patterns?
This is where they really shine, and why they’re so popular for beginners.
- Dark fabrics where other transfer methods do not show up clearly
- Clothing like jumpers, sleeves, collars and bags
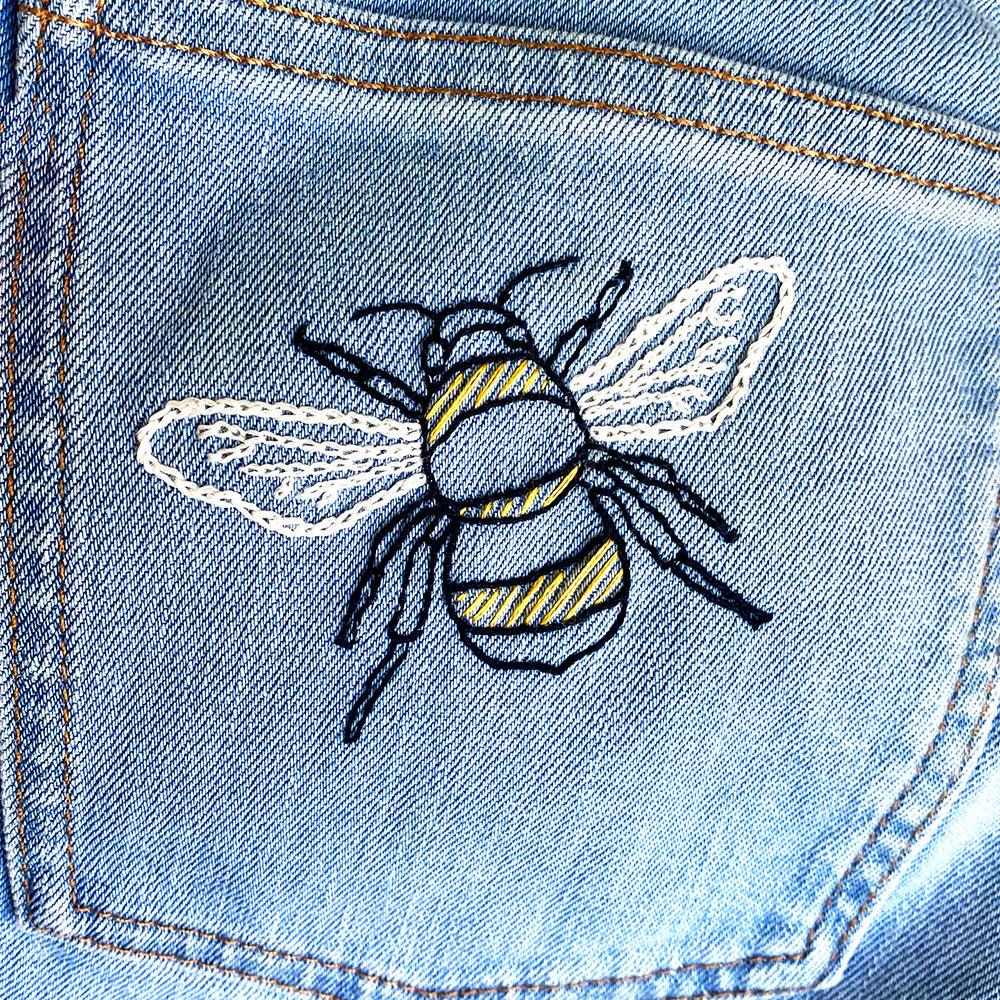
- Textured fabrics such as denim or knitwear
- Quick projects where you do not want to spend time tracing
- Beginners who want a clear design to follow
If you have ever struggled to get an embroidery design onto fabric neatly, this is a much easier way to do it.
If you're ready to give it a go, the Floral Vase Stick and Stitch Patterns are a great place to start.
How to use stick and stitch embroidery patterns
This method is simple, beginner-friendly and very forgiving, so do not worry about getting everything perfect.
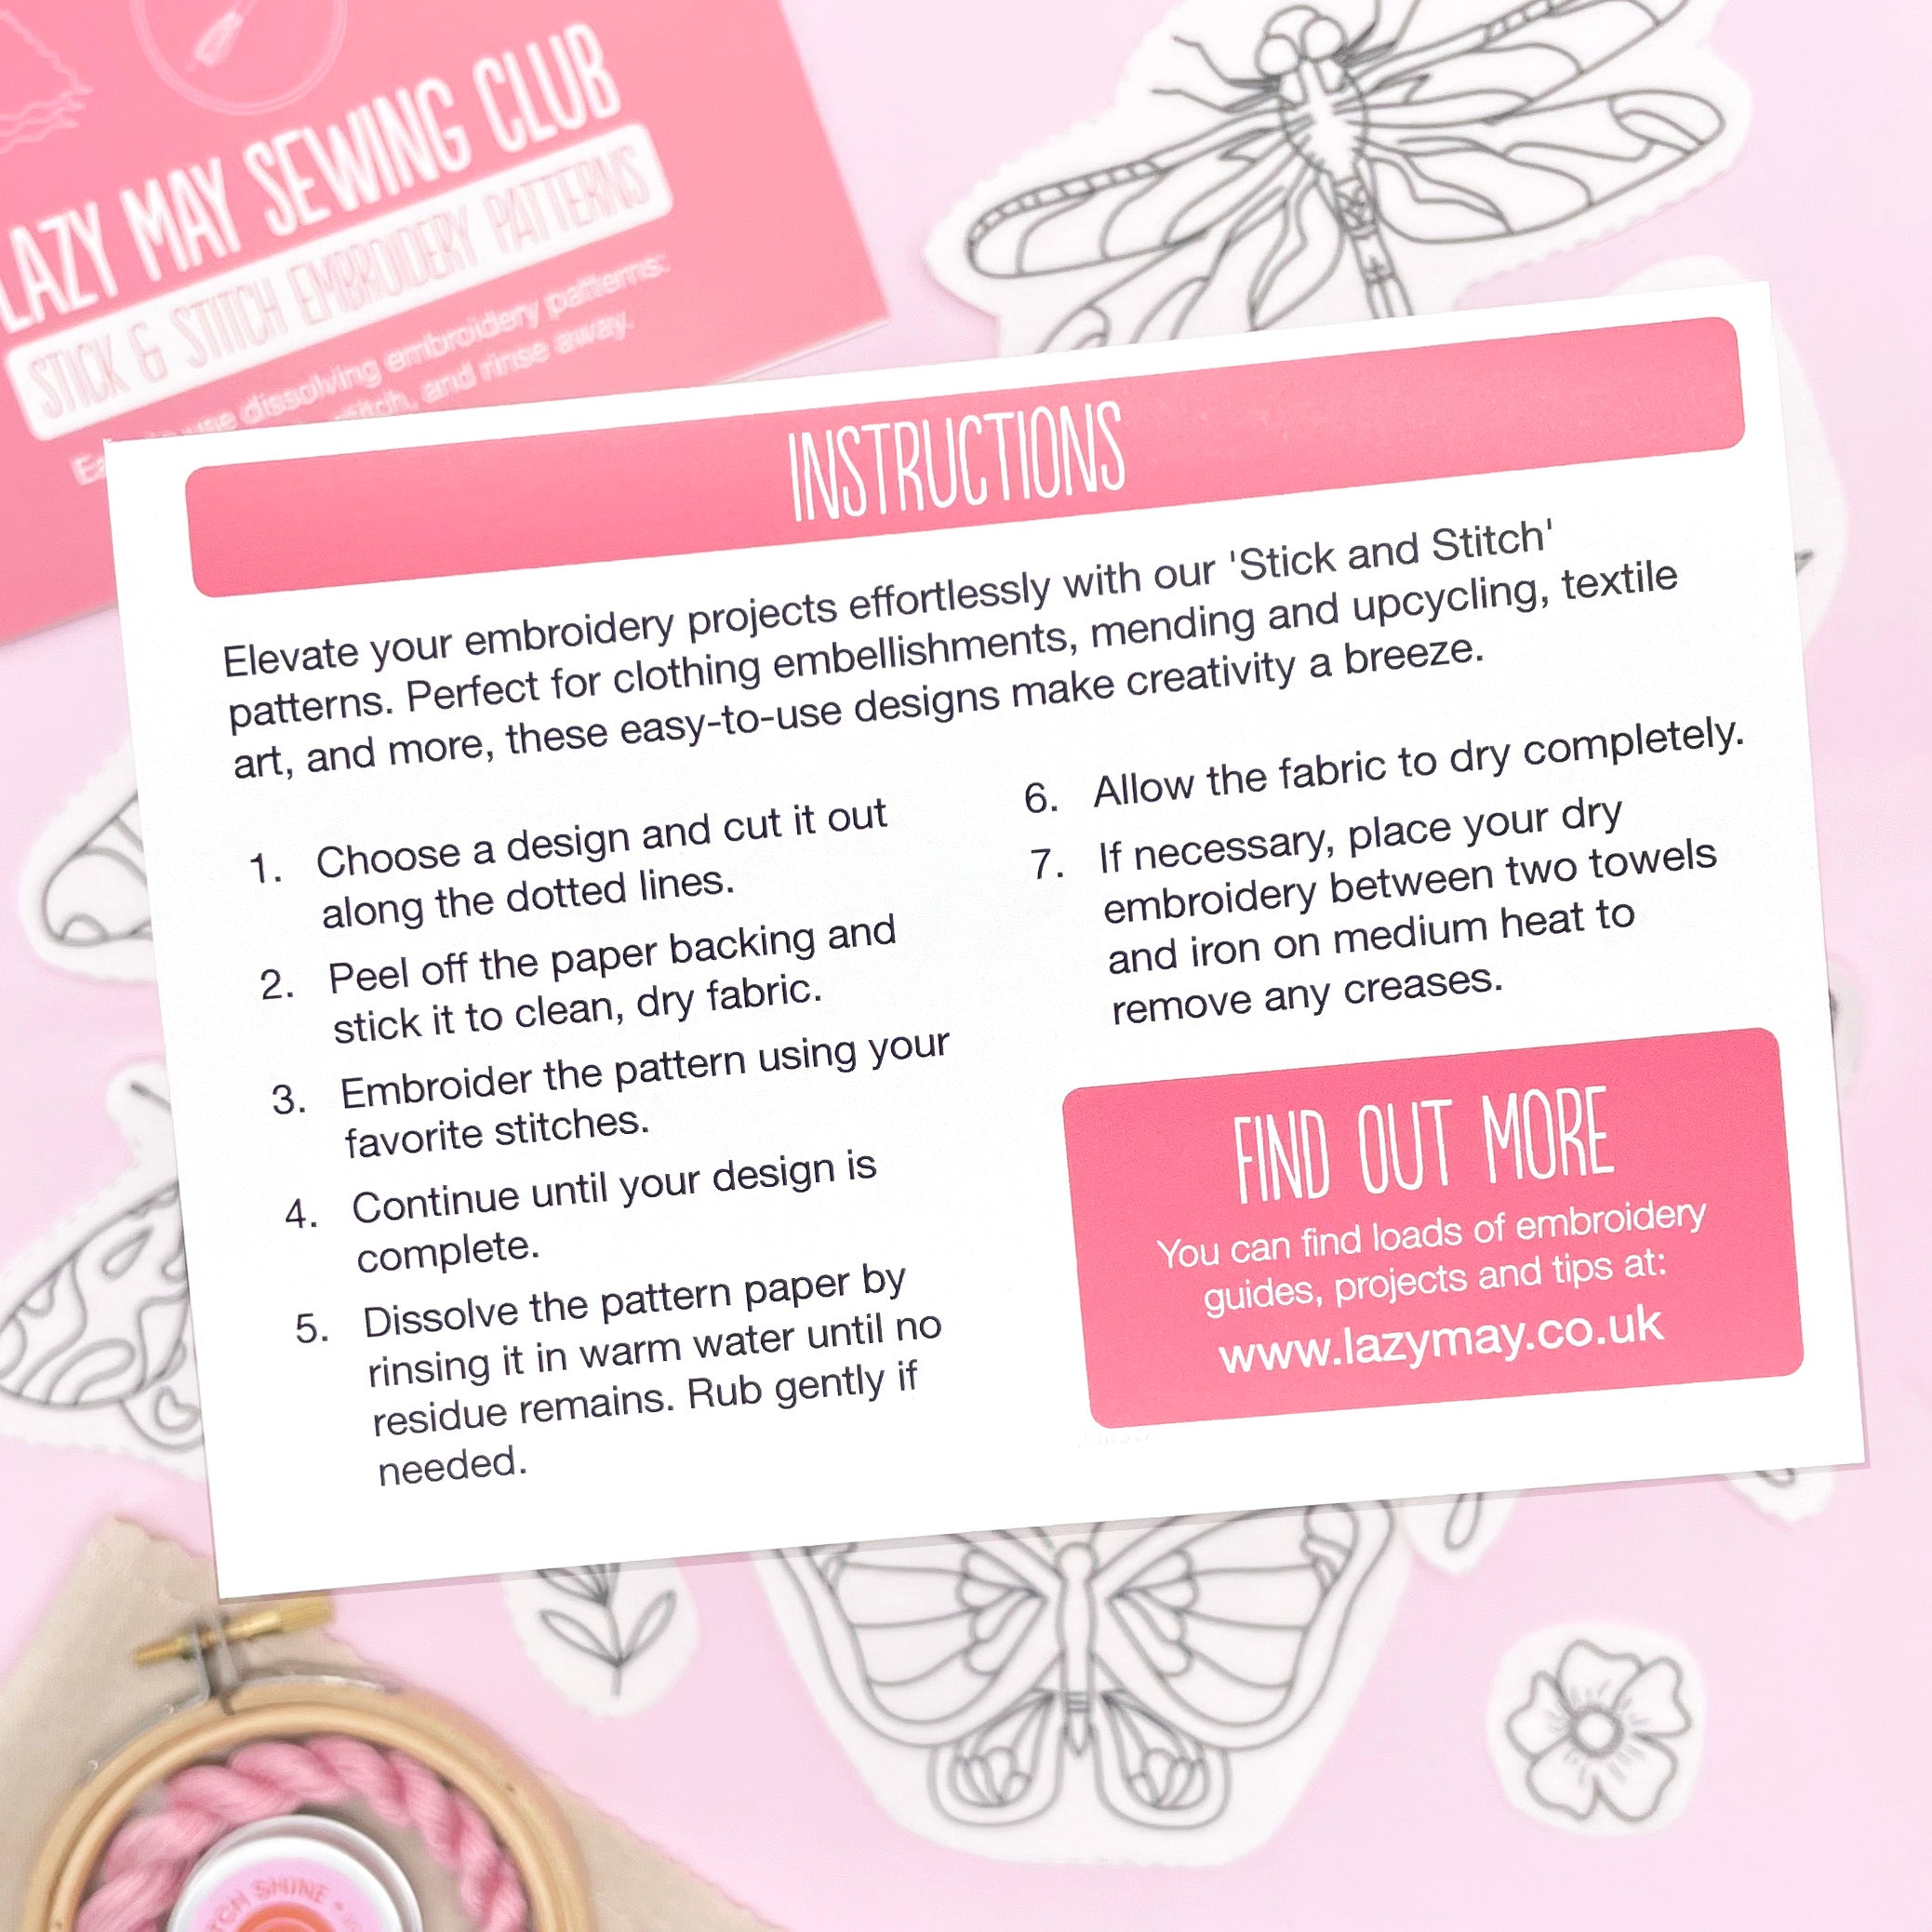
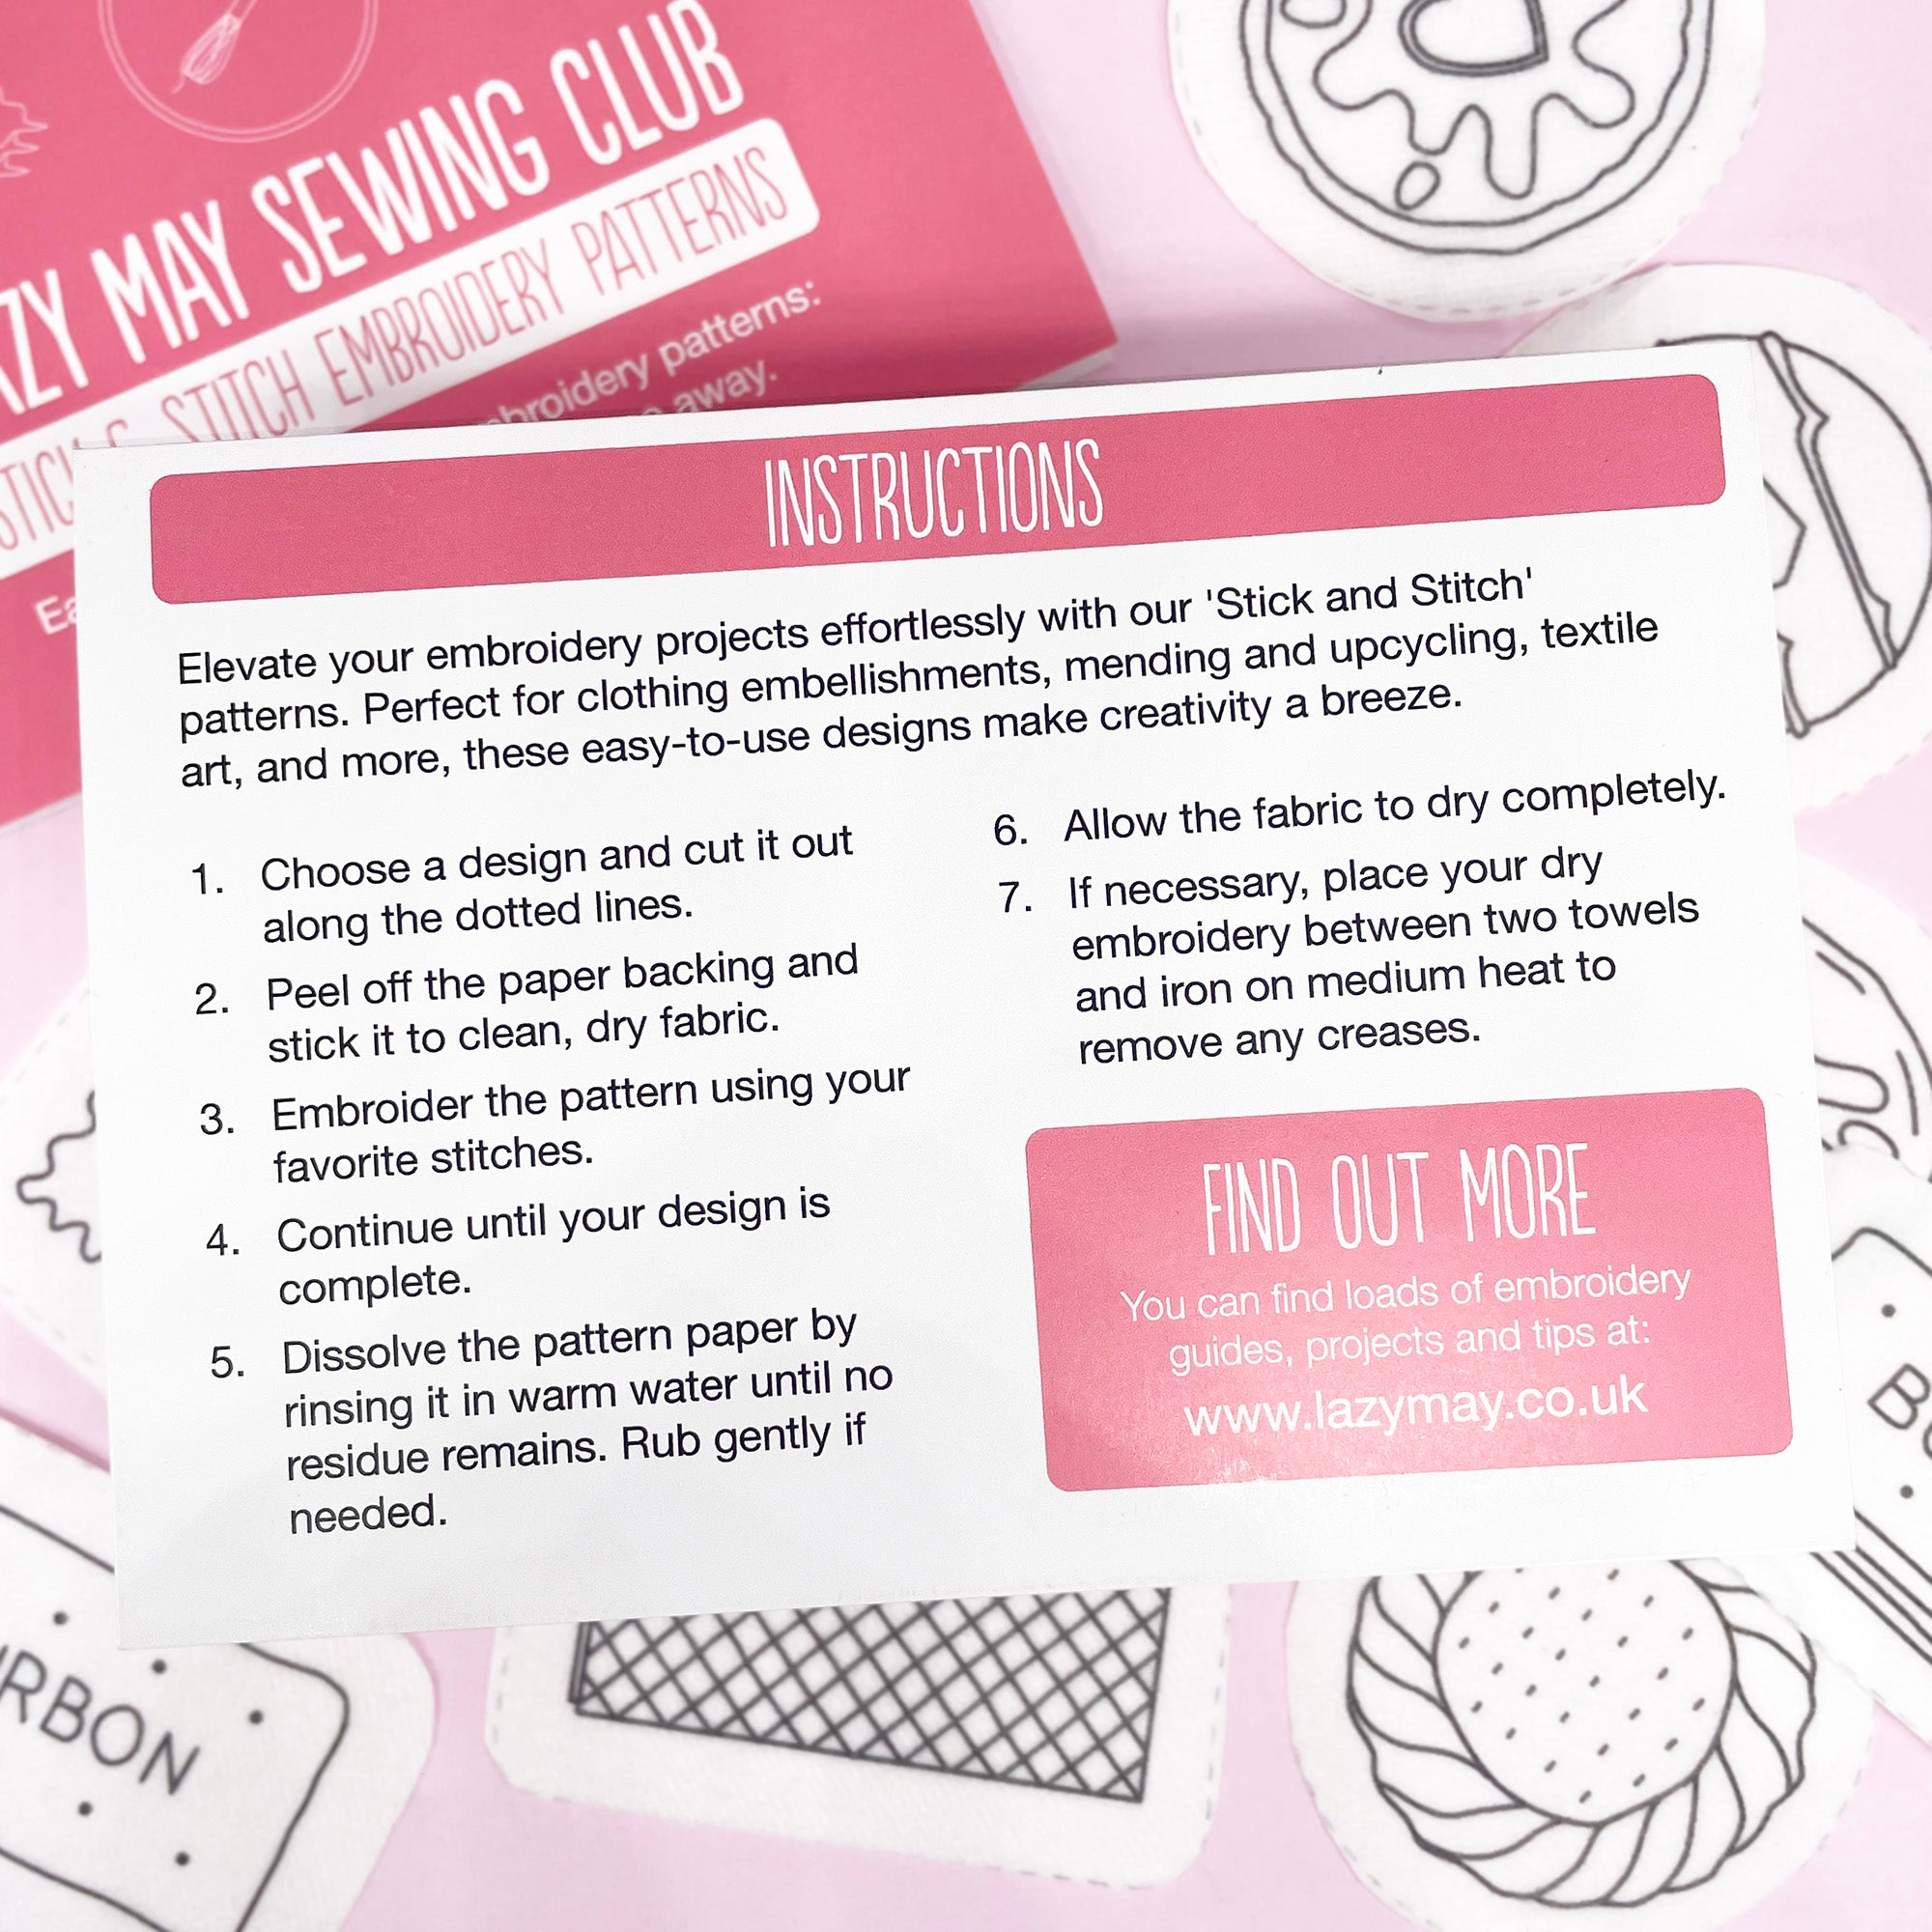
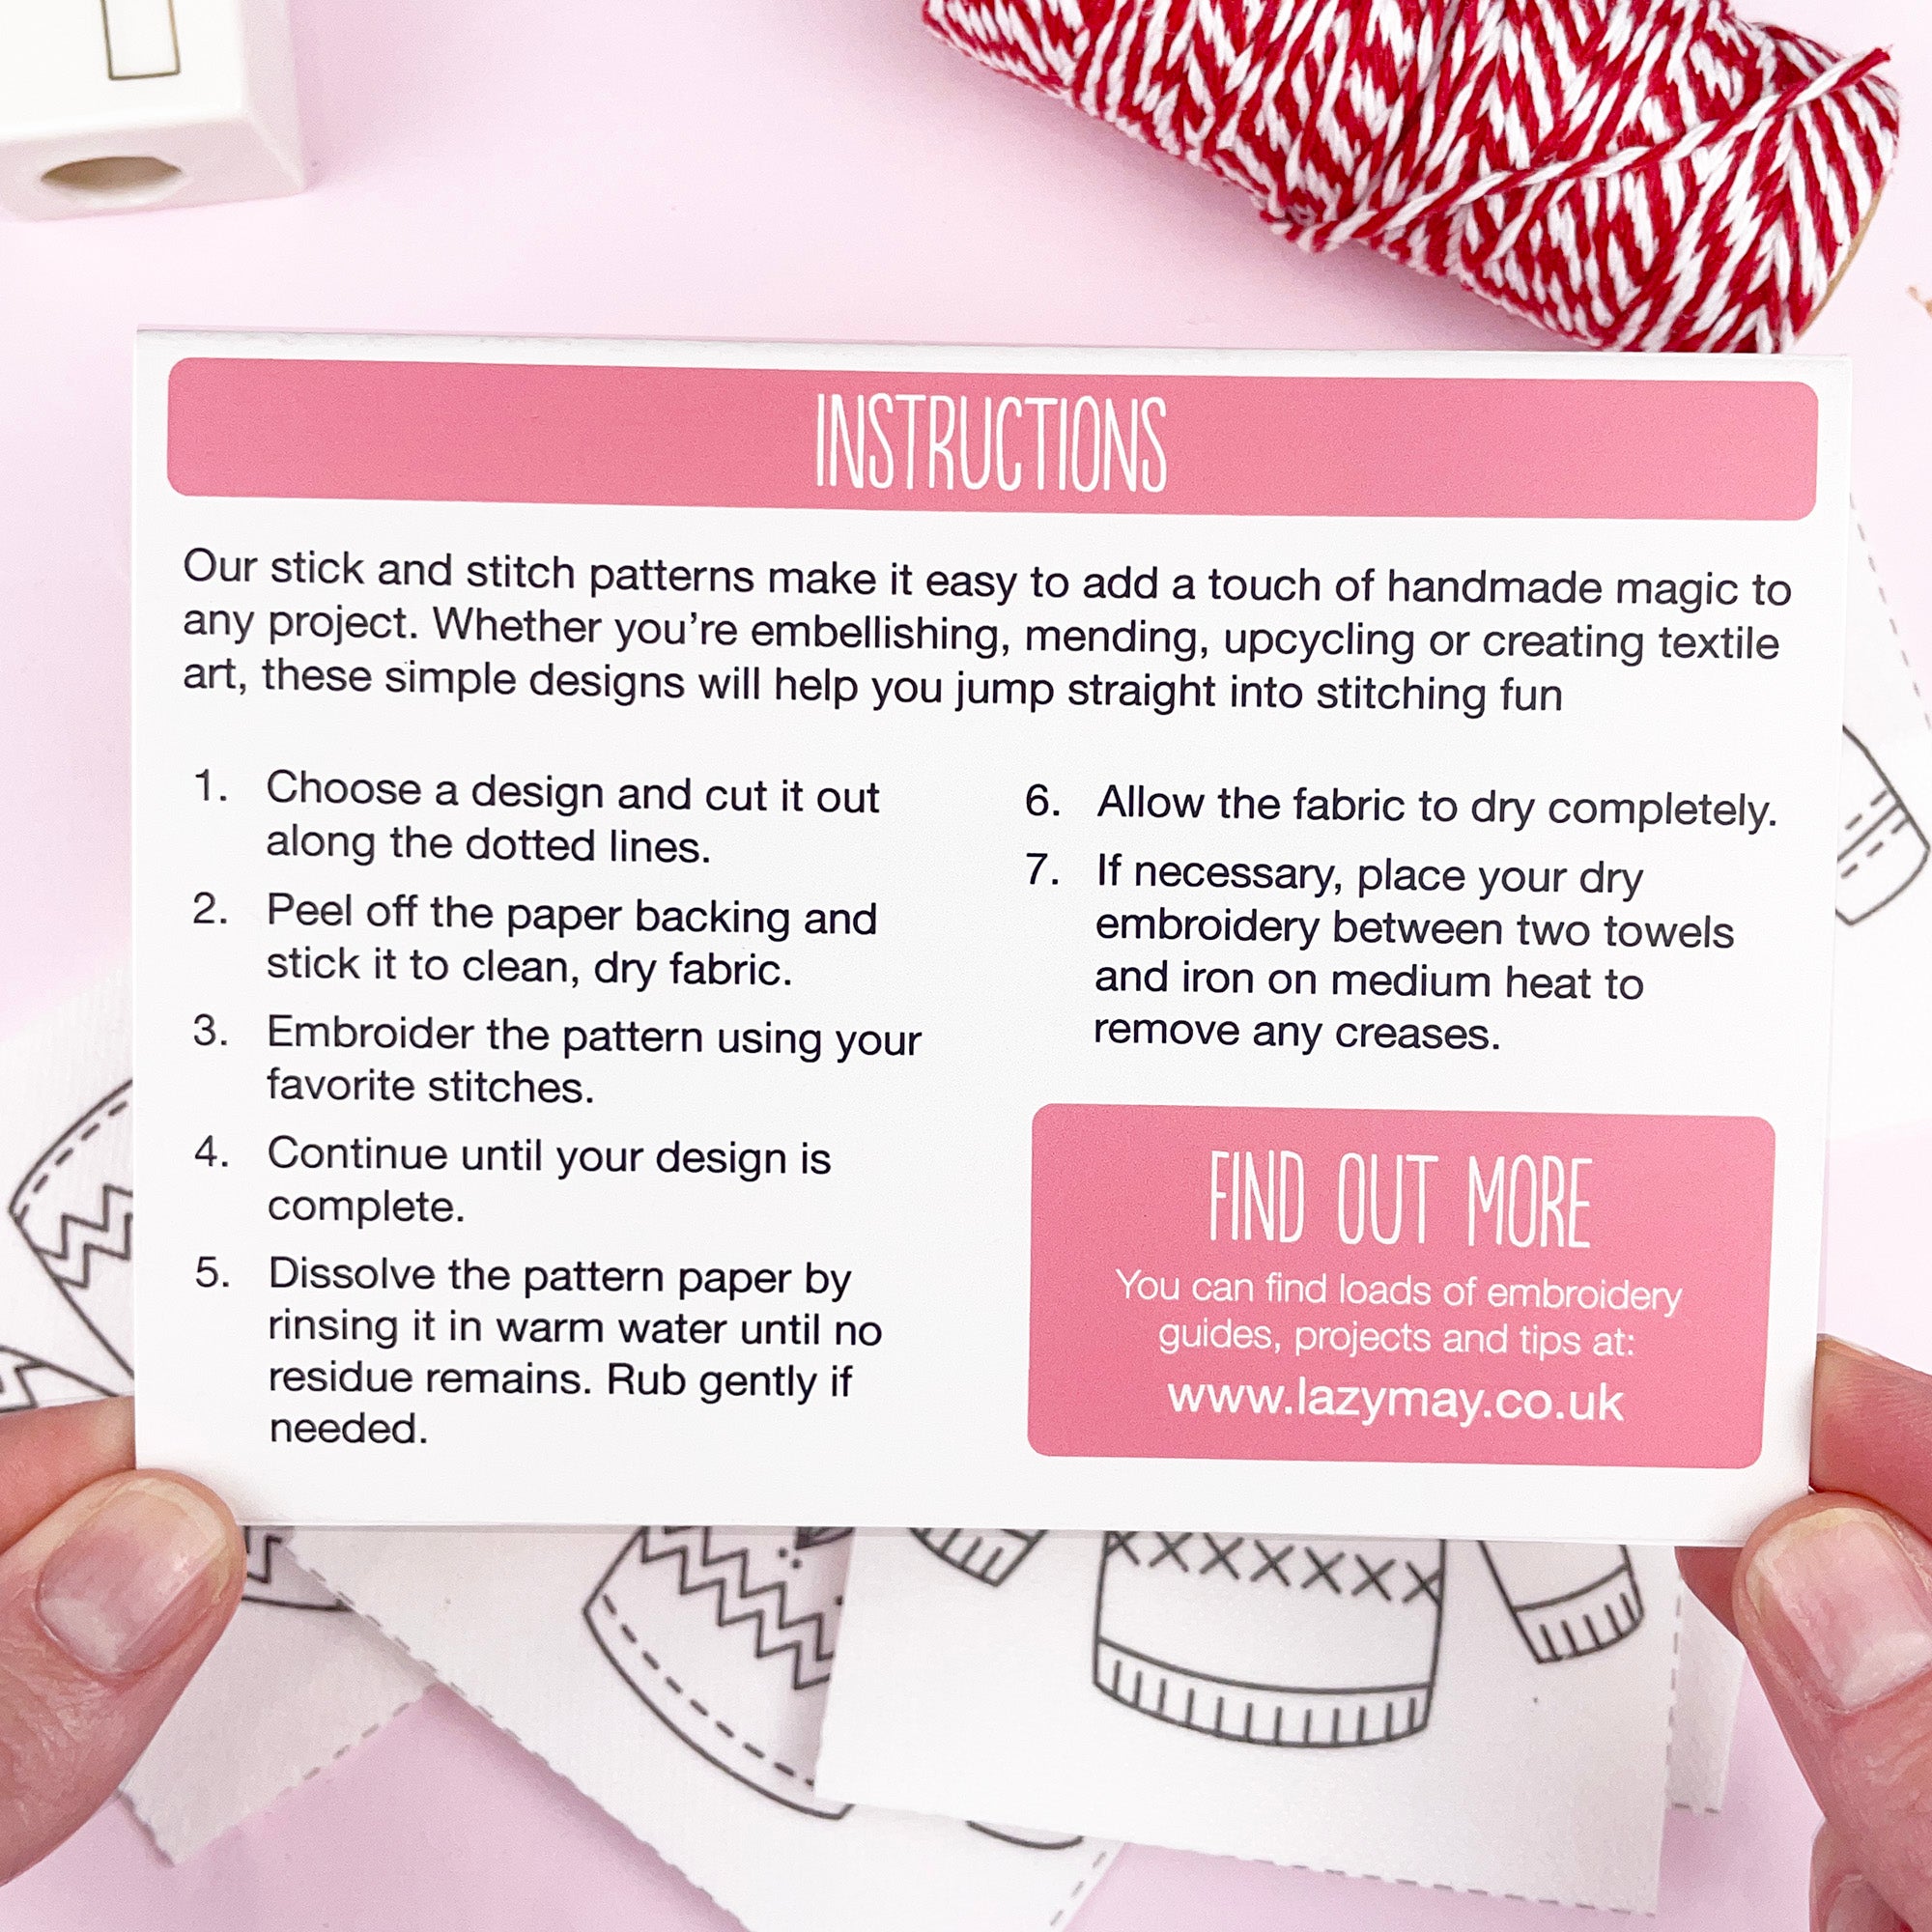
1. Cut out your design
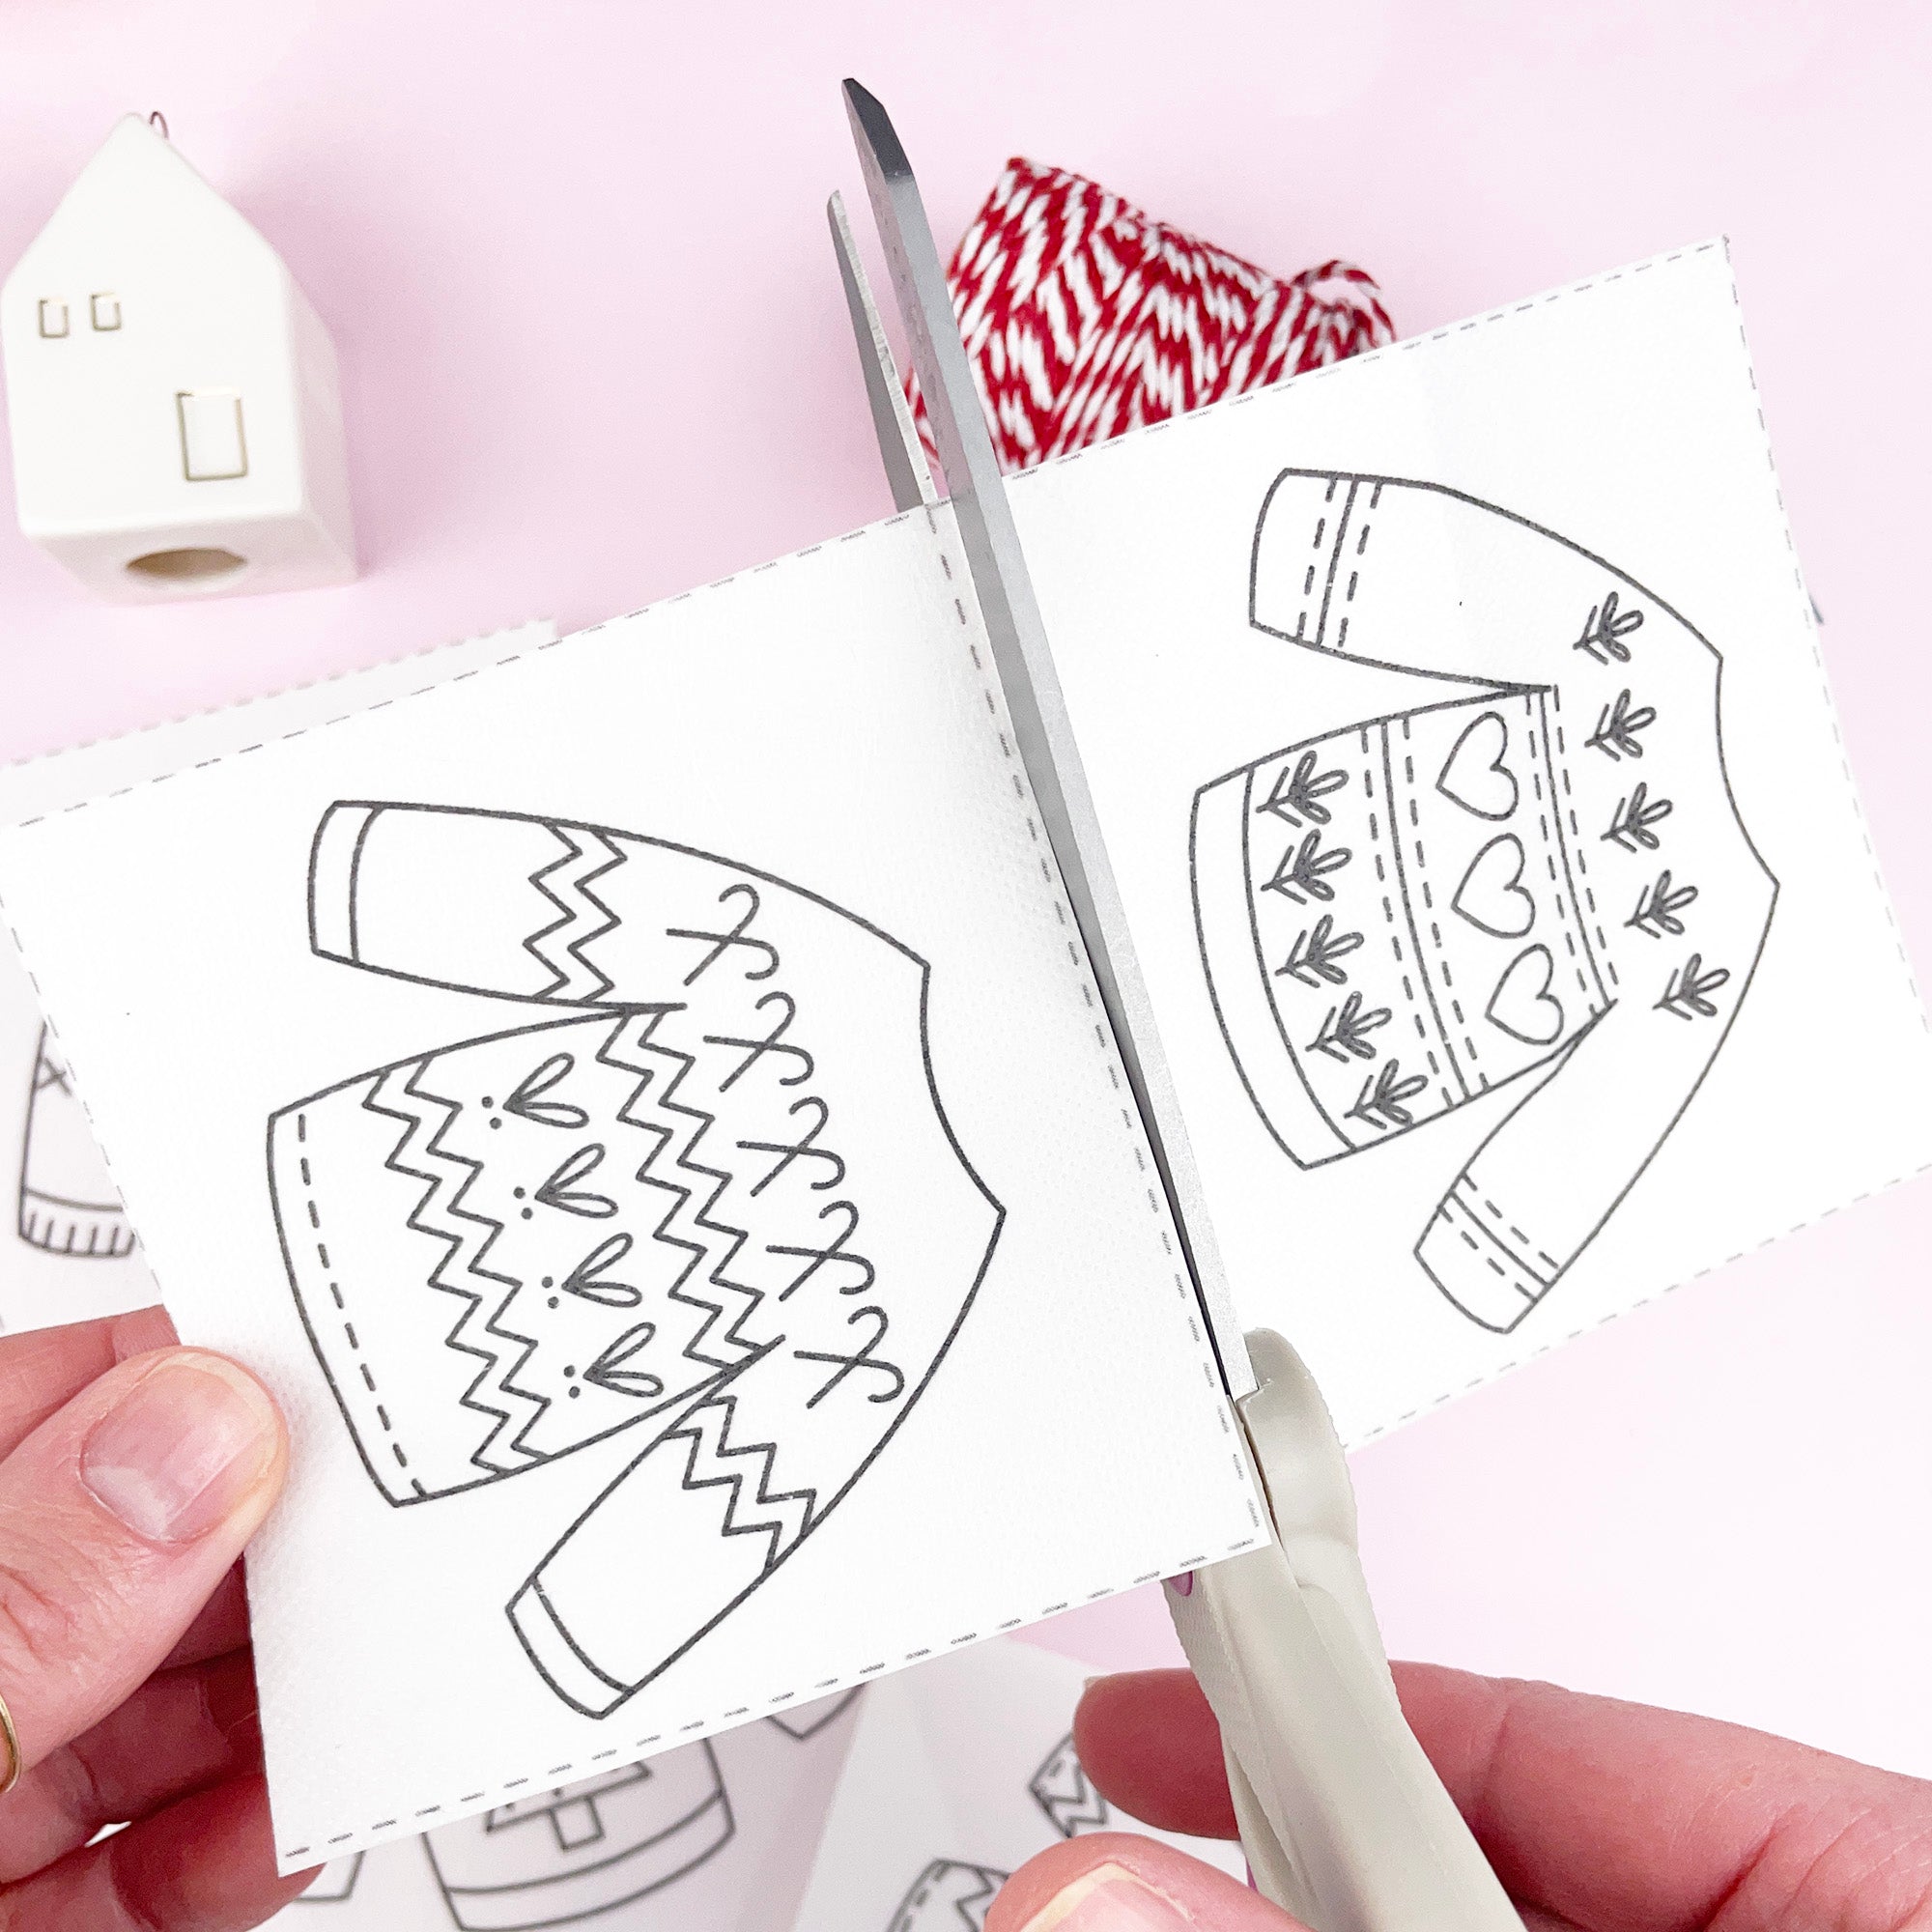
Trim around the pattern you want to use. You can cut close to the design or leave a small border around it.

2. Peel and stick
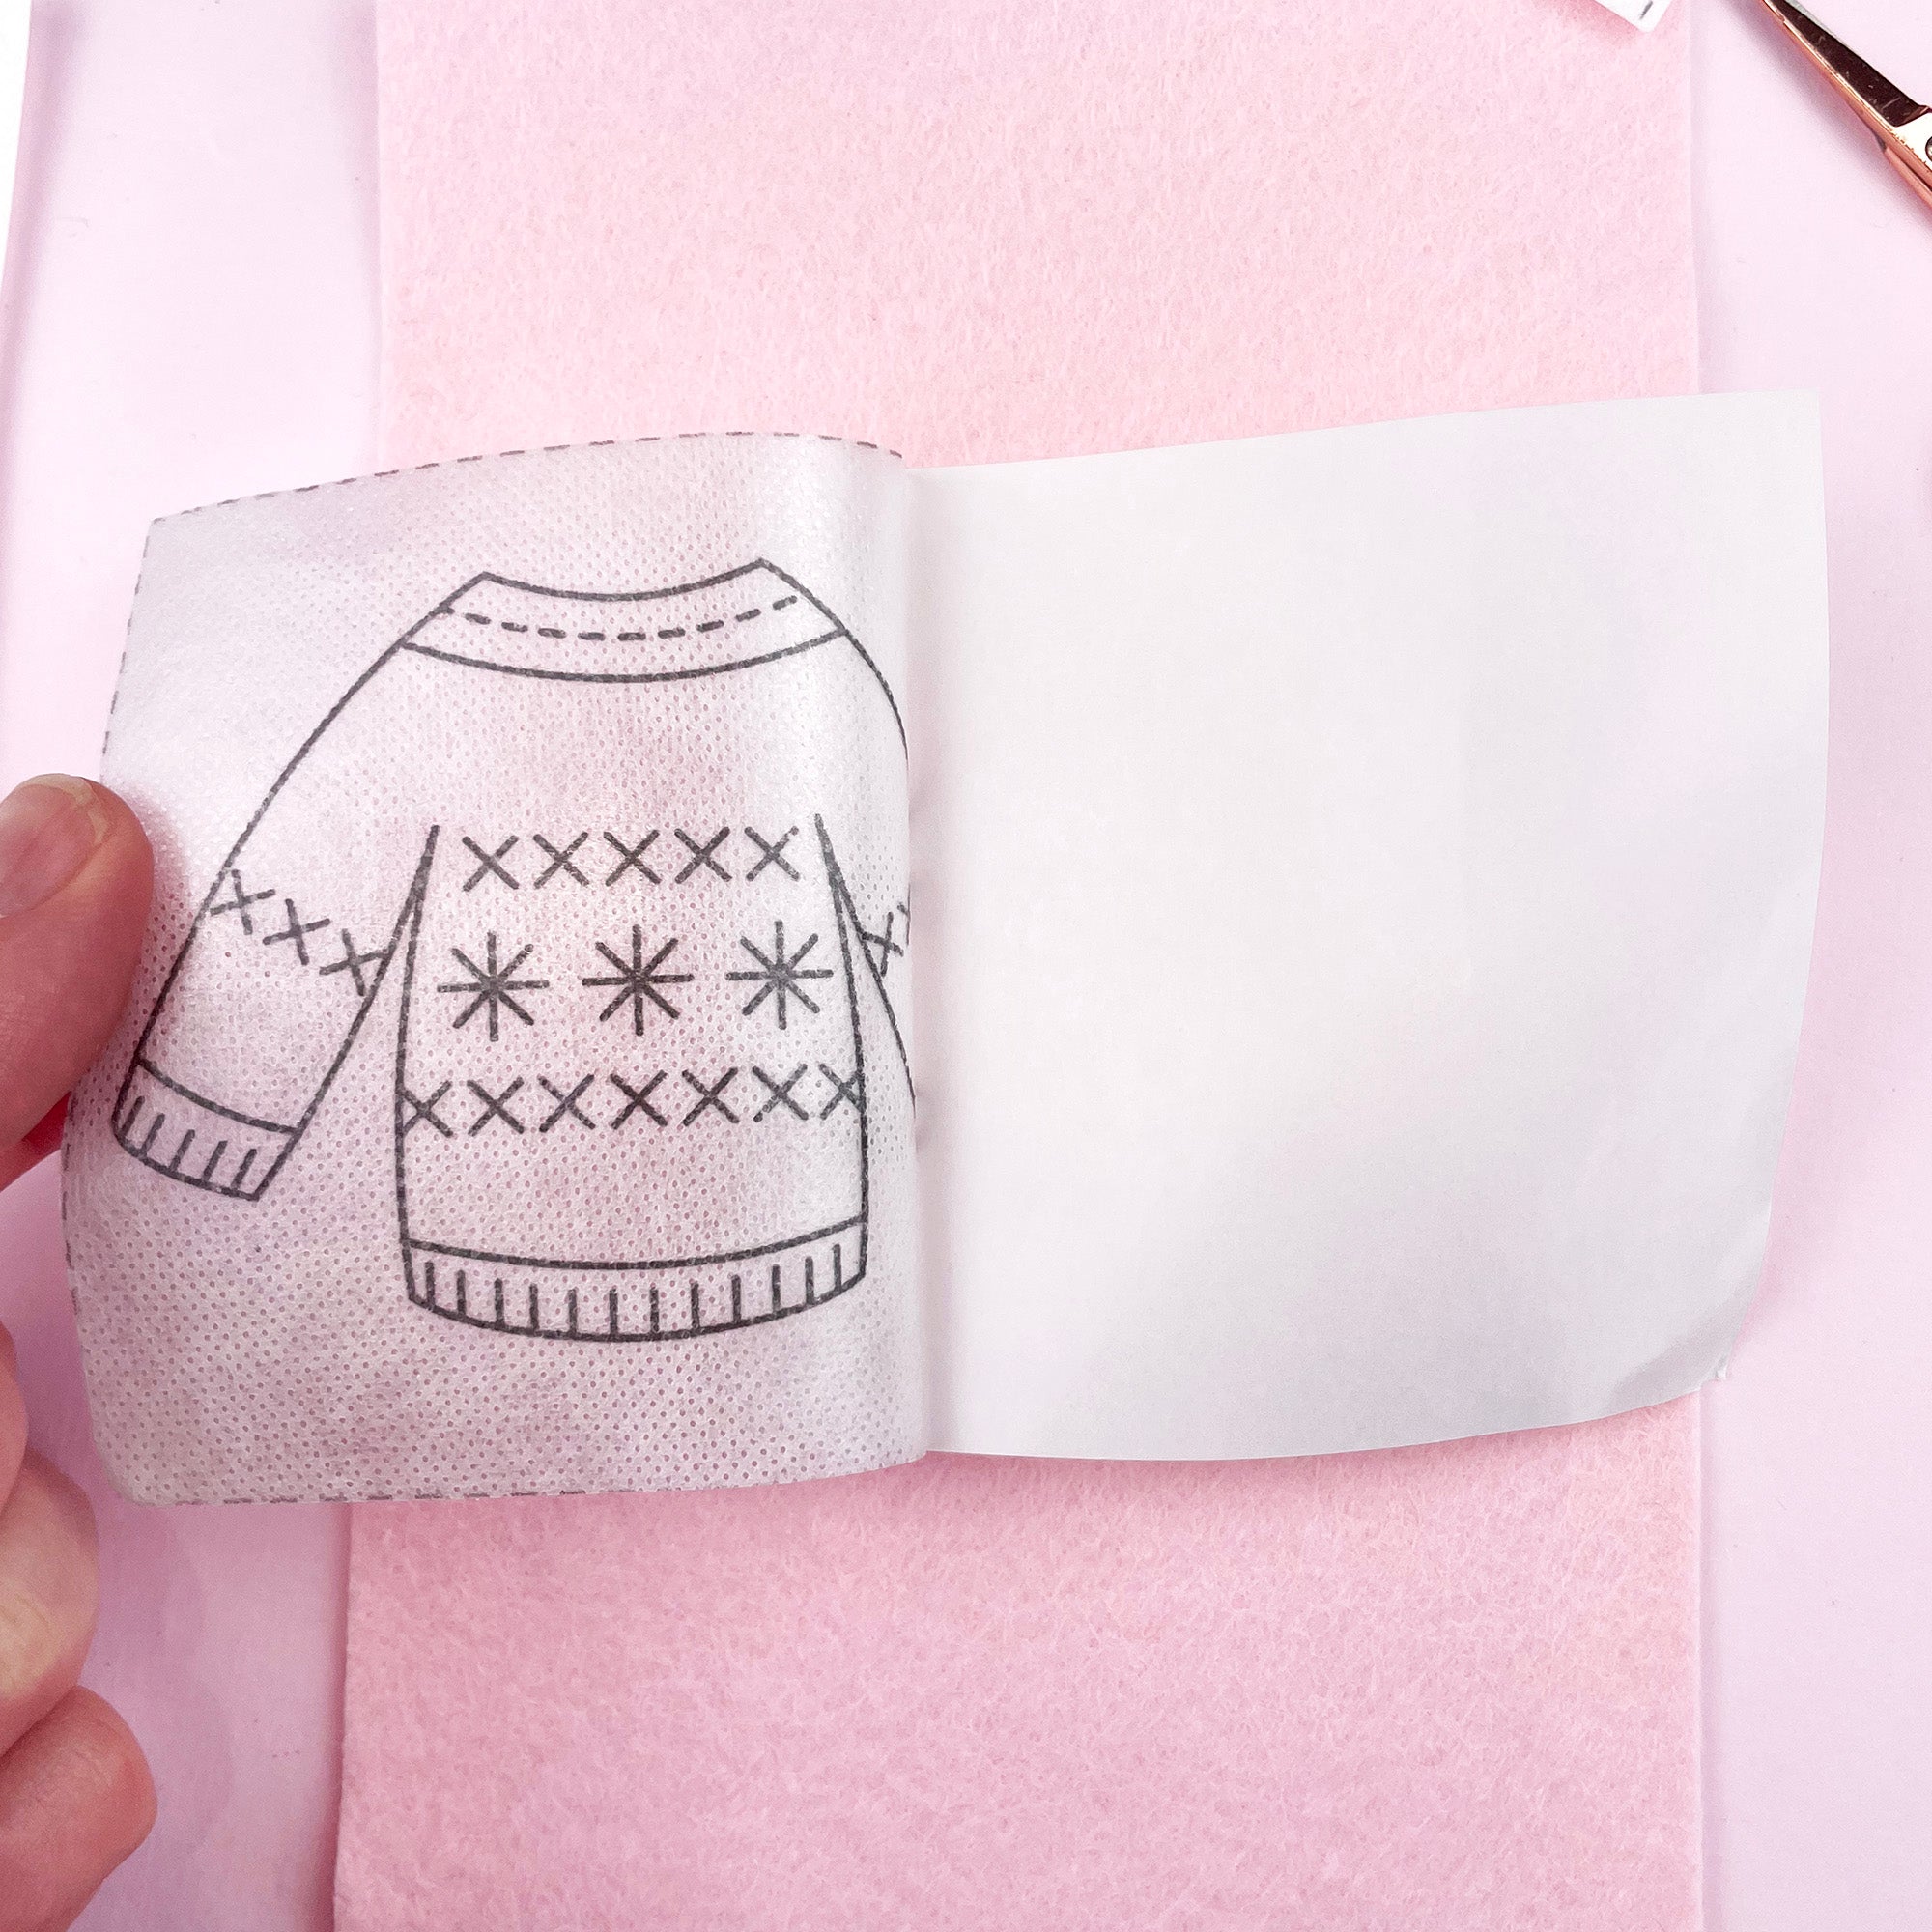
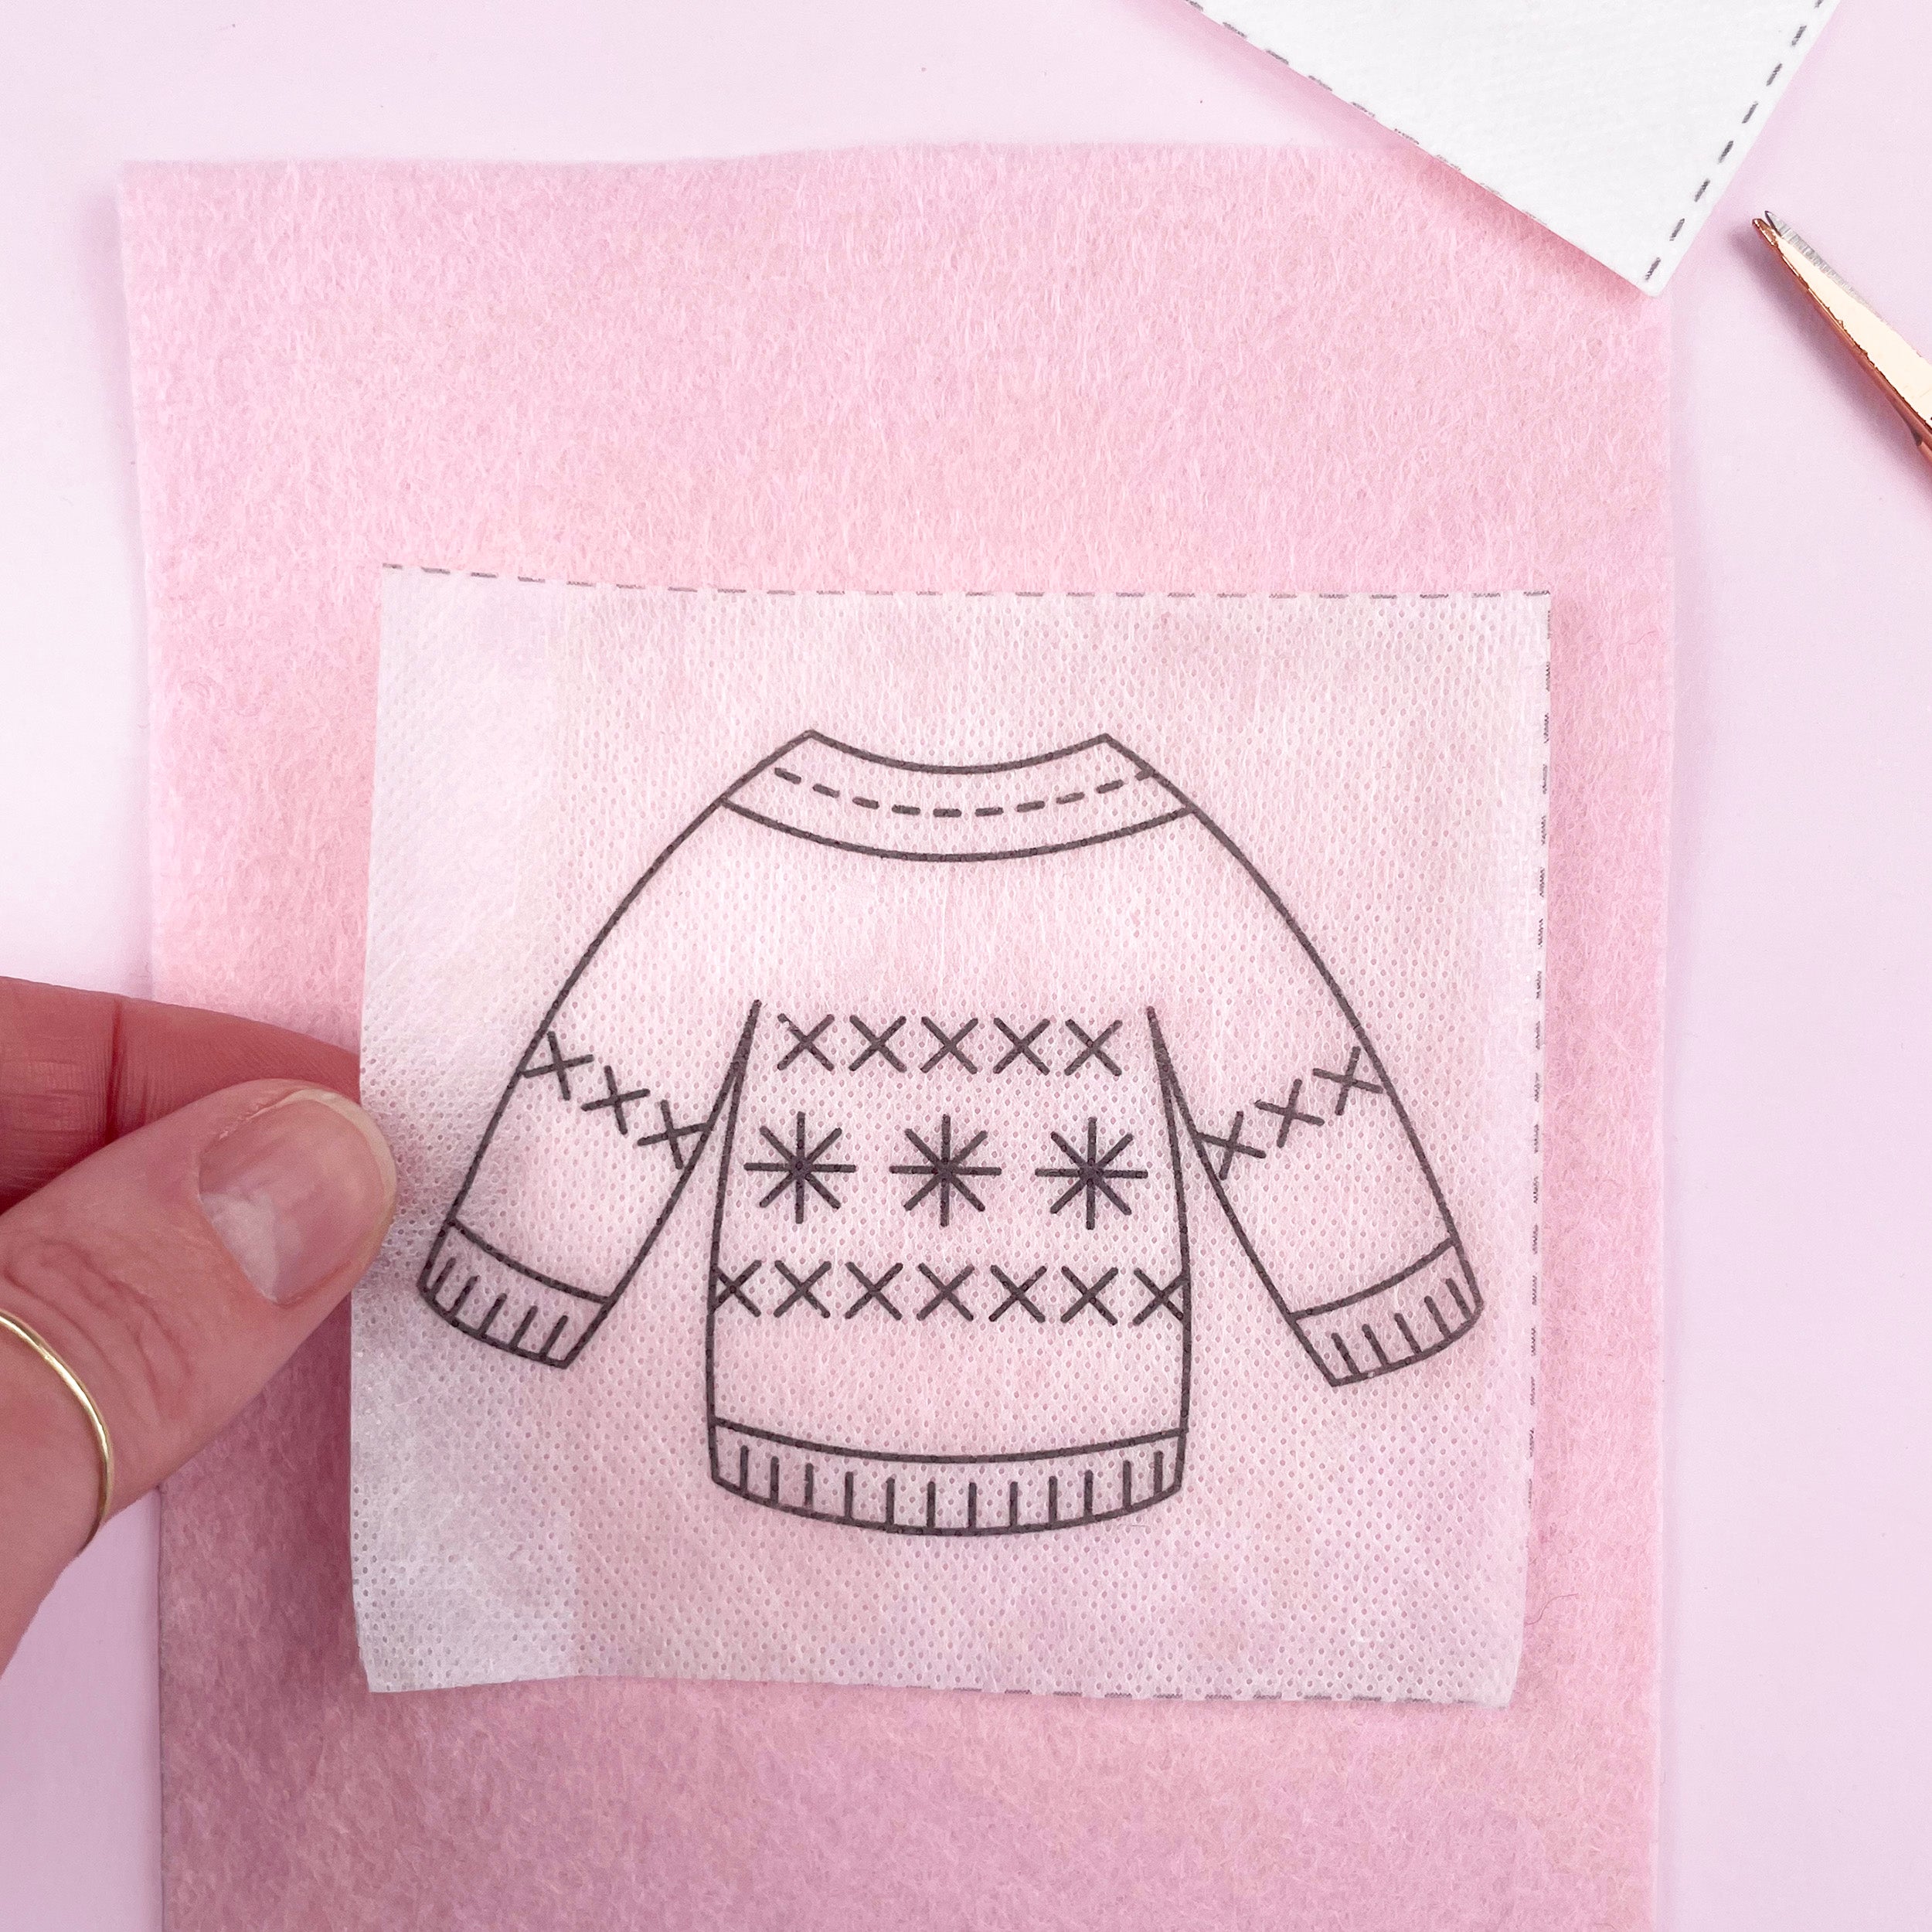
Remove the backing and press the pattern onto your fabric. Smooth it down so it sticks flat.

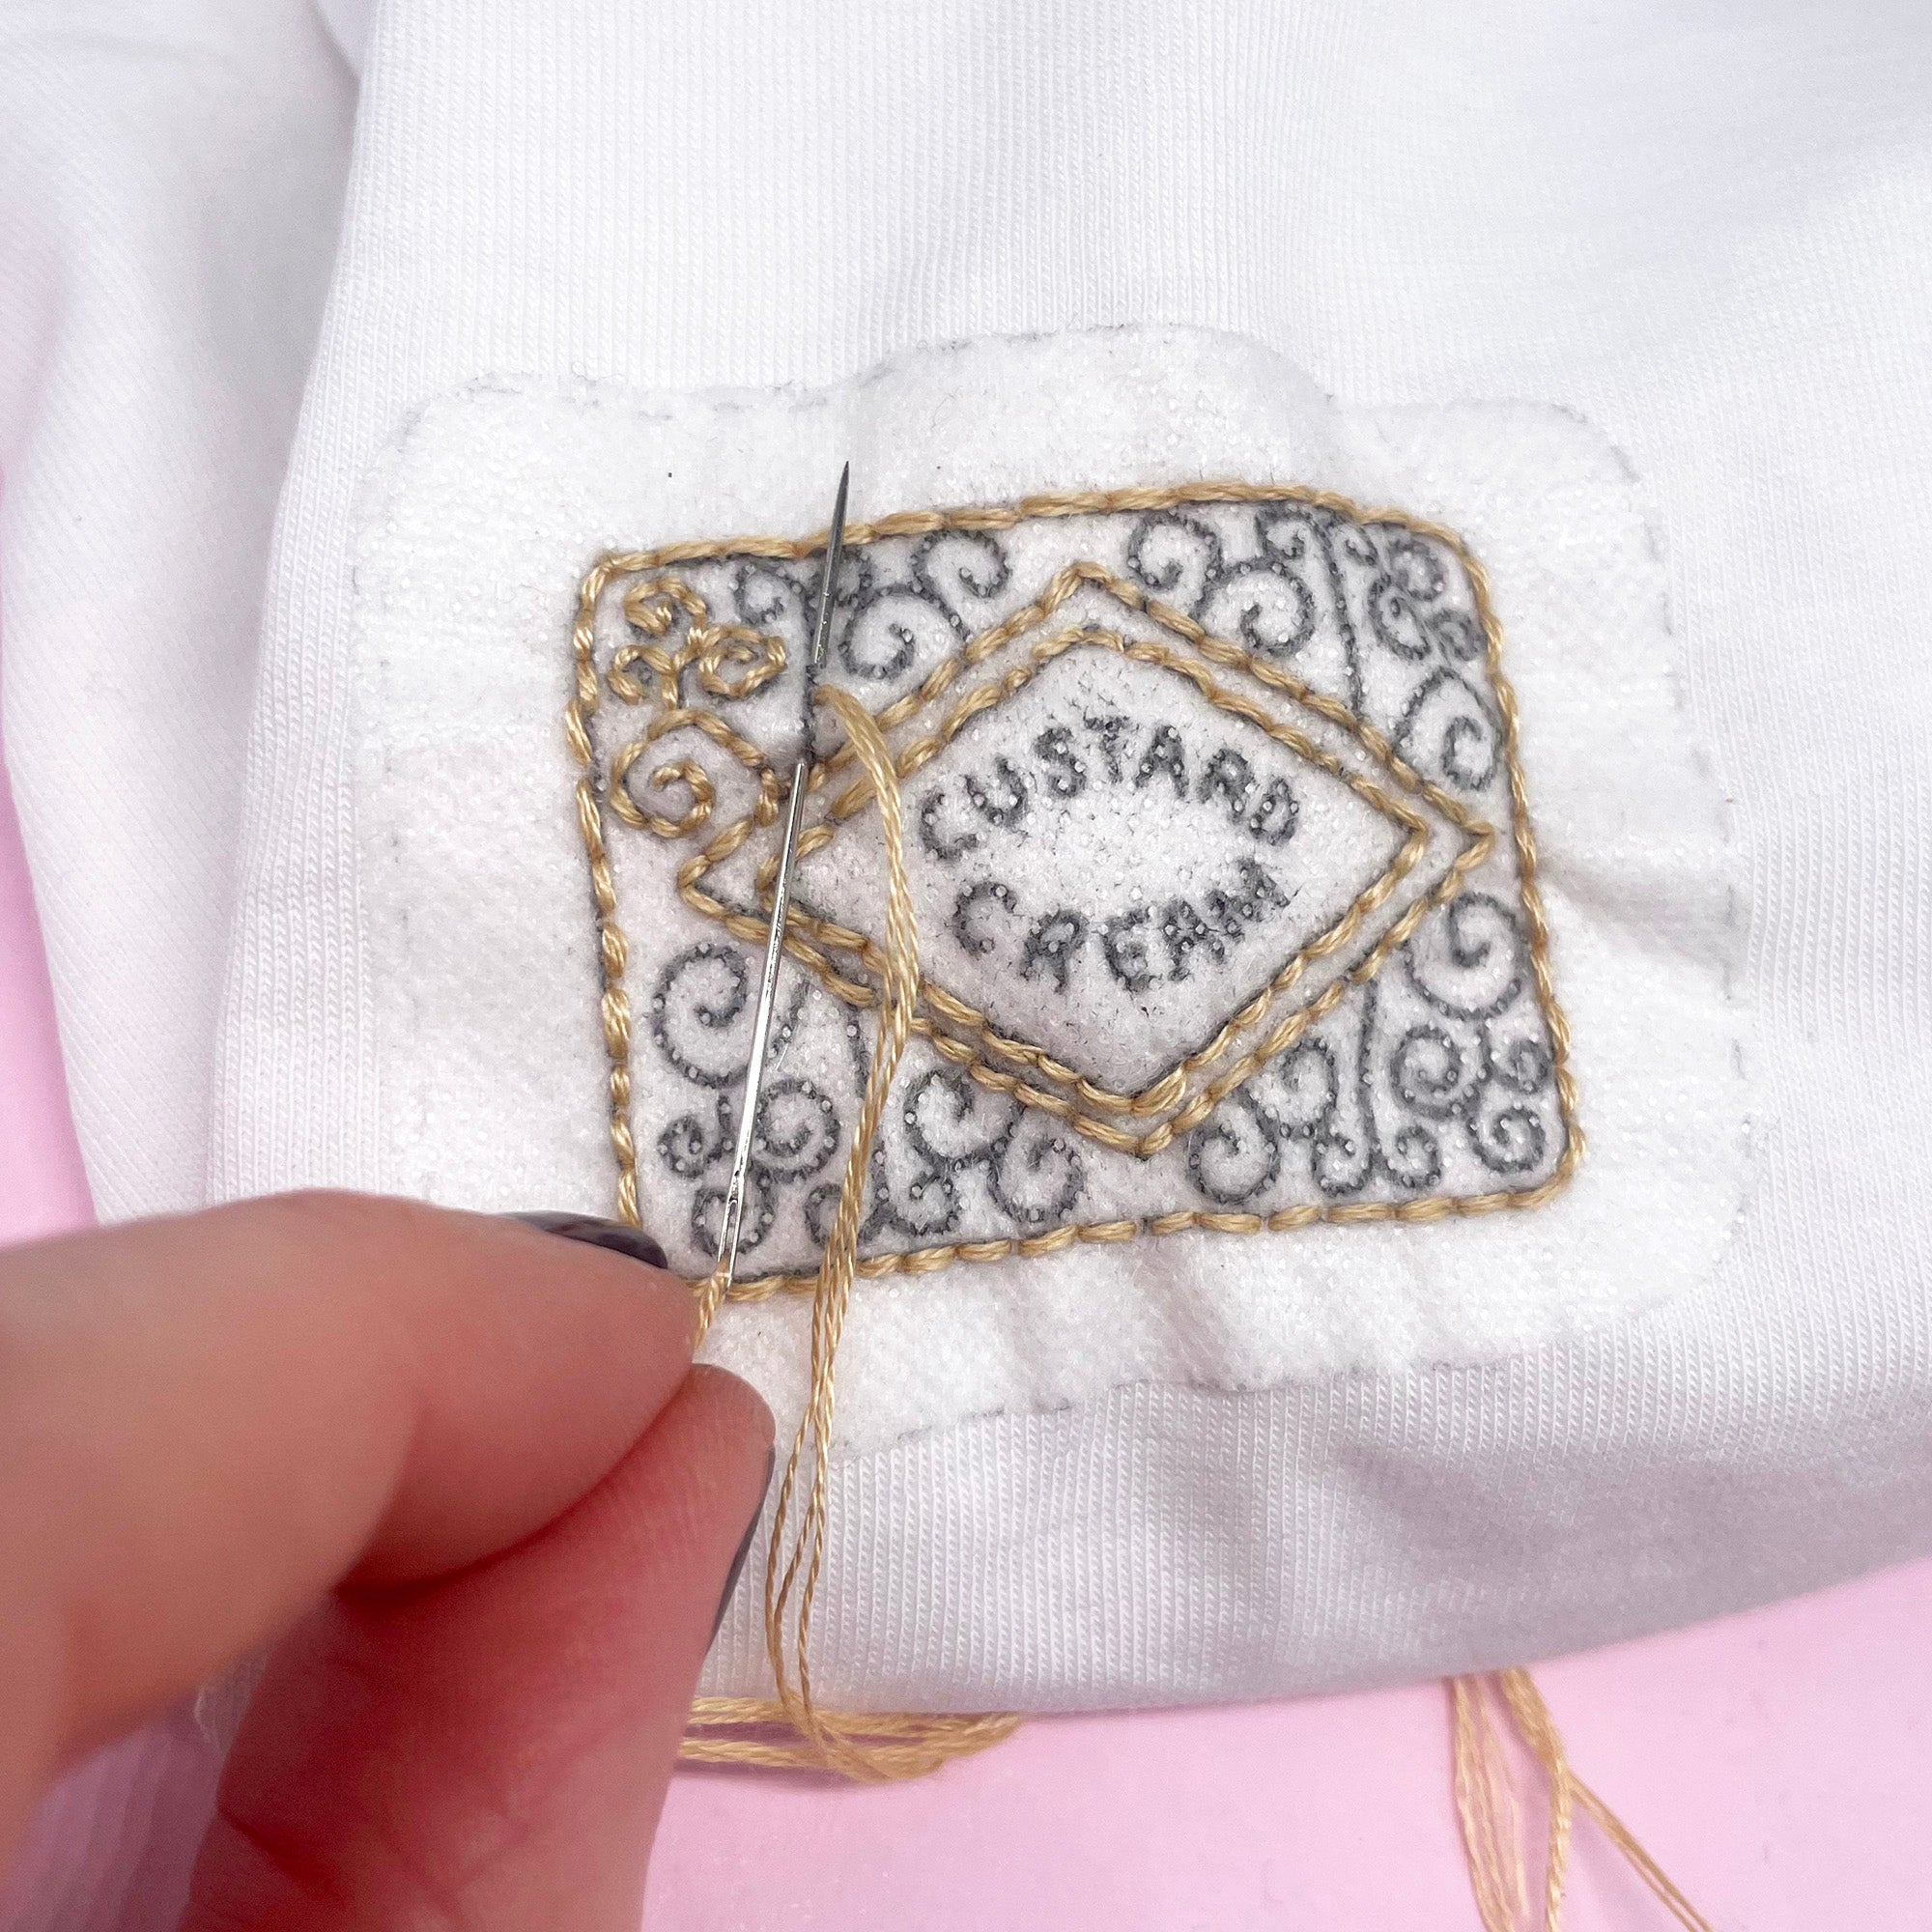
3. Stitch over the lines
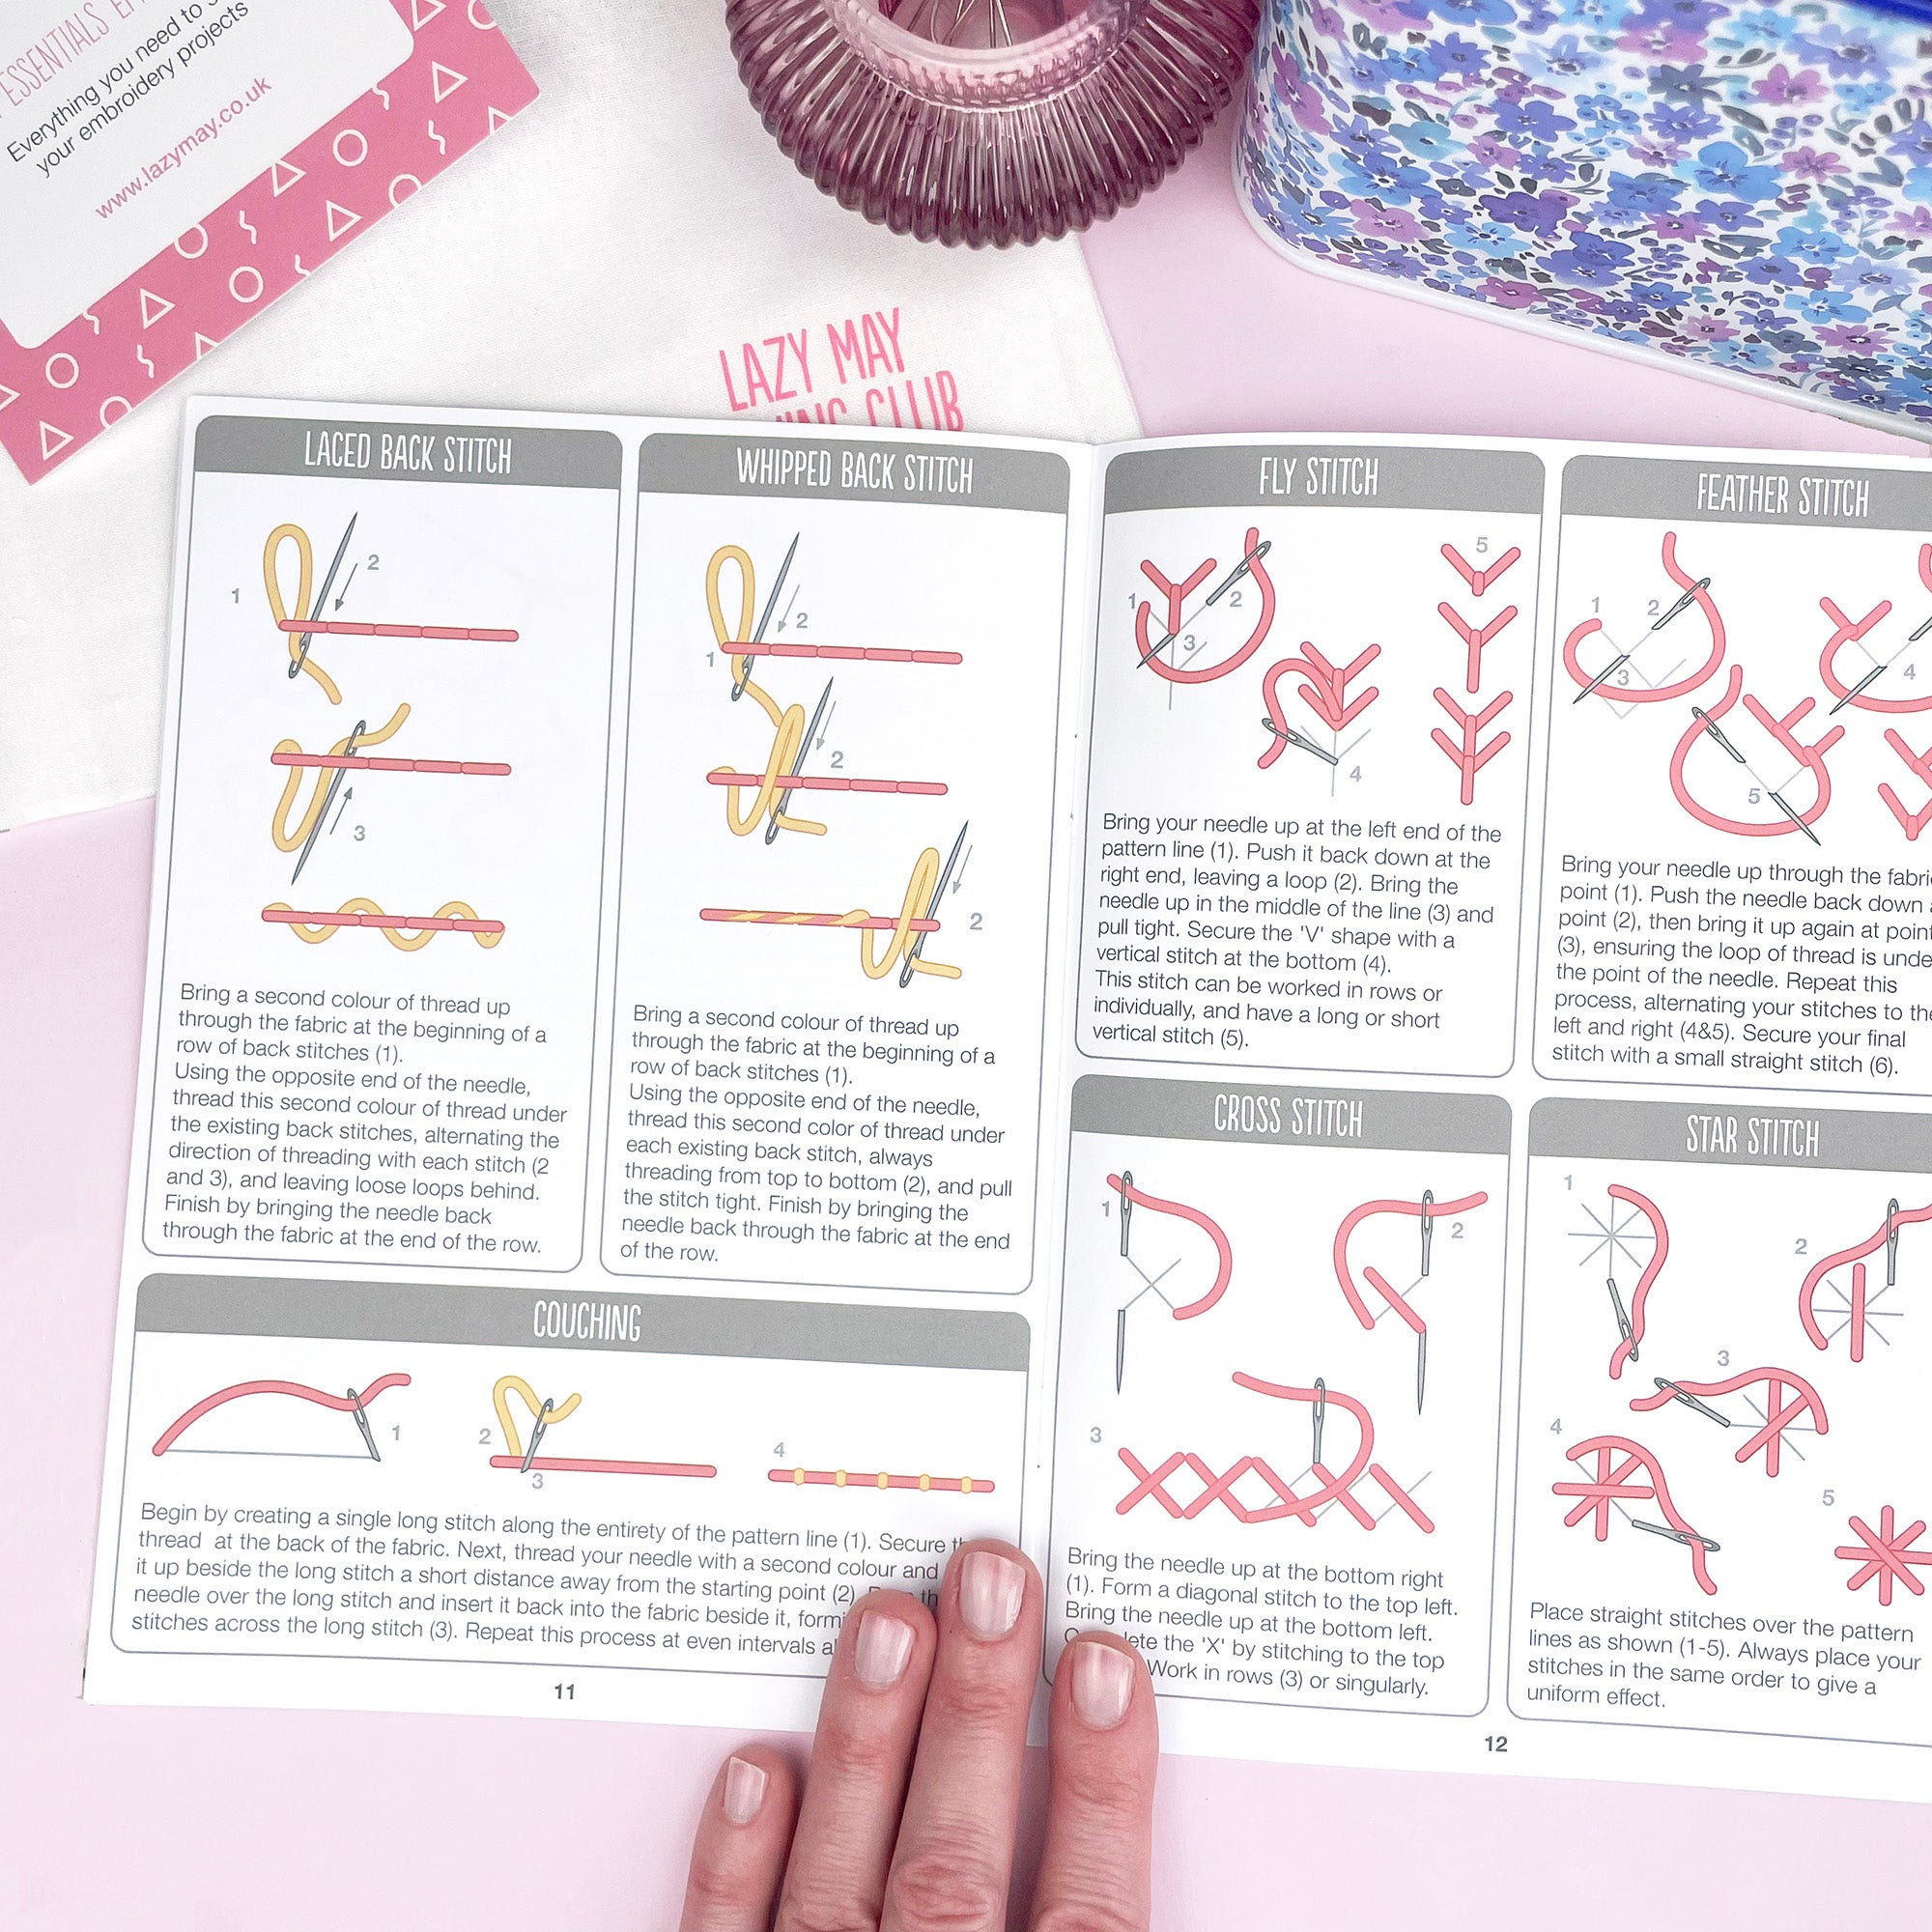
Use simple stitches like back stitch, satin stitch or French knots to follow the design.

4. Rinse away
Place your fabric under warm water and gently rub until the paper dissolves.

Ready to stitch your first design? These are two of our most popular patterns for beginners — both work brilliantly on clothes and small projects.


Common stick and stitch problems and how to fix them
The design is not washing away
Use warm water and gently rub. Thicker fabrics may take a little longer. If you are still struggling submerge the fabric in a bowl of water and rub gently and carefully with an old toothbrush.
Fabric is puckering
Make sure your fabric is tight in the hoop and avoid pulling your stitches too tightly.
Stitches look messy
Use shorter thread lengths and slow down for better control.
The needle is hard to push through
Try a sharp needle and stitch from both sides on thicker fabrics like denim.
What can you make with stick and stitch embroidery patterns?
Once you get the hang of it, you can add embroidery to almost anything.
- Jumpers and sweater sleeves
- Tote bags and denim
- Hats and accessories
- Small hoop projects
And if you love stitching flowers, browse my floral embroidery kits and patterns, including complete kits, iron-on embroidery patterns and stick and stitch designs for beginner-friendly projects.
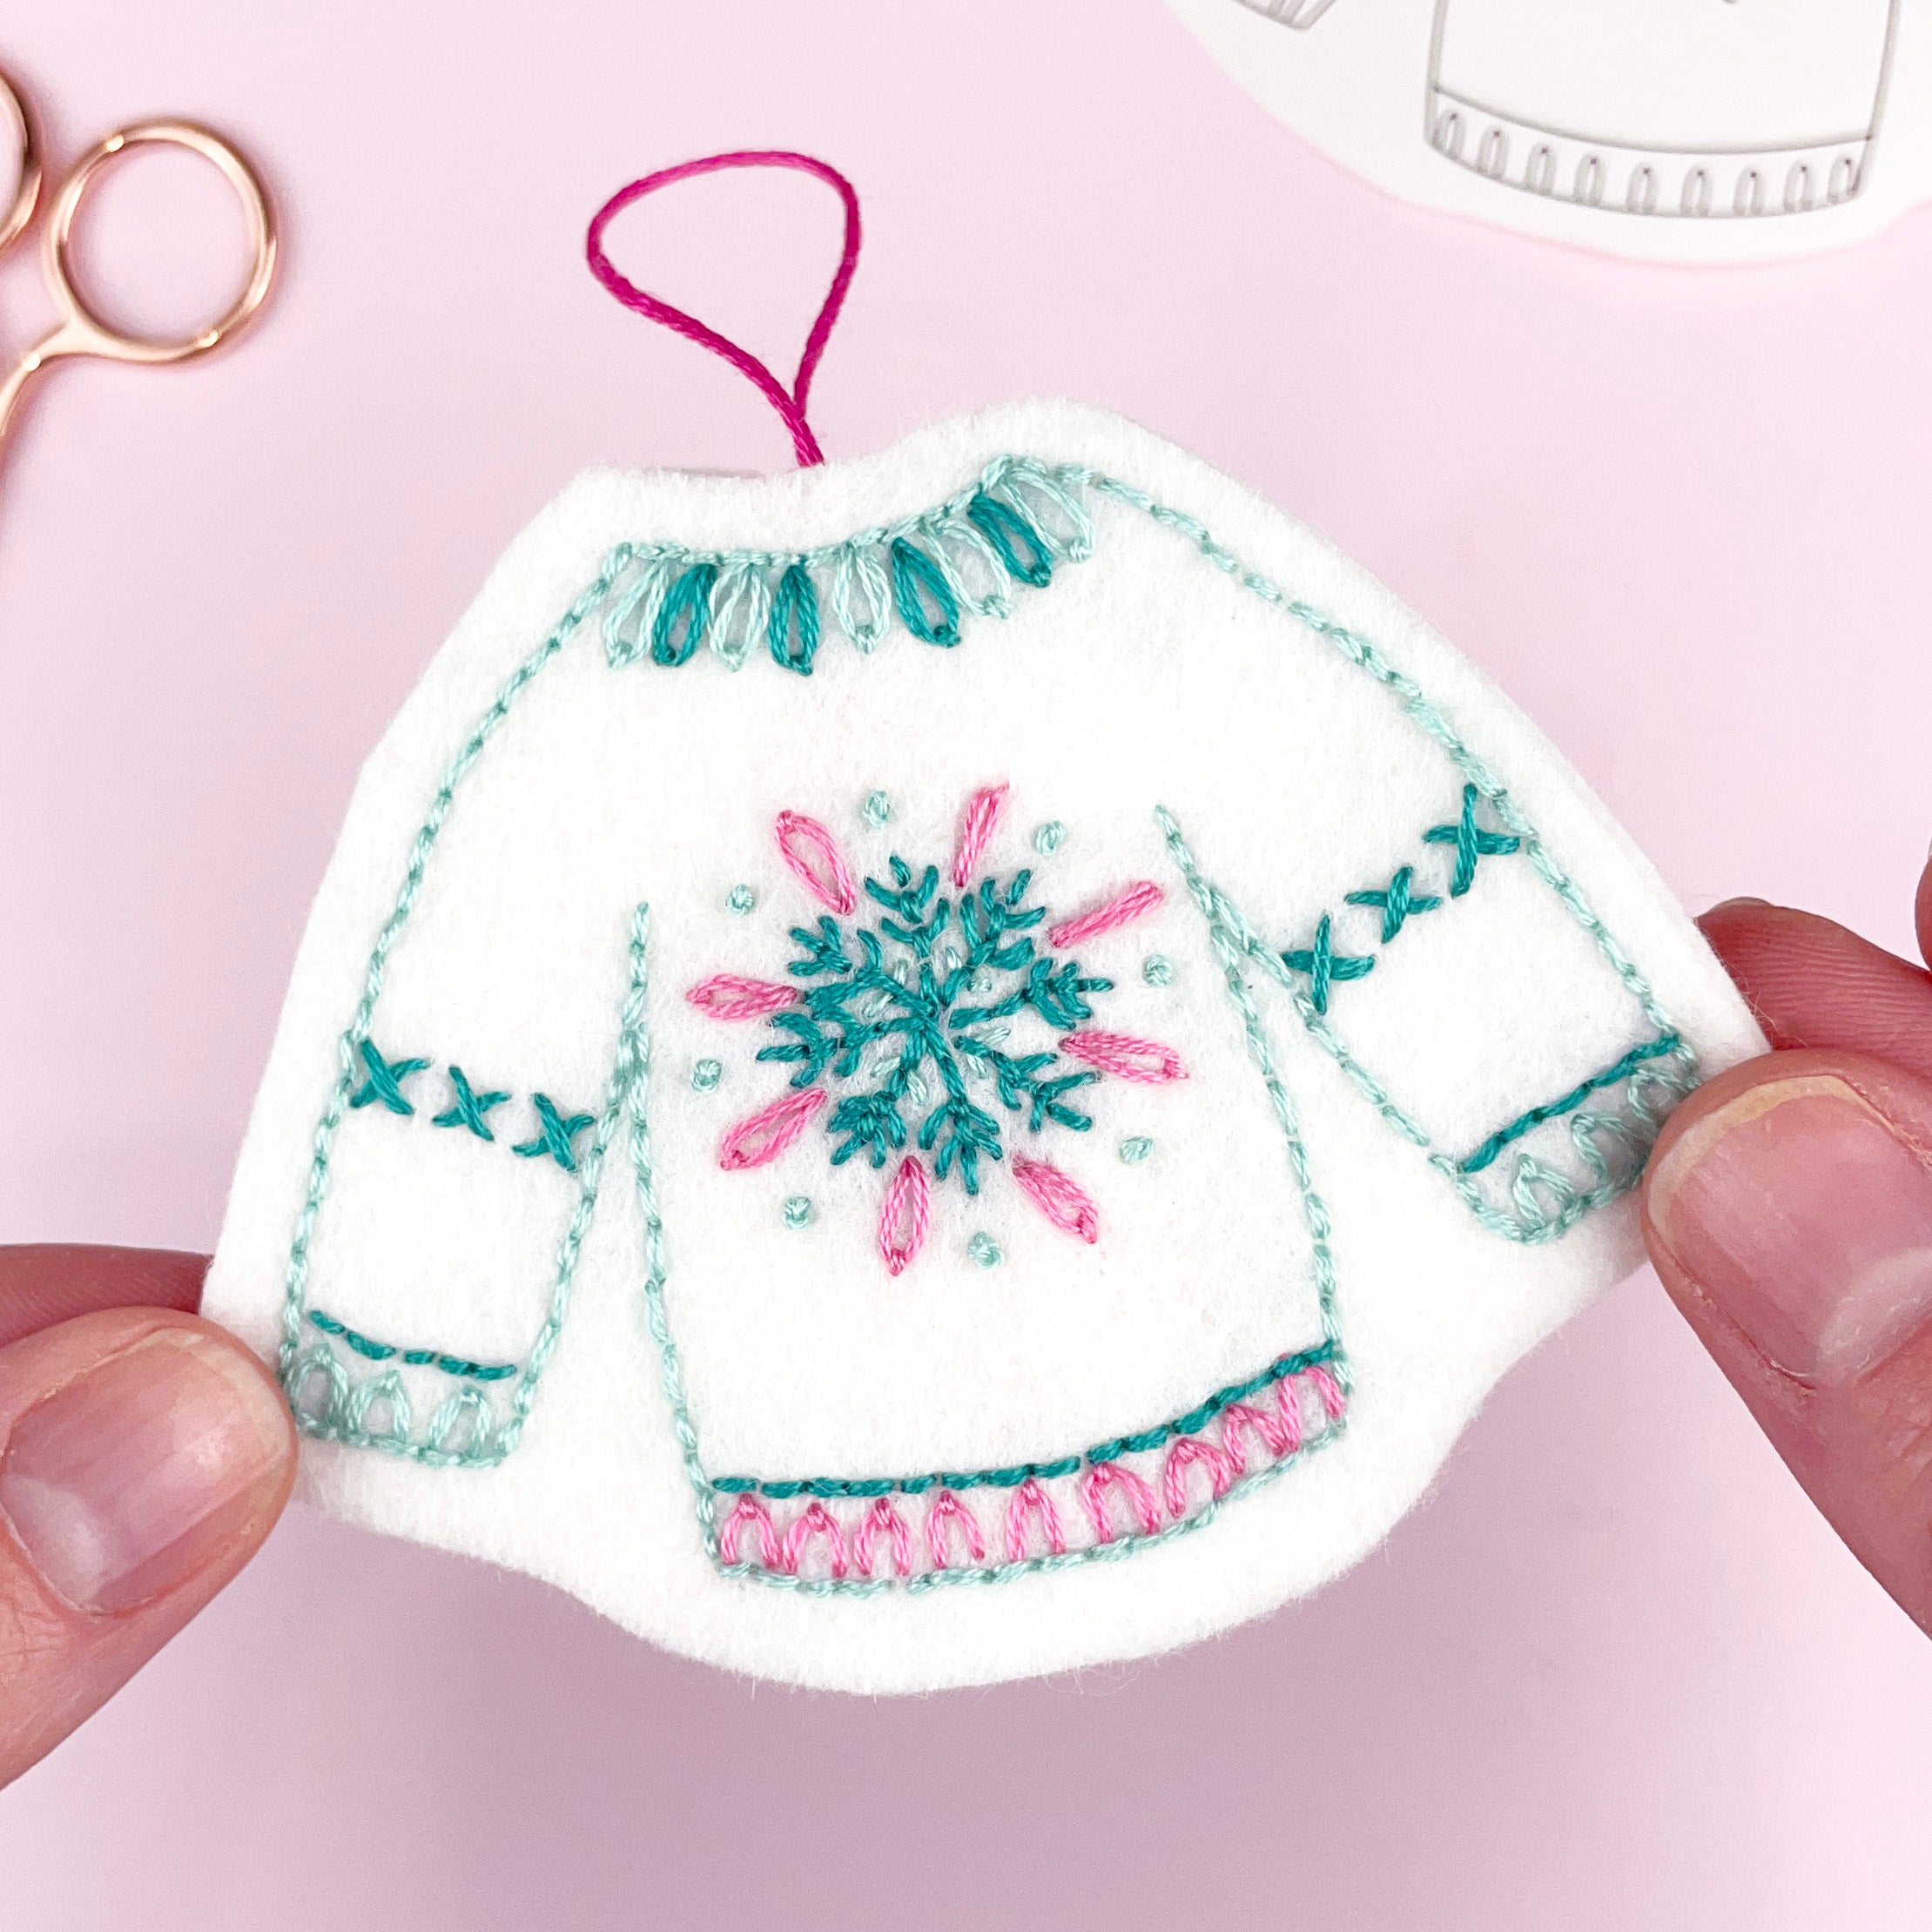
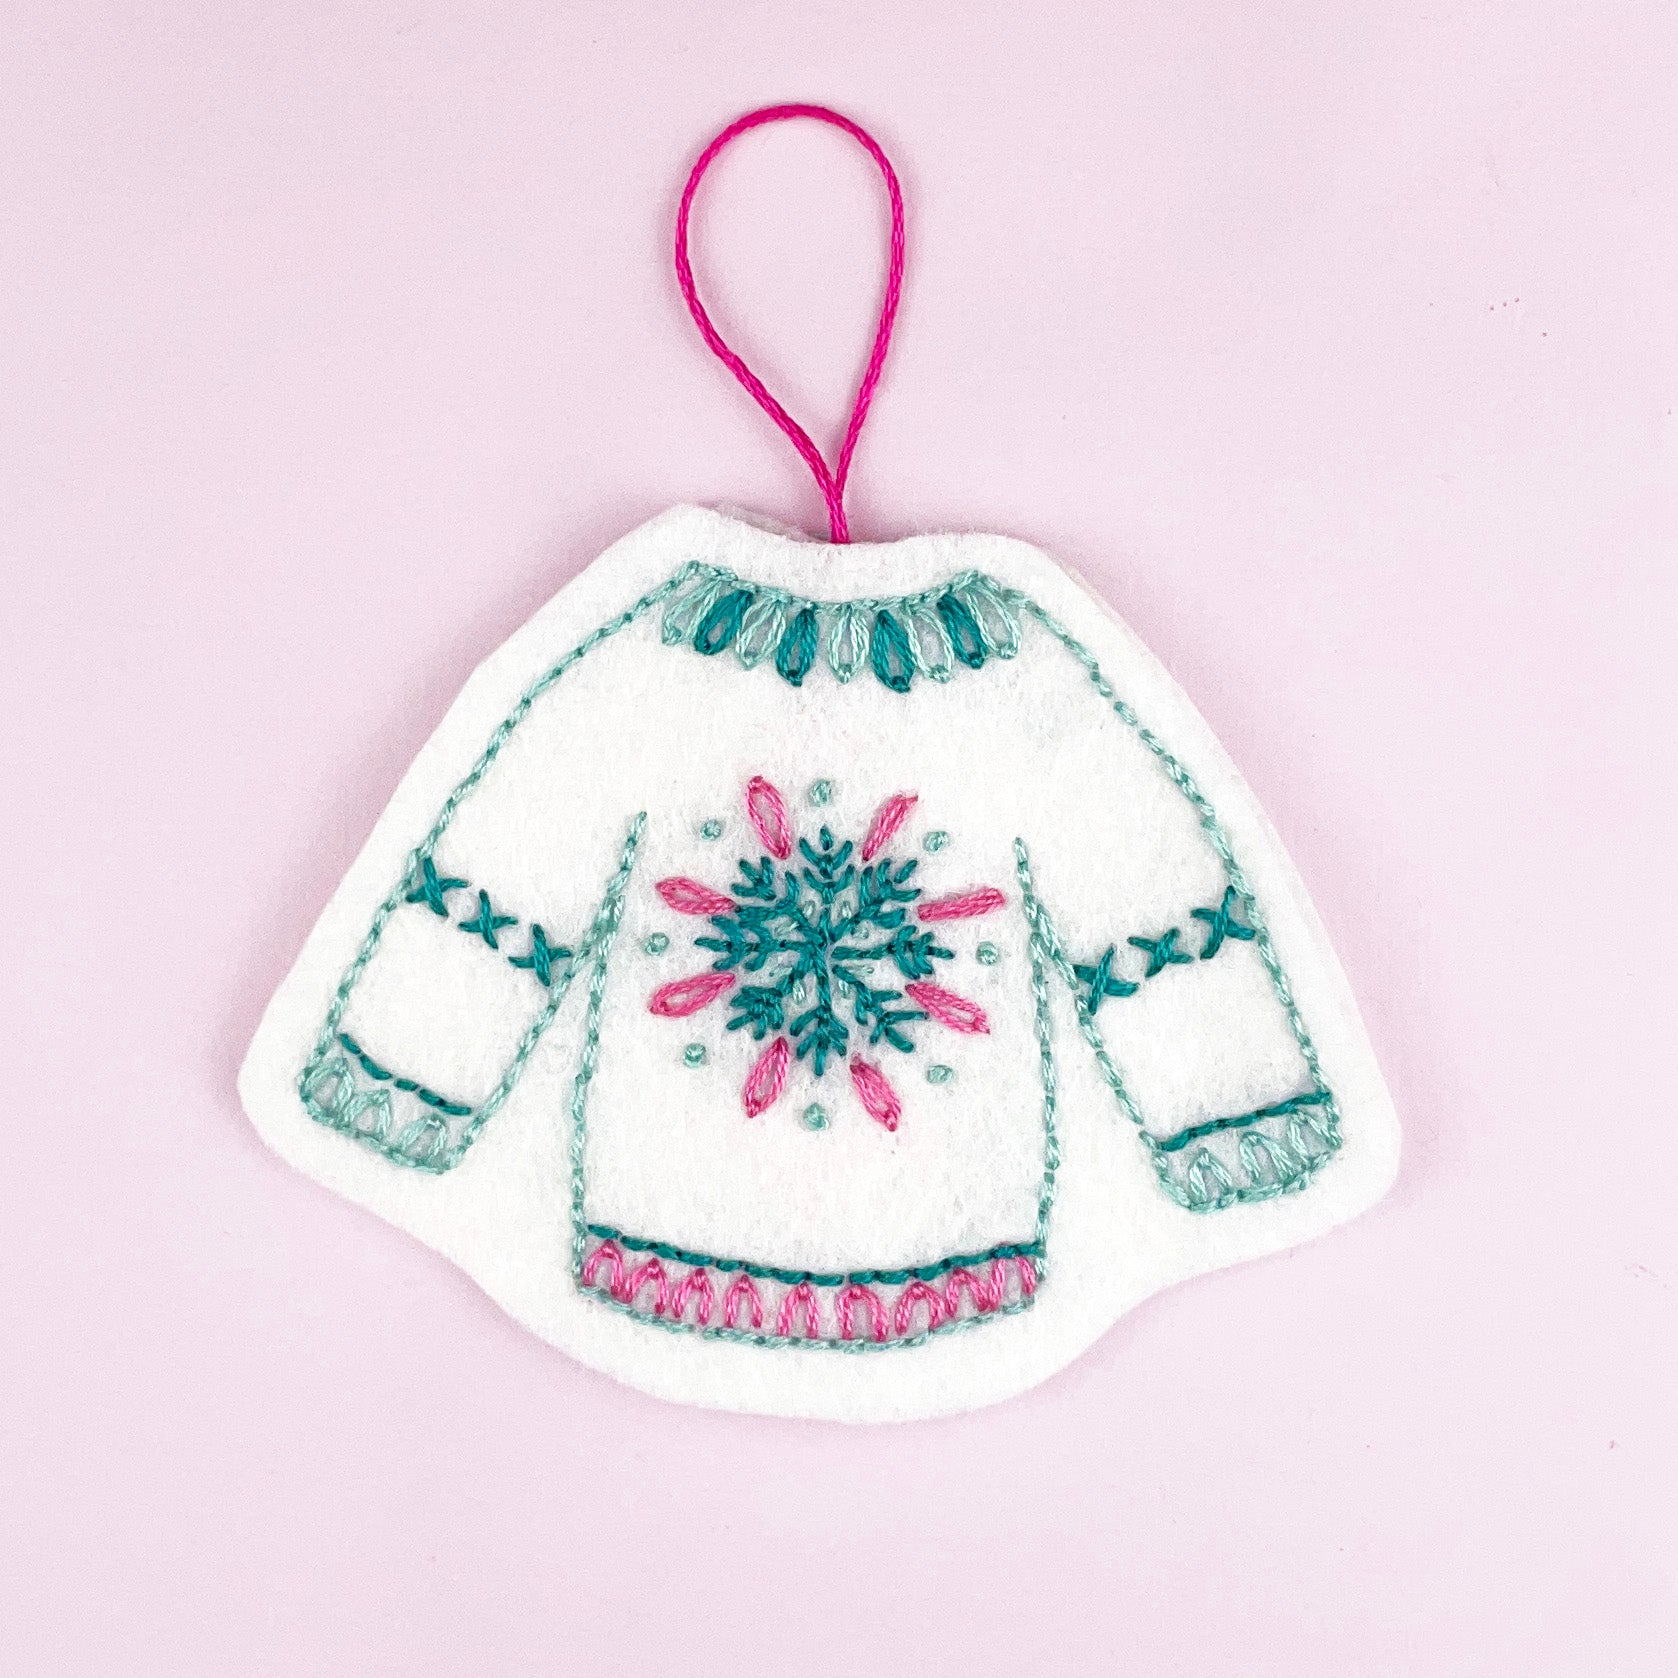
If you would like a simple first project, see how to embroider a sweater.
Ready to try it?
If you have been putting off embroidery because transferring designs felt tricky, this is a lovely easy place to start.