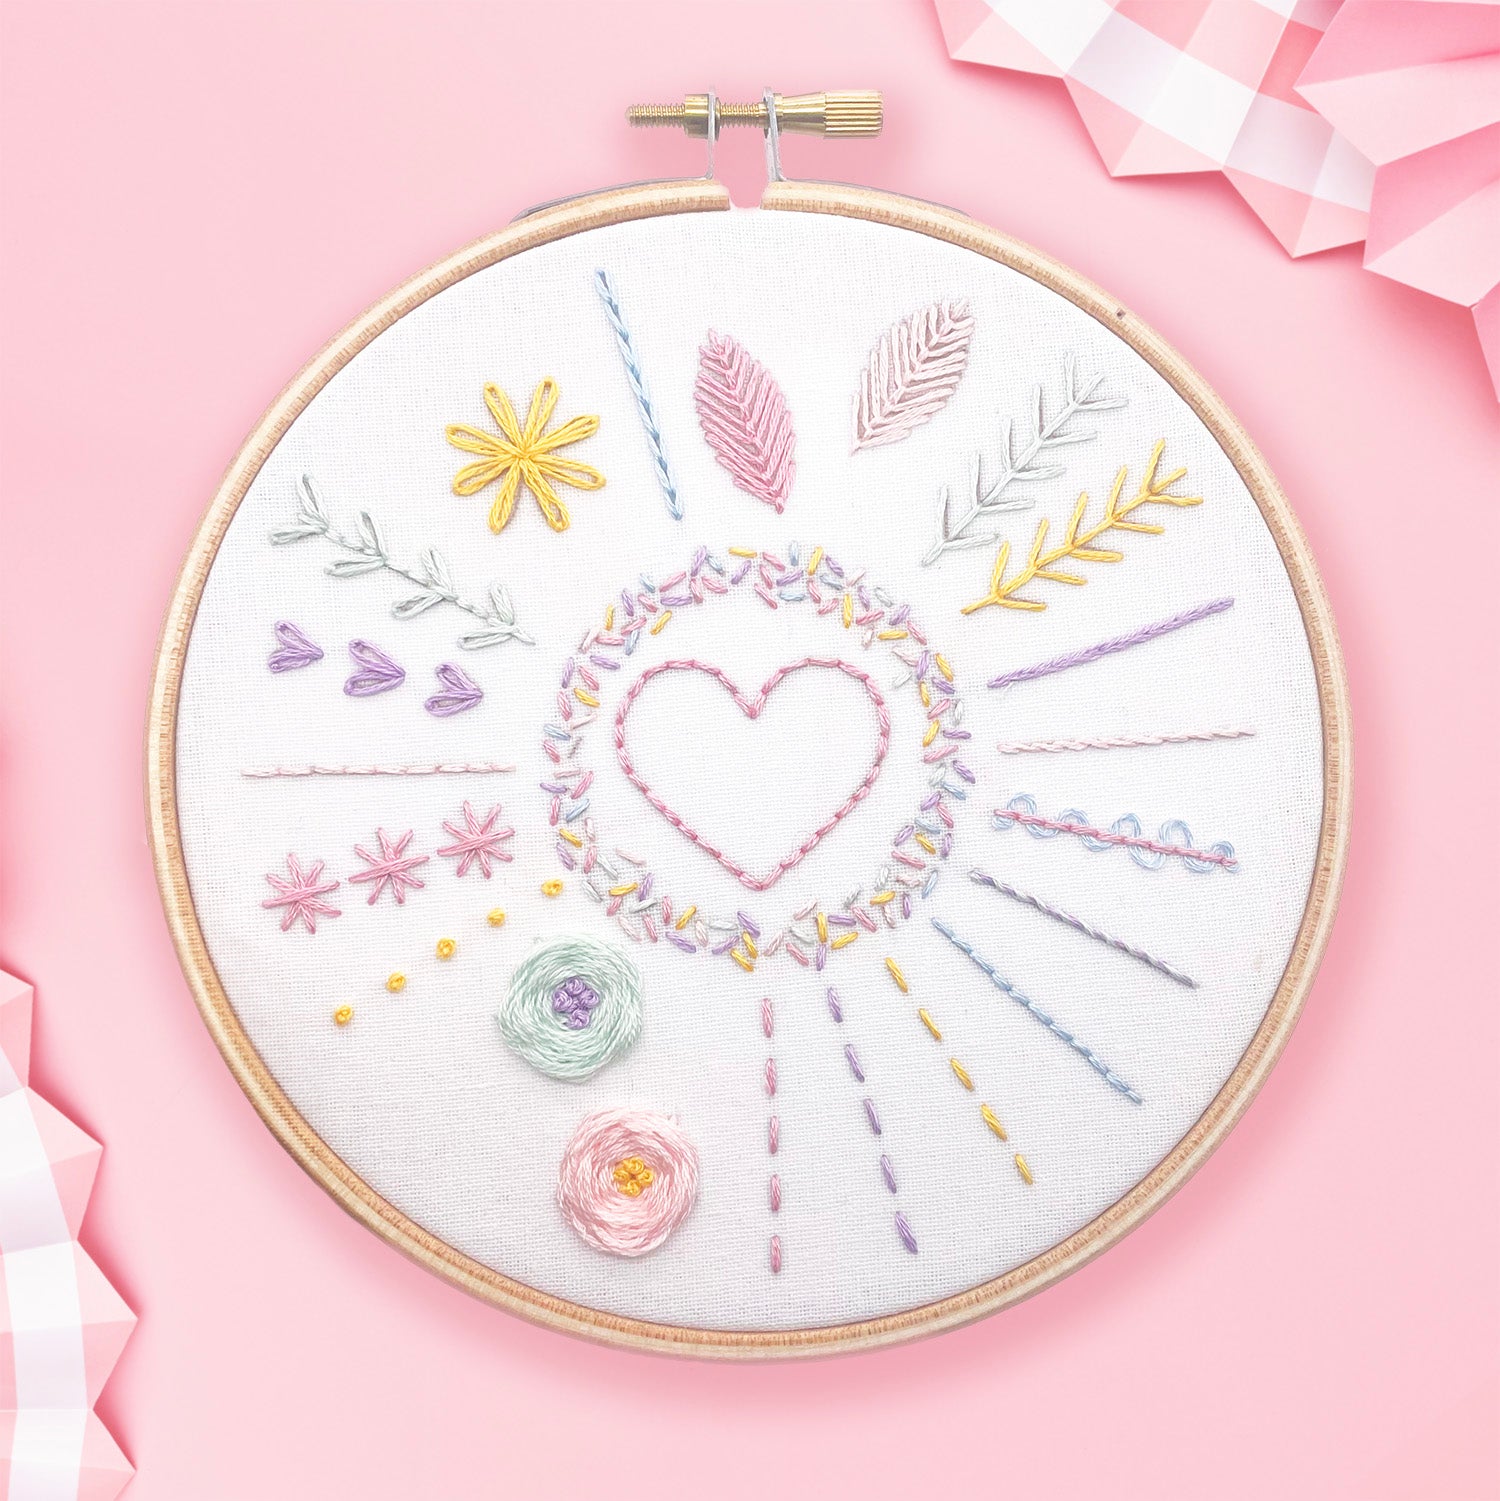
Create this cute flower hoop and learn how to embroider a flower
This tiny project will give you the chance to practise four common embroidery stitches: Stem stitch, satin stitch, split stitch and lazy daisy stitch.
We'll will take you through the process step-by-step and show you how to embroider a flower and create this lovely hoop.

Difficulty Level: Easy
Project Length: Quick
To stitch your own simple flower hoop you will need:

Preparation
To begin cut out the 'flower' design from your sheet of test transfers and follow the pack instructions to iron the transfer on to the middle of your blue fabric. Iron your fabric first so it is warm when you apply the transfer.
Make sure the transfer is straight and central before pressing with a hot iron.
TOP TIP: To make sure you protect your ironing board or heat proof surface from the transfer ink place some scrap material under your embroidery fabric before ironing on the transfer. Occasionally the ink can go through the fabric to the surface behind.

Once transferred carefully remove the transfer. Be careful as it may still be hot.

Now layer your cream fabric with the blue fabric on top and place them both in your embroidery hoop. Make sure the fabric is tight and the design is in the middle.
If you are not sure how to set up your hoop you can find a full guide here or watch the video at the top of this page.
Now you are ready to start stitching!

Stitching Notes
Step One:
To begin cut an arm's length of the bright blue thread and separate 3 of the six strands by untwisting the thread (if you are new to embroidery and have not done this before you will find more instructions in our beginner's embroidery guide).
Thread your needle with the 3 strands and tie a knot in the other end.
Now begin to stitch the at base of the flower stem you will be using stem stitch to embroider the stem. You can see the steps for stem stitch below (a-d) or click here for a full guide to stem stitch.
Continue stitching until you have covered the entire stem with stem stitch.


Step two:
Now stitch the leaves along the stem using lazy daisy stitch.
Again, you will be stitching with 3 strands of blue thread.
You can see the steps for lazy daisy stitch below or click here for a full guide to lazy daisy stitch.
Place one stitch over each of the leaves.


Step three:
Now stitch around the heart shape below the petals. Again use 3 strands of blue thread but this time you will be using split stitch.
You can see the steps for split stitch below (a-d) or click here for a full guide to split stitch.
Continue stitching until you have covered the outline of the heart shape with stem stitch.


Step four:
Next fill each petal with satin stitch. Start each stitch at the edge of the petal and work towards the center.
Again use 3 strands of blue thread but this time you will be using satin stitch.
You can see the steps for satin stitch below (a-c) or click here for a full guide to split stitch.
Continue stitching until you have filled in each petal with satin stitch.

Satin Stitch:

Step five:
Finally you will be adding the white highlights to the flower. Thread your needle with 3 strands of white thread and begin by placing 3 simple stitches on each petal as shown in the photo.
Still using 3 strands of white thread, fill the inside of the heart shape with satin stitch.
Finally place 2 simple stitches inside each of the petals.

Finishing your hoop.
You can find a full guide photo guide to finishing you hoop here.
One for have finished embroidering the flower turn your hoop over and carefully trim away the cream backing fabric only.
The you will need to trim the remaining blue fabric in to a circle that is roughly 2cm bigger than your hoop.
Finally place running stitch around the edge of the circle you have just cut, leave both ends of the thread free and then pull them tight and tie together. The fabric should gather behind the hoop as shown.
You can add a ribbon to hang your hoop and display it at home!
We hope you have enjoyed learning how to embroider a flower and will use your new skills in future projects.

