How to Make Personalised Christmas Napkins
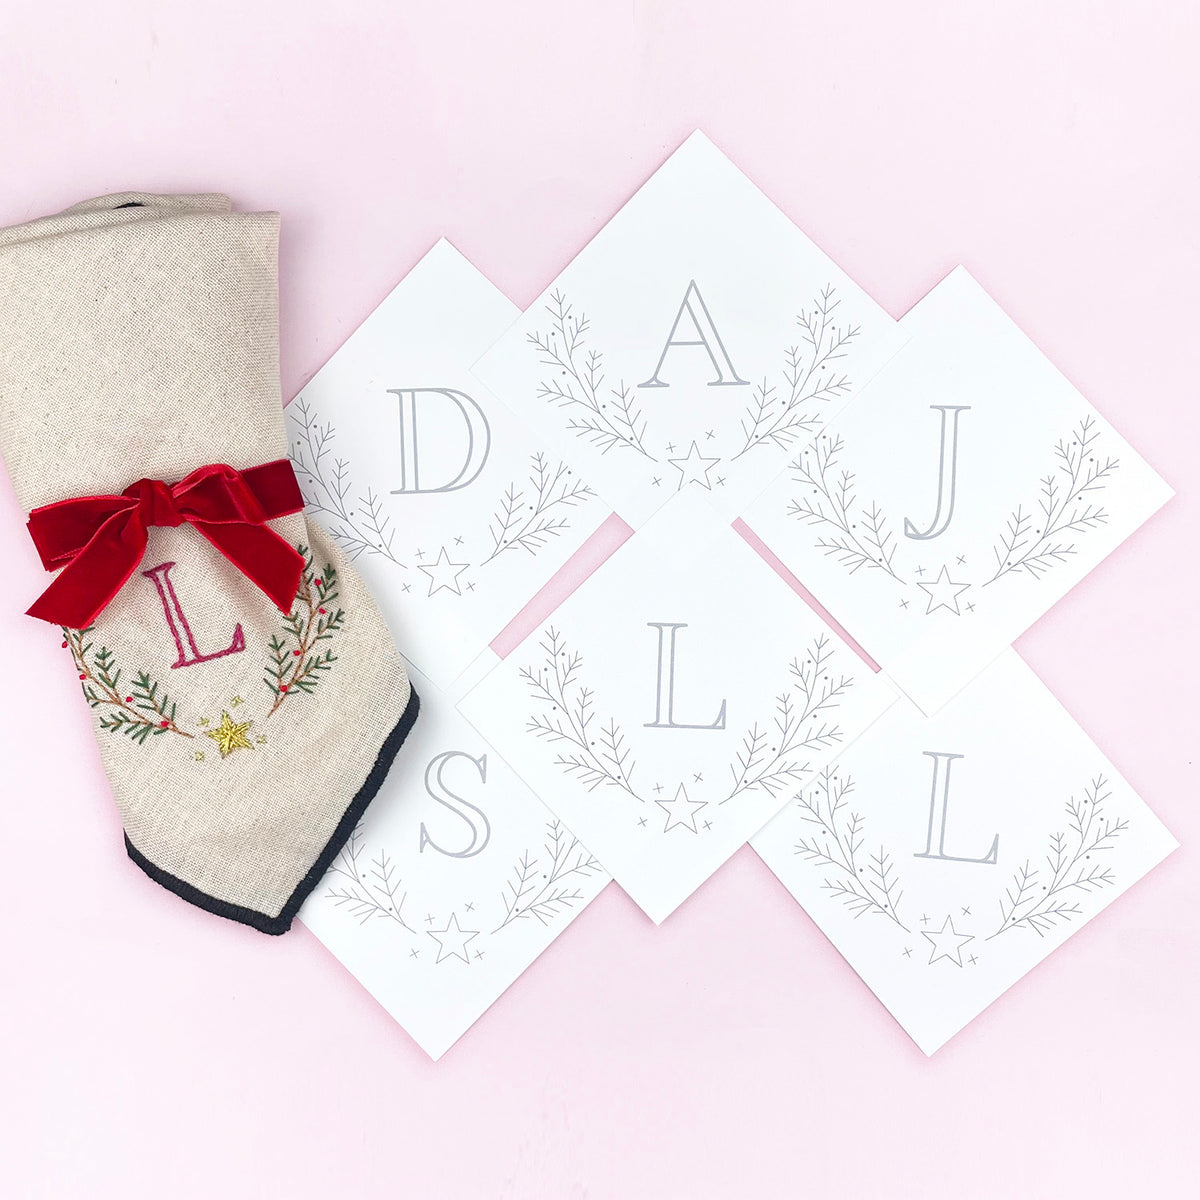
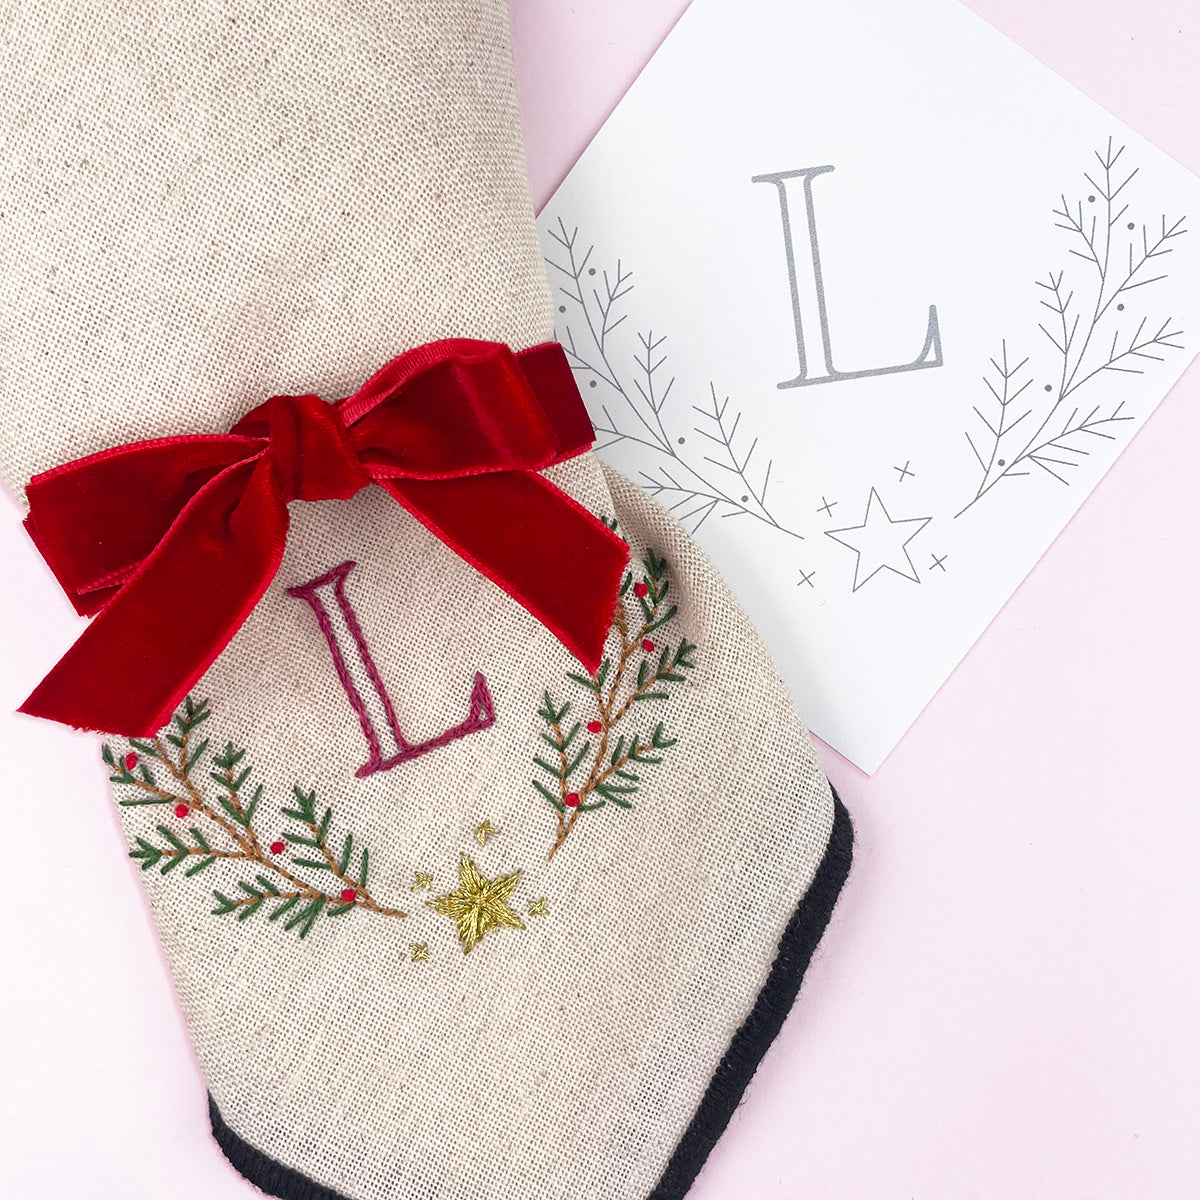
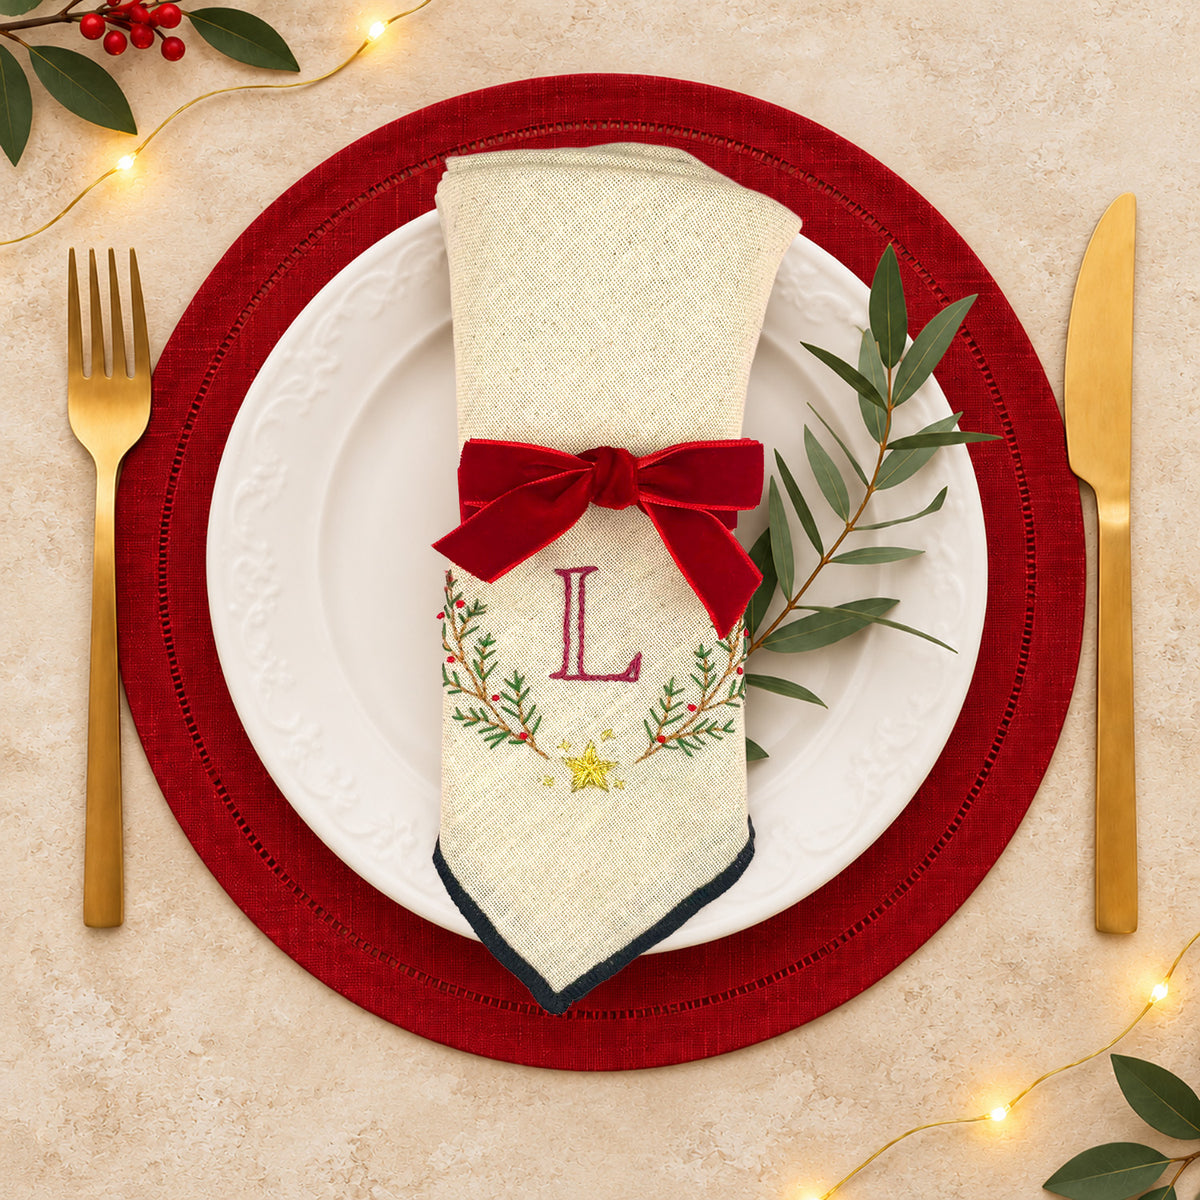
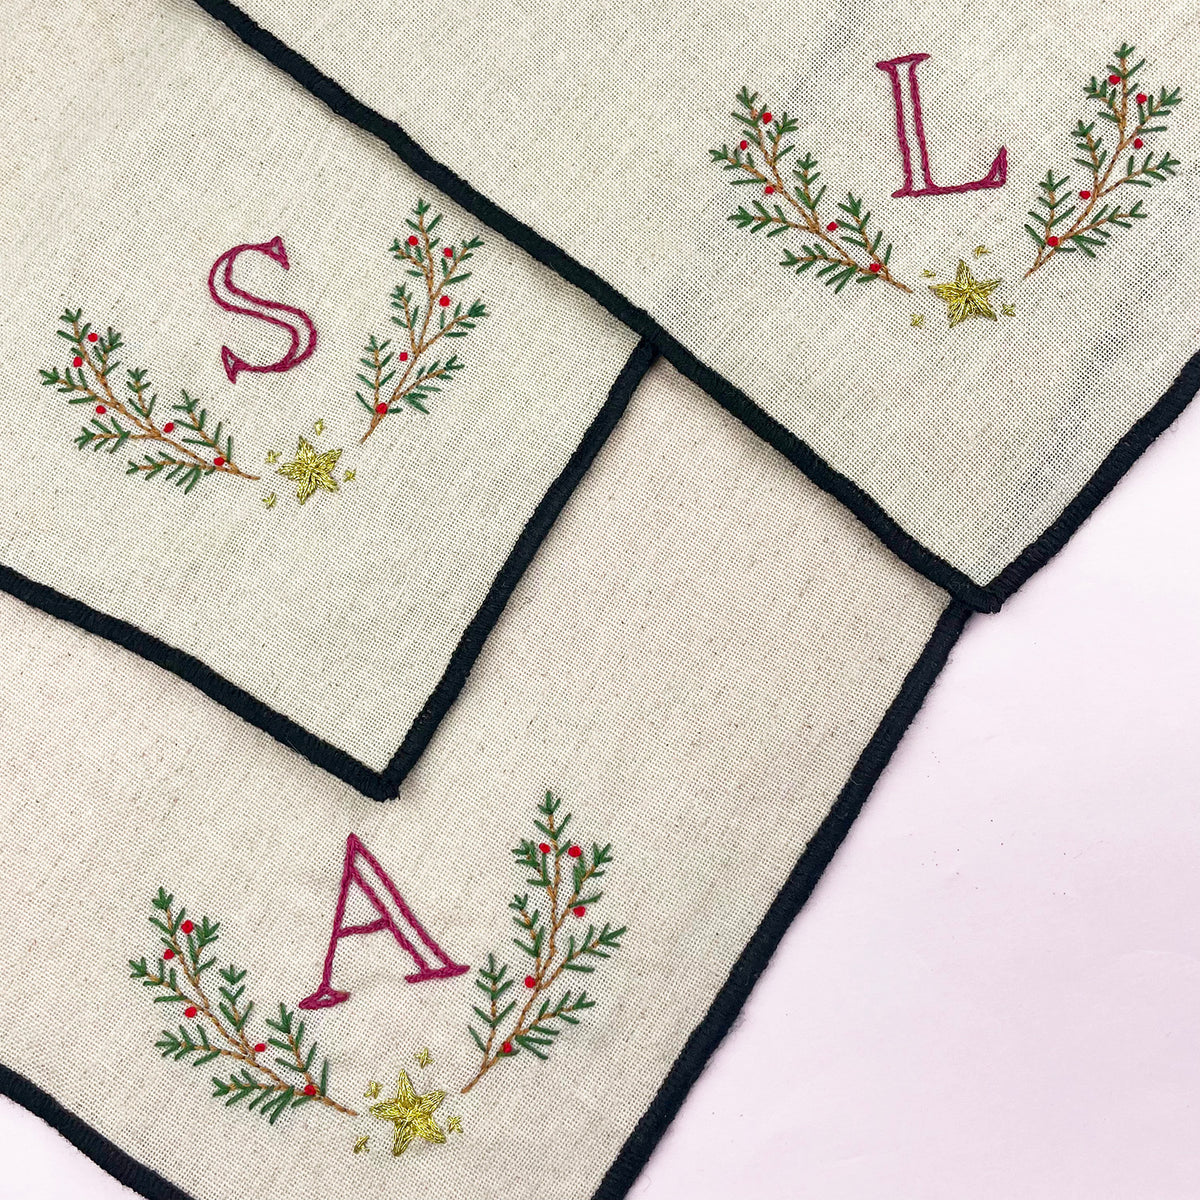
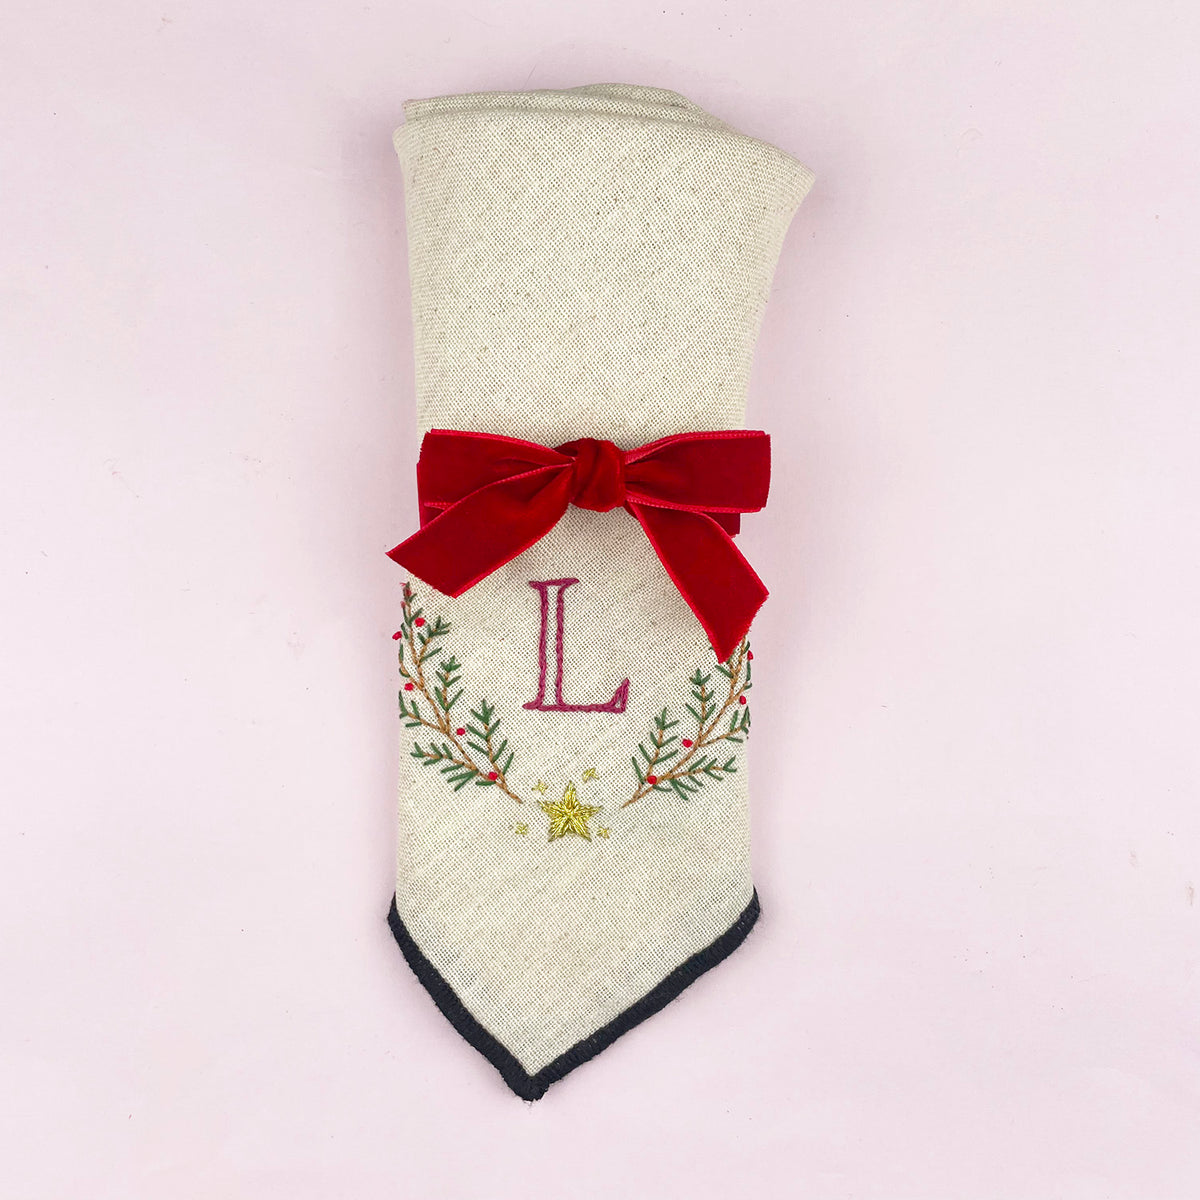
Add a little homemade touch to your Christmas dinner table with a set of personalised embroidered napkins! This is a quick and easy Christmas embroidery project, and a lovely way to make your table feel extra special.
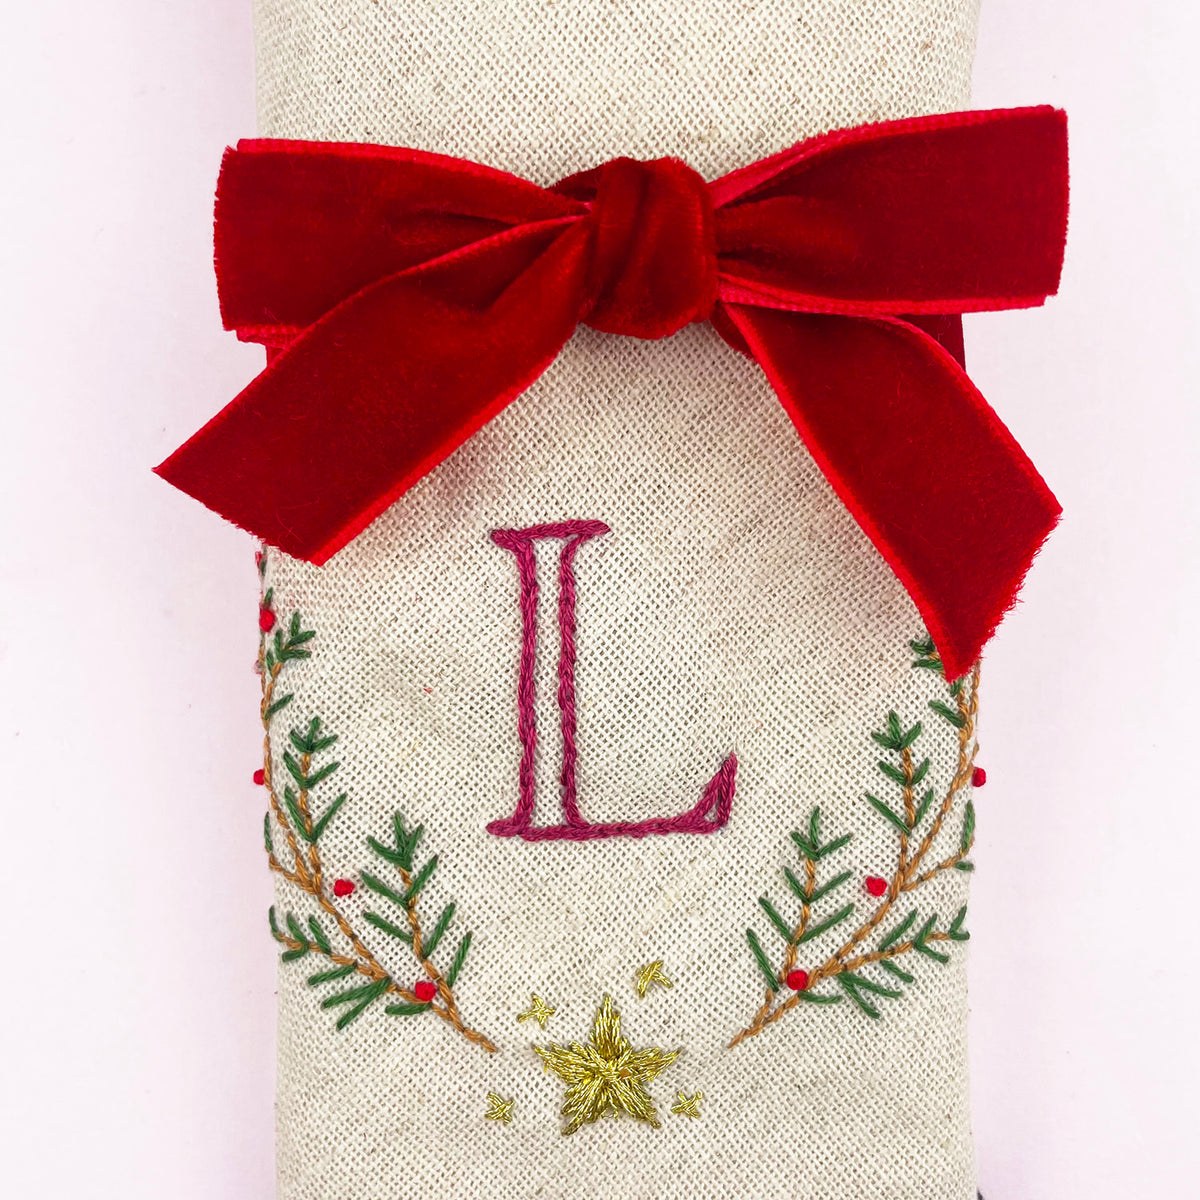
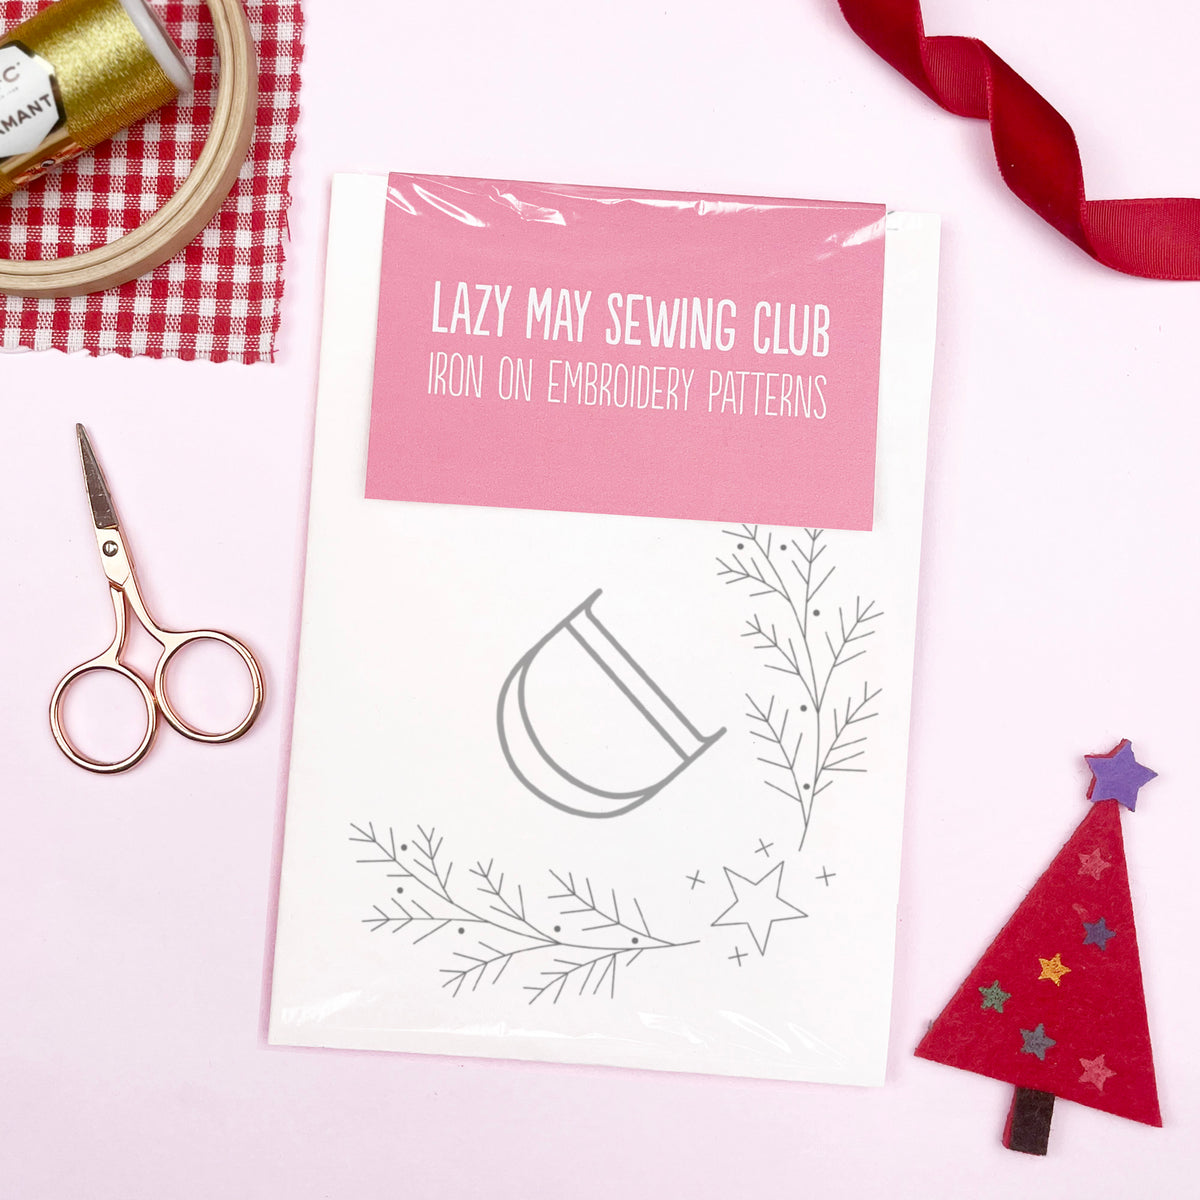
I'll show you how to make a set of four using my Personalised Christmas Napkins iron-on embroidery patterns. We'll stitch a little festive branch with red berries, a letter and a gold star in the corner of each napkin. You can make a matching set or choose a different initial for each person around the table.

What you'll need
- 4 plain fabric napkins
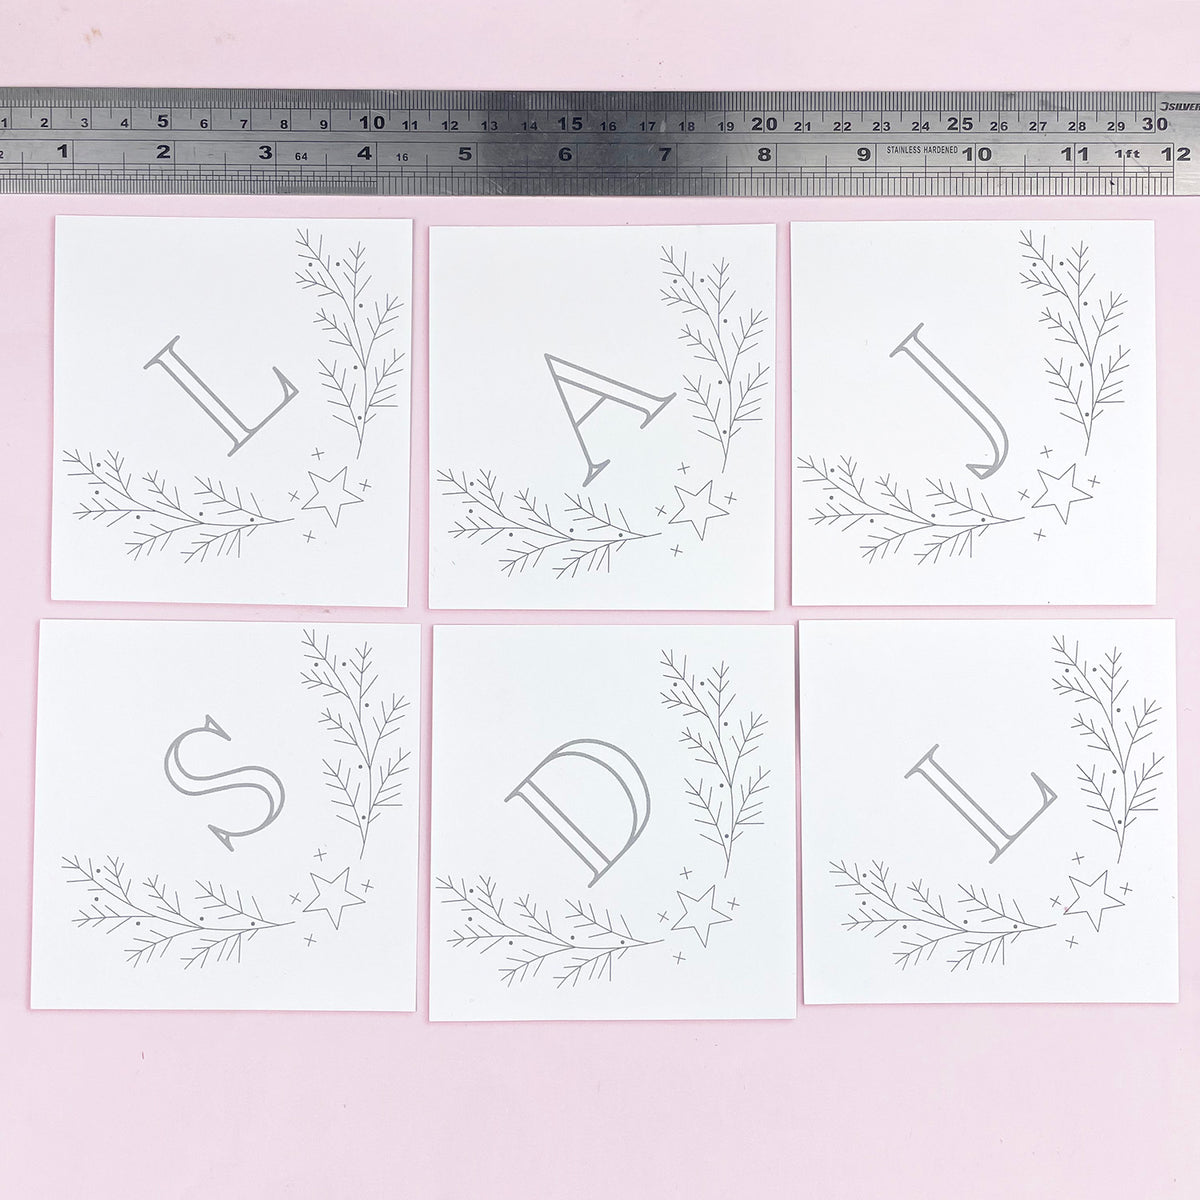
- Personalised Christmas Napkins iron-on embroidery patterns
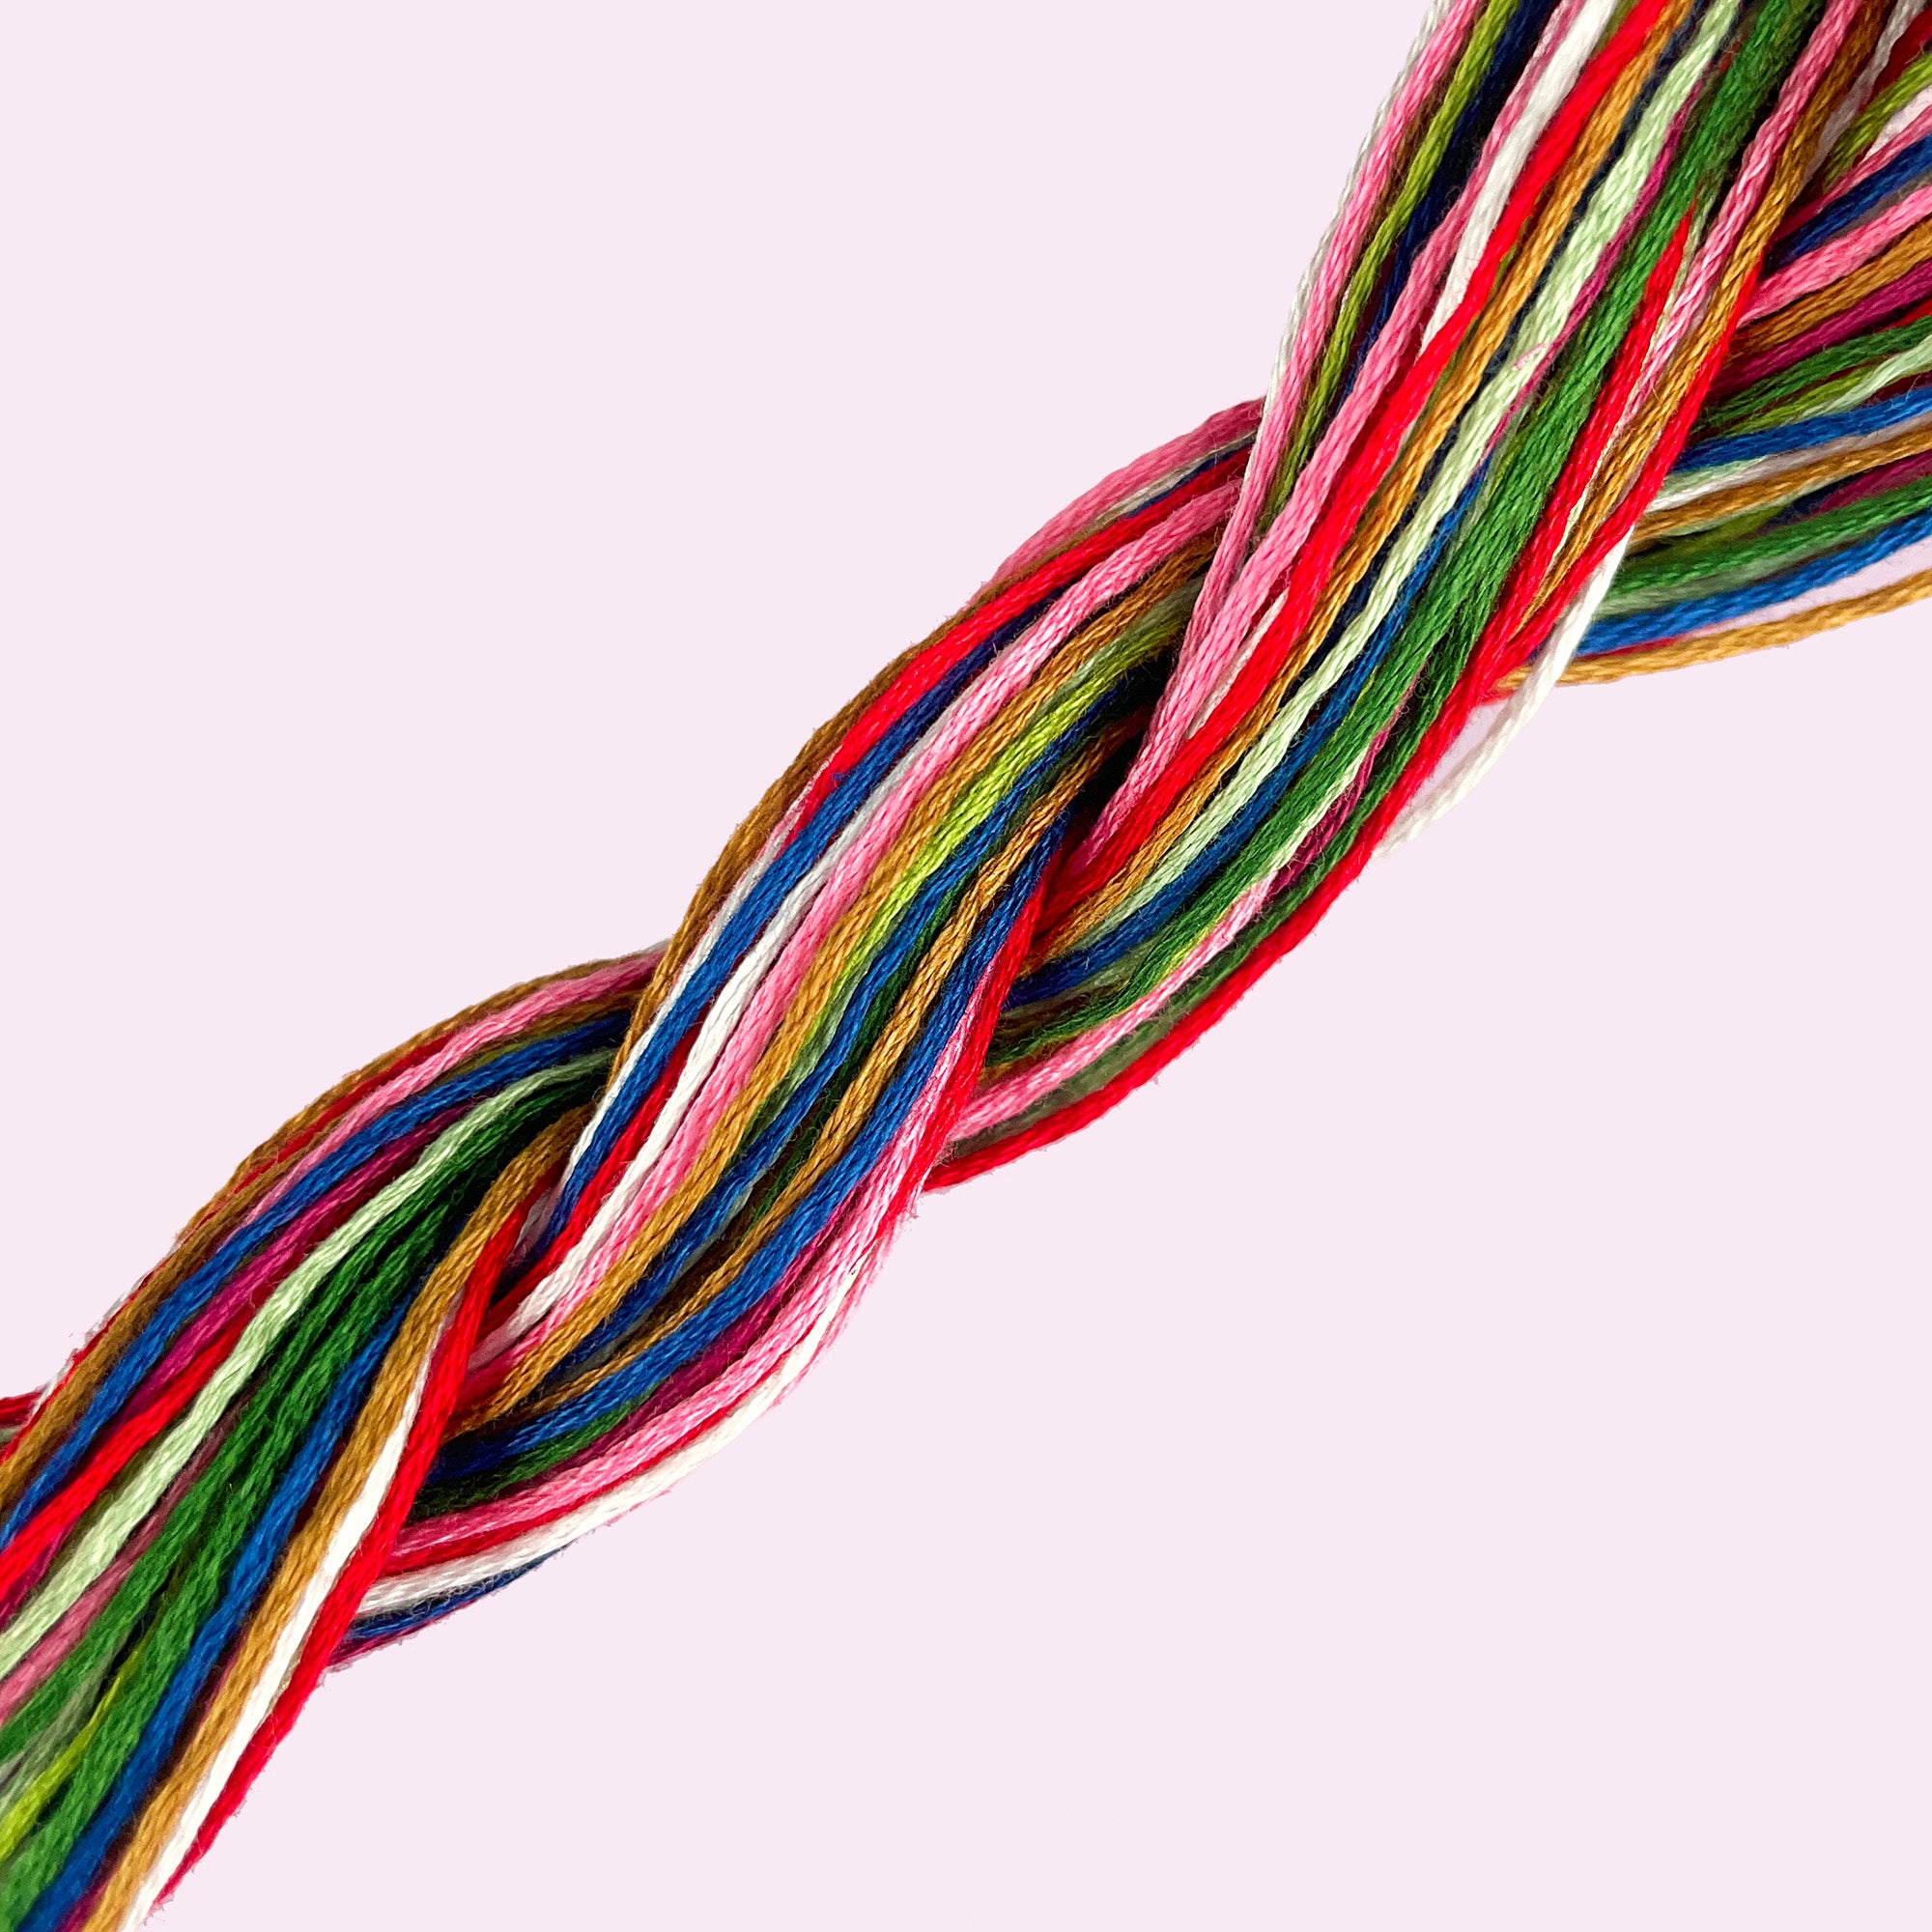
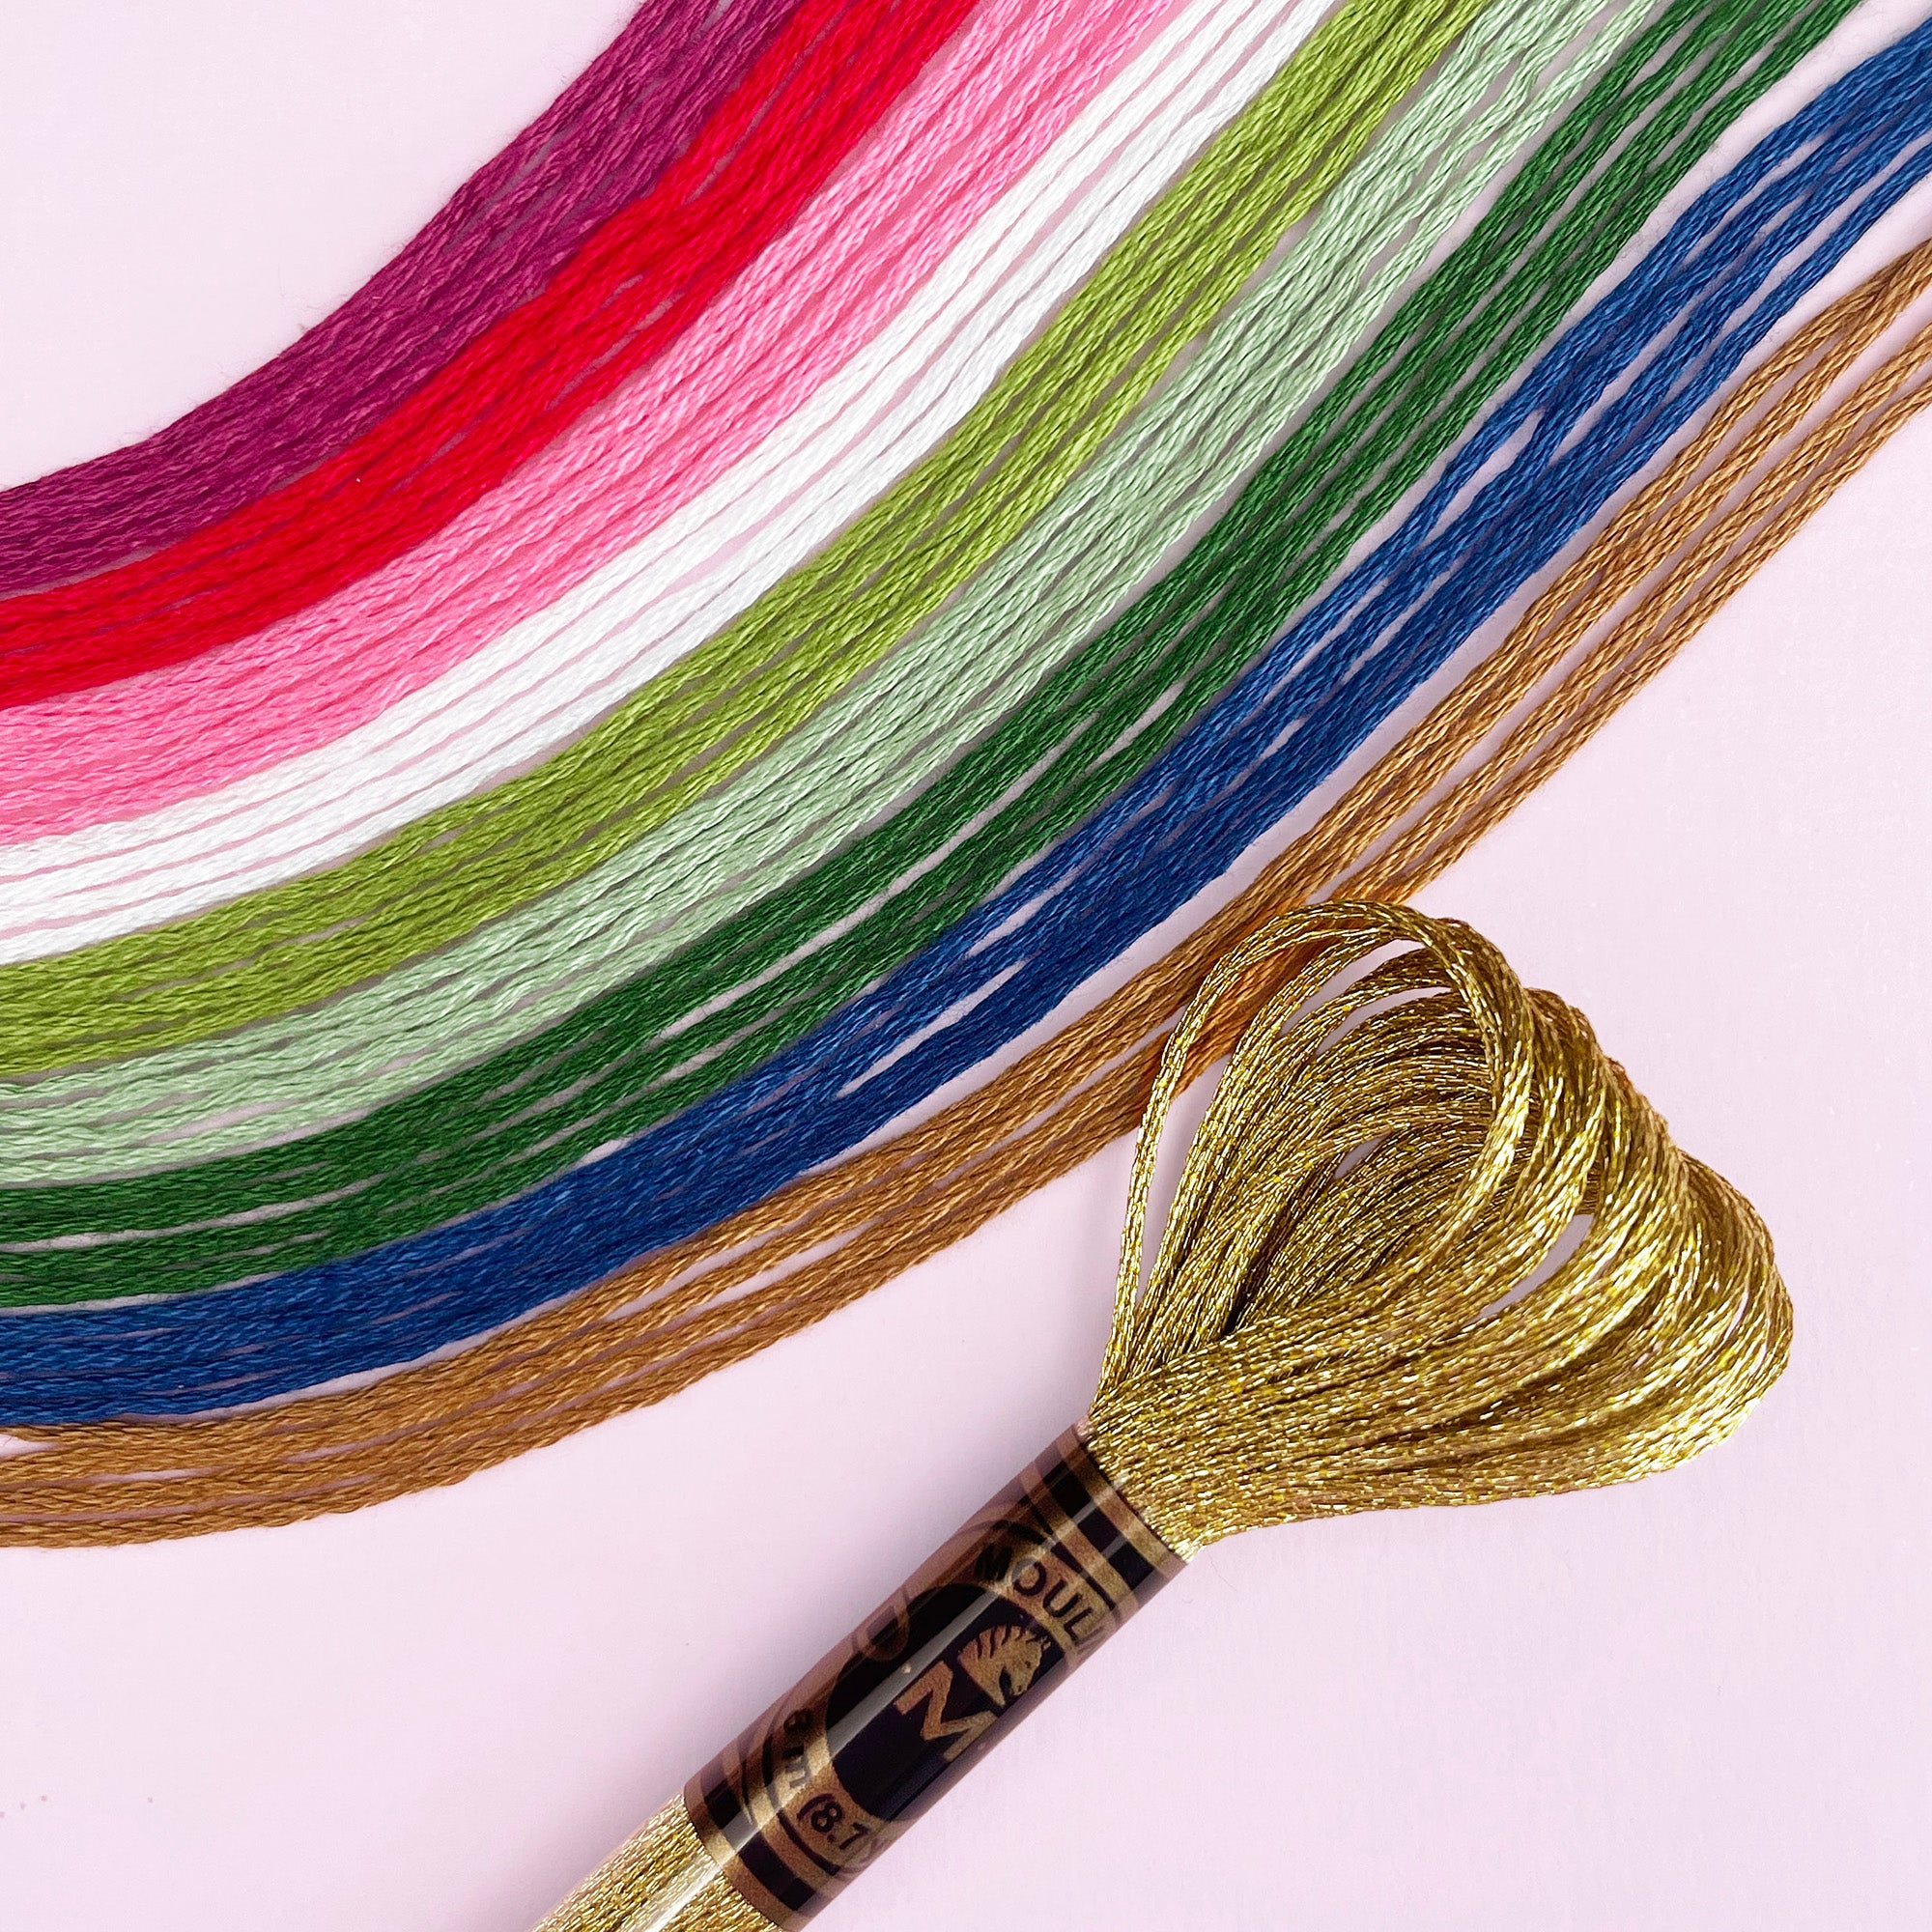
- Embroidery thread in gold, red, brown, green and burgundy (see the thread table below)
- A 3-inch embroidery hoop
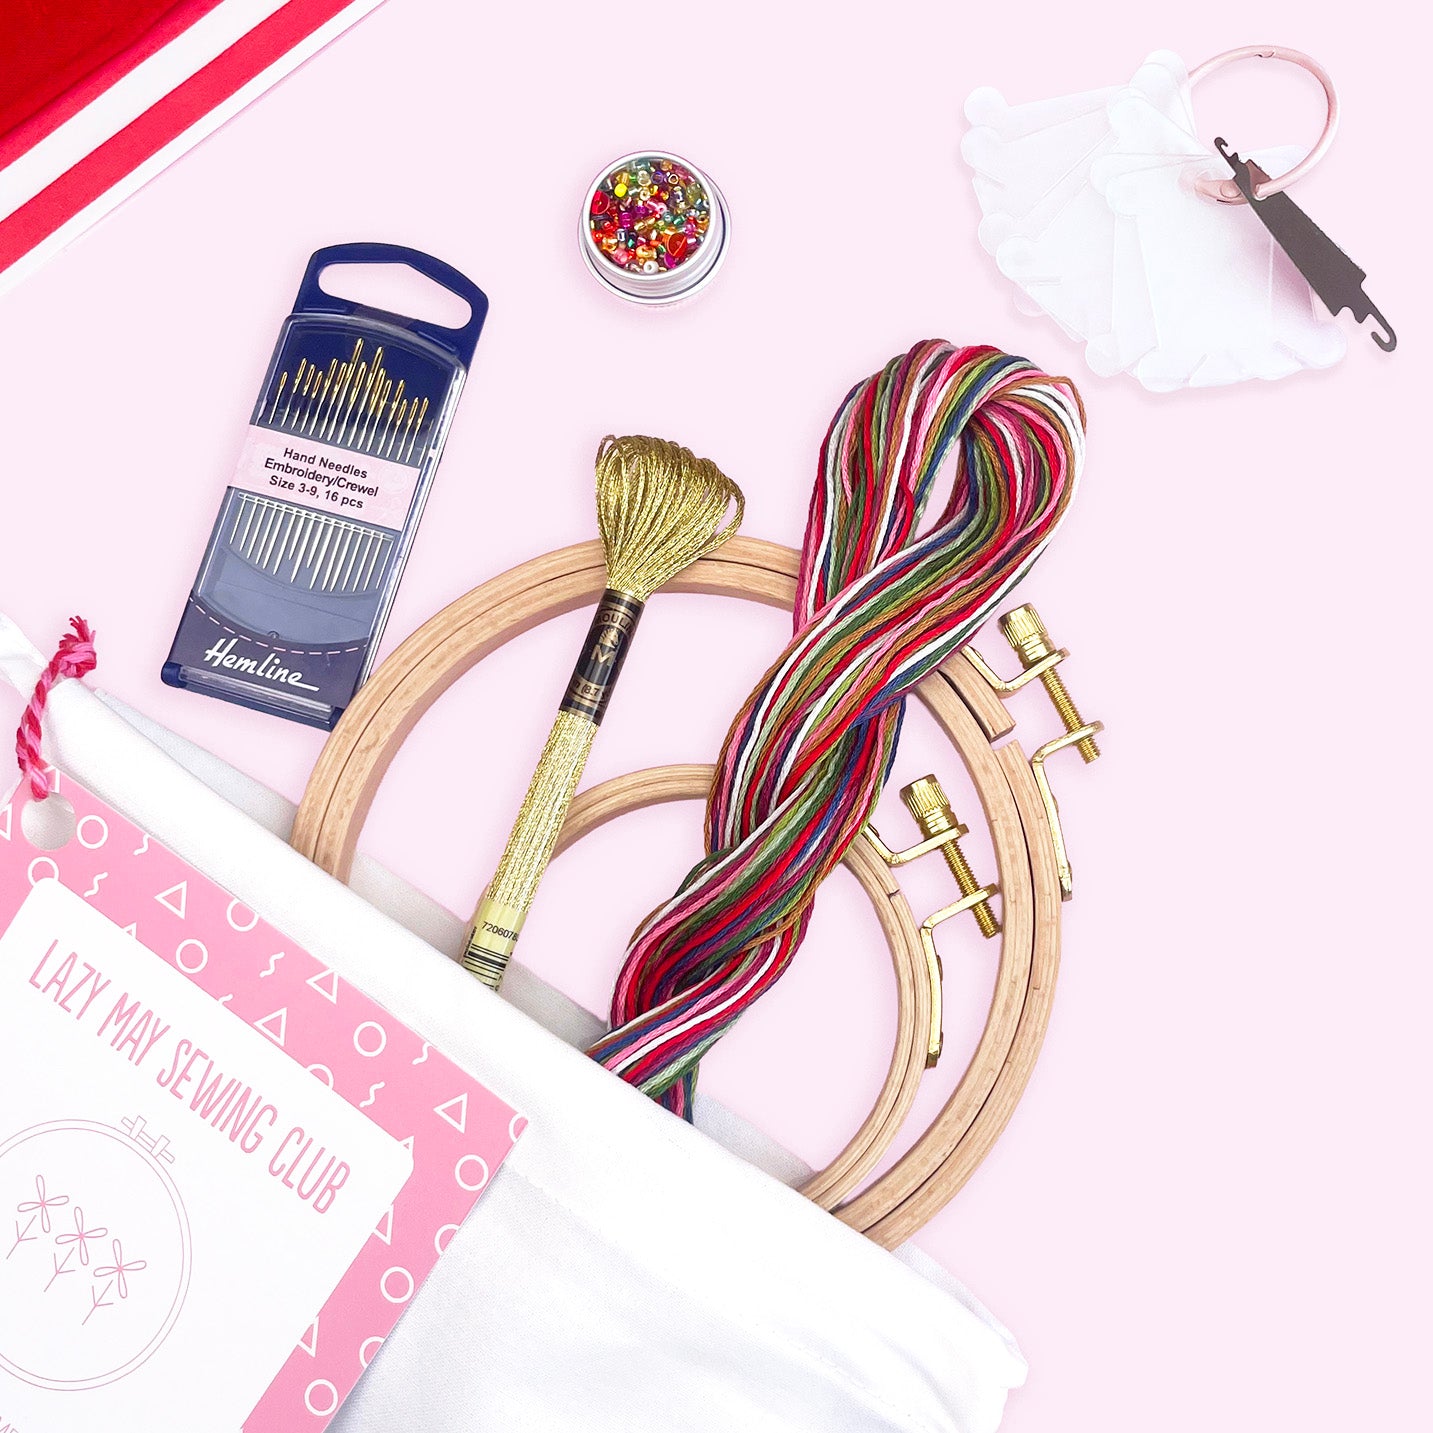
- An embroidery needle and small embroidery scissors
- Iron-on backing stabiliser to cover and protect the stitches on the reverse
- An iron, plus anything needed to apply your transfer following the pack instructions
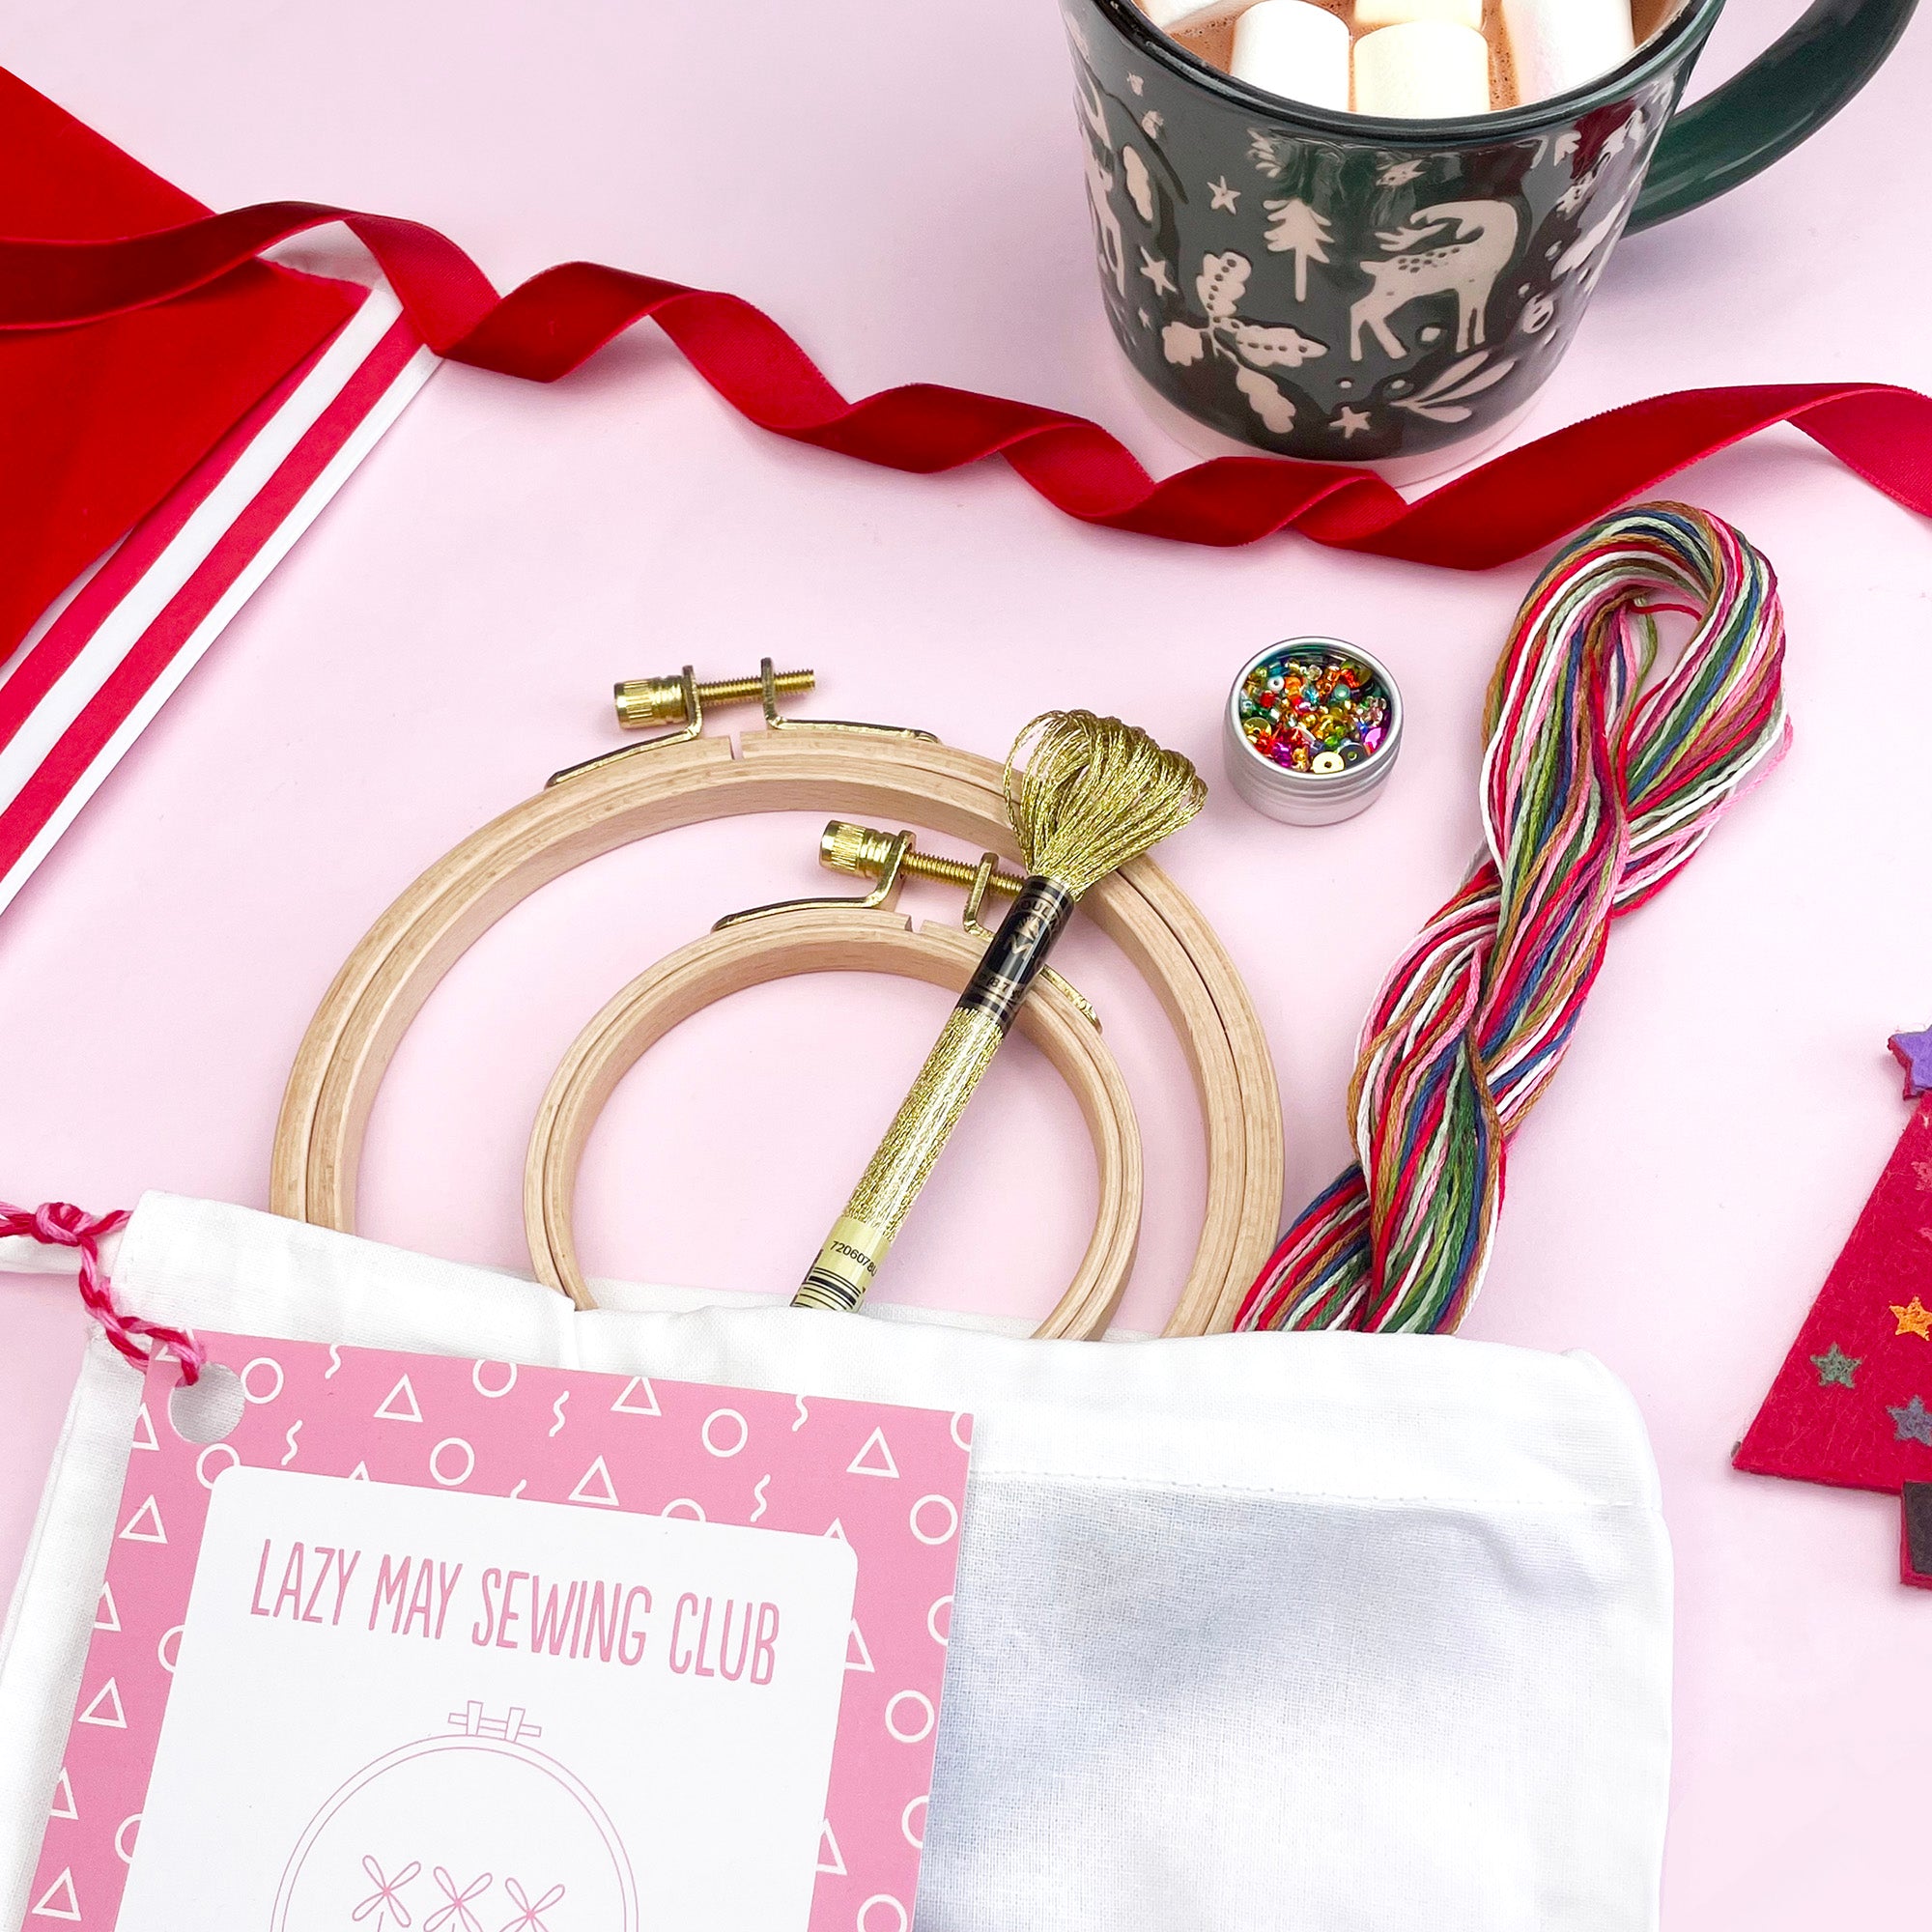
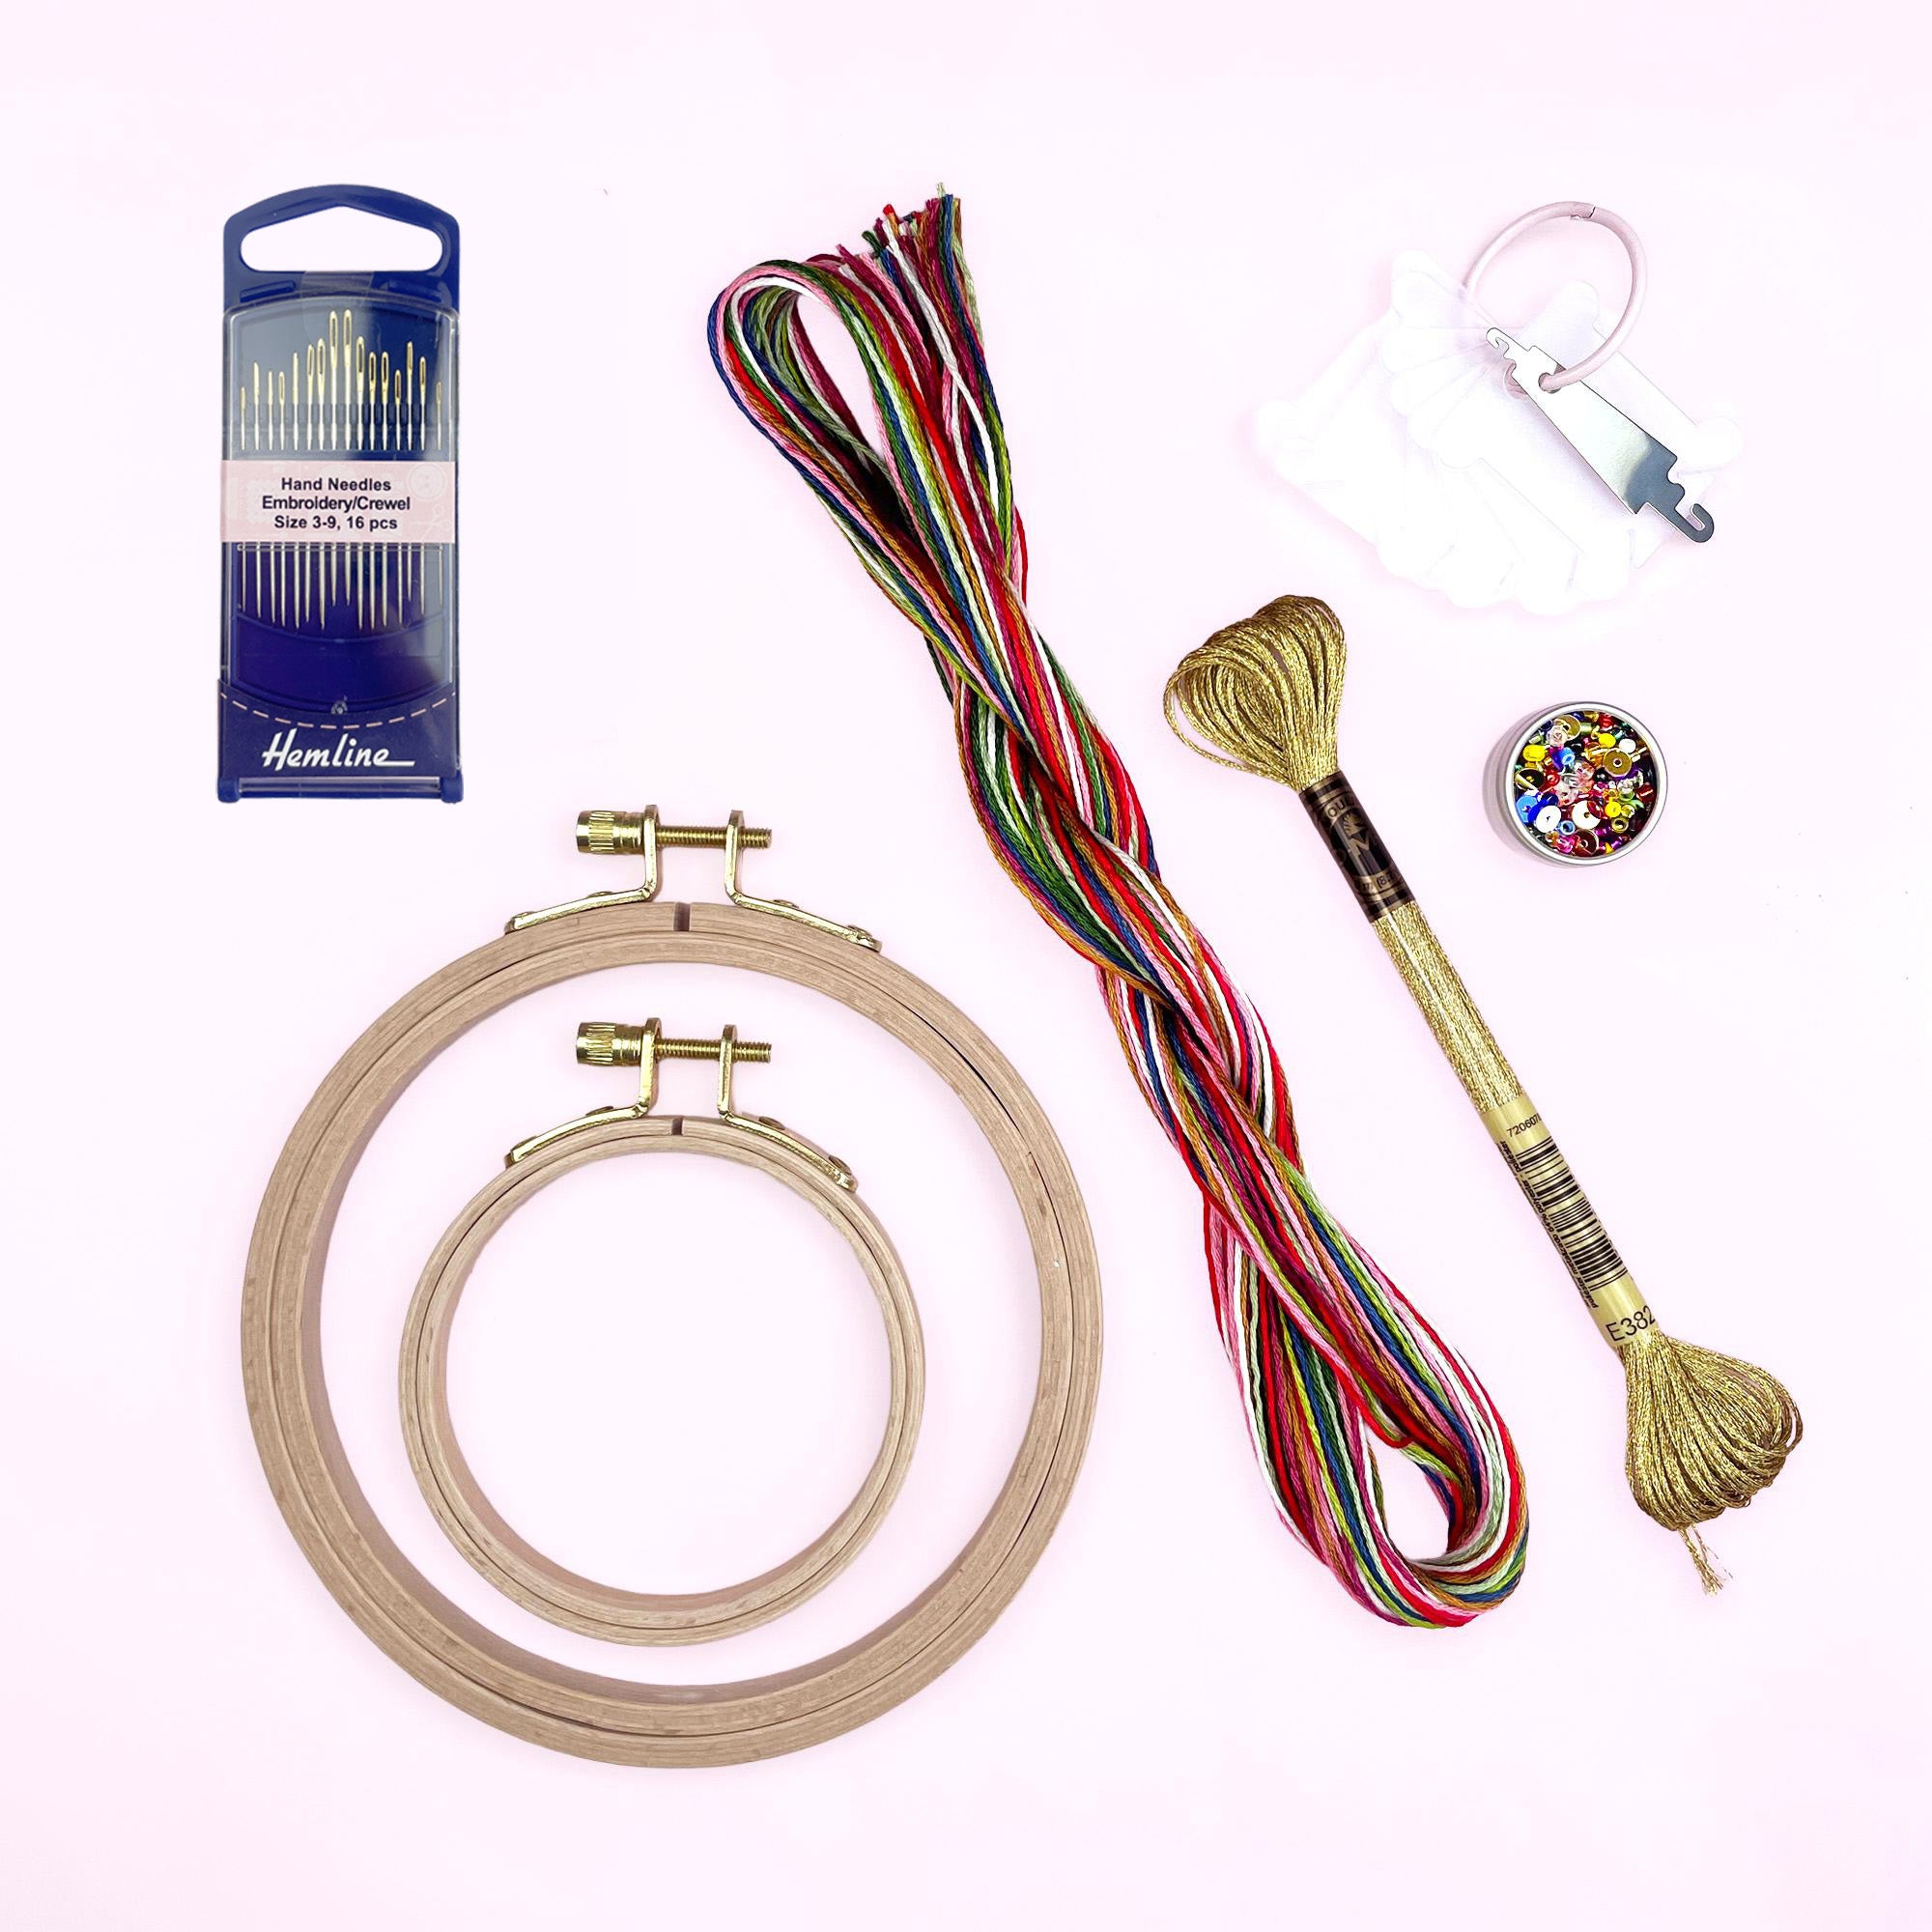
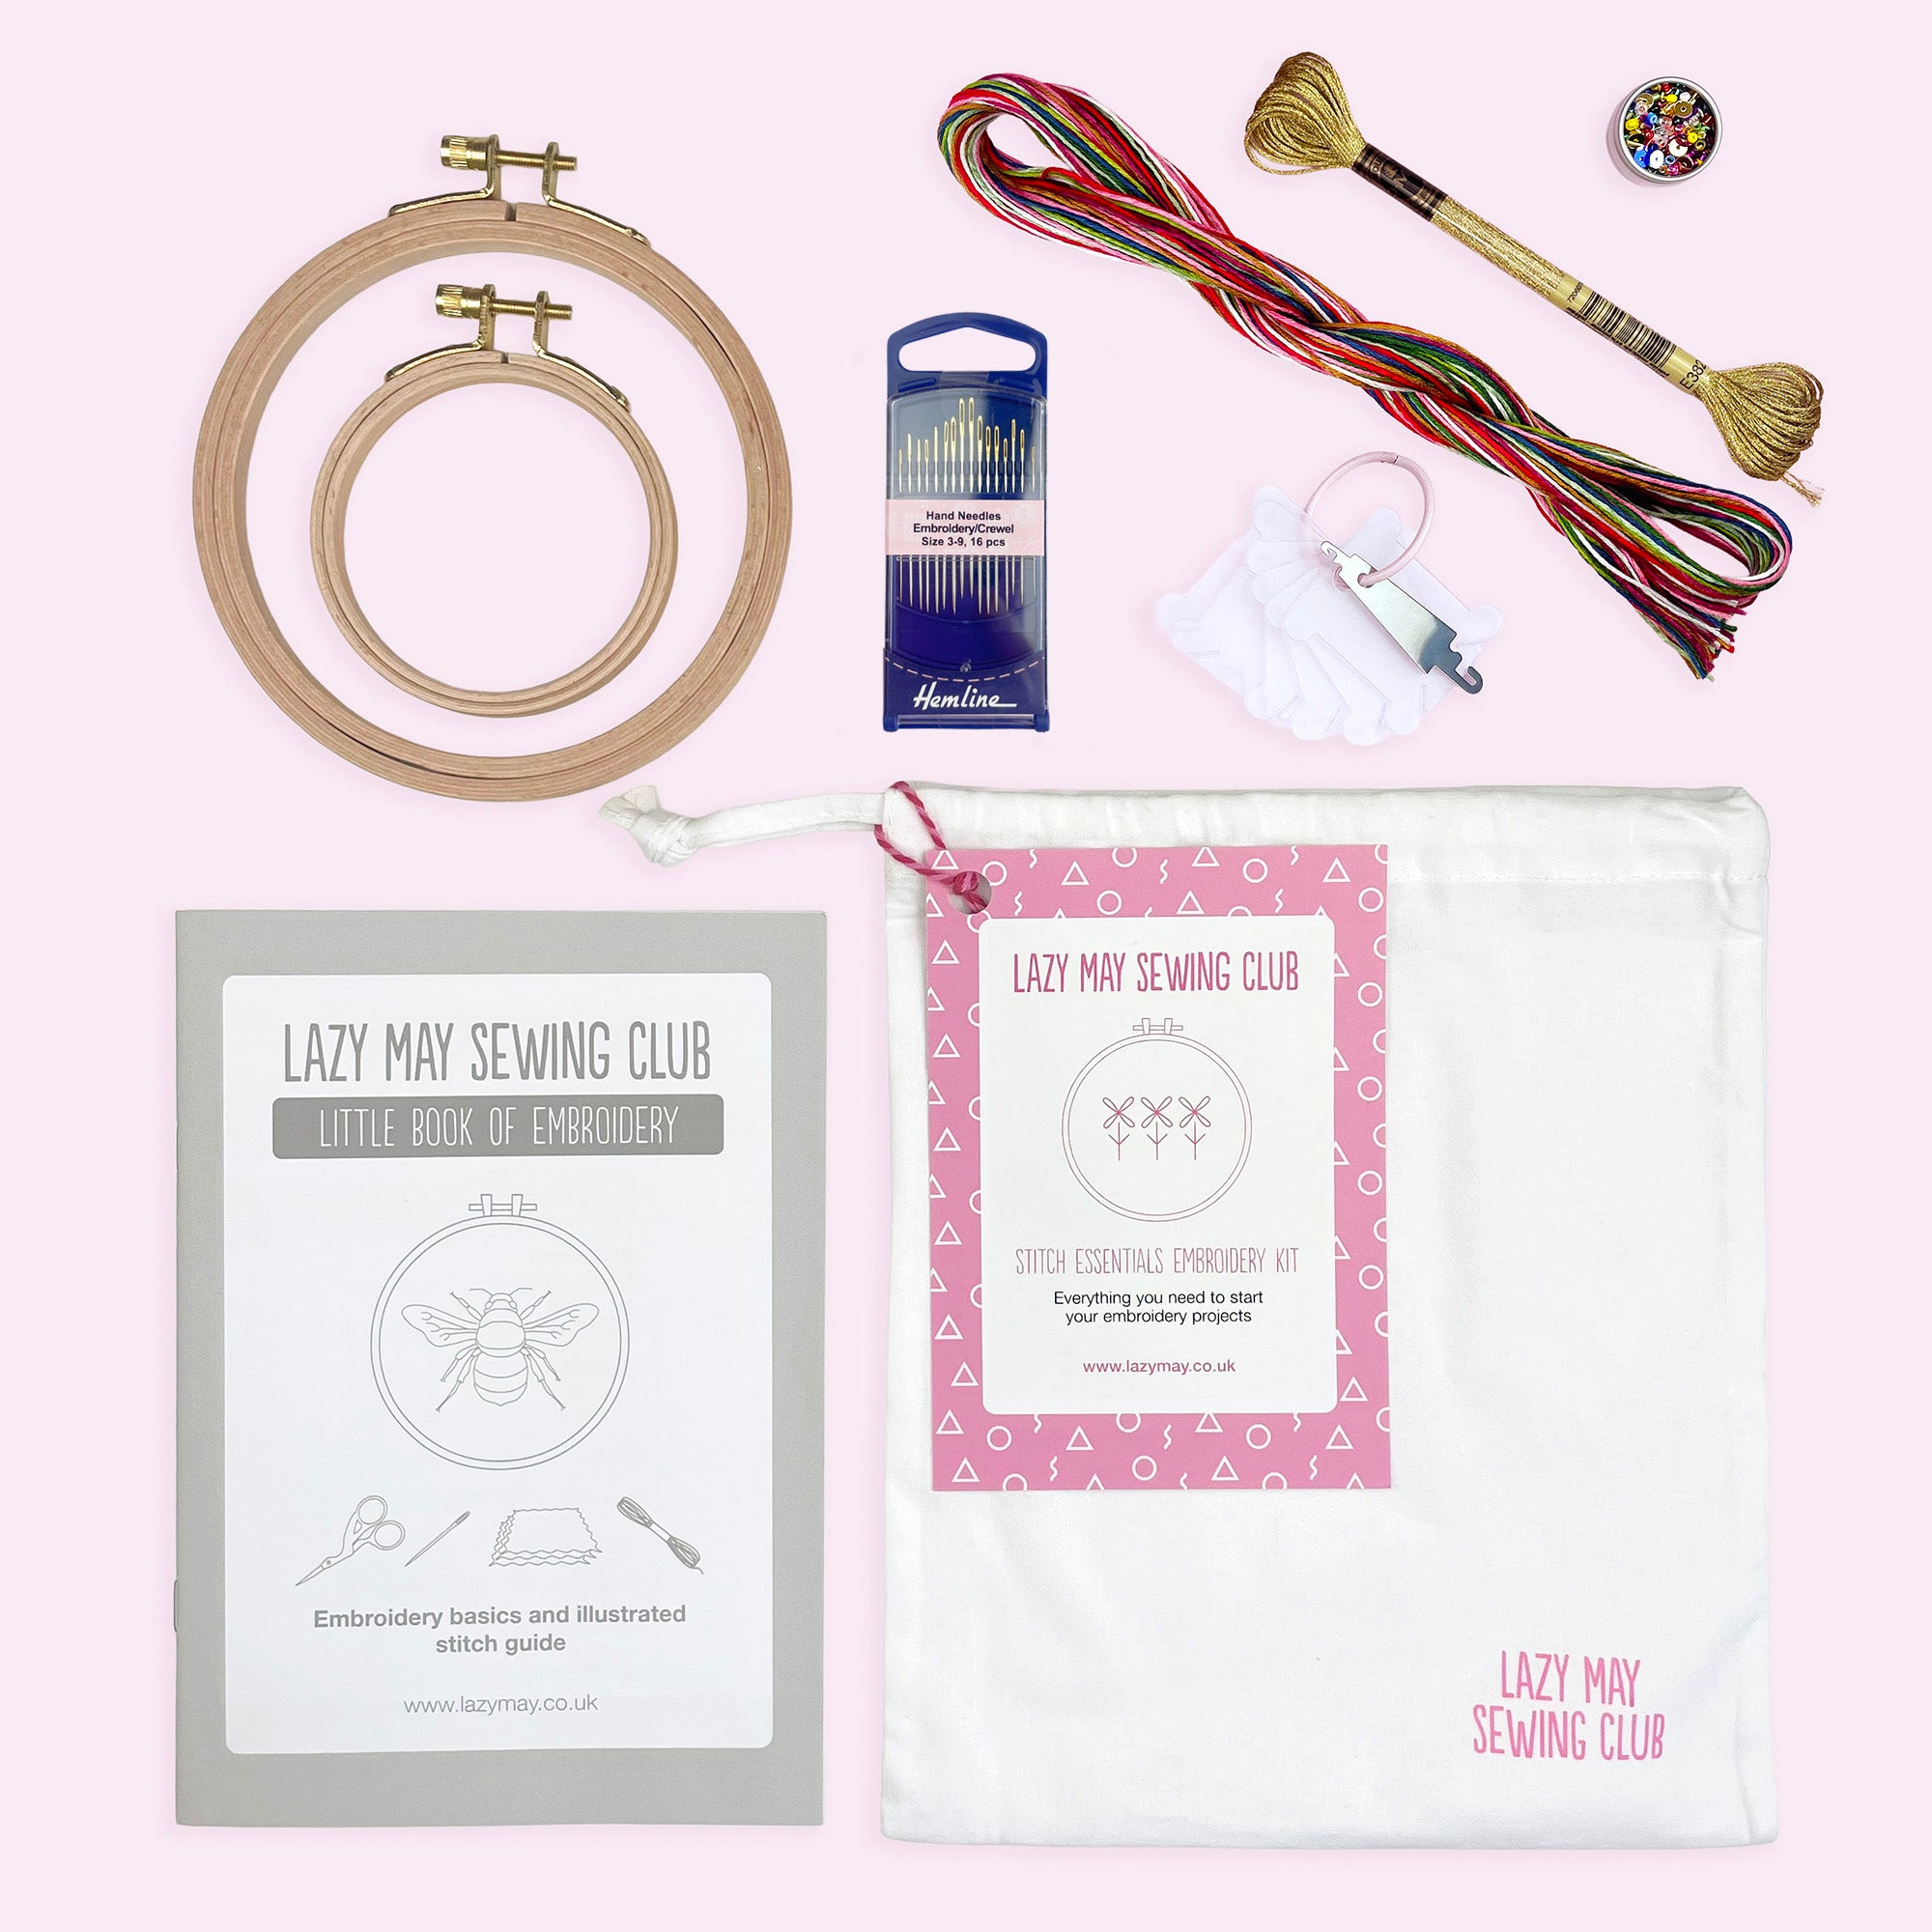
Need the threads and tools? My Festive Stitch Essentials Set has all the colours you need for this project.
Embroidery thread colours
Here are the colours used in the project.
| Colour | Used for | DMC | Madeira | Anchor |
|---|---|---|---|---|
| Gold metallic | Star and crosses | Light Effects: 3821 | - | - |
| Brown | Branches | 3776 | 2011 | 1048 |
| Green | Leaves | 904 | 1413 | 258 |
| Red | Berries | 321 | 507 | 47 |
| Burgundy | Letter | 315 | 810 | 1019 |

Start with your Christmas napkin pattern
My Personalised Christmas Napkins pattern makes it easy to add a little festive embroidery to plain napkins. For this tutorial I'm using the iron-on version, so there's no need to trace the design by hand.
Prefer dark napkins? Choose the Stick & Stitch version instead, so you can see the design clearly while you work.
Shop the iron-on napkin patternsStep 1: Position and transfer the pattern
Give your napkin a quick iron to remove any creases. Lay it flat and decide which corner you want to embroider.
Position the iron-on pattern with the star pointing towards the corner of the napkin. Check that the whole design sits nicely within the fabric before transferring it. Then iron on the design, following the instructions included with your pattern pack.

Step 2: Put the napkin in your hoop
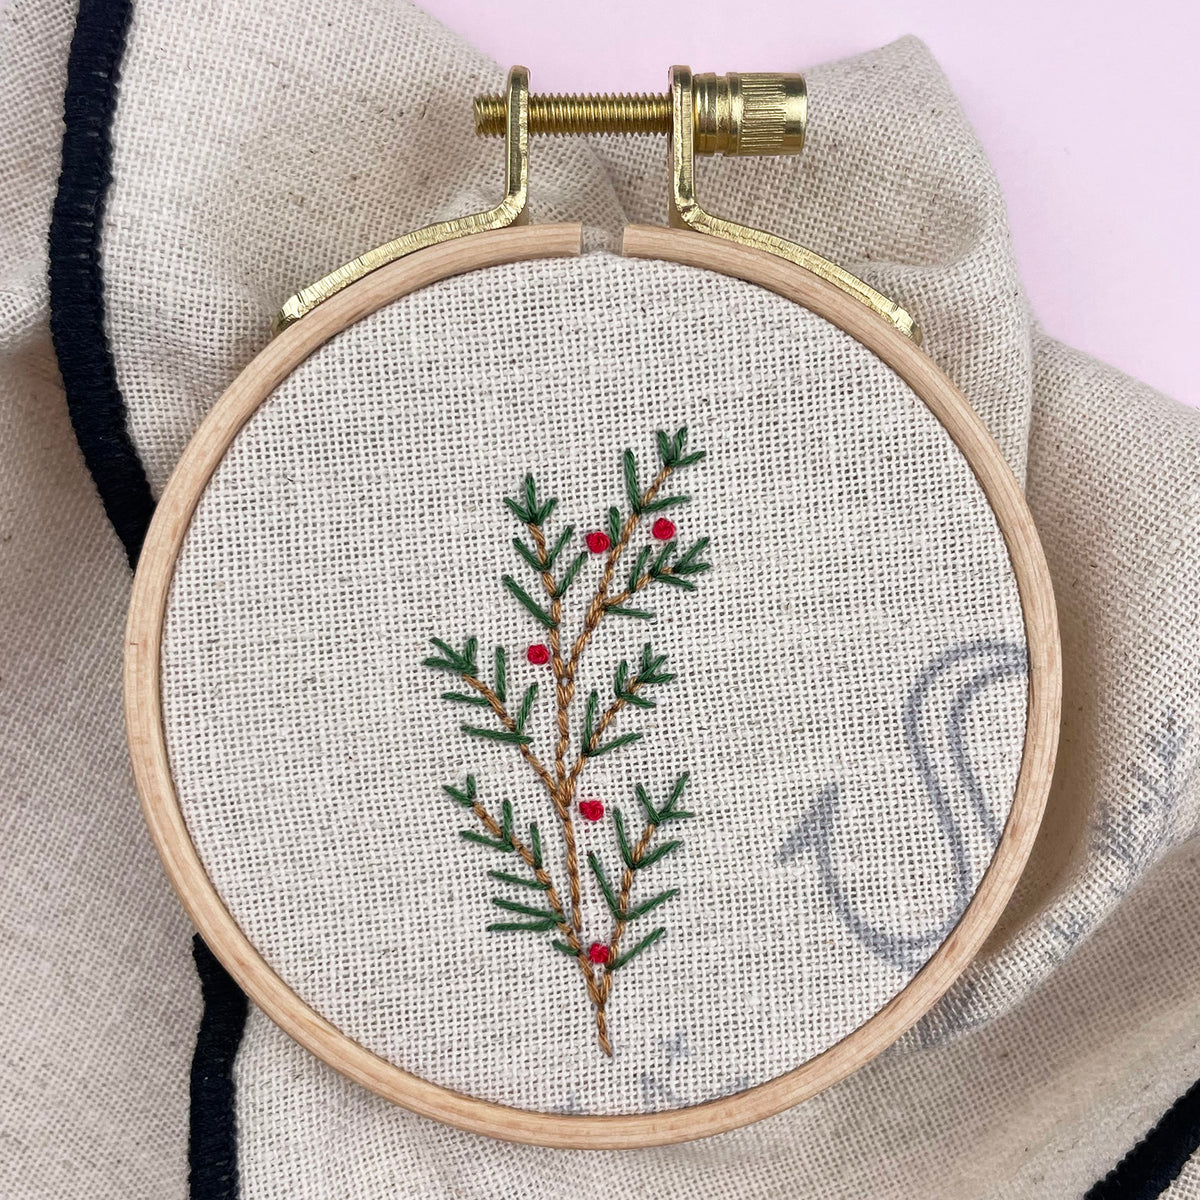
Place the embroidered corner inside your 3-inch hoop, making sure the fabric is smooth and held firmly. You can move the hoop around as you work if you need to reach different parts of the design.

Step 3: Stitch the branches and leaves
Start with the brown branches, using 2 strands of back stitch. Follow the printed lines, keeping the stitches fairly small around the bends.
Next, use 2 strands of green back stitch for the little leaves. Work along each leaf line, following the direction of the pattern.
Need a reminder of back stitch?
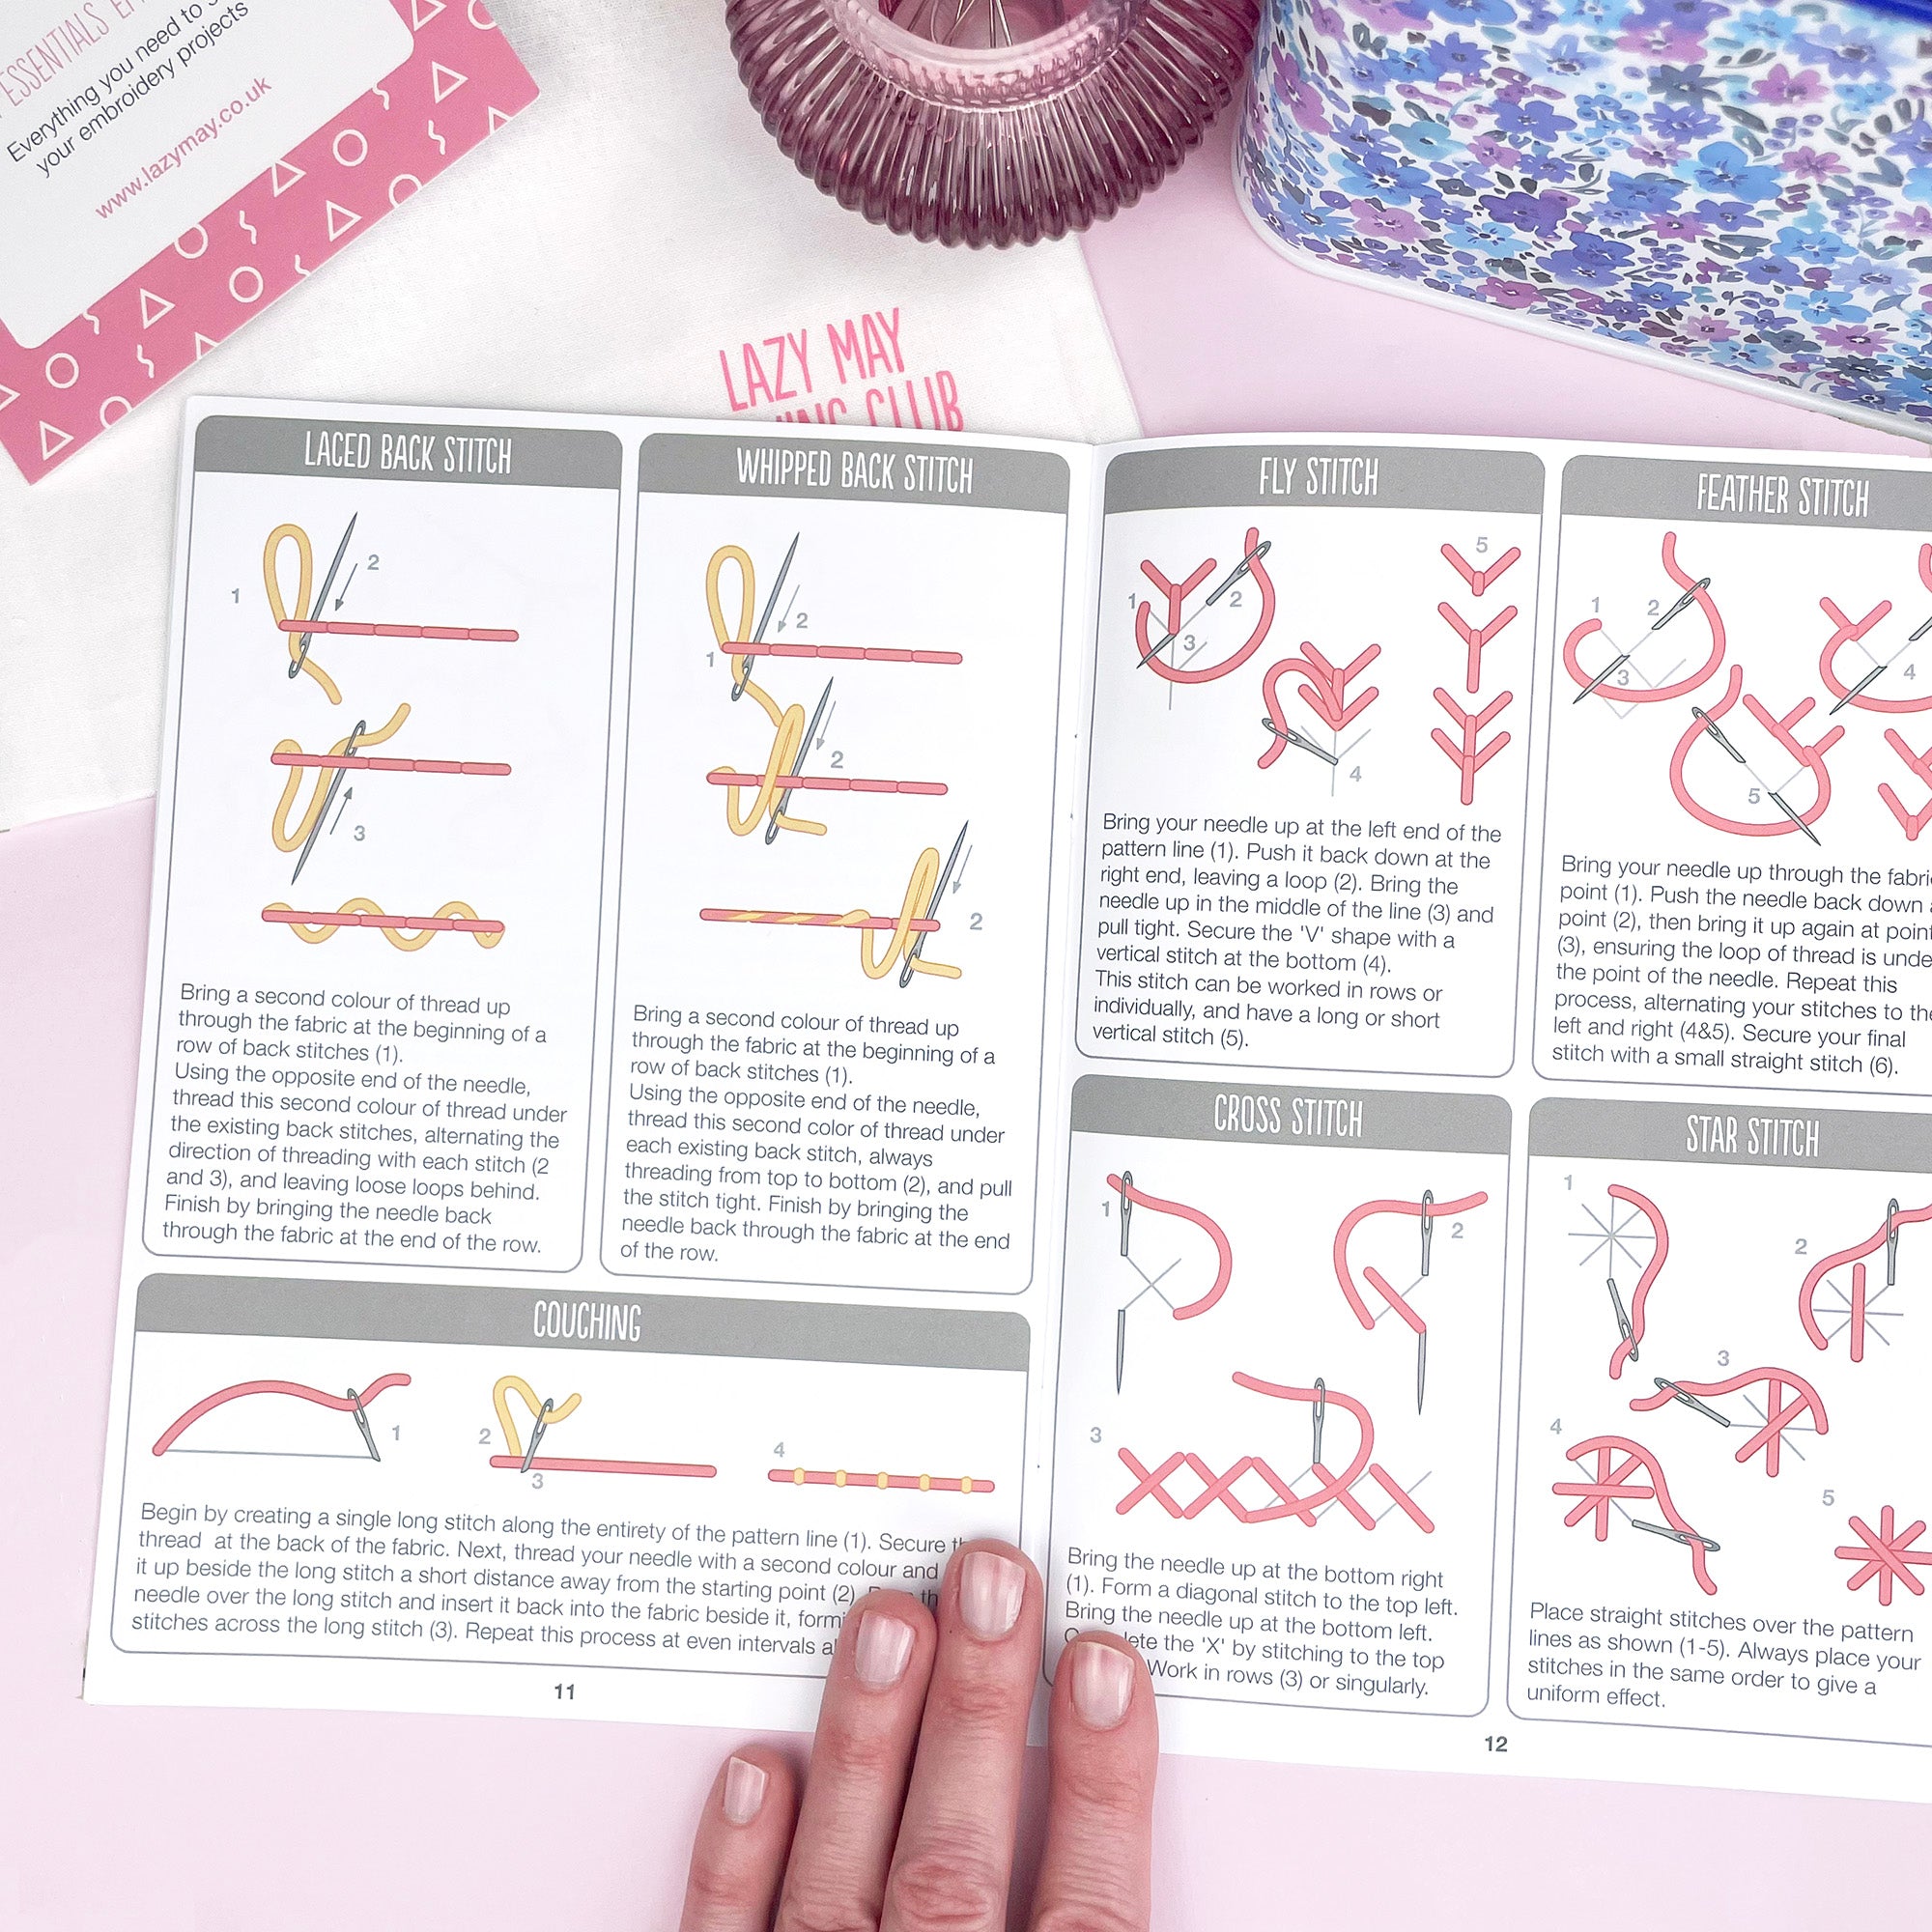
Back stitch makes a lovely neat line for the branches and little leaves. You'll find instructions in my Stitch Library.
See the stitch library

Step 4: Add the red berries
Now for a little pop of colour! Use 2 strands of red thread to make French knots over the berry markings. Wrap the thread around your needle and pull it through gently to make each small knot.
New to French knots?
They can take a little practice, but they're perfect for tiny berries. Have a look at the step-by-step diagrams in my Stitch Library.
Learn French knots
Step 5: Embroider the letter
For the initial, use 3 strands of burgundy thread and split stitch. Follow the outline of the letter, working small, even stitches so it looks neat around the curves.
Split stitch is really useful for lettering because it gives you a lovely continuous stitched line.
How to do split stitch
With each new stitch, bring your needle up through the middle of the previous stitch. You can find a step-by-step guide in the Stitch Library.
Learn split stitch

Step 6: Add the gold crosses and star
Time for a little Christmas sparkle! Thread your needle with 3 strands of gold DMC Light Effects thread. Make the small crosses with cross stitch, following the markings on the pattern.
Use 3 strands of gold thread for the whole star. First, make the 5 long straight stitches shown in black, working from each point through the centre to the opposite inner corner. Then fill the remaining sections with shorter satin stitches, shown in grey, following the direction in the diagram below.
Metallic thread can be a little more tricky than ordinary thread. Shorter lengths and gentle stitching will make it easier to work with.


Step 7: Protect the back of your stitching
When you've finished stitching, take the napkin out of the hoop and secure any loose thread ends on the back.
Cut a piece of iron-on backing stabiliser large enough to cover the embroidered area on the reverse. Apply it following the stabiliser's instructions. This helps protect the back of your stitches when the napkins are being used and washed, and stops threads catching.

Step 8: Make the rest of your napkins
Repeat the steps for your other three napkins. Once you've made the first one, you'll know exactly what you're doing, so the rest should come together quite quickly.
I love the idea of stitching a different initial for each person at the table. It's a simple way to make Christmas dinner feel a little more personal, and the napkins can come out again each year.

Washing and caring for your embroidered napkins
You can wash your finished napkins as normal, following the care instructions for the napkin fabric and the threads and stabiliser you've used. When ironing, put a clean towel over the embroidery to protect the stitches rather than pressing directly onto them.
Make your own personalised Christmas napkins
Fancy giving them a go? Pick up my Personalised Christmas Napkins pattern in iron-on or Stick & Stitch, and make a set for your own Christmas table. If you need the thread colours too, my Festive Stitch Essentials Set has them all ready to go.
Need embroidery supplies? See the Festive Stitch Essentials Set.