How to Make a Personalised Christmas Stocking
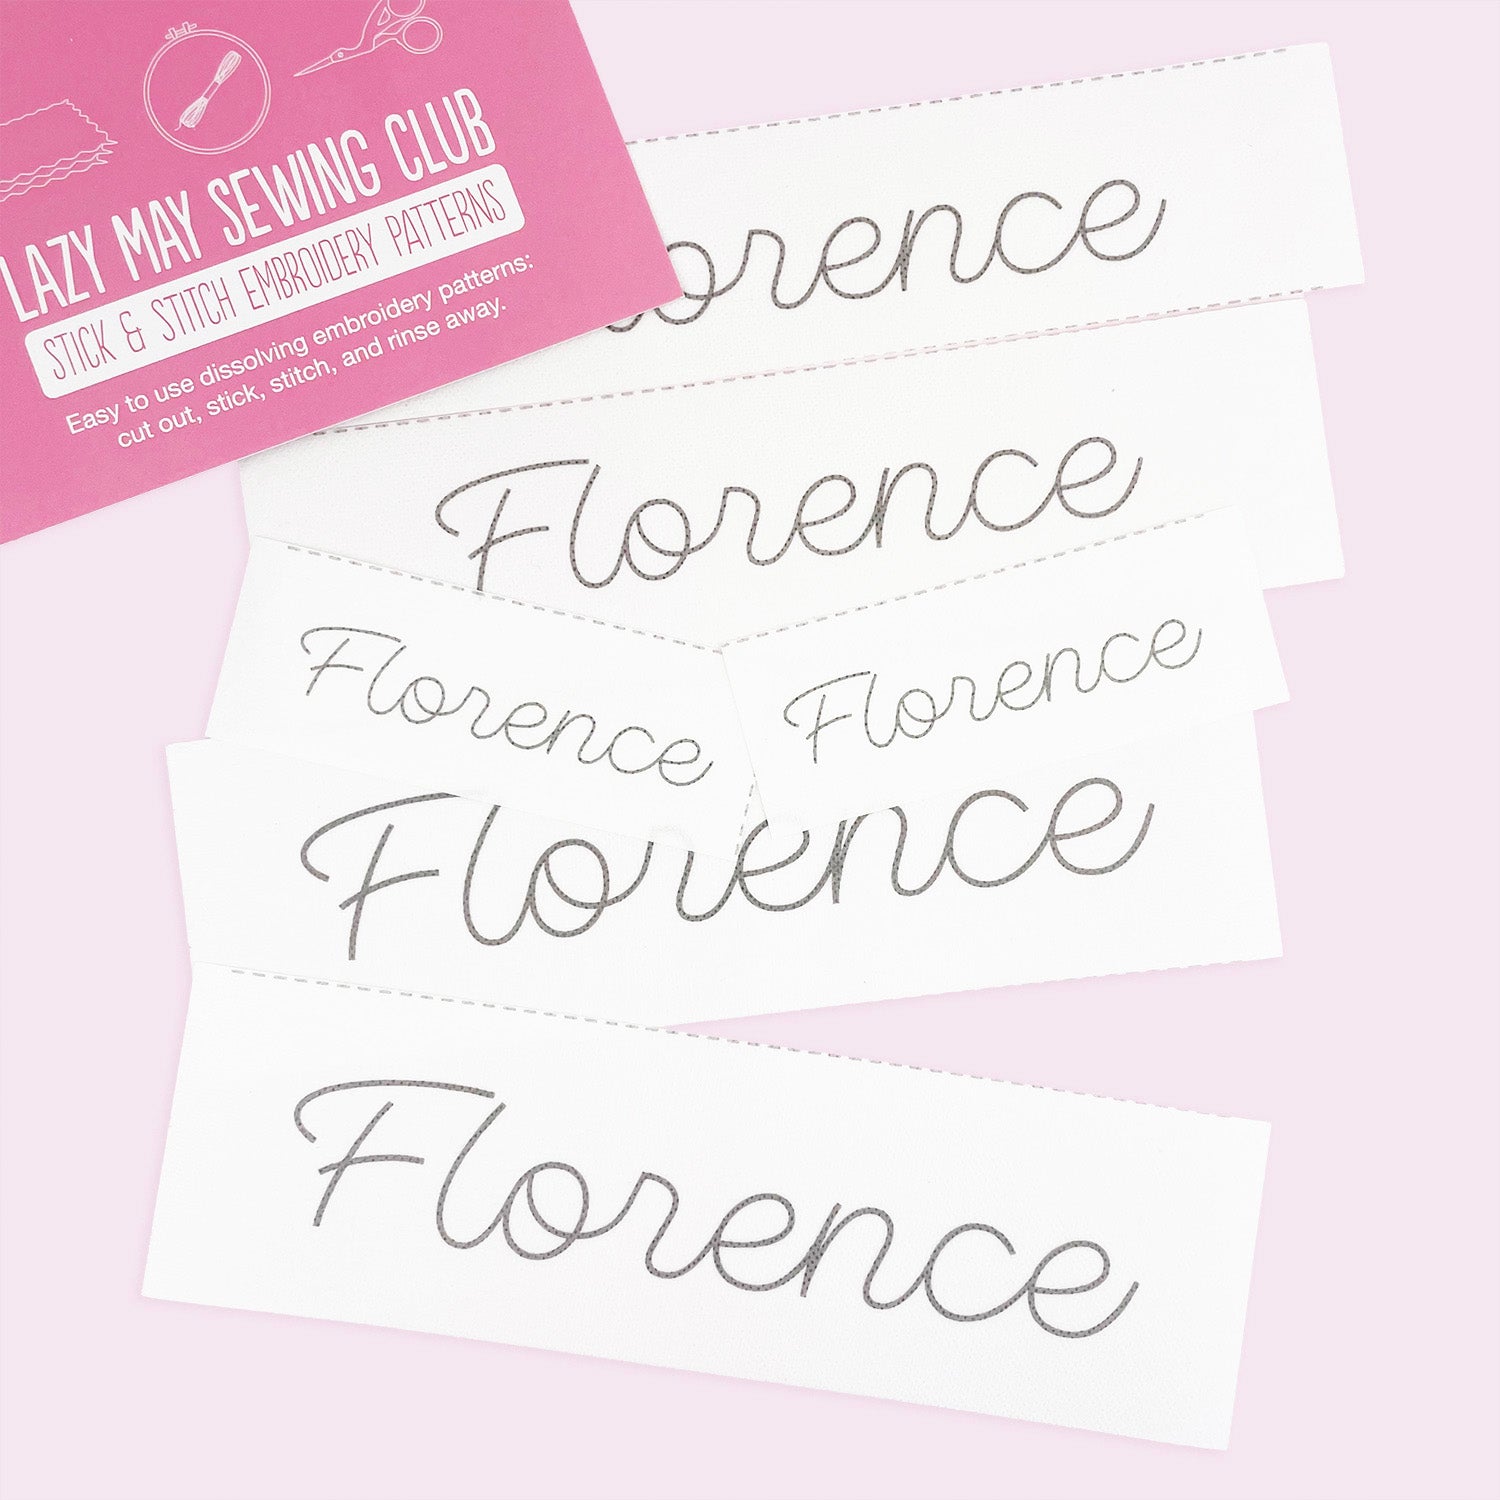
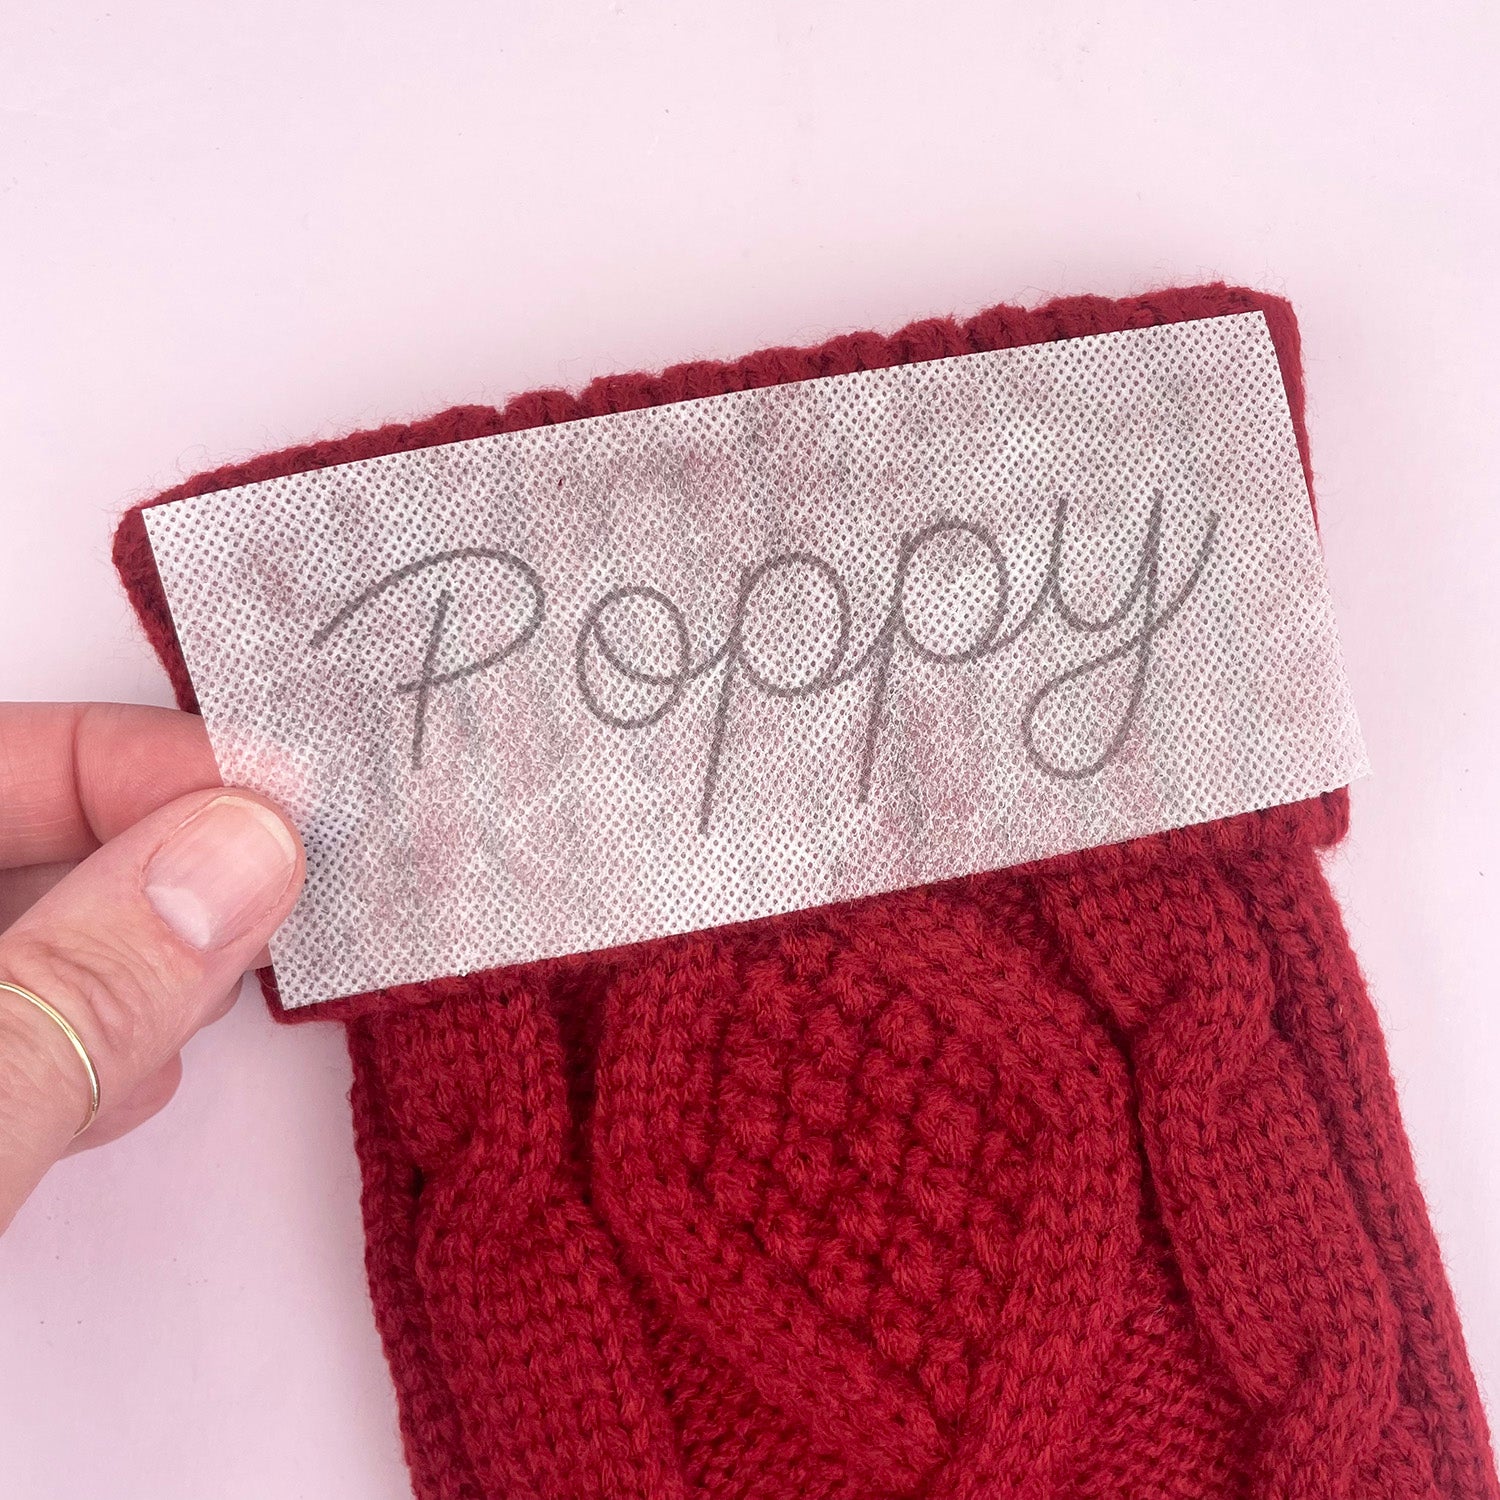
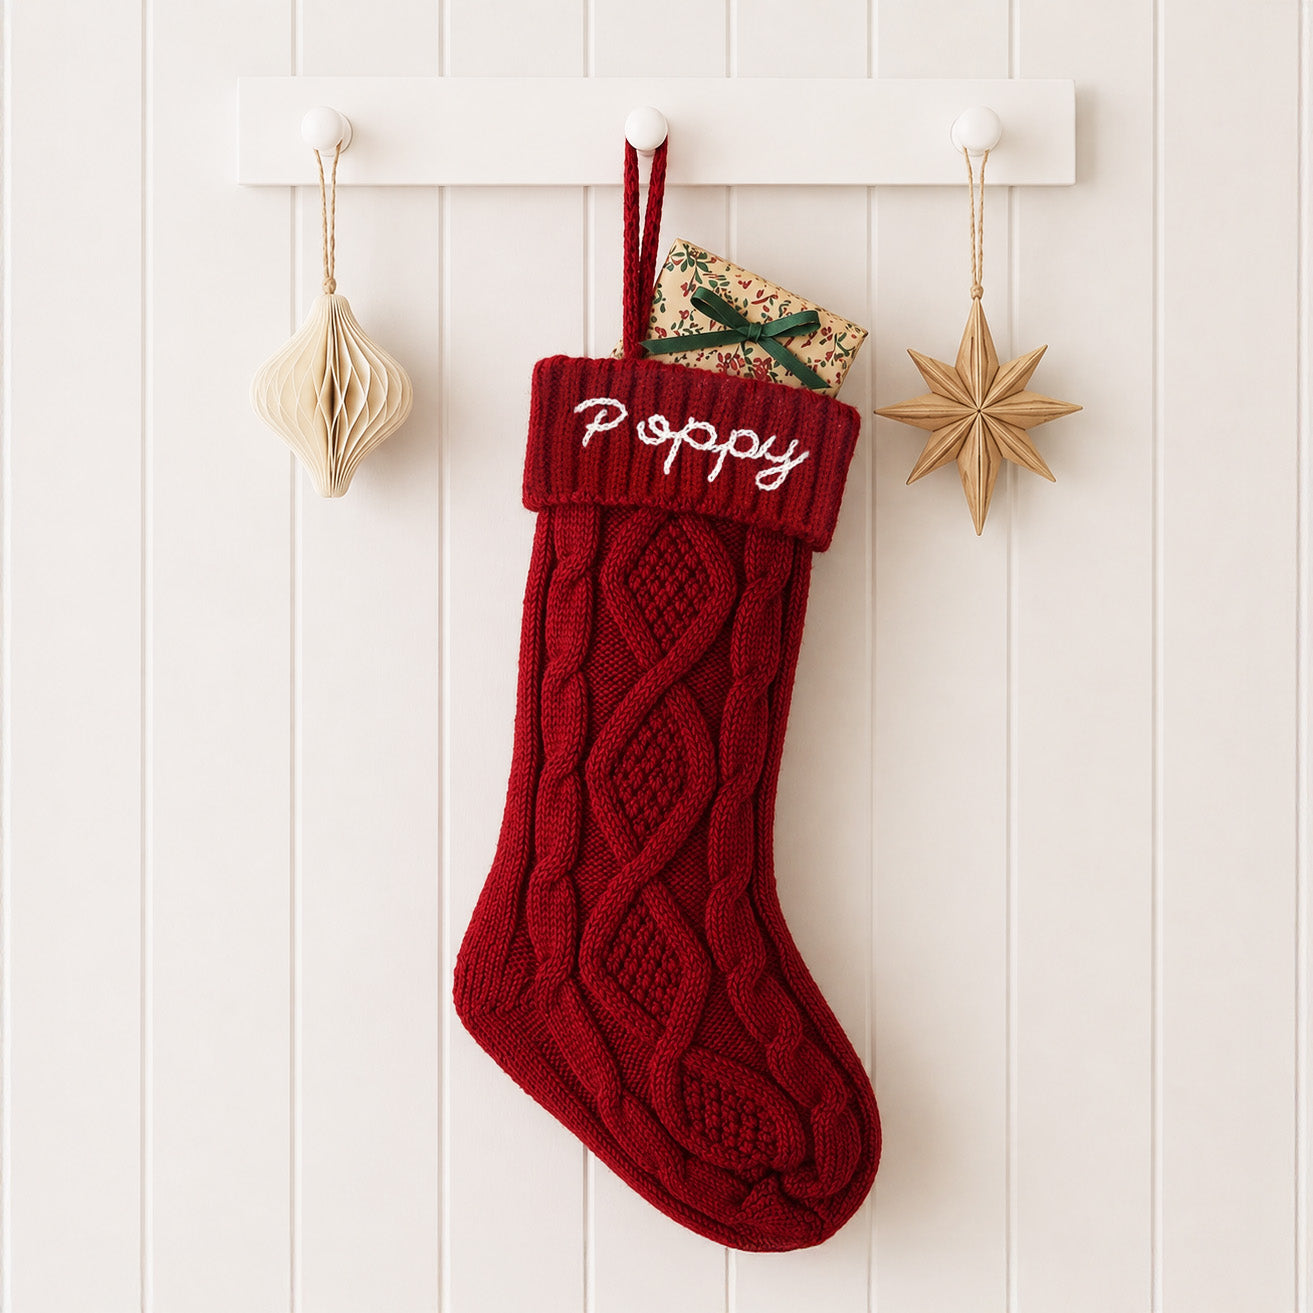
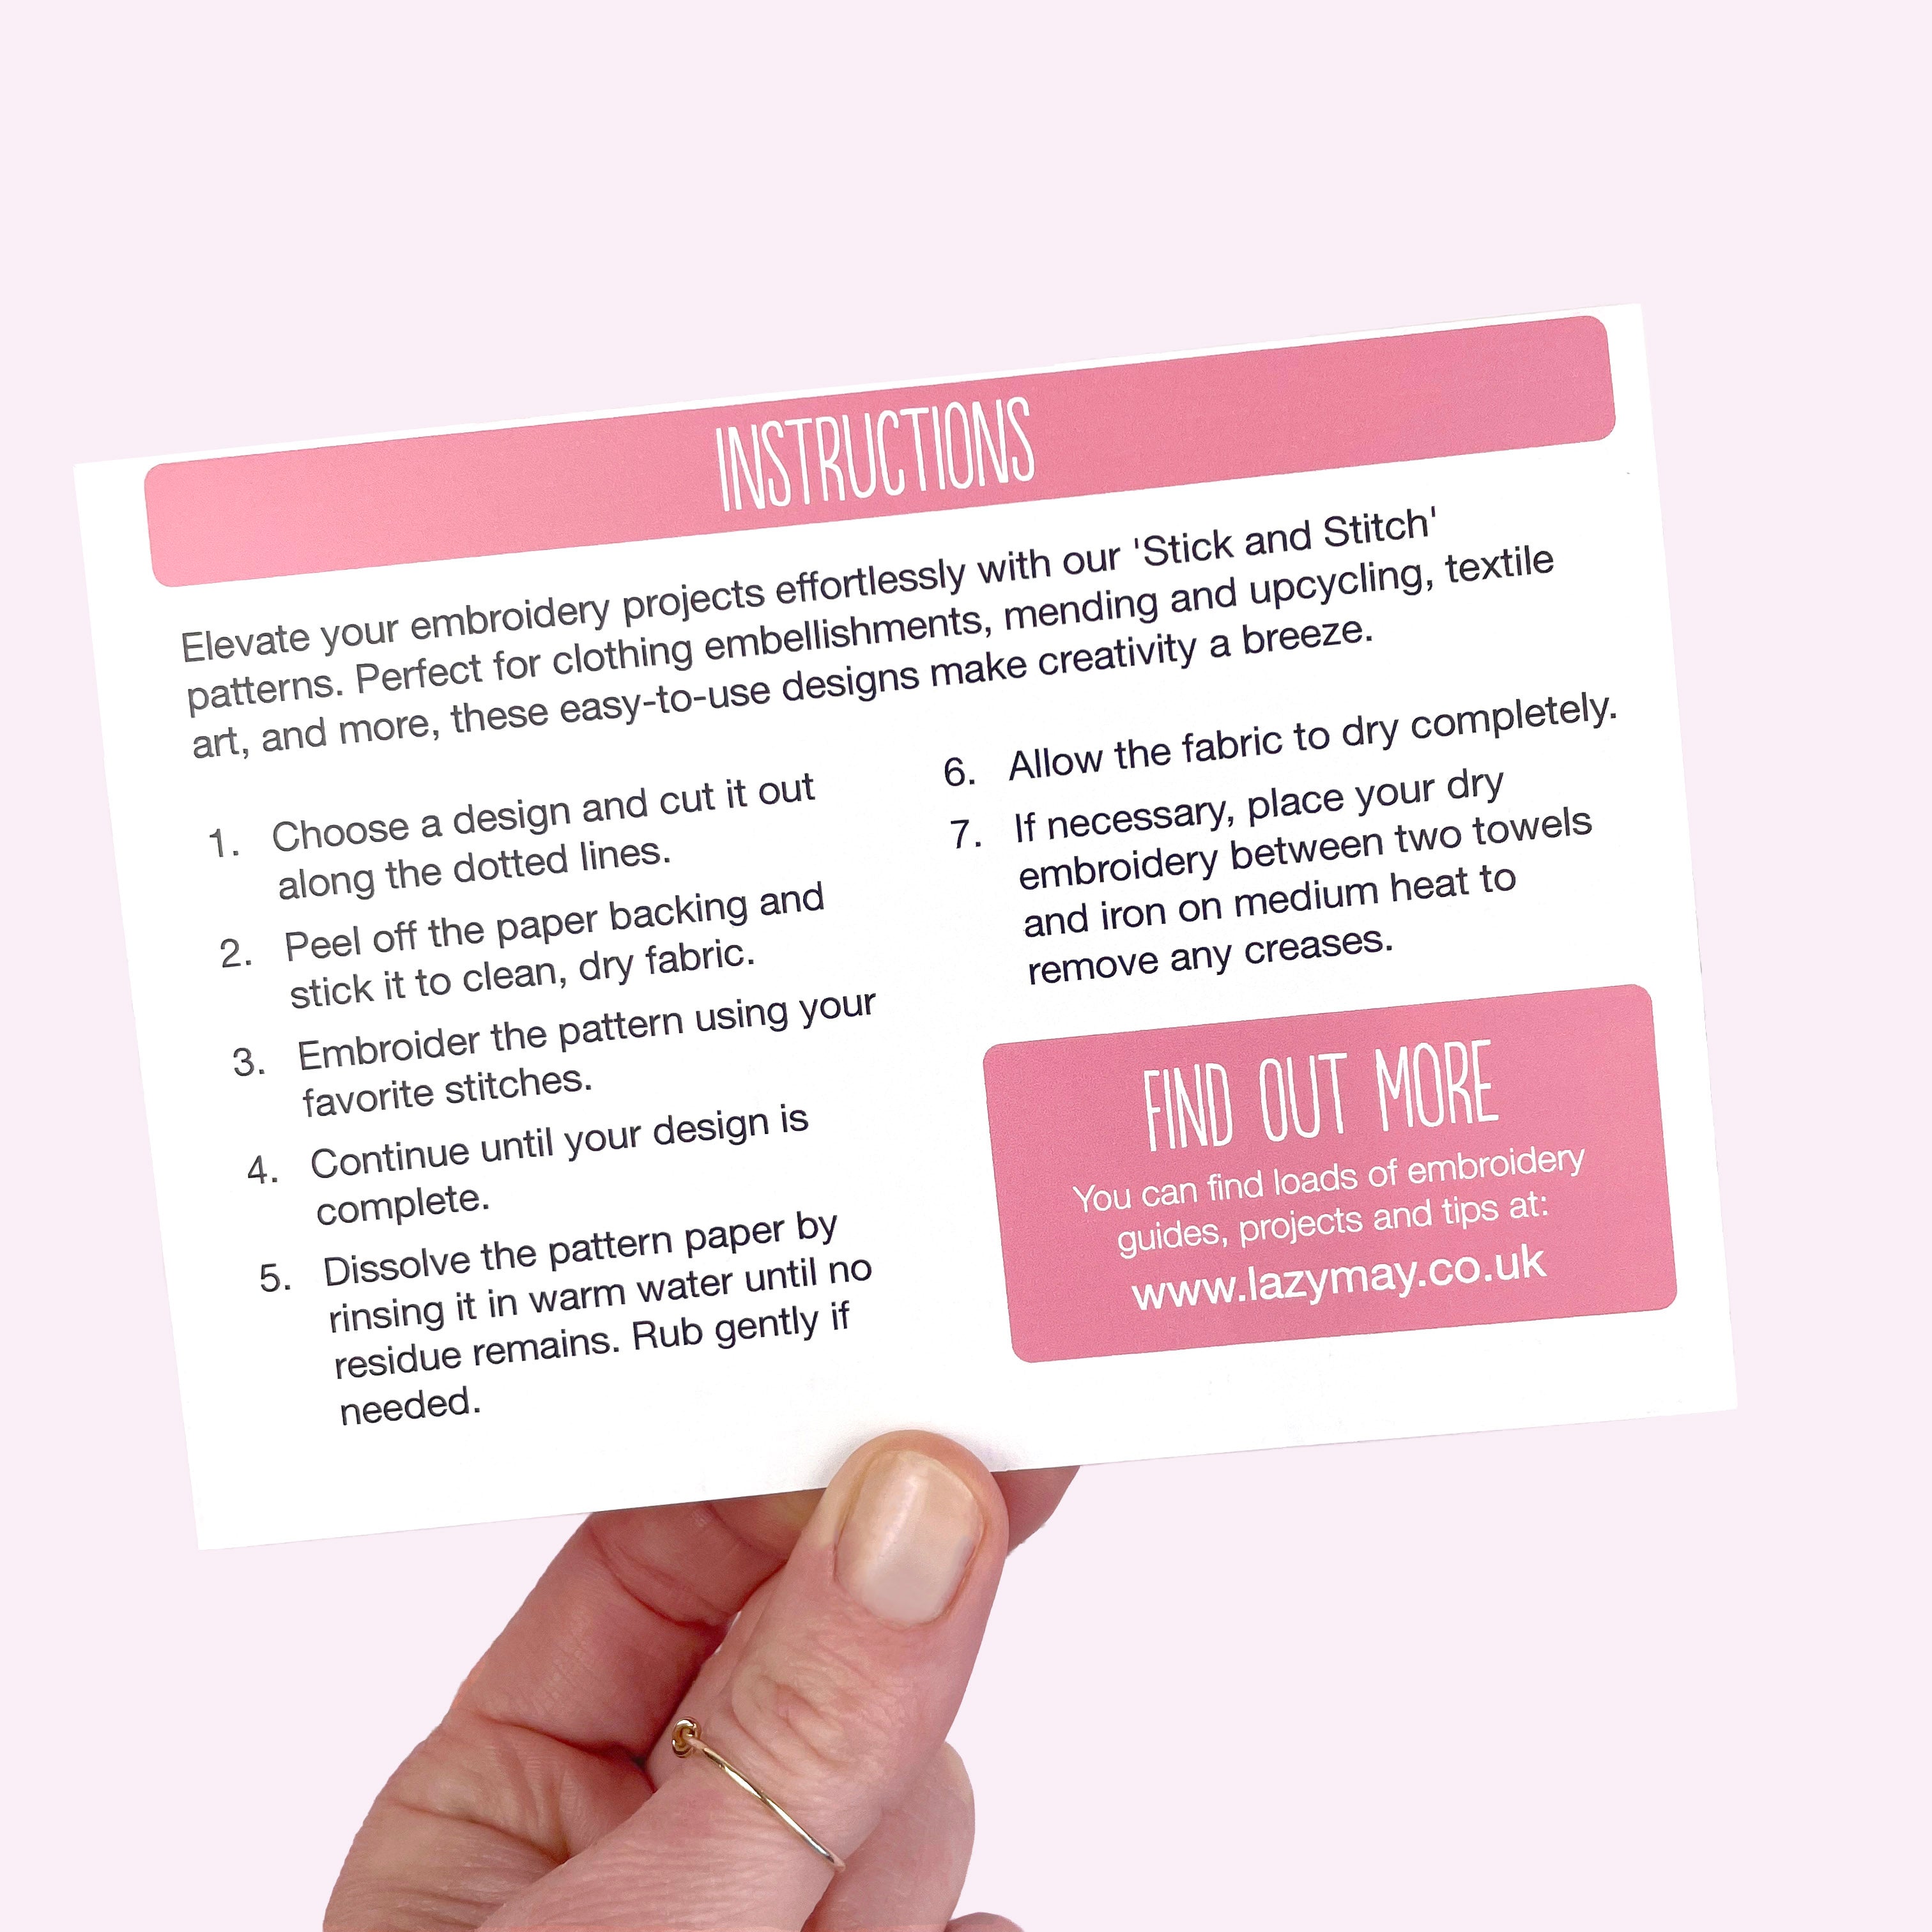
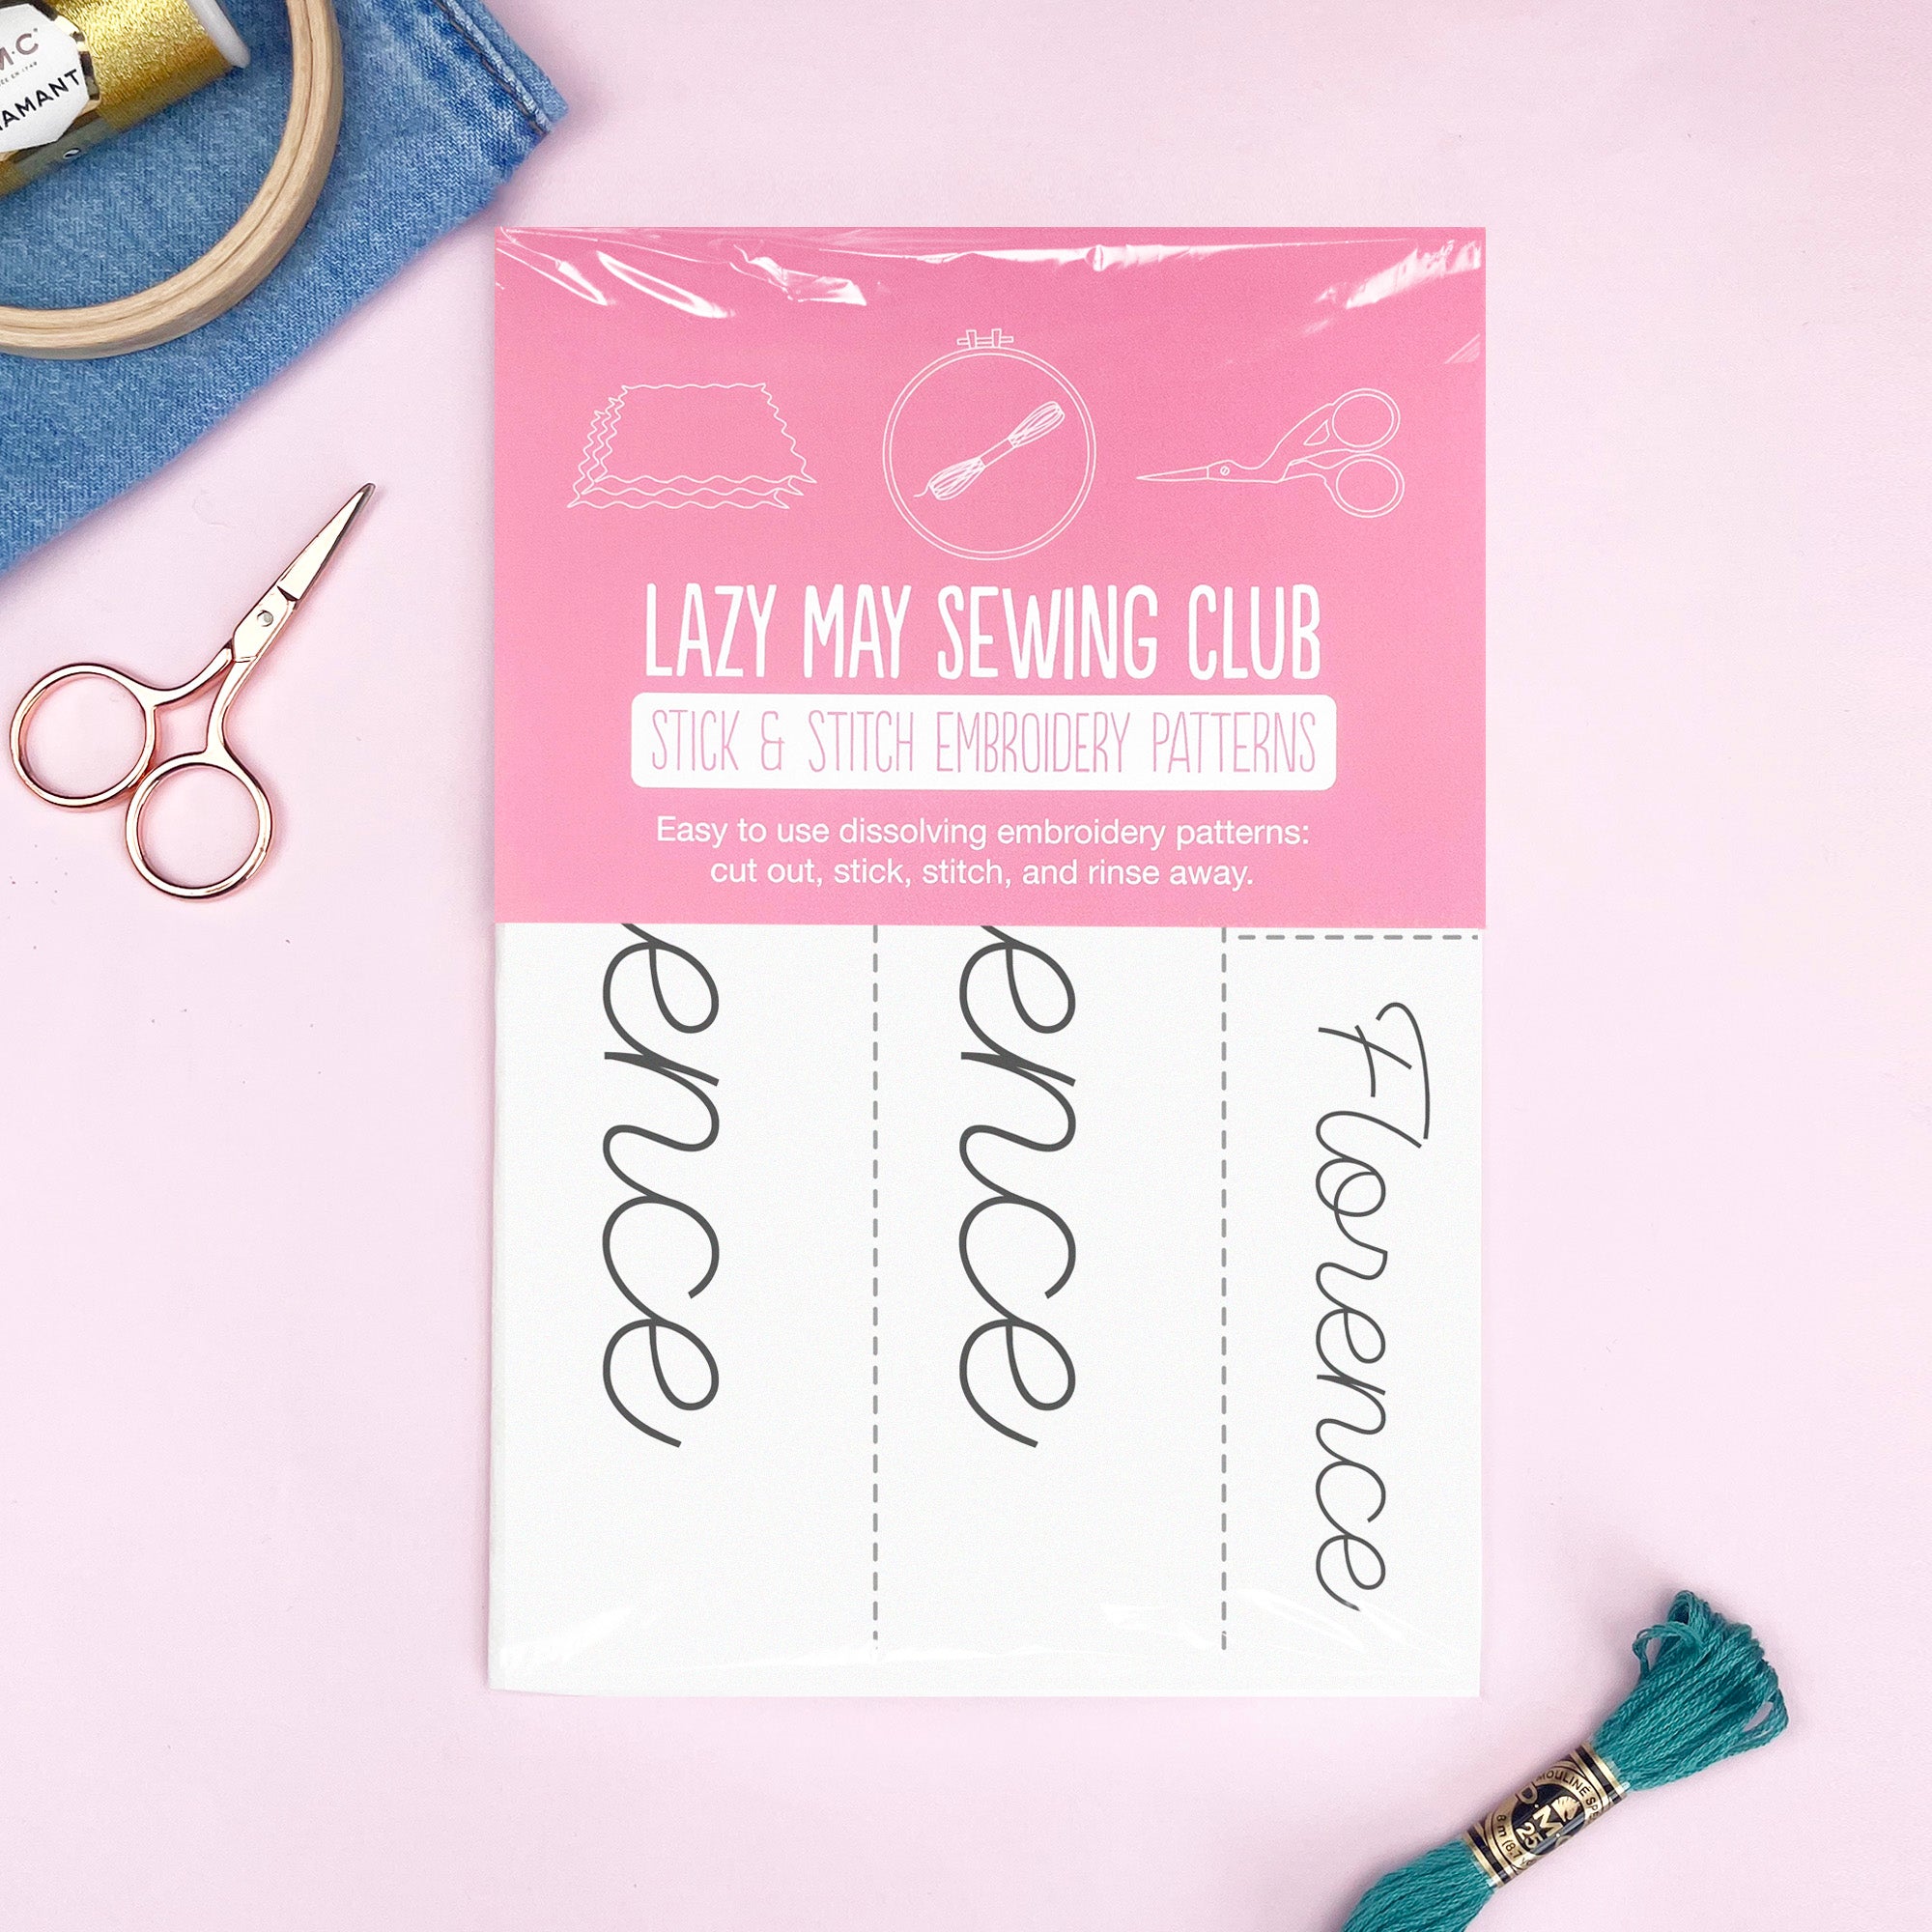
Adding an embroidered name is a quick and easy way to turn a simple Christmas stocking into something completely personal. Using a personalised Stick & Stitch embroidery pattern means there is no tracing or drawing needed. Simply stick the name onto the stocking, stitch over the lines and rinse the pattern away.
In this tutorial I’ll show you how to embroider a name onto a Christmas stocking using chain stitch and six strands of embroidery thread. It is a lovely easy Christmas embroidery project and works well with ready-made knitted or fabric stockings, so you do not need to sew the stocking itself.

What you'll need
- A large wool or fabric Christmas stocking
- Personalised Name Stick & Stitch Embroidery Patterns
- Around 1m of white embroidery thread
- Embroidery needle
- Small embroidery scissors
Thread used: Madeira 2402
Alternative thread conversions: DMC 3865, Anchor 2

Start with your personalised name pattern
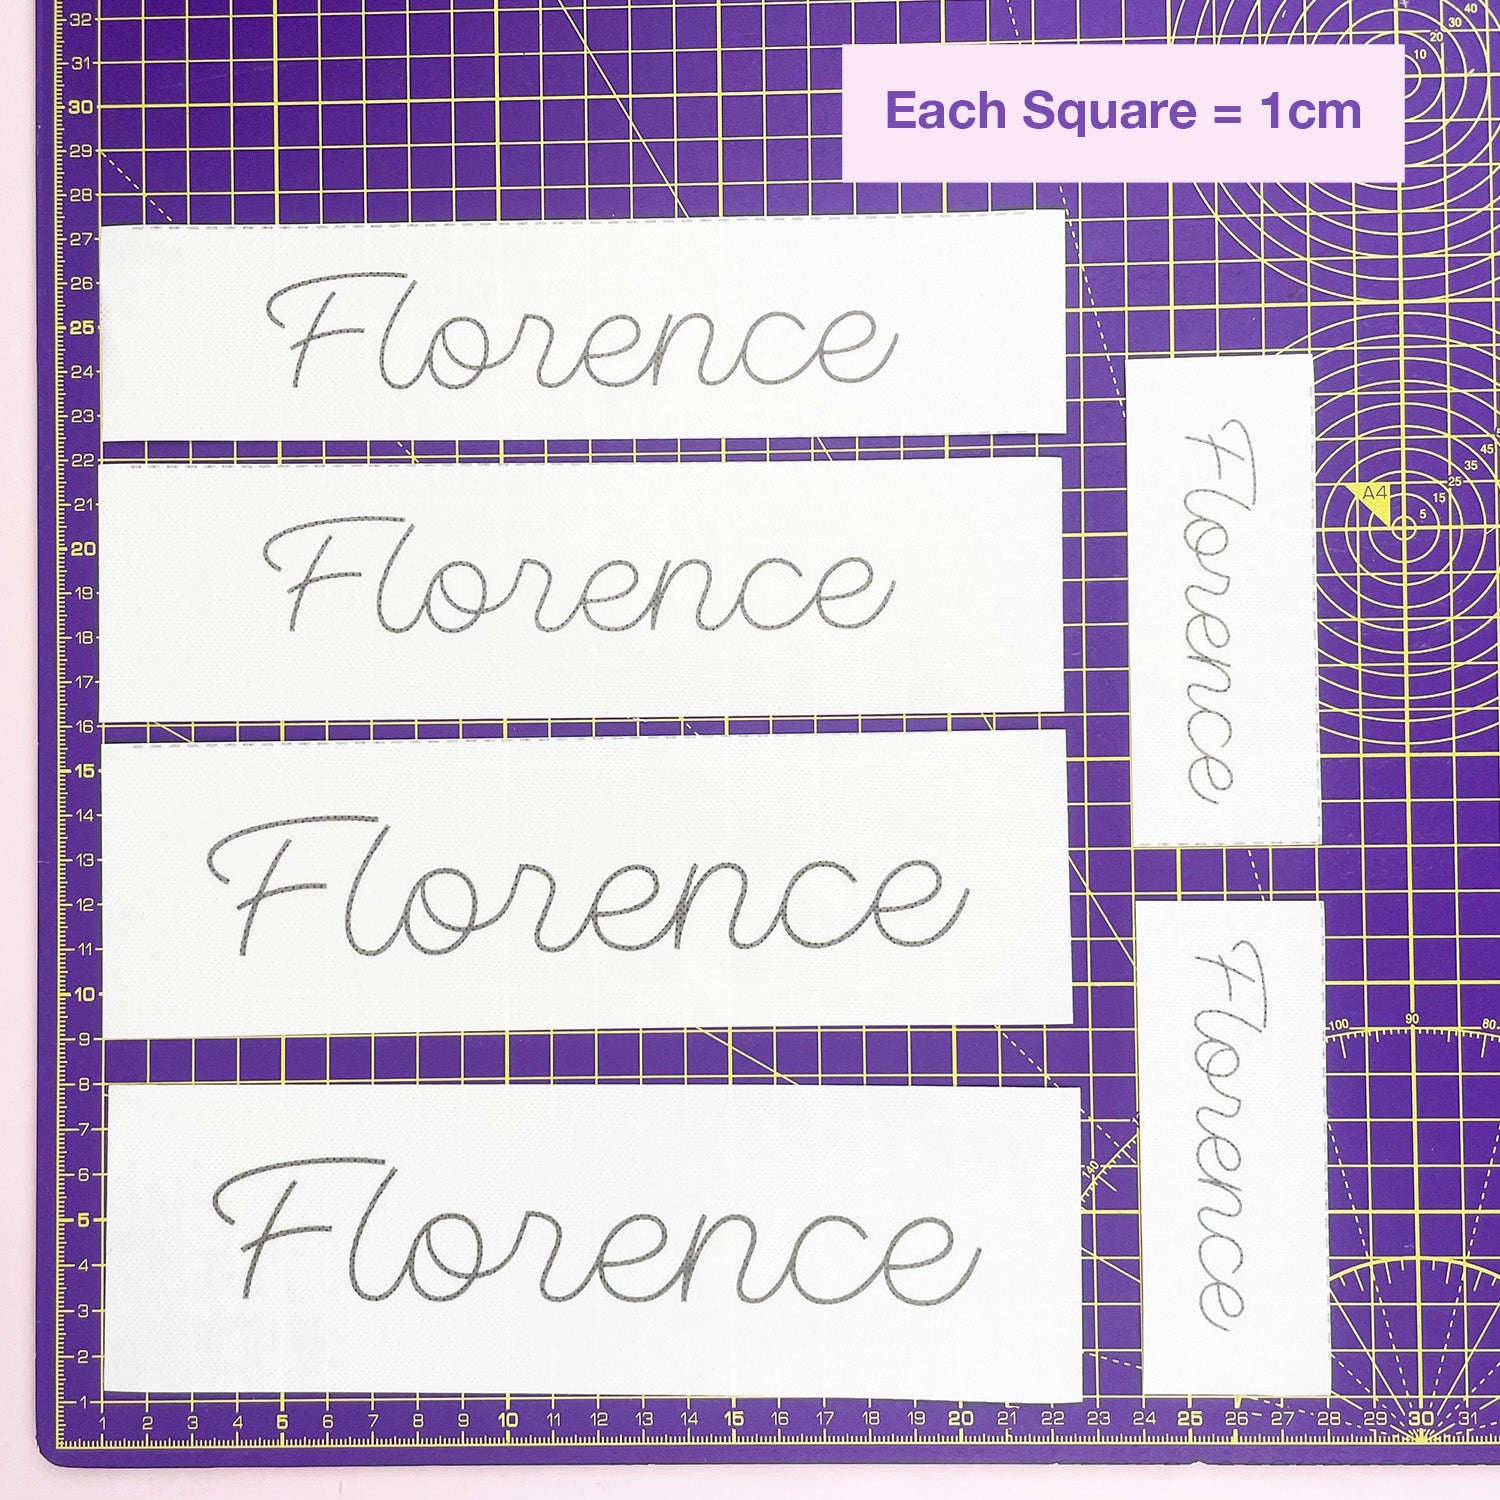
Choose any name up to 9 characters long and I’ll create a set of personalised Stick & Stitch embroidery patterns ready for you to use. Each set contains six name patterns in three different sizes, so you can choose the one that best fits your stocking.
No tracing No drawing Beginner friendly Rinses away with water
Create your personalised patternStep 1: Choose the right size name
Before removing the backing from your Stick & Stitch pattern, place the different sizes against your stocking to see which one looks best.
Think about where you would like the name to sit and leave a little space around the embroidery. On my stocking I positioned the name across the top section so it was easy to see when the stocking was hanging up.

Step 2: Stick the pattern onto the stocking
Peel the backing paper away from the Stick & Stitch pattern and carefully place it onto the stocking.
Smooth it gently onto the fabric with your fingers, making sure the whole name is securely attached and there are no large wrinkles across the letters.
Stick & Stitch is particularly useful for this project because it lets you add the embroidery design directly onto thicker or textured fabrics without having to trace the name onto the stocking first.

Step 3: Thread your needle
Cut around 30cm length of white embroidery thread. For this project we are going to stitch with all 6 strands of the embroidery thread together. This creates a nice bold line which shows up well against the stocking fabric.
If you find threading six strands through the needle a little tricky, have a look at my guide to embroidery needles and easy needle threading tips.
Step 4: Embroider the name with chain stitch
We are going to use chain stitch to embroider the name. Chain stitch creates a slightly thicker decorative line, making it a lovely choice for lettering and names.
Start at one end of the first letter and follow the printed line on the Stick & Stitch pattern. Work slowly around curves and corners, making your chain stitches slightly shorter where necessary to keep the shape of the letters neat.
Need a reminder of chain stitch?
You can follow my full step-by-step chain stitch tutorial if you have not used this stitch before, or if you would like a quick refresher before you begin.
See the chain stitch tutorial

Step 5: Continue around each letter
Continue stitching directly over the printed lines until the whole name is embroidered.
You do not need every chain stitch to be exactly the same length. Keeping the stitches fairly even will give you a neat finish, but slightly shorter stitches can make it much easier to follow tight curves.
When you finish a section, secure the thread neatly on the inside of the stocking before starting the next part of the name.

Step 6: Rinse away the Stick & Stitch pattern
Once you have finished embroidering the name, the printed Stick & Stitch pattern can be removed with water.
Rinse the embroidered area in warm water and gently work the water-soluble stabiliser away from around the stitches. Take your time and make sure all of the stabiliser has dissolved.
Avoid pulling or rubbing hard at your embroidery. Let the water do most of the work.

Step 7: Leave the stocking to dry
Gently press away excess water with a clean towel and leave the stocking to dry naturally.
Very woolly fabrics can occasionally develop a few tiny bobbles where the rinse-away pattern has been sitting. If this happens, wait until the stocking is completely dry and simply trim the little bobbles away carefully with a pair of small scissors.

Make your own personalised Christmas stocking
Choose a name and I’ll create your personalised Stick & Stitch embroidery patterns ready for stitching. Each set includes six patterns in three sizes, so you can choose the size that works best for your Christmas stocking.
Create your personalised patternTips for embroidering a Christmas stocking
- Position the pattern before removing the backing so you can check that the name is centred.
- Use all six strands of embroidery thread together for a bold embroidered name.
- Use shorter chain stitches when working around tight curves and corners.
- Check regularly that your needle has gone through all the layers of the fabric.
- Rinse the stabiliser away gently rather than rubbing at the embroidery.
- Wait until woolly fabric is completely dry before trimming away any tiny surface bobbles.
Can you embroider a name onto a ready-made Christmas stocking?
Yes. You do not need to make a stocking from scratch to add hand embroidery. A simple ready-made wool or fabric stocking can easily be personalised with an embroidered name.
I used a large ready-made wool Christmas stocking for this project, but the same method can be used on many fabric stockings as long as you can comfortably pass an embroidery needle through the fabric.
Using a Stick & Stitch pattern is especially handy for ready-made stockings because you can position the name exactly where you want it without having to draw or transfer the lettering onto the fabric.
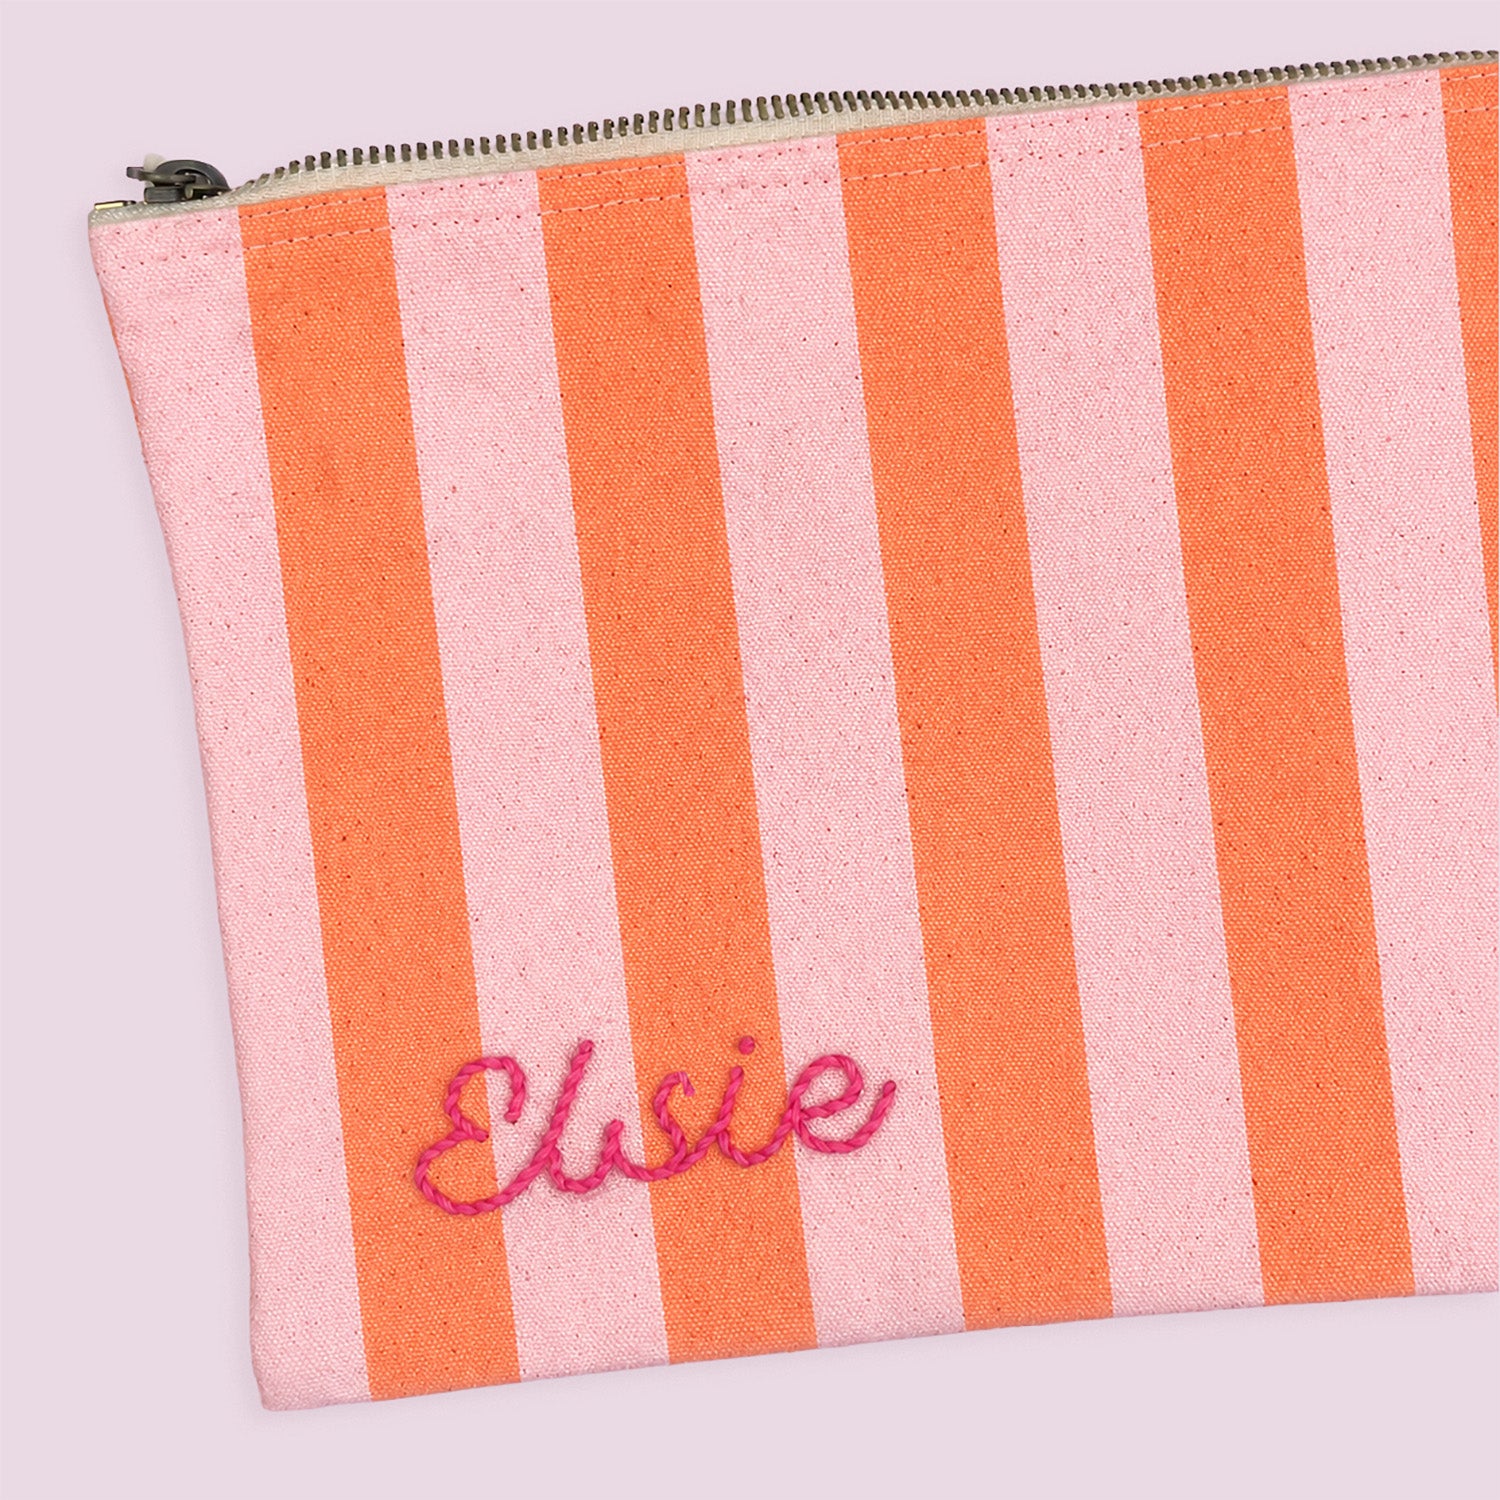
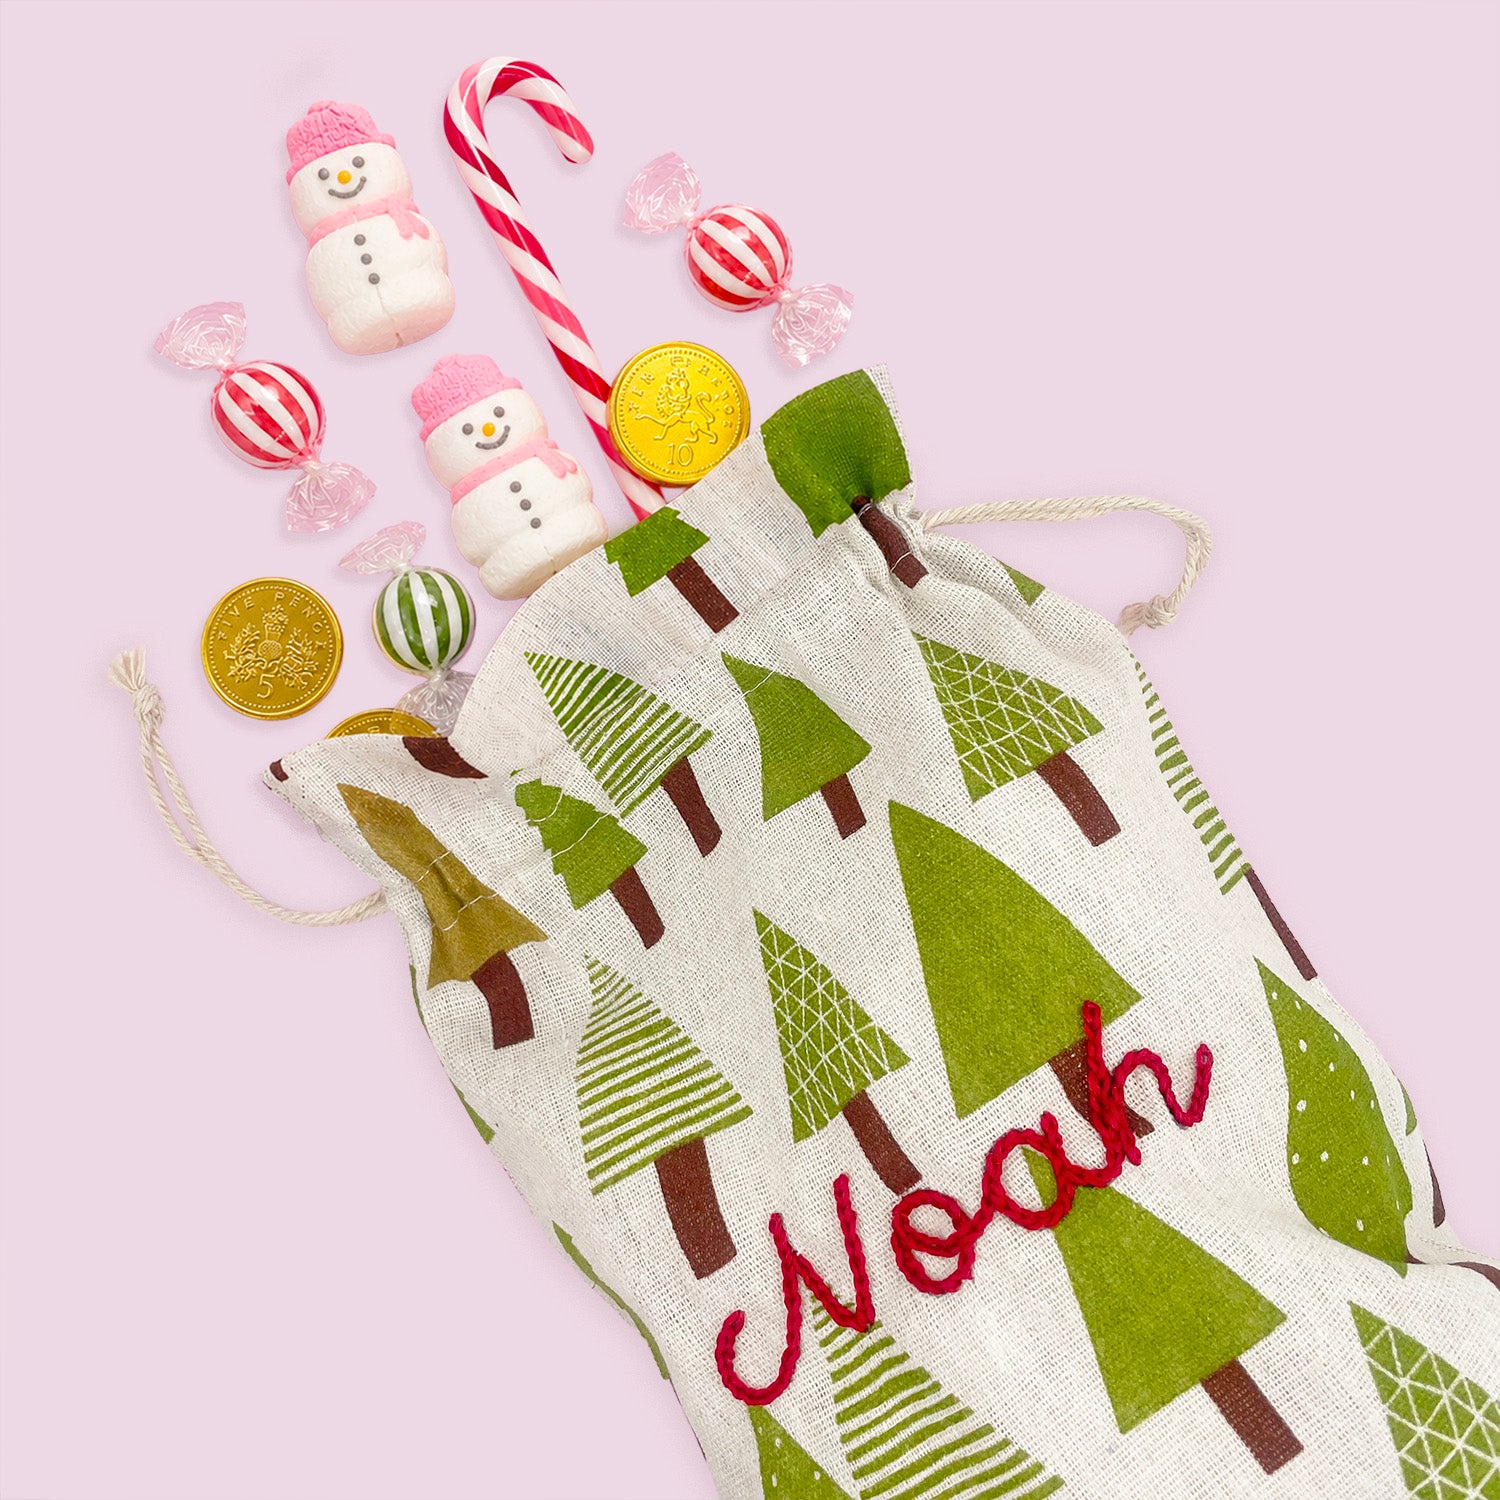
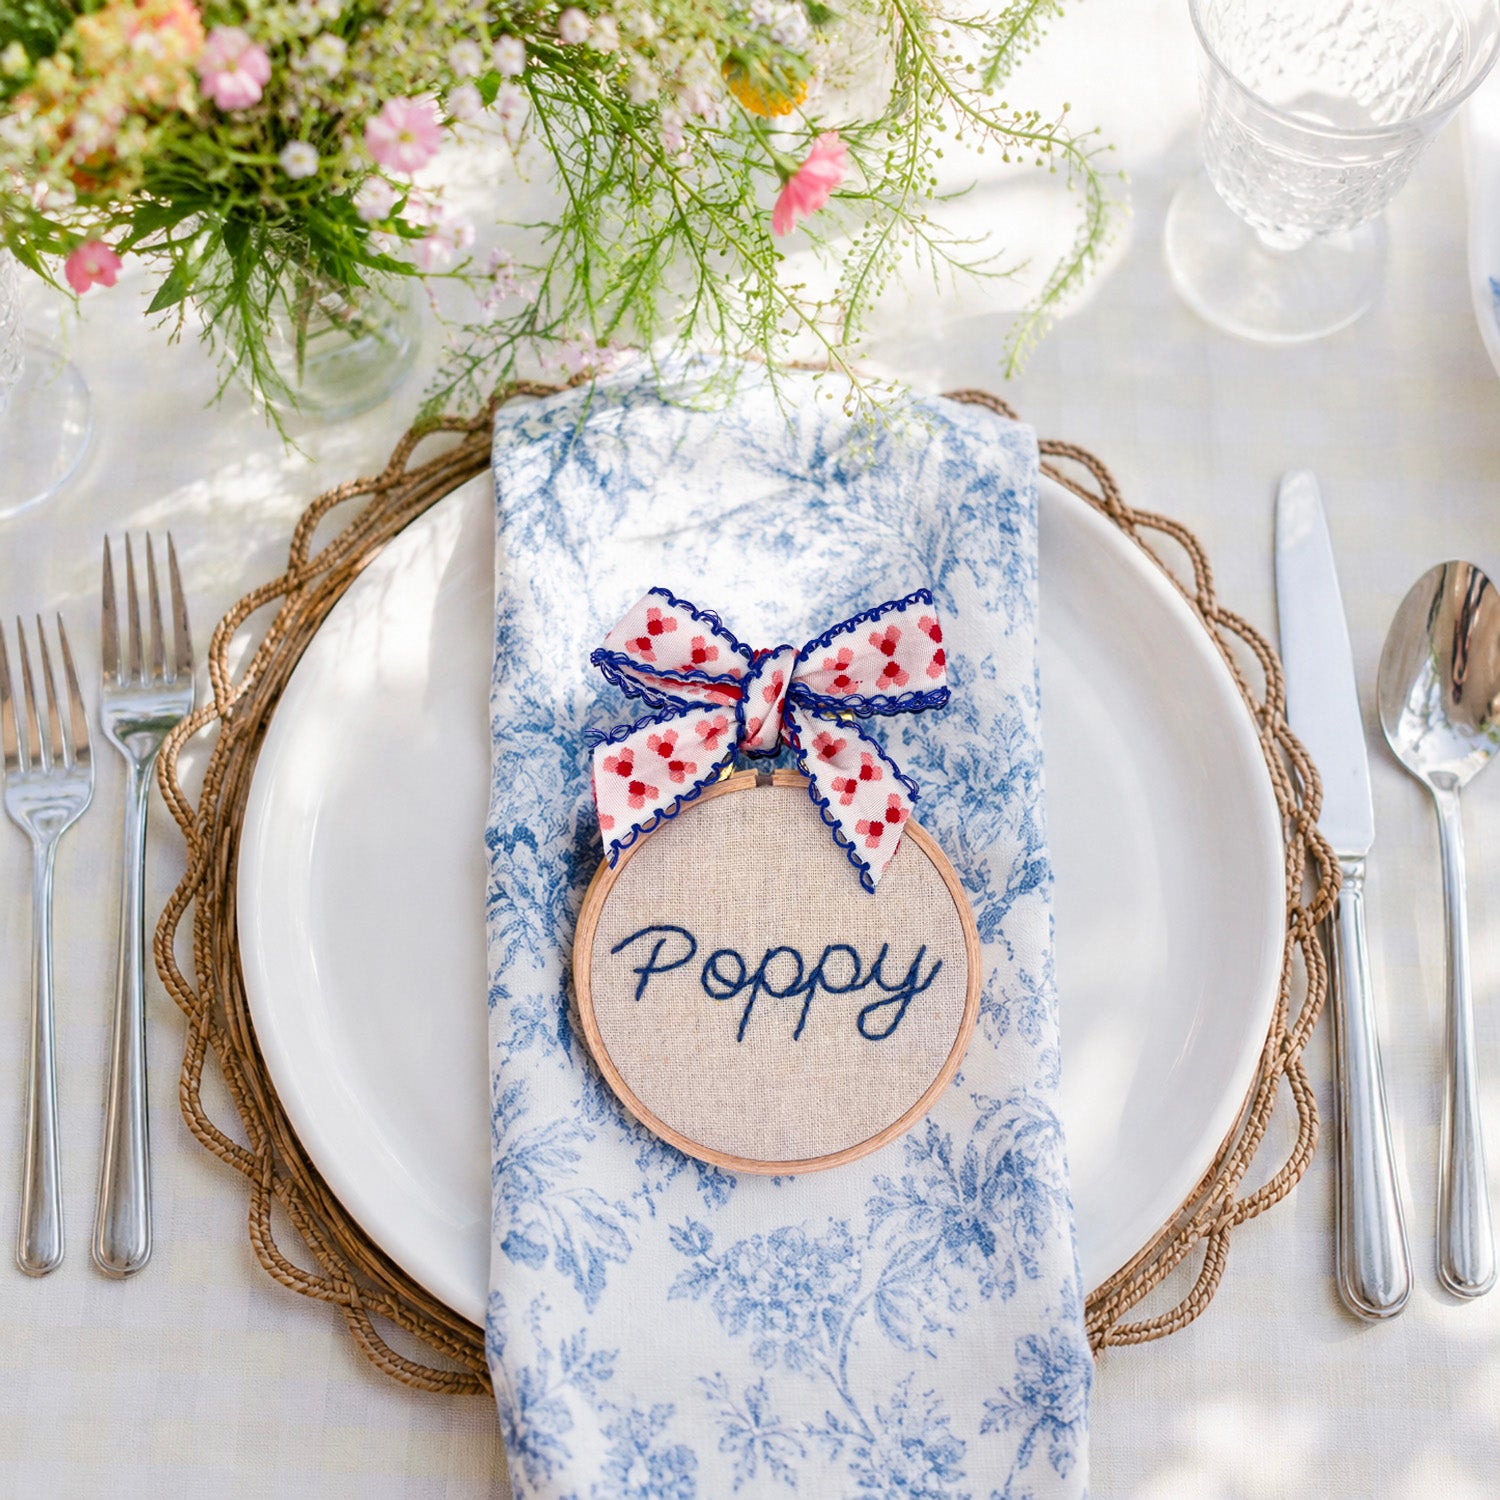
The different pattern sizes are useful for other personalised projects too. Try adding names to Christmas gift sacks, make-up bags, pencil cases, nursery projects or handmade gifts.
What stitch is best for embroidering a name?
Chain stitch is a great embroidery stitch for names and lettering because it produces a decorative continuous line which is thicker than a simple back stitch.
Using six strands of embroidery thread makes the lettering stand out even more, which works particularly well on thicker Christmas stocking fabrics.
If you are new to the stitch, you can follow my step-by-step chain stitch tutorial before starting your stocking.