How to Back an Embroidery Hoop
Finished your embroidery and wondering what to do with all the fabric at the back of the hoop? This simple guide will show you how to back an embroidery hoop neatly, so it is ready to gift, display or hang on the wall.
This is the quick finishing method I use most often. It gathers the spare fabric neatly behind the hoop and helps hide loose threads and untidy edges without needing lots of extra materials.
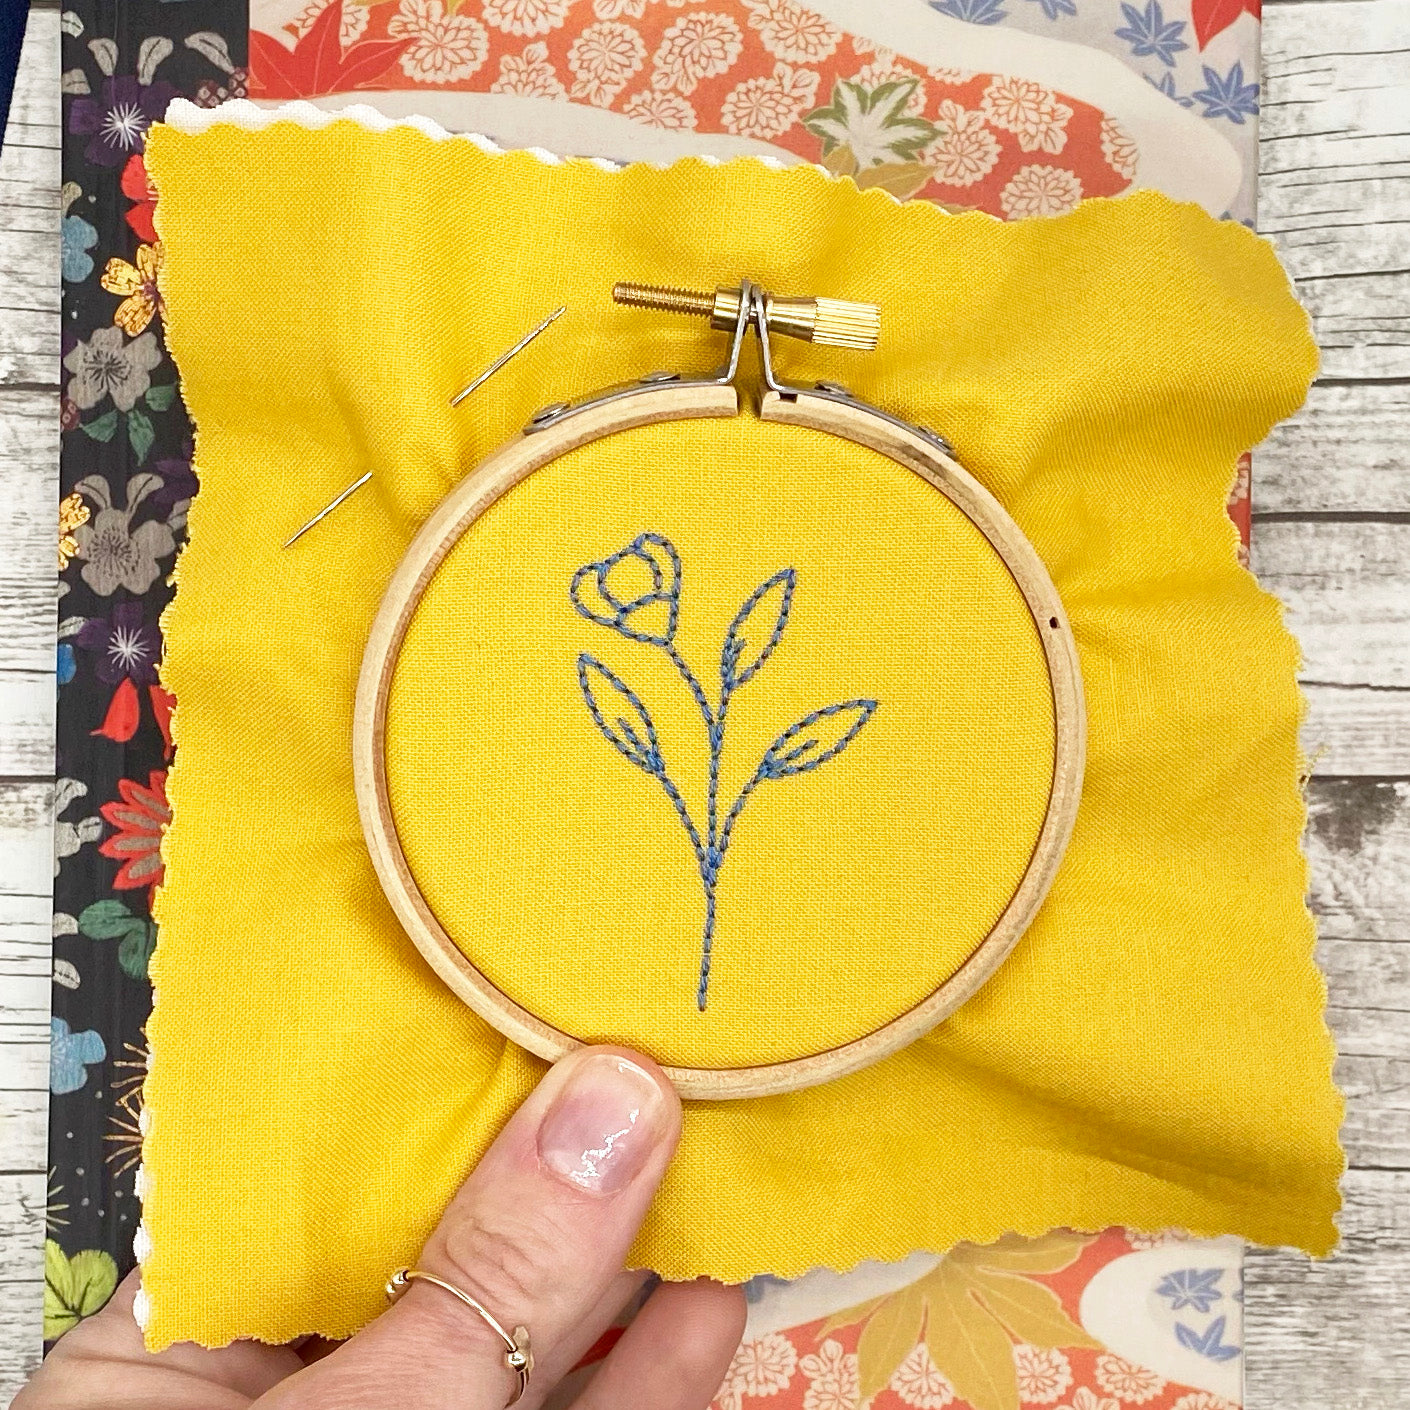
If you want an even neater finish after this, you can also add a felt backing to cover the gathered fabric. I have a separate guide showing you how to back a hoop with felt.
You will need
- Your finished embroidery in a hoop
- Embroidery thread
- A needle
- Scissors
Ready for your next embroidery project?
Once you know how to finish a hoop neatly, it makes finished embroidery feel much more giftable. Here are two useful places to go next, whether you would like a complete kit or a new pattern to stitch.

Embroidery kits
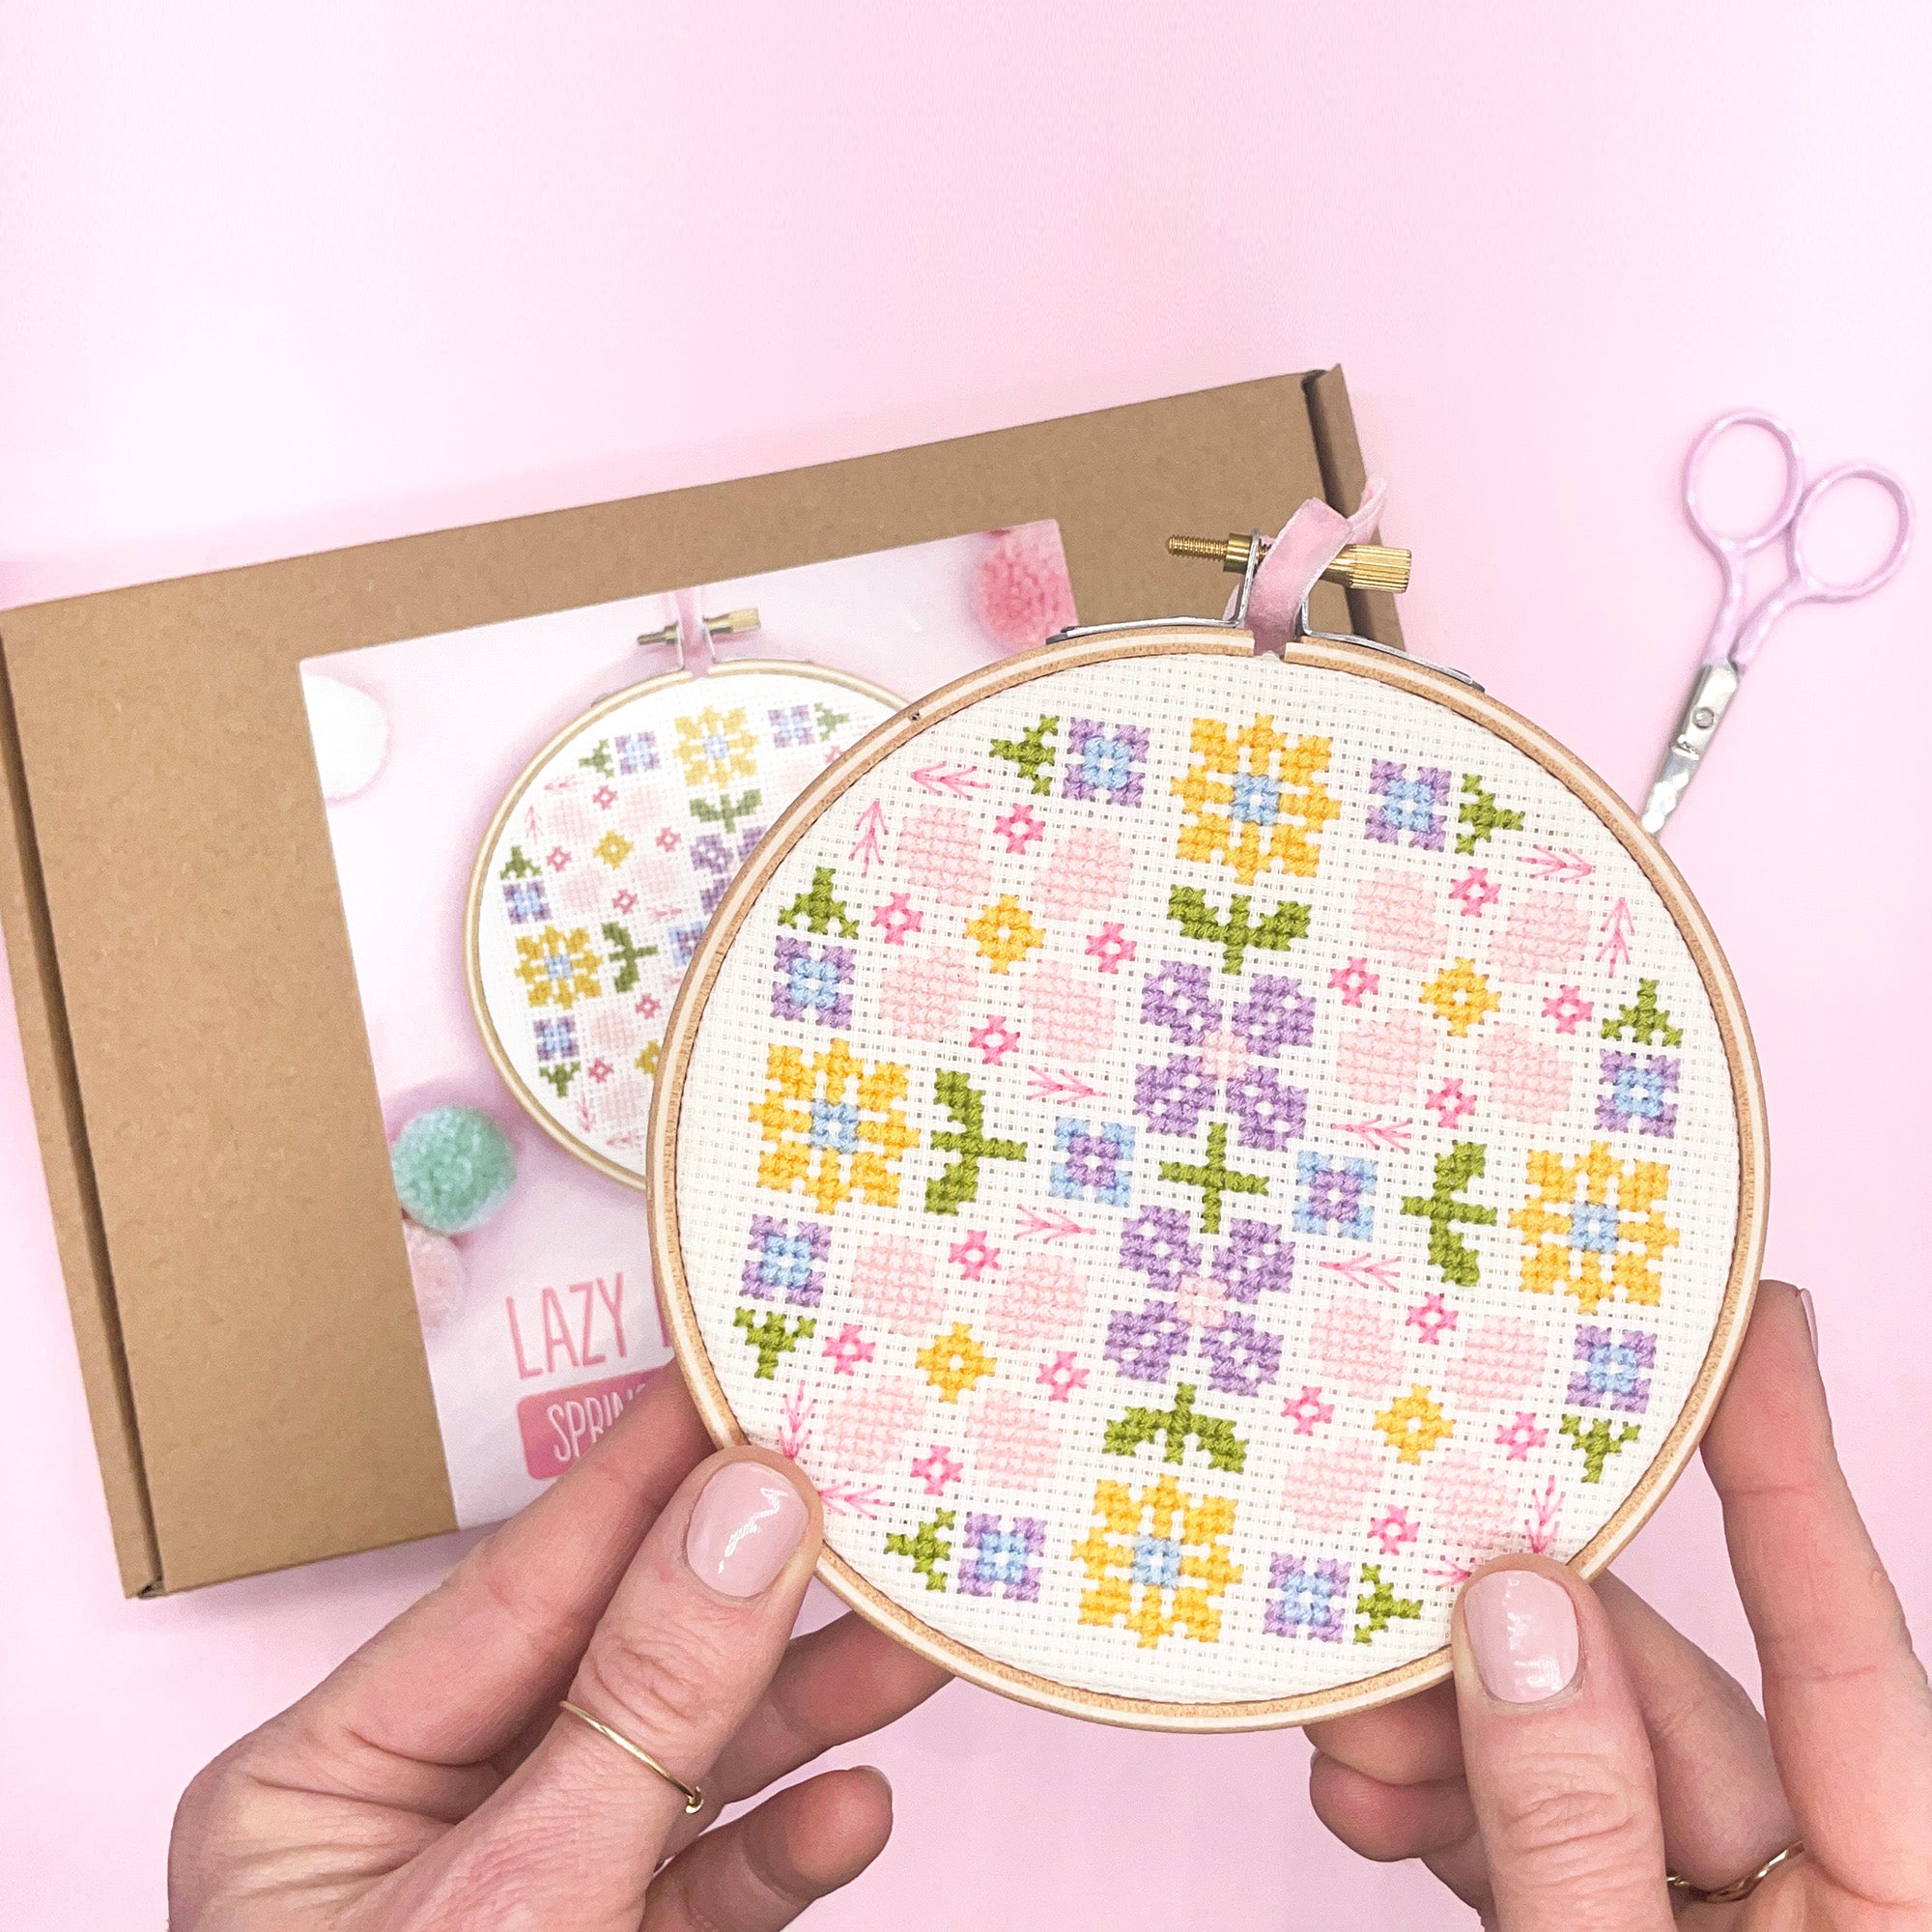
Complete embroidery kits with the pattern, hoop, thread and instructions included.
Shop embroidery kits
Iron-on embroidery patterns
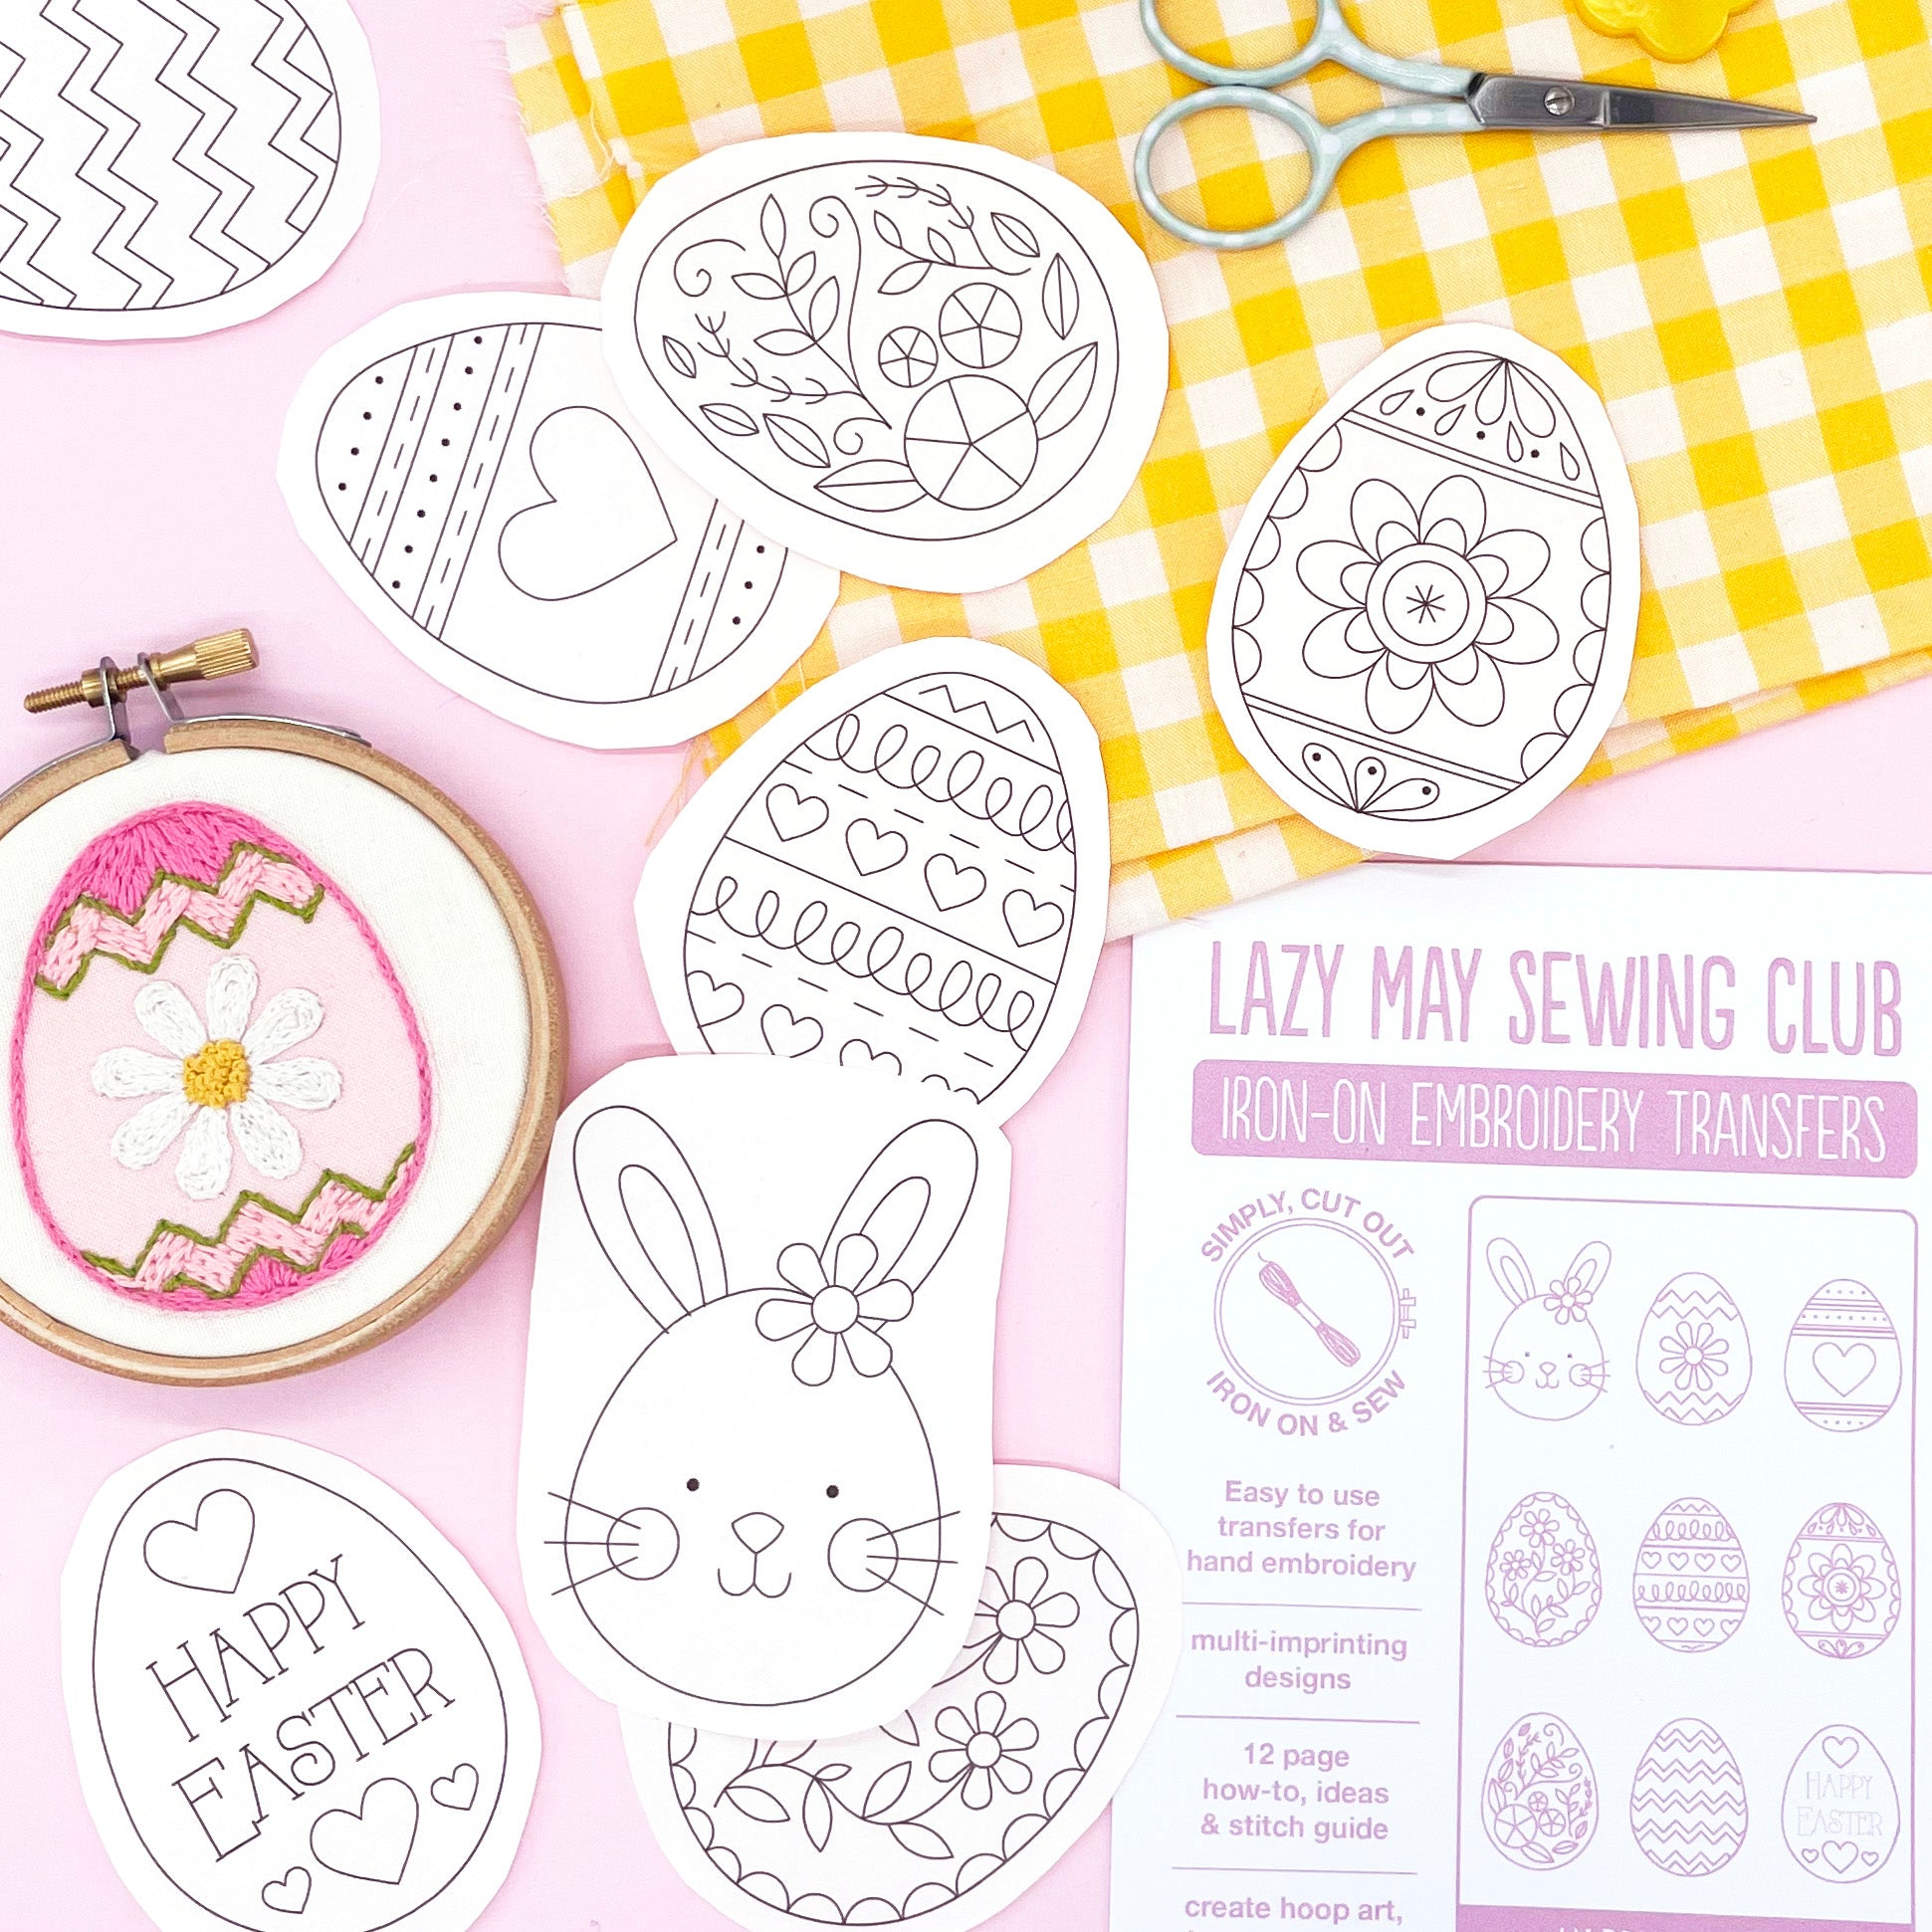
Easy-to-use embroidery transfers for stitching onto fabric, clothing, bags and hoop art.
Shop embroidery patternsHow to Back an Embroidery Hoop Step-by-Step
Step one: check the back of your hoop
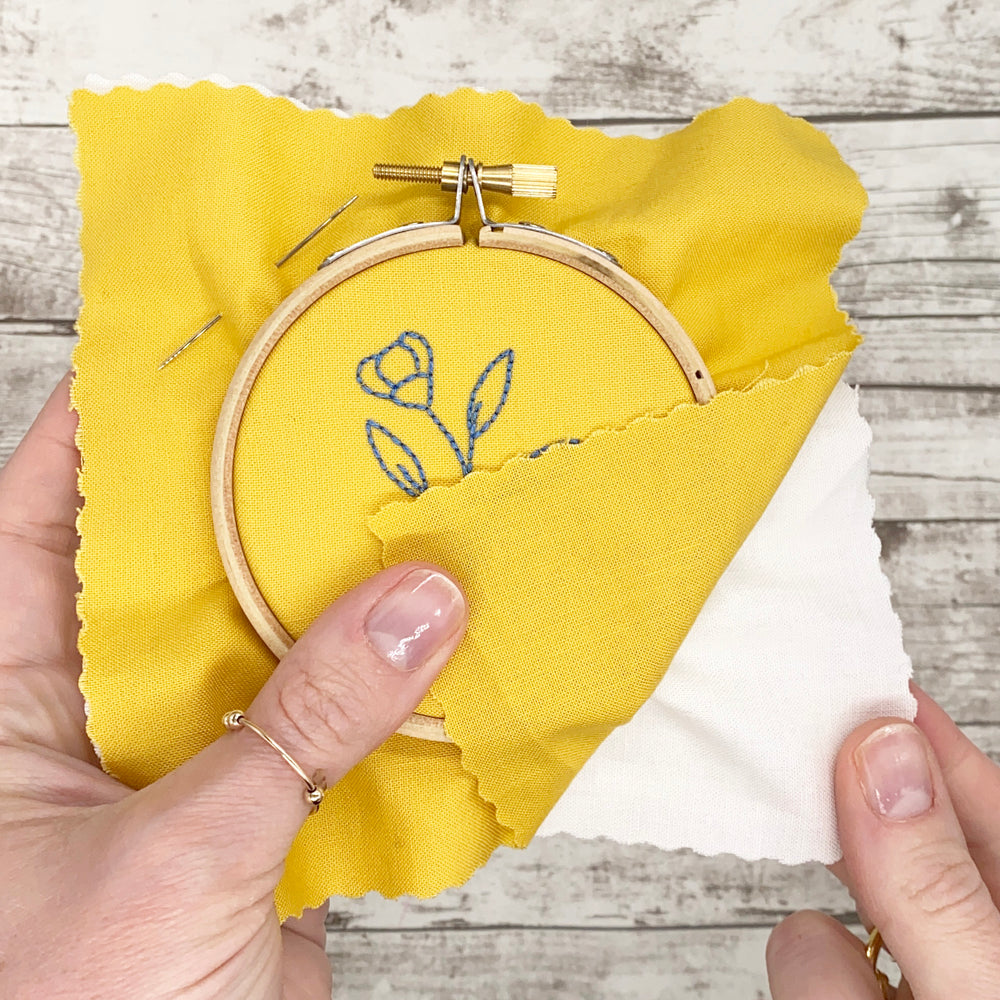
If you use two layers of fabric when you embroider, trim away the second layer before you gather the back of your hoop.
I often use a backing layer of white or cream cotton behind my embroidery fabric. It helps the fabric sit tightly in the hoop, makes the front fabric colour stand out and can help hide darker threads at the back.
Step two: trim away any backing fabric
Carefully work your way around the edge of the hoop, cutting away the backing fabric close to the inside edge.
Once you have done this, check the back of your embroidery for any loose ends of thread and trim them neatly.
Step three: cut the fabric into a circle
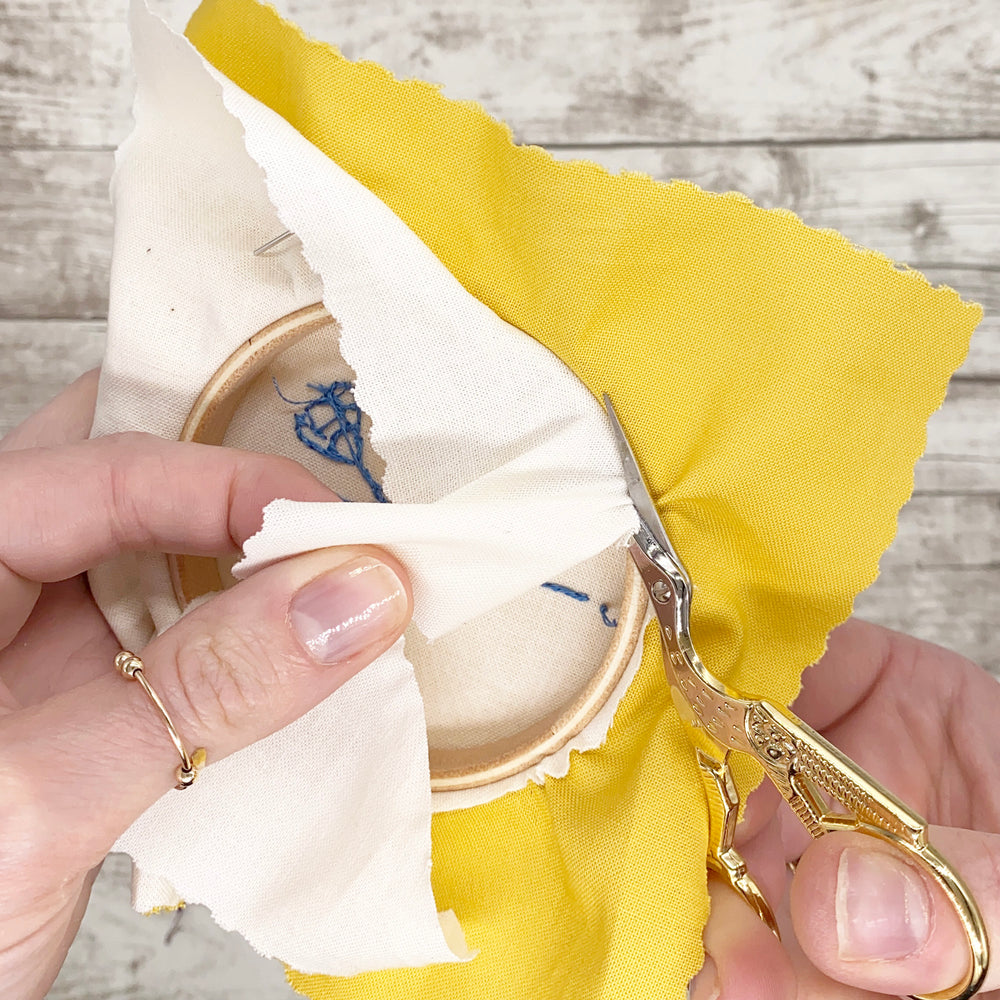
Trim the main embroidery fabric into a rough circle around the hoop. Leave around 2cm of extra fabric beyond the edge of the hoop.
You can mark this with a pencil first or cut it freehand. It does not need to be perfect, as the fabric will be gathered at the back.

Step four: sew around the edge
Cut an arm’s length of embroidery thread and separate three strands. If you are not sure how to do this, follow my guide to separating embroidery thread.
Do not tie a knot in the end. Starting with a long loose tail, sew a simple running stitch all the way around the edge of the fabric circle. Keep the stitches loose enough that the fabric can gather when you pull the thread.

Step five: leave both thread ends free
Continue sewing until you have worked all the way around the fabric circle. You should have two long thread ends hanging loose.
Be careful not to pull the first thread end through the fabric while you are stitching.

Step six: pull the thread to gather the fabric
Gently pull the two thread ends together. The fabric will start to gather neatly behind the hoop.
Ease the fabric in with your fingers as you pull, so the gathers sit evenly around the back.

Step seven: tie and trim the thread
Once the fabric is gathered neatly behind the hoop, tie the two thread ends together in a secure double knot.
Trim away the loose thread ends and your hoop is finished.


This hoop was stitched with
The flower embroidery shown in this tutorial was stitched using one of my floral iron-on embroidery patterns. Iron-on transfers are a lovely easy option for beginners because the design goes straight onto the fabric, ready to stitch.

Big Blooms floral embroidery patterns
Iron-on floral embroidery transfers for stitching hoop art, clothing, bags and fabric projects.
See the pattern
Hoops and tools
Useful embroidery supplies for stitching, finishing and displaying your handmade projects.
Shop hoops and toolsMore embroidery help
I hope this guide helped you finish your embroidery hoop neatly. You might also like my step-by-step guide to backing a hoop with felt, or you can browse more beginners’ embroidery guides.