Amazing Mini Hoops!
I love creating mini hoops, these 3" embroidery designs are the perfect project if you are just learning embroidery or don't have a lot of time.
These embroidery designs are easy to set up and complete, so I hope you will find these small projects are very satisfying and achievable.
Once made they are great to display around your home, on shelves or tied on to door handles, they also make great gifts and very special gift tags.
Notes about this article:
This article will (hopefully!) give you loads of ideas for things you can make with our transfer patterns and help you design your own projects.
Each project has notes but not a full step-by-step guide, so if you need guides to any of the stitches mentioned here, help setting up your hoop or separating thread you will find all this information and more on our 'Beginners Embroidery Guide' pages.
Simply click below to visit if you need help.
1. Beginners back stitch hoop

This floral embroidery design is one of the simplest types to create. It is made using only back stitch (the simplest of stitches) cover the lines of the pattern. The design is stitched using all the same colour of thread and using 2 strands of thread.
You can use this technique on loads of different hoops, by varying the fabric and thread colour, design and size you can create beautiful and different looking hoops with one simple stitch. I find this a very mindful and relaxing way to sew.
2. Two stitch hoop

Only slightly more complicated than the back stitch hoop, this easy embroidery design uses two stitches to create different textures on the fabric.
Here split stitch with 4 strands of white thread is used for the main outline of cup. Back stitch with 2 strands of white thread is used for the rest of the details.
Small christmas embroidery hoops like this one are ideal for hanging on the Christmas tree, gifting or adding to very special presents as a gift tag.
3. Personalised mini hoop

I just love these personalised mini alphabet embroidery hoops, they can be used for so many things, hanging on bedroom door handles, nursery shelf displays and gift tags like the one in the photo.
The letter is filled with satin stitch using 4 strands of thread, and the outline is stitched with back stitch, again using 4 strands of thread.
TOP TIP: When filling large areas with satin stitch it is good to give yourself some guide lines so that you keep your stitches straight. You can see in the images below that I have divided the letter up using vertical pencil lines made with a ruler. Place a single stitch over each of these lines first and then fill in the remaining spaces with satin stitch.


4. Adding fabric paint to your embroidery designs

Adding fabric paint to your embroidery designs will create a bold and colourful look. Once you have ironed on your embroidery pattern use fabric paint to fill in areas of the design and then stitch over the pattern lines with a matching colour.
Here I have stitched around the design using stem stitch and 4 strands of thread to give a thick outline.
You could also try contrasting the thread colour with the fabric paint.


5. Create a repeating pattern

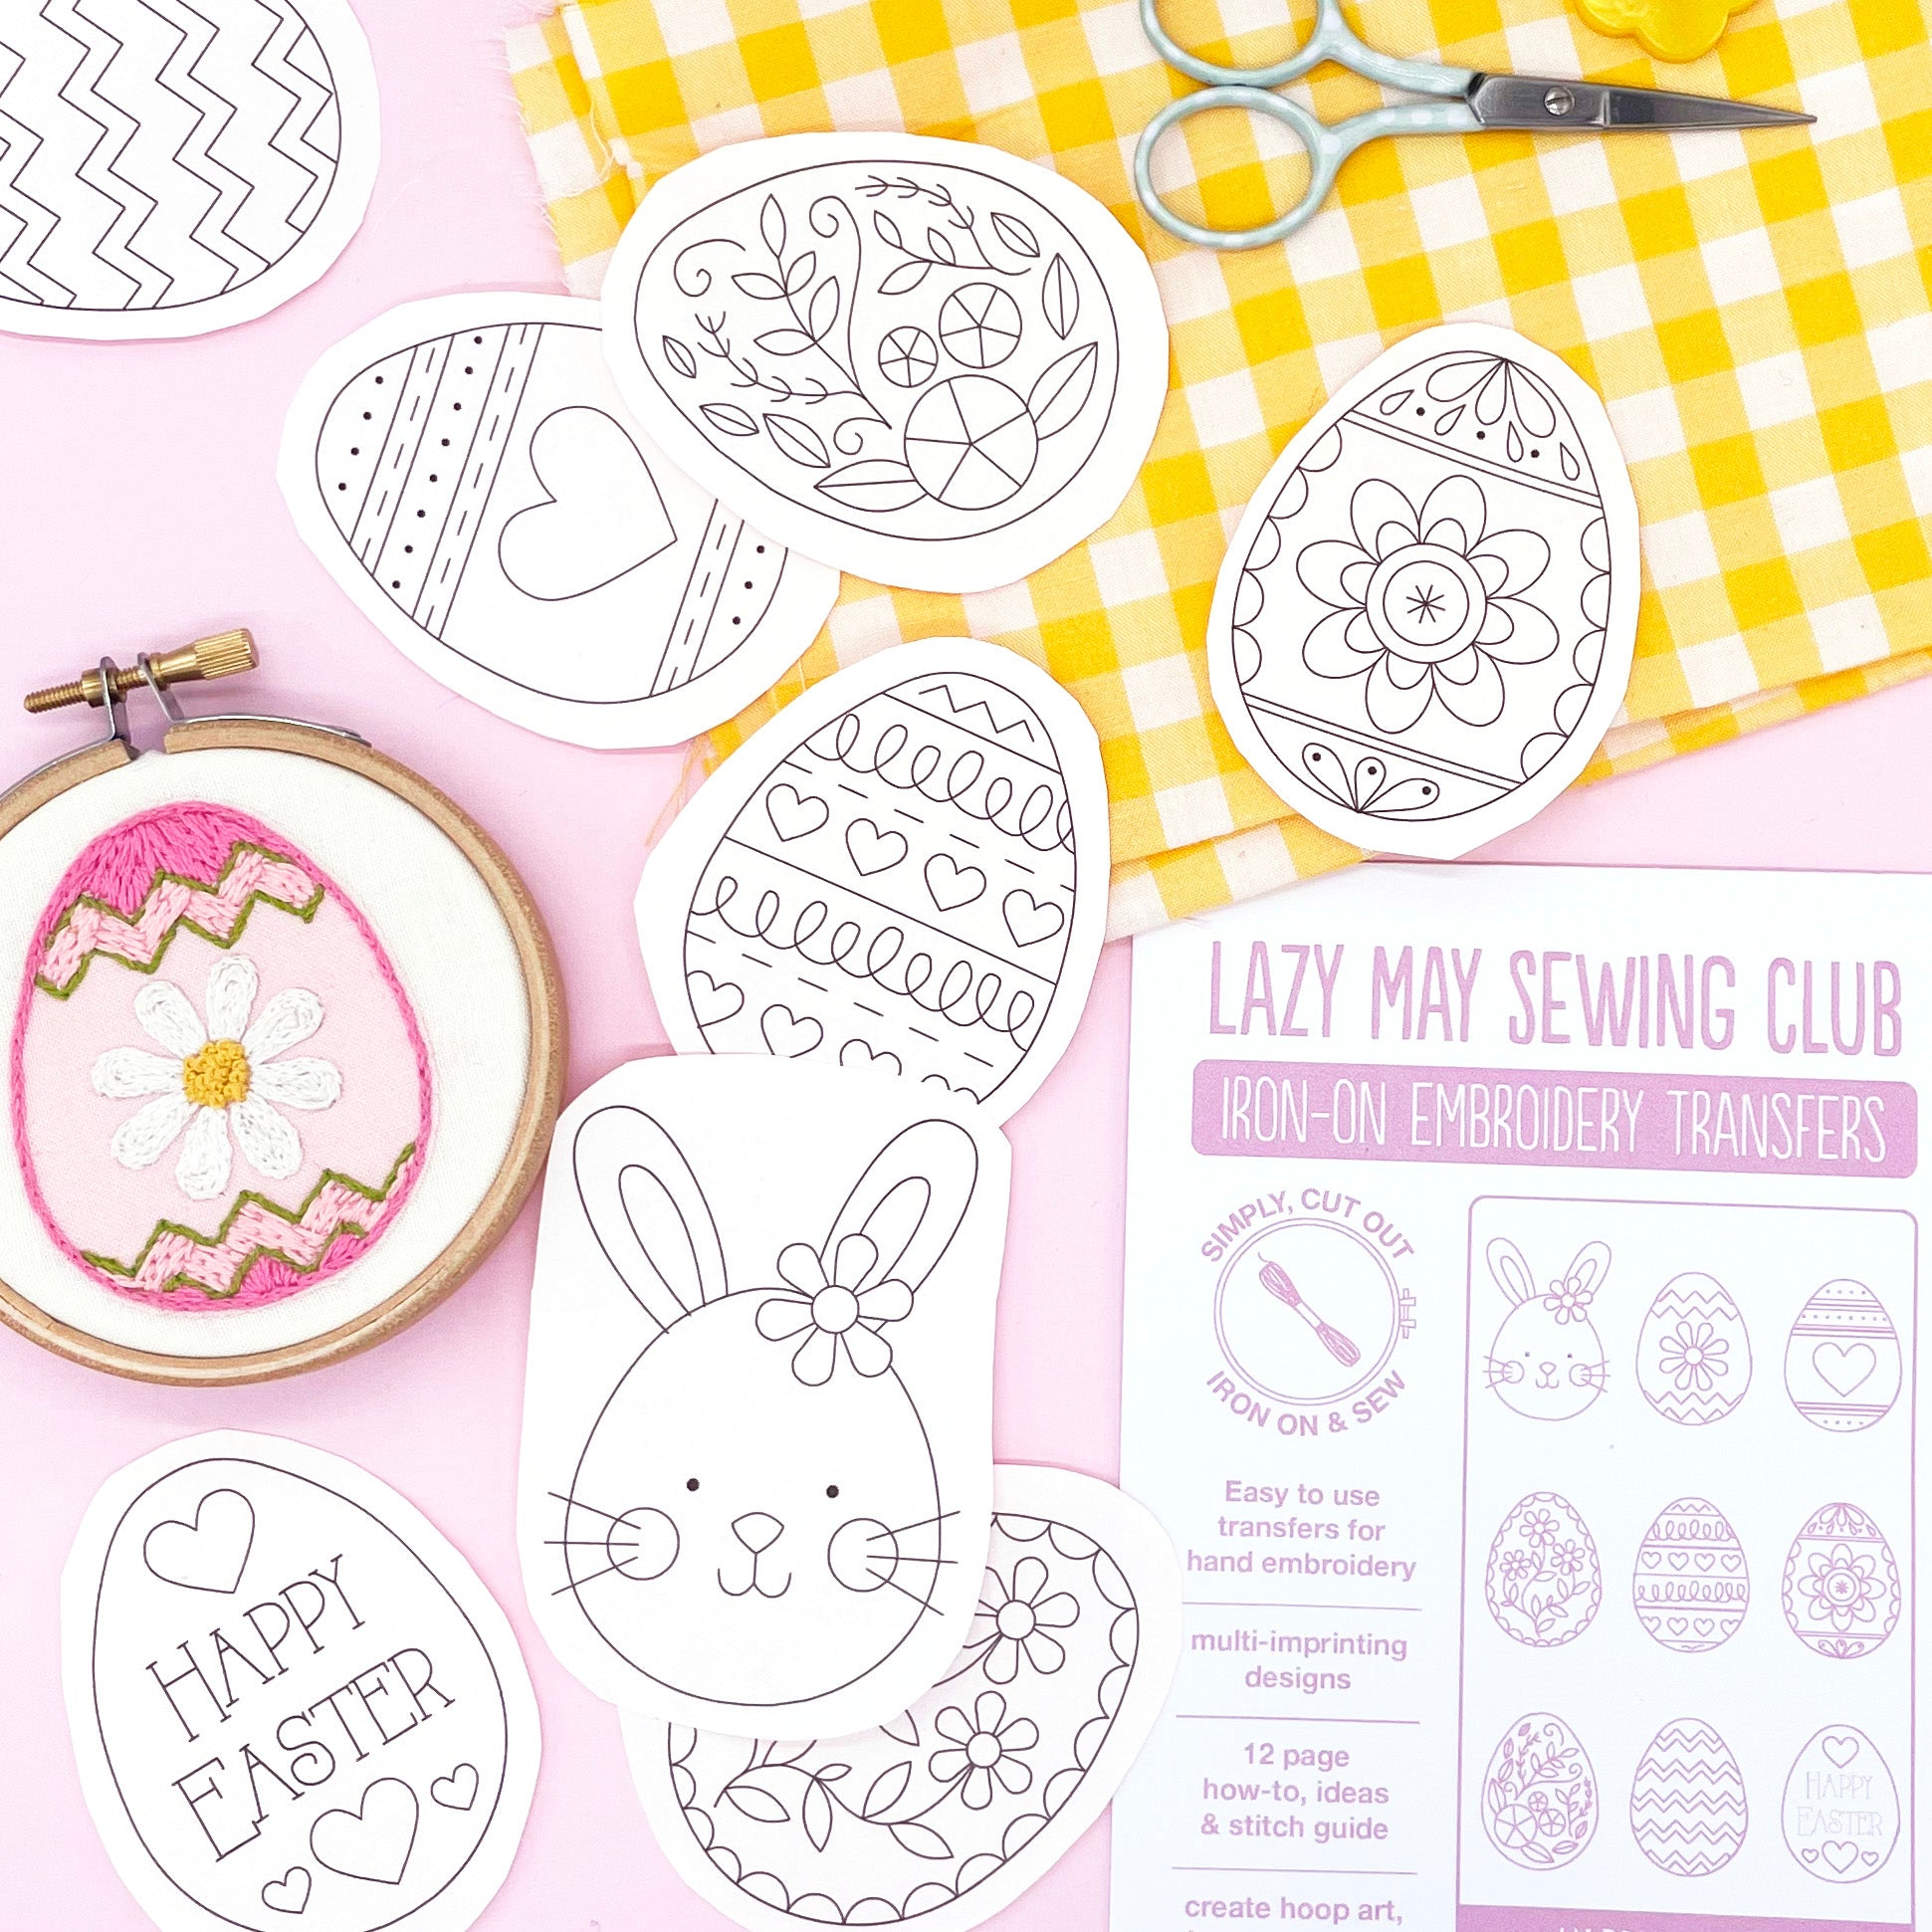
As our embroidery transfers will create multiple imprints of a design they are great for creating repeating patterns like this one.
Here I have ironed the same botanical embroidery transfer on to the fabric 3 times.
The stems are stitched using 3 strands of green thread and stem stitch. The berries are made with french knots, using 3 strands of pale purple thread.
I hope you have gathered some embroidery inspiration from this article and are keen to have a go at creating your own embroidery designs using iron on embroidery transfer patterns.


