Difficulty Level: Easy
Project Length: Medium
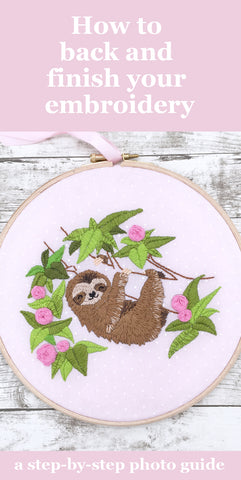
Only 3 embroidery stitches are needed to complete this simple but fabulously festive Christmas embroidery hoop.

To stitch this hand-embroidered Christmas Wreath you will need:
- Lazy May 'Christmas Wreath' embroidery pattern set
- 30cm x 30cm (12"x12") white or natural fabric (I have used unbleached calico)
- DMC thread in the following colour; red 321
-
Embroidery Hoop, Needle, Scissors
If you are new to embroidery you can find a guide to the basics, including all the equipment and getting it set up here.You will also find guides to all the stitches mentioned in this pattern here.
Preparation
Transfer your pattern to the fabric following the instructions on the packet.
Stitching Notes

How to Embroider the Large Filled Stars
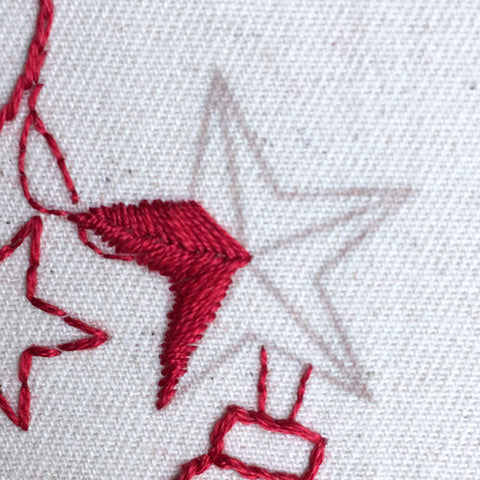
Each of the large stars is created using satin stitch (click here for an illustrated guide to Satin Stitch).
Thread your needle with 2 strands of the red thread, working from the middle point of the bottom section of the star (A) place a single stitch vertically from A to B.
Continue placing stitches vertically, working from left to right to fil the section. Always stitch from the outer edge to the middle and place the stitches close together so no fabric shows through.

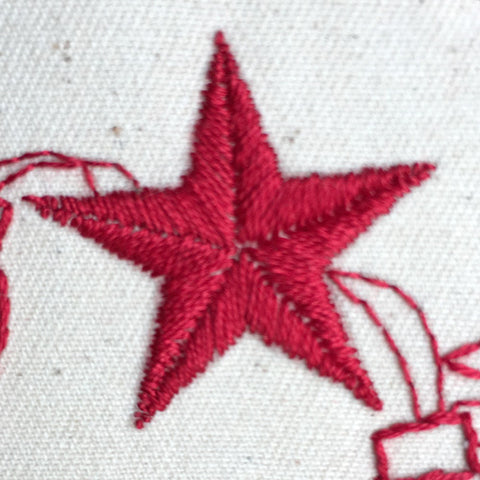
Once you have stitched the section illustrated above, go back to the centre point (A to B) and continue to stitch but this time work right to left to fill the other half of the section. Fill the remaining 4 sections in the same way to create your beautiful satin stitched star.
Stitching the Baubles

Embroider the baubles in two parts, first stitch over the outlines with 3 strands of the red thread using stem stitch (click here for an illustrated guide to stem stitch).
Now add the details, such as the pattern of the bauble and the hanger, select 2 strands of red thread and stitch using back stitch (click here for an illustrated guide to back stitch).
Stitching the Christmas Lights and Small Stars
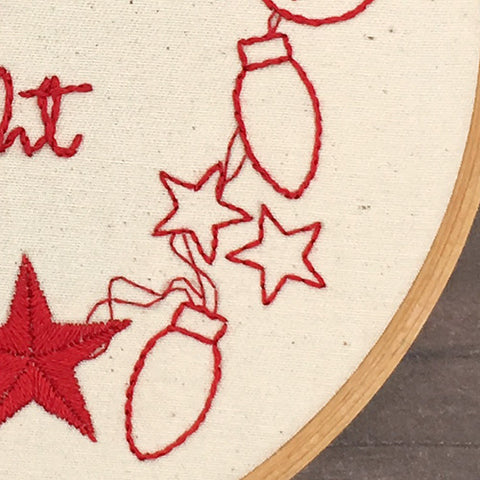
Begin by stitching the thin string that joins the lights together, use a single strand of red thread and use back stitch, (click here for an illustrated guide to back stitch).
Stitch the outlines of lights with 3 strands of red thread using stem stitch, (click here for an illustrated guide to stem stitch).
The small stars are stitched using back stitch with 2 strands of thread, (click here for an illustrated guide to back stitch).
Stitching the text

To embroider the text select 4 strands of red thread and sew over the pattern lines with stem stitch (click here for an illustrated guide to stem stitch). Keep your stitches small and tight, especially when going around the curves and loops.
Your embroidered Christmas Wreath is now complete, you could thread a red ribbon through the screw at the top and hand it on the wall, or simply place it on a shelf or over the fireplace as part of your Christmas display.
The pattern used in this project was 'Christmas Wreath' please click the link below to add it to your basket.
You may also be interested in...