How to Embroider a Flower: Easy Beginner Flower Hoop
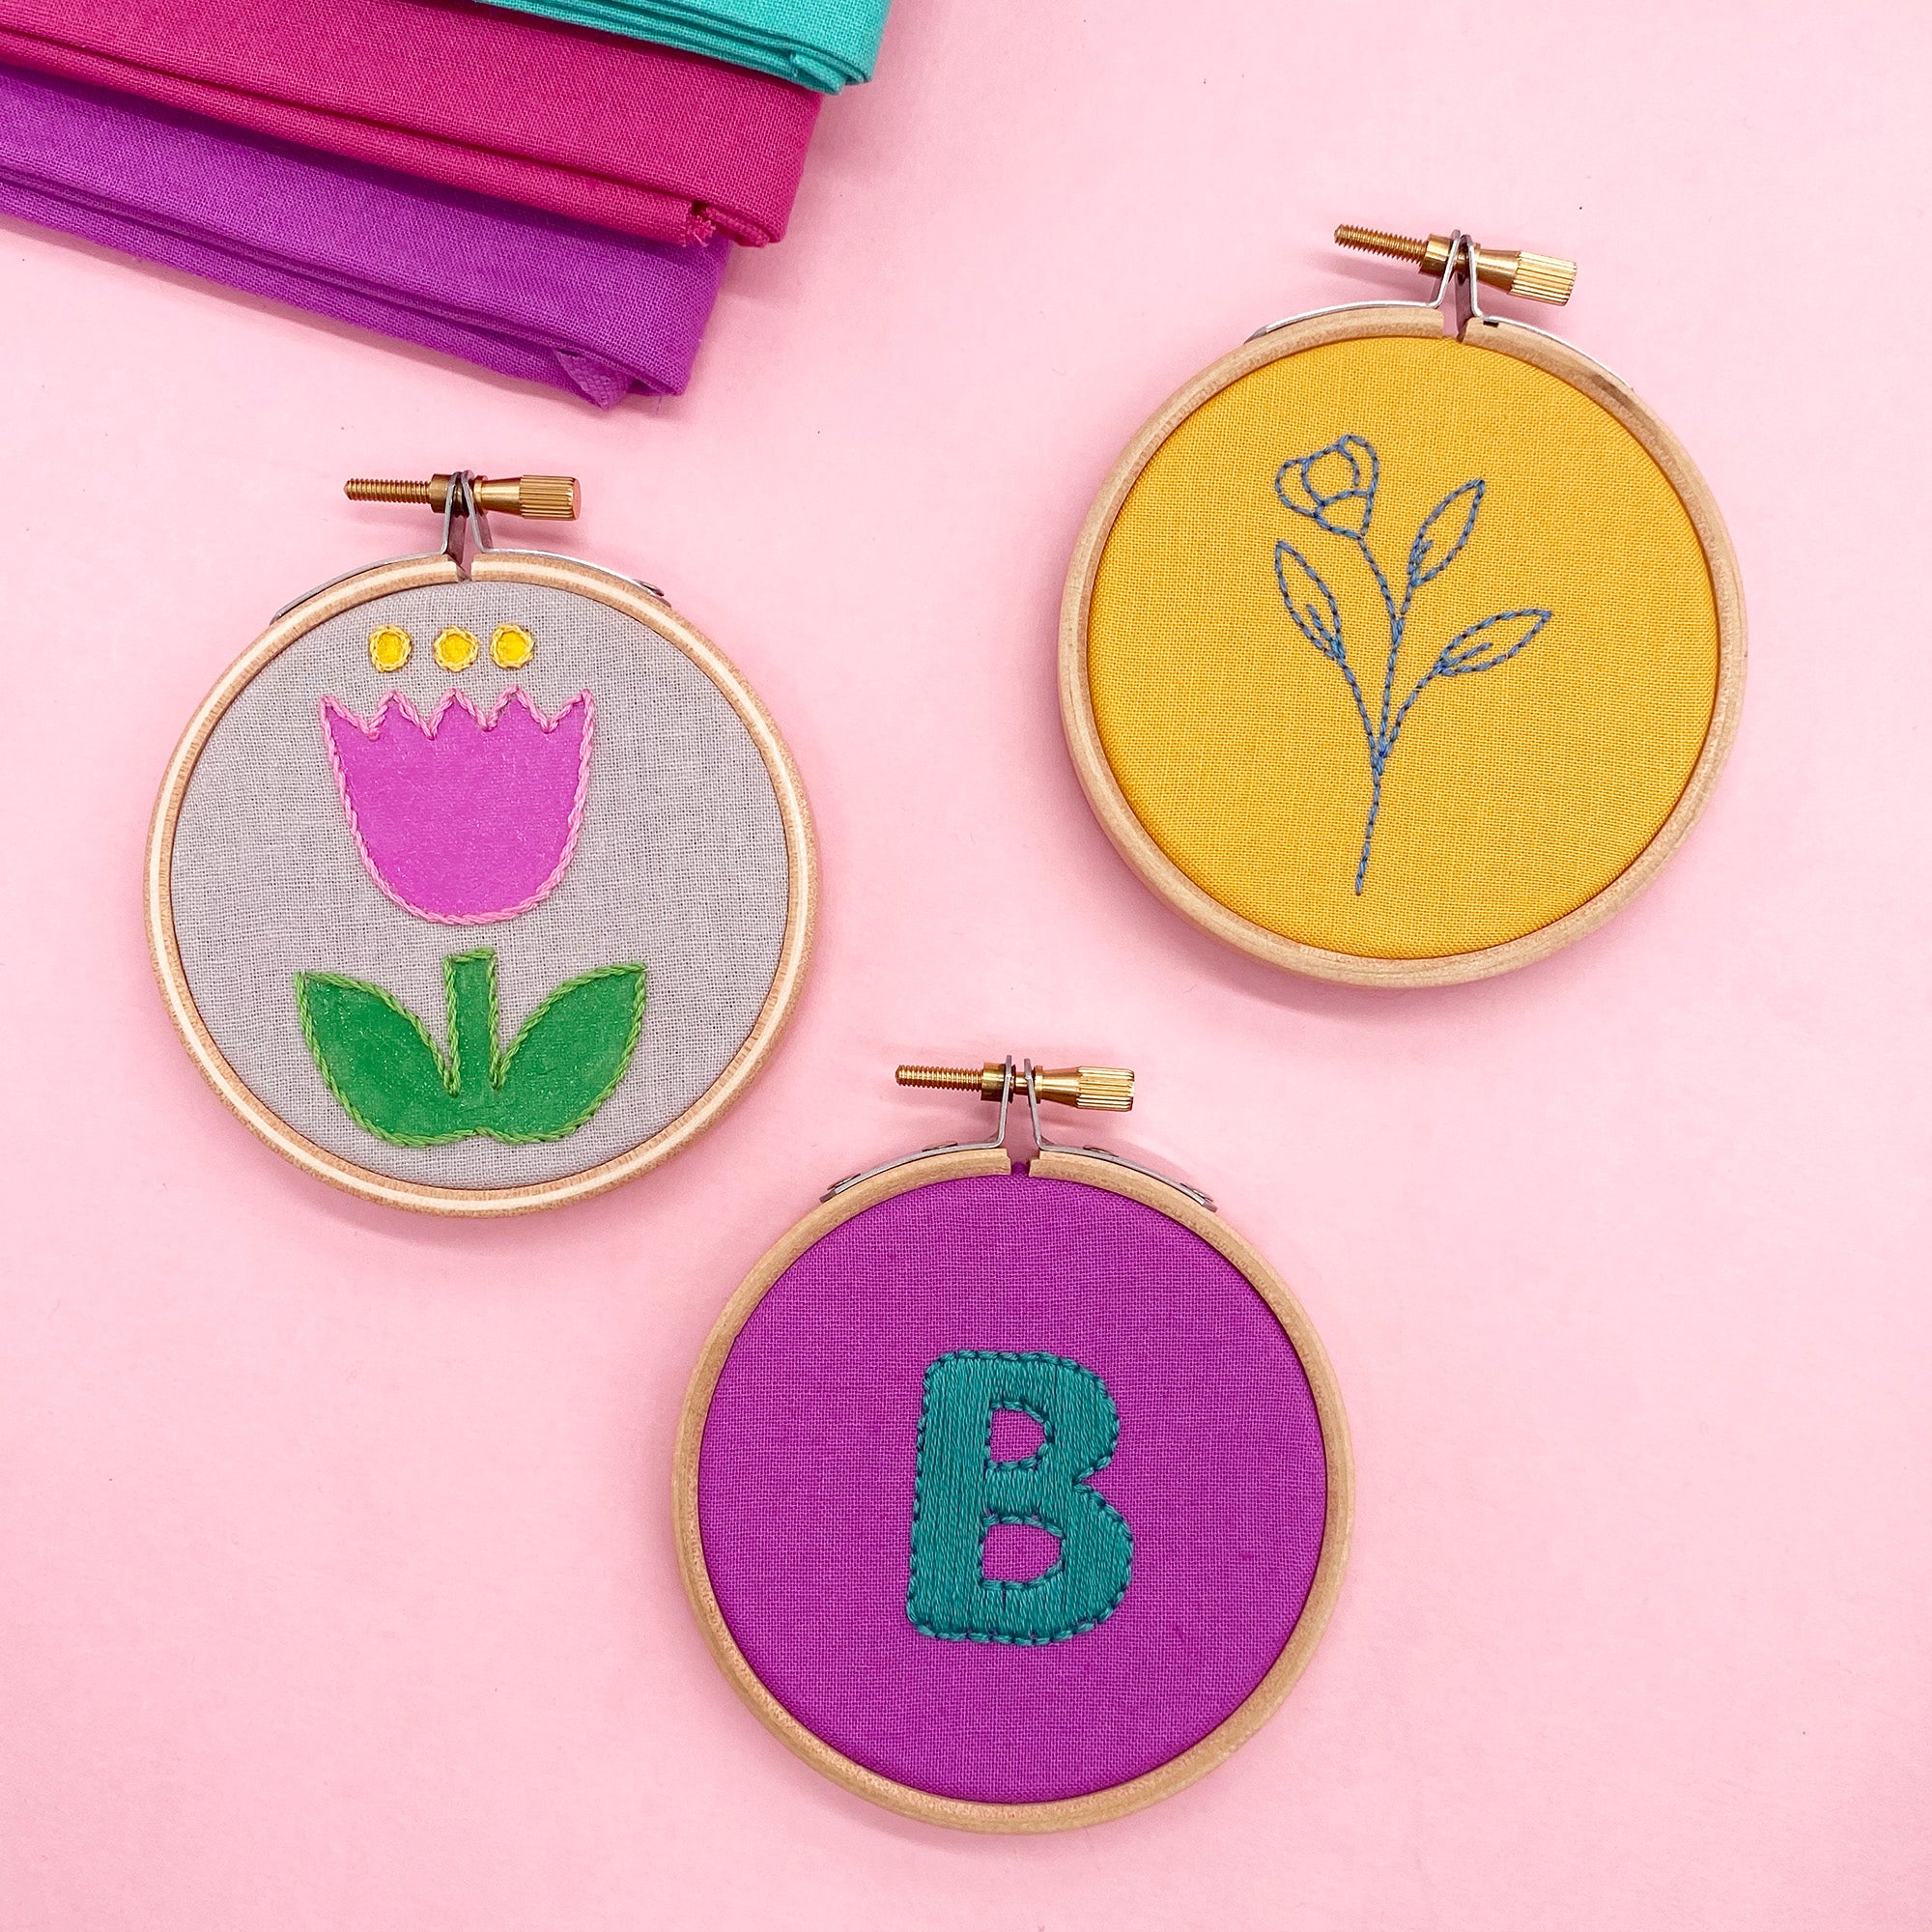
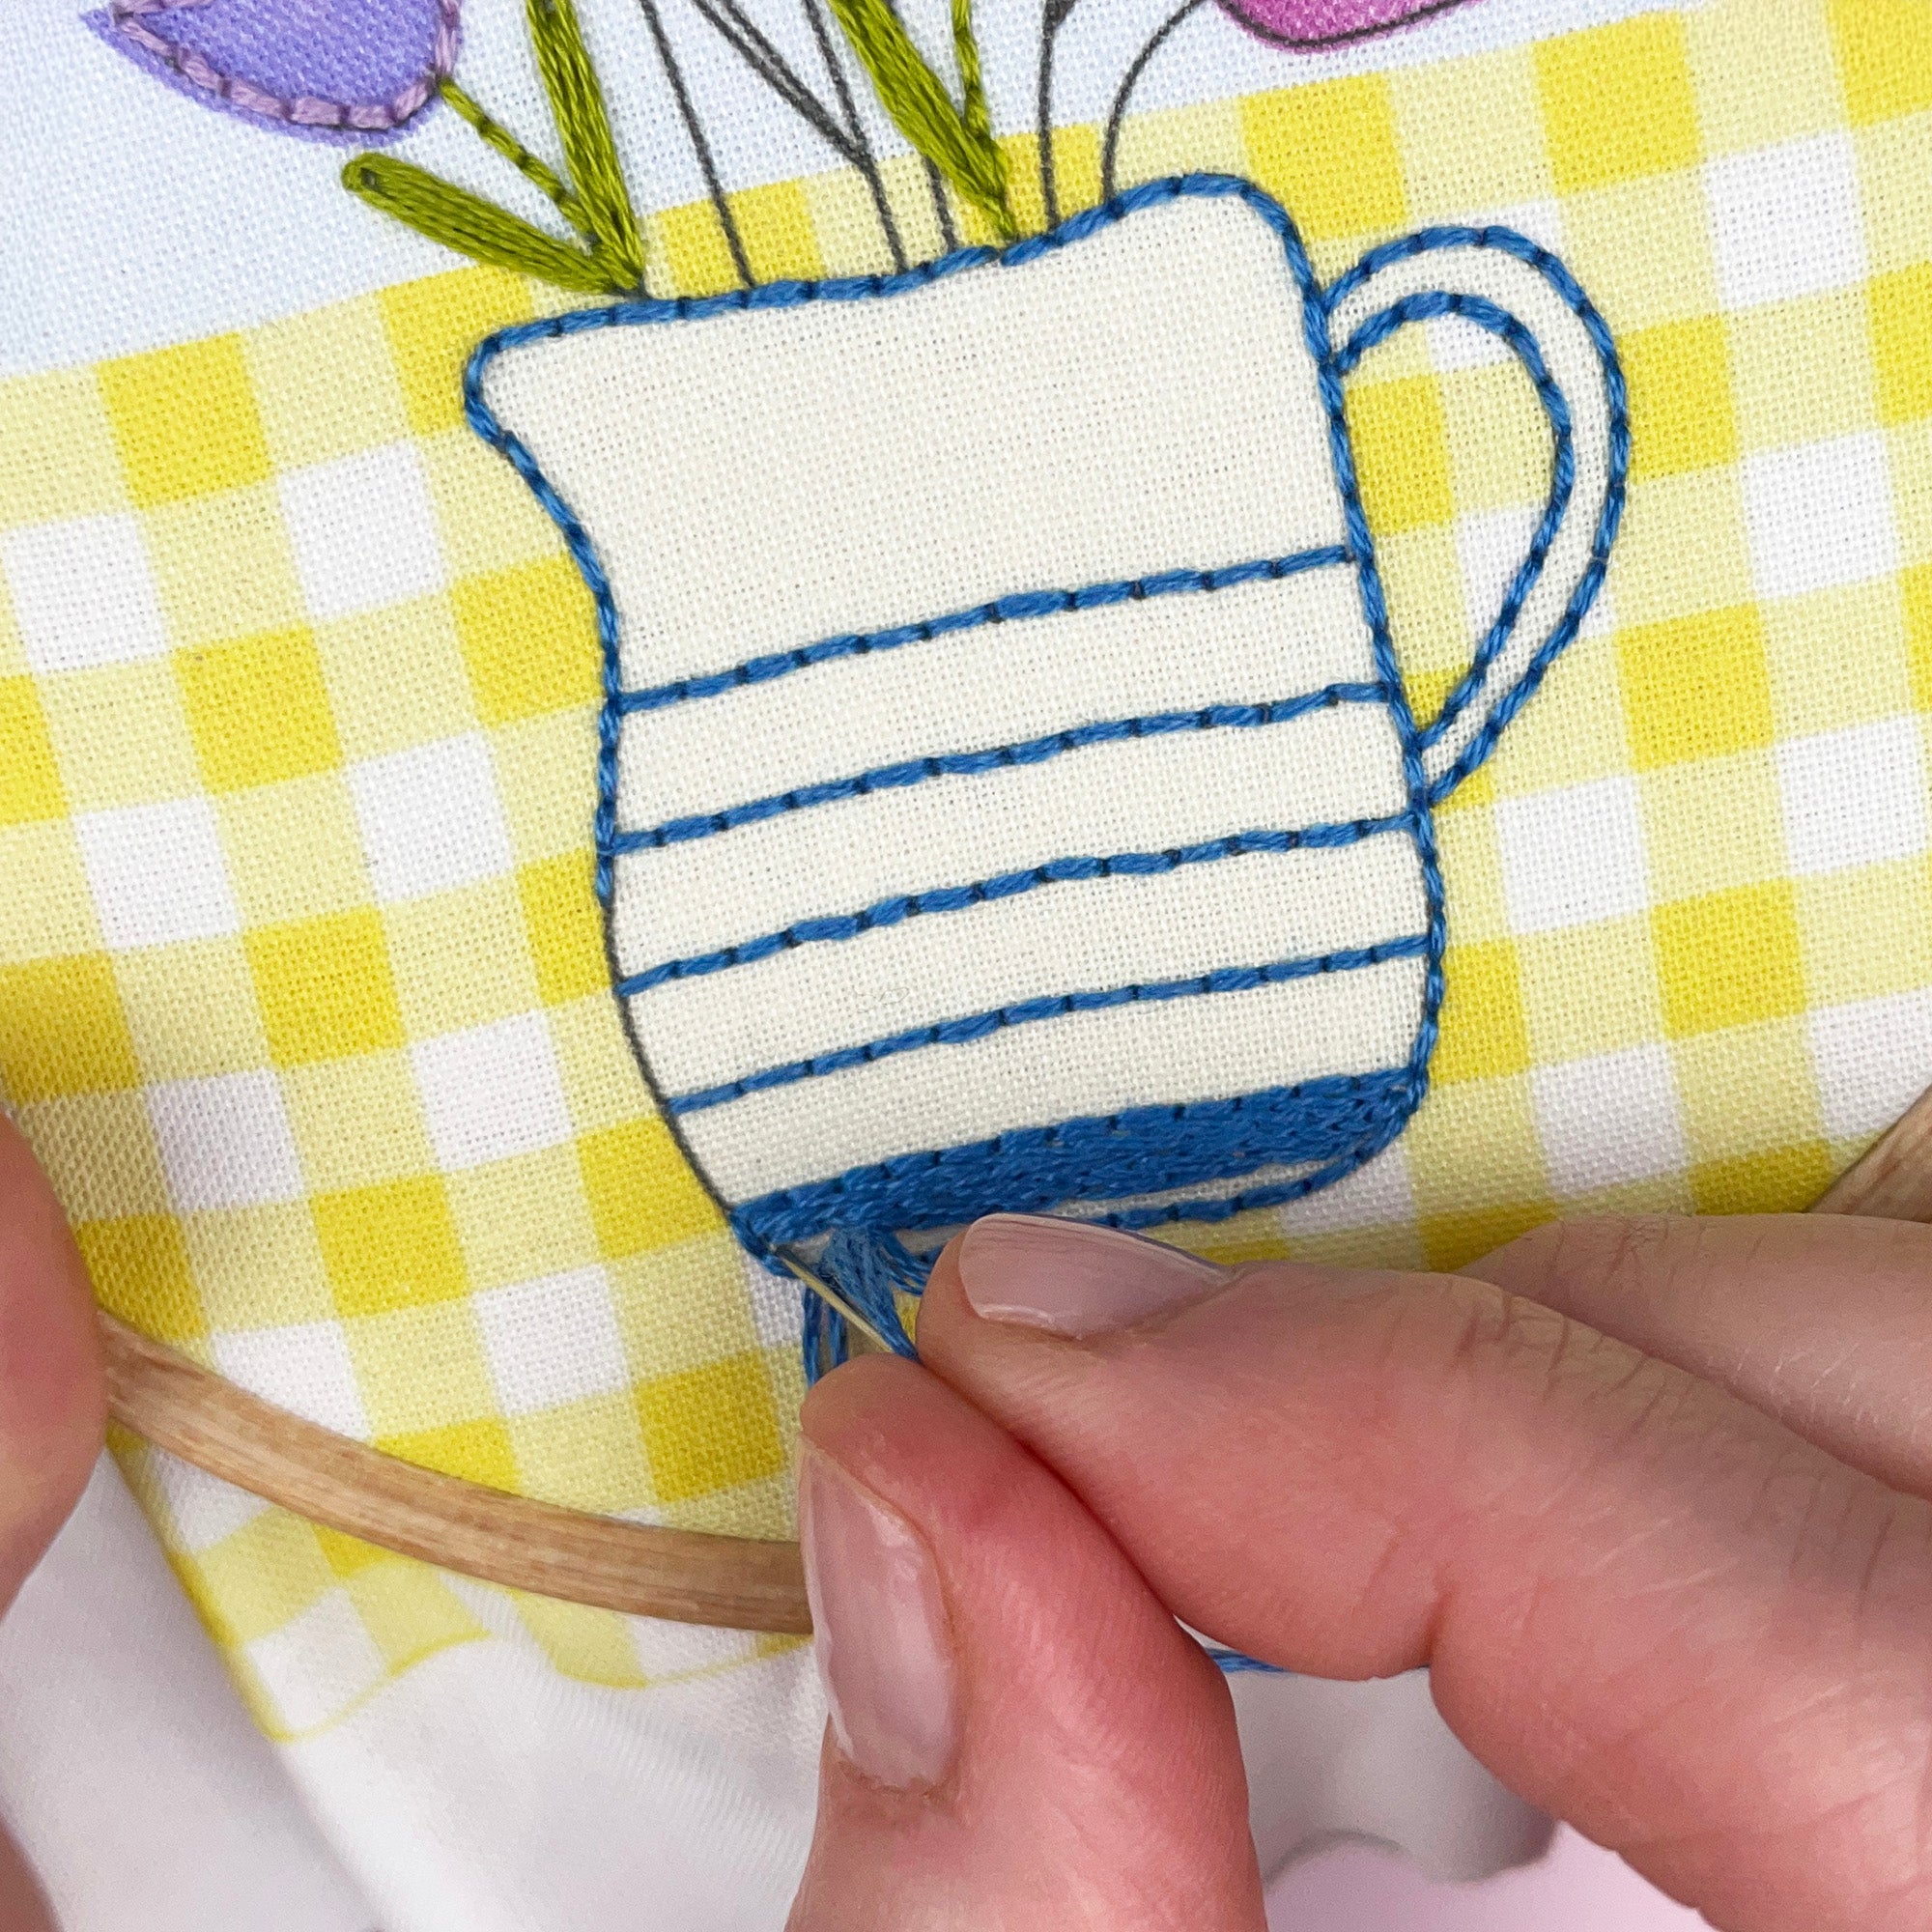
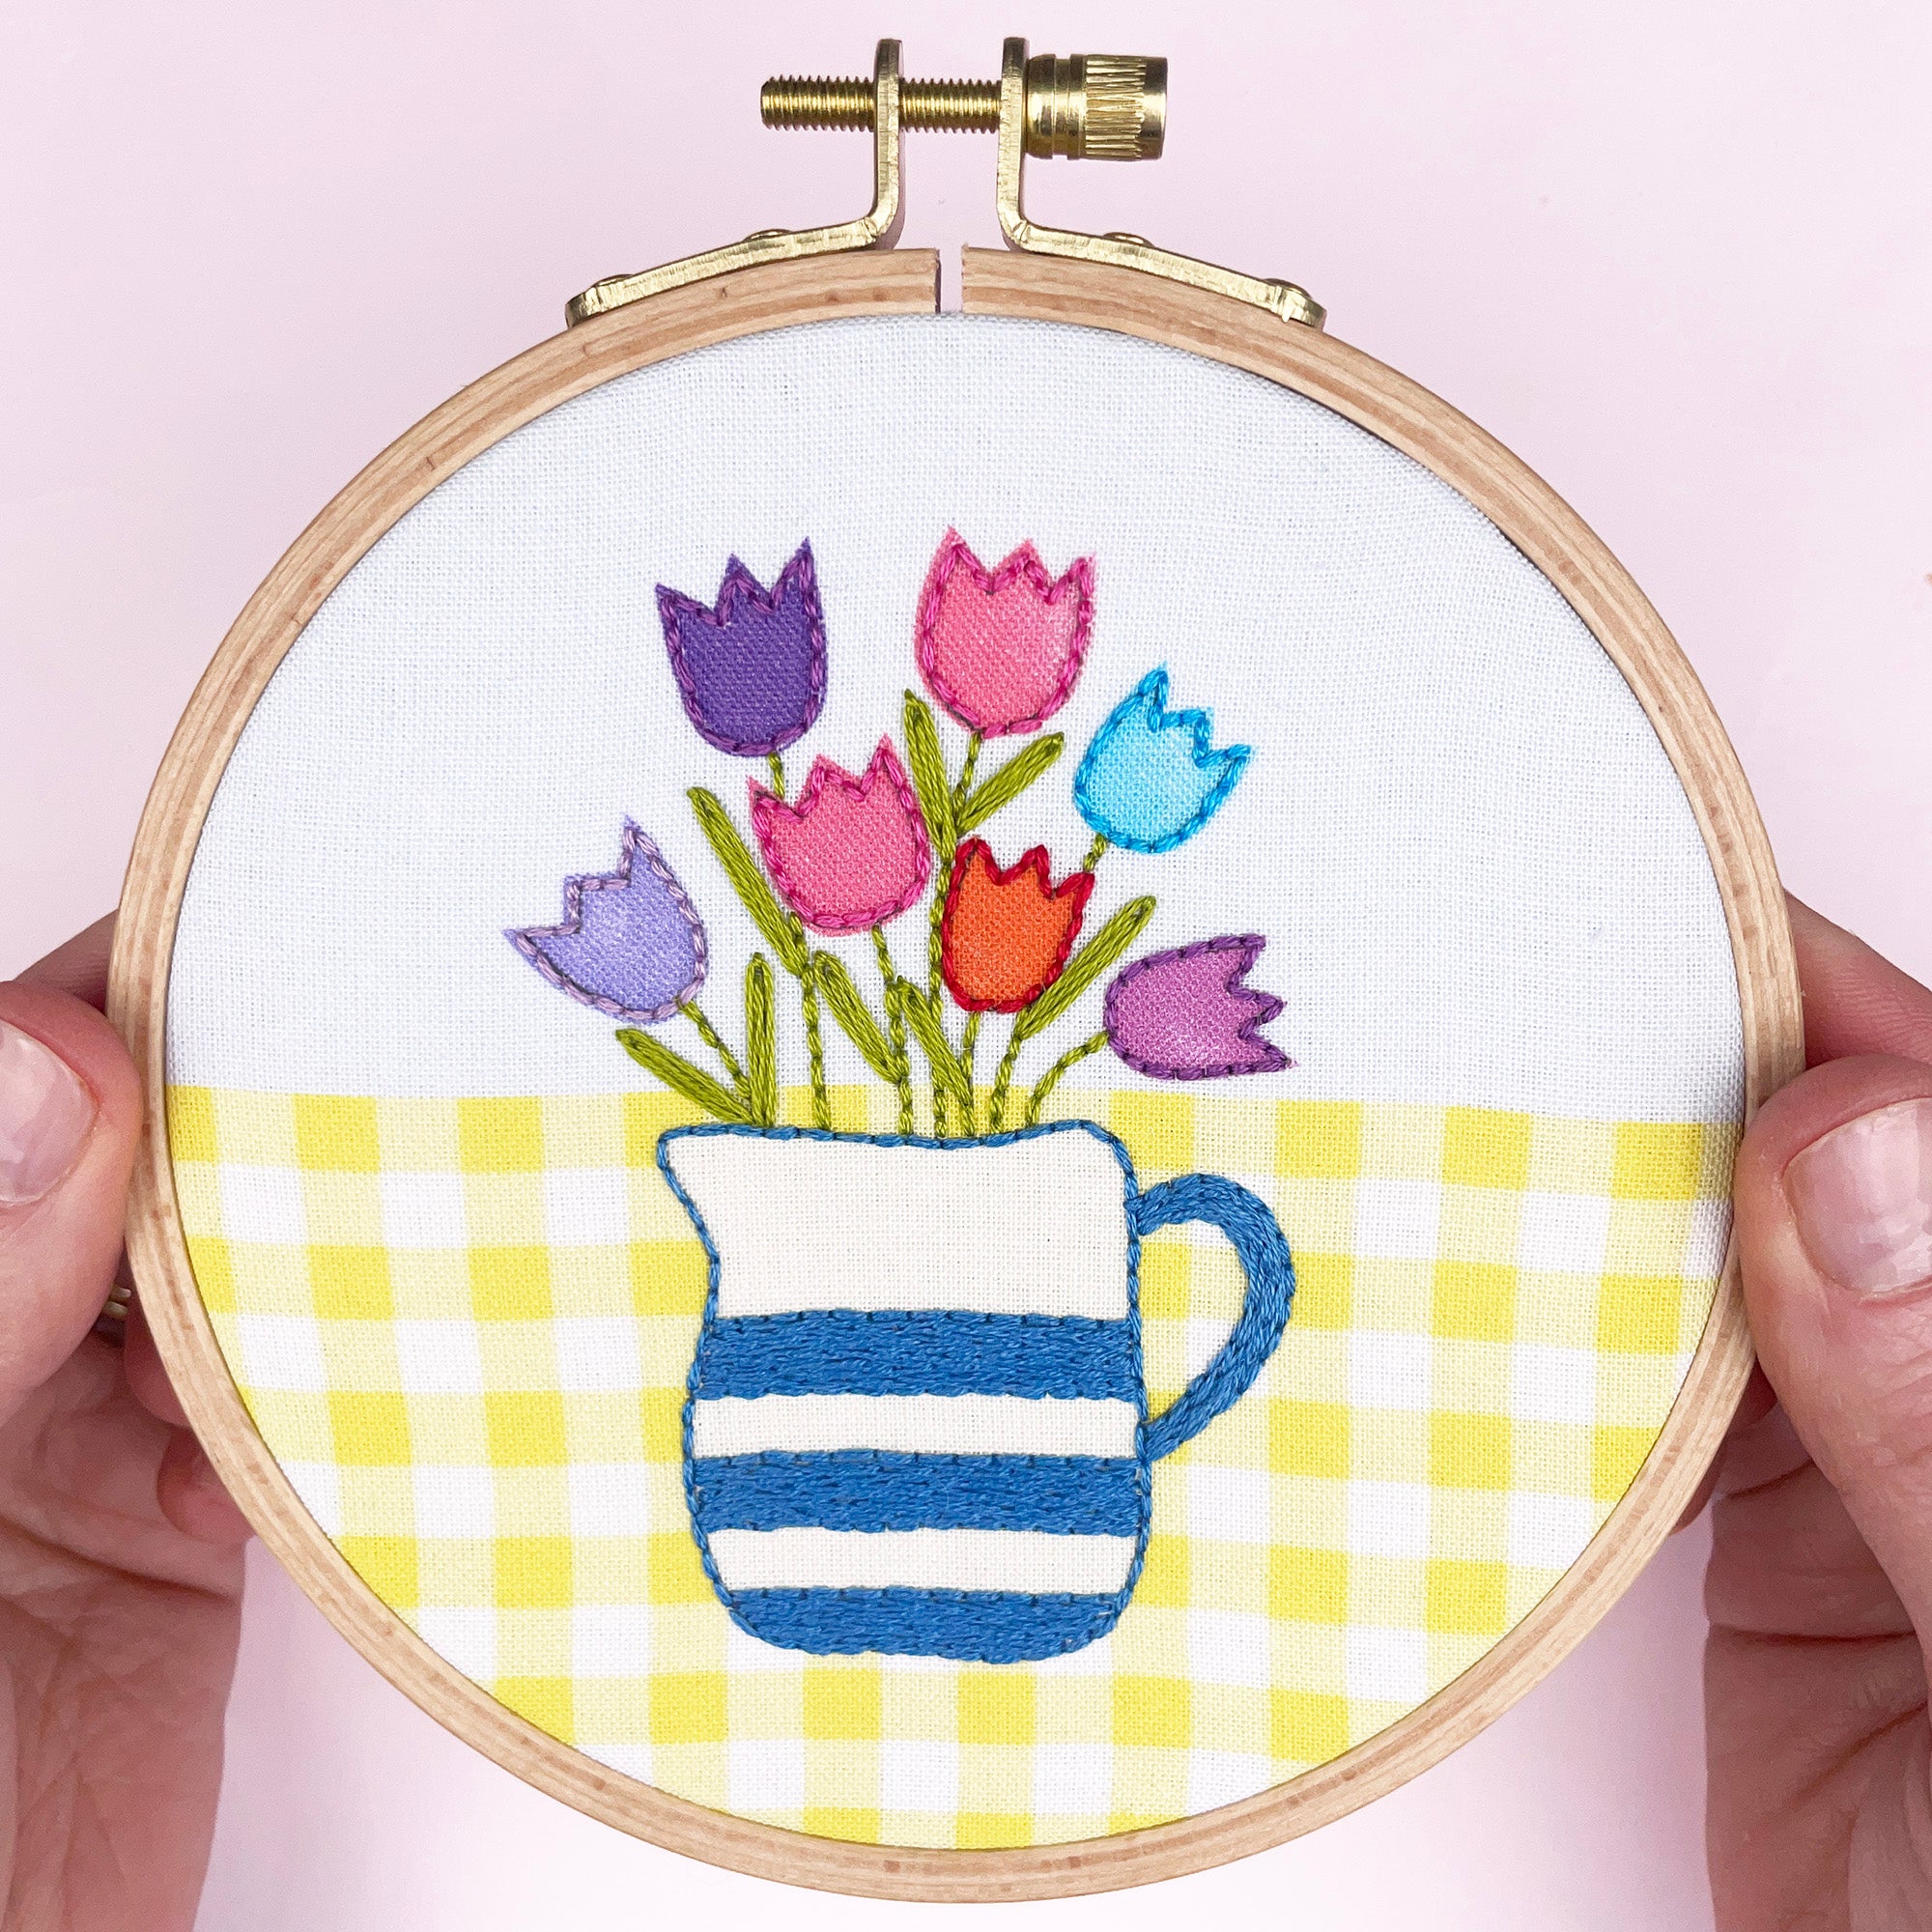
This simple flower embroidery project is a lovely way to practise four common embroidery stitches: stem stitch, lazy daisy stitch, split stitch and satin stitch.
In this step-by-step guide, I’ll show you how to embroider a flower using a small iron-on embroidery transfer and a few beginner-friendly stitches. It’s a quick project and a nice way to build confidence if you are still fairly new to hand embroidery.
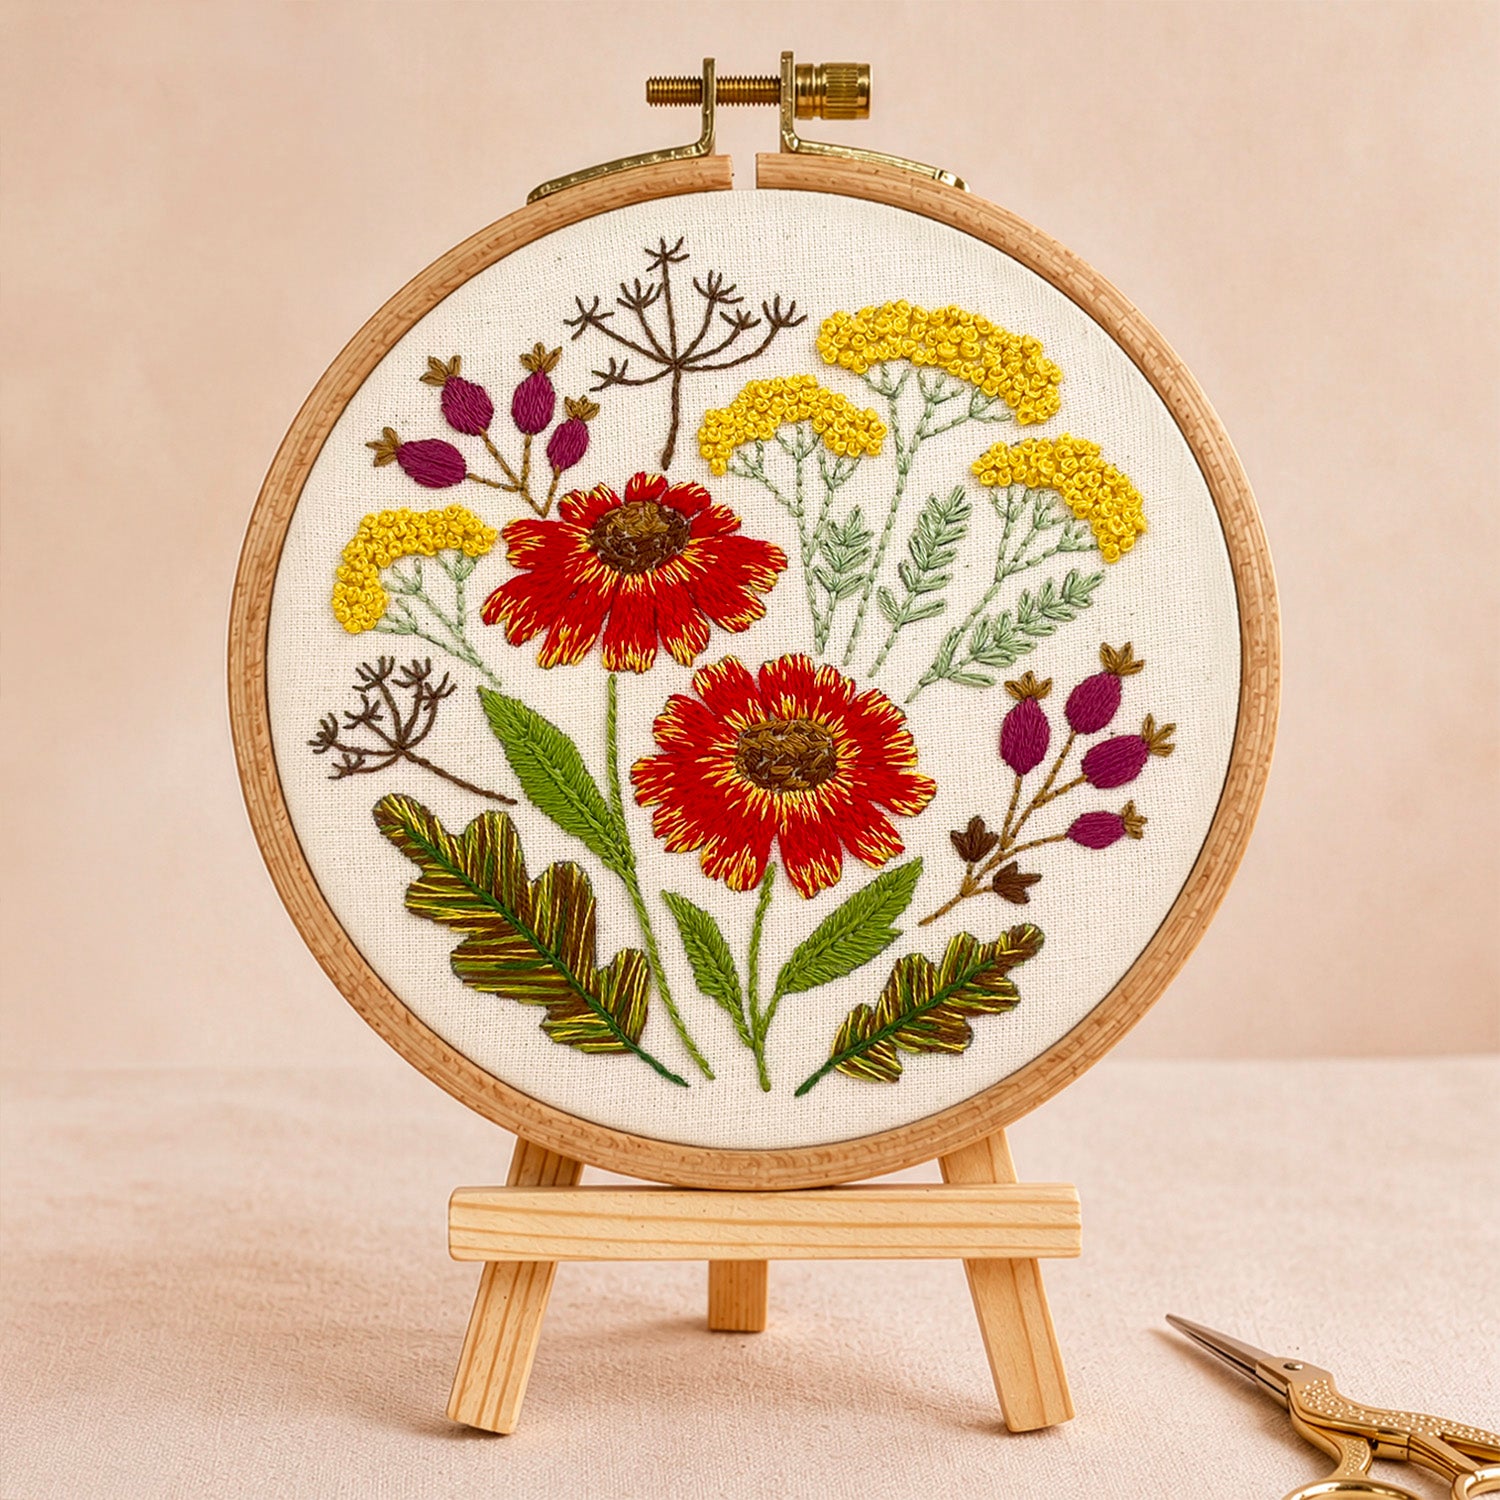
Love stitching flowers? Browse my floral embroidery kits and patterns, including complete kits, iron-on embroidery patterns and stick and stitch designs for beginner-friendly projects.

Project details
- Difficulty level: easy
- Project length: quick
- Stitches used: stem stitch, lazy daisy stitch, split stitch and satin stitch
You will need
- The flower test transfer from your iron-on embroidery pattern pack
- A 3" embroidery hoop
- Embroidery thread in blue, such as DMC 798 or Madeira 911
- Embroidery thread in cream or white, such as DMC 195 or Madeira 901
- 15cm square of light blue fabric
- 15cm square of cream or white fabric for backing
- An iron
- An embroidery needle
- Small sharp scissors

Prepare your fabric and transfer
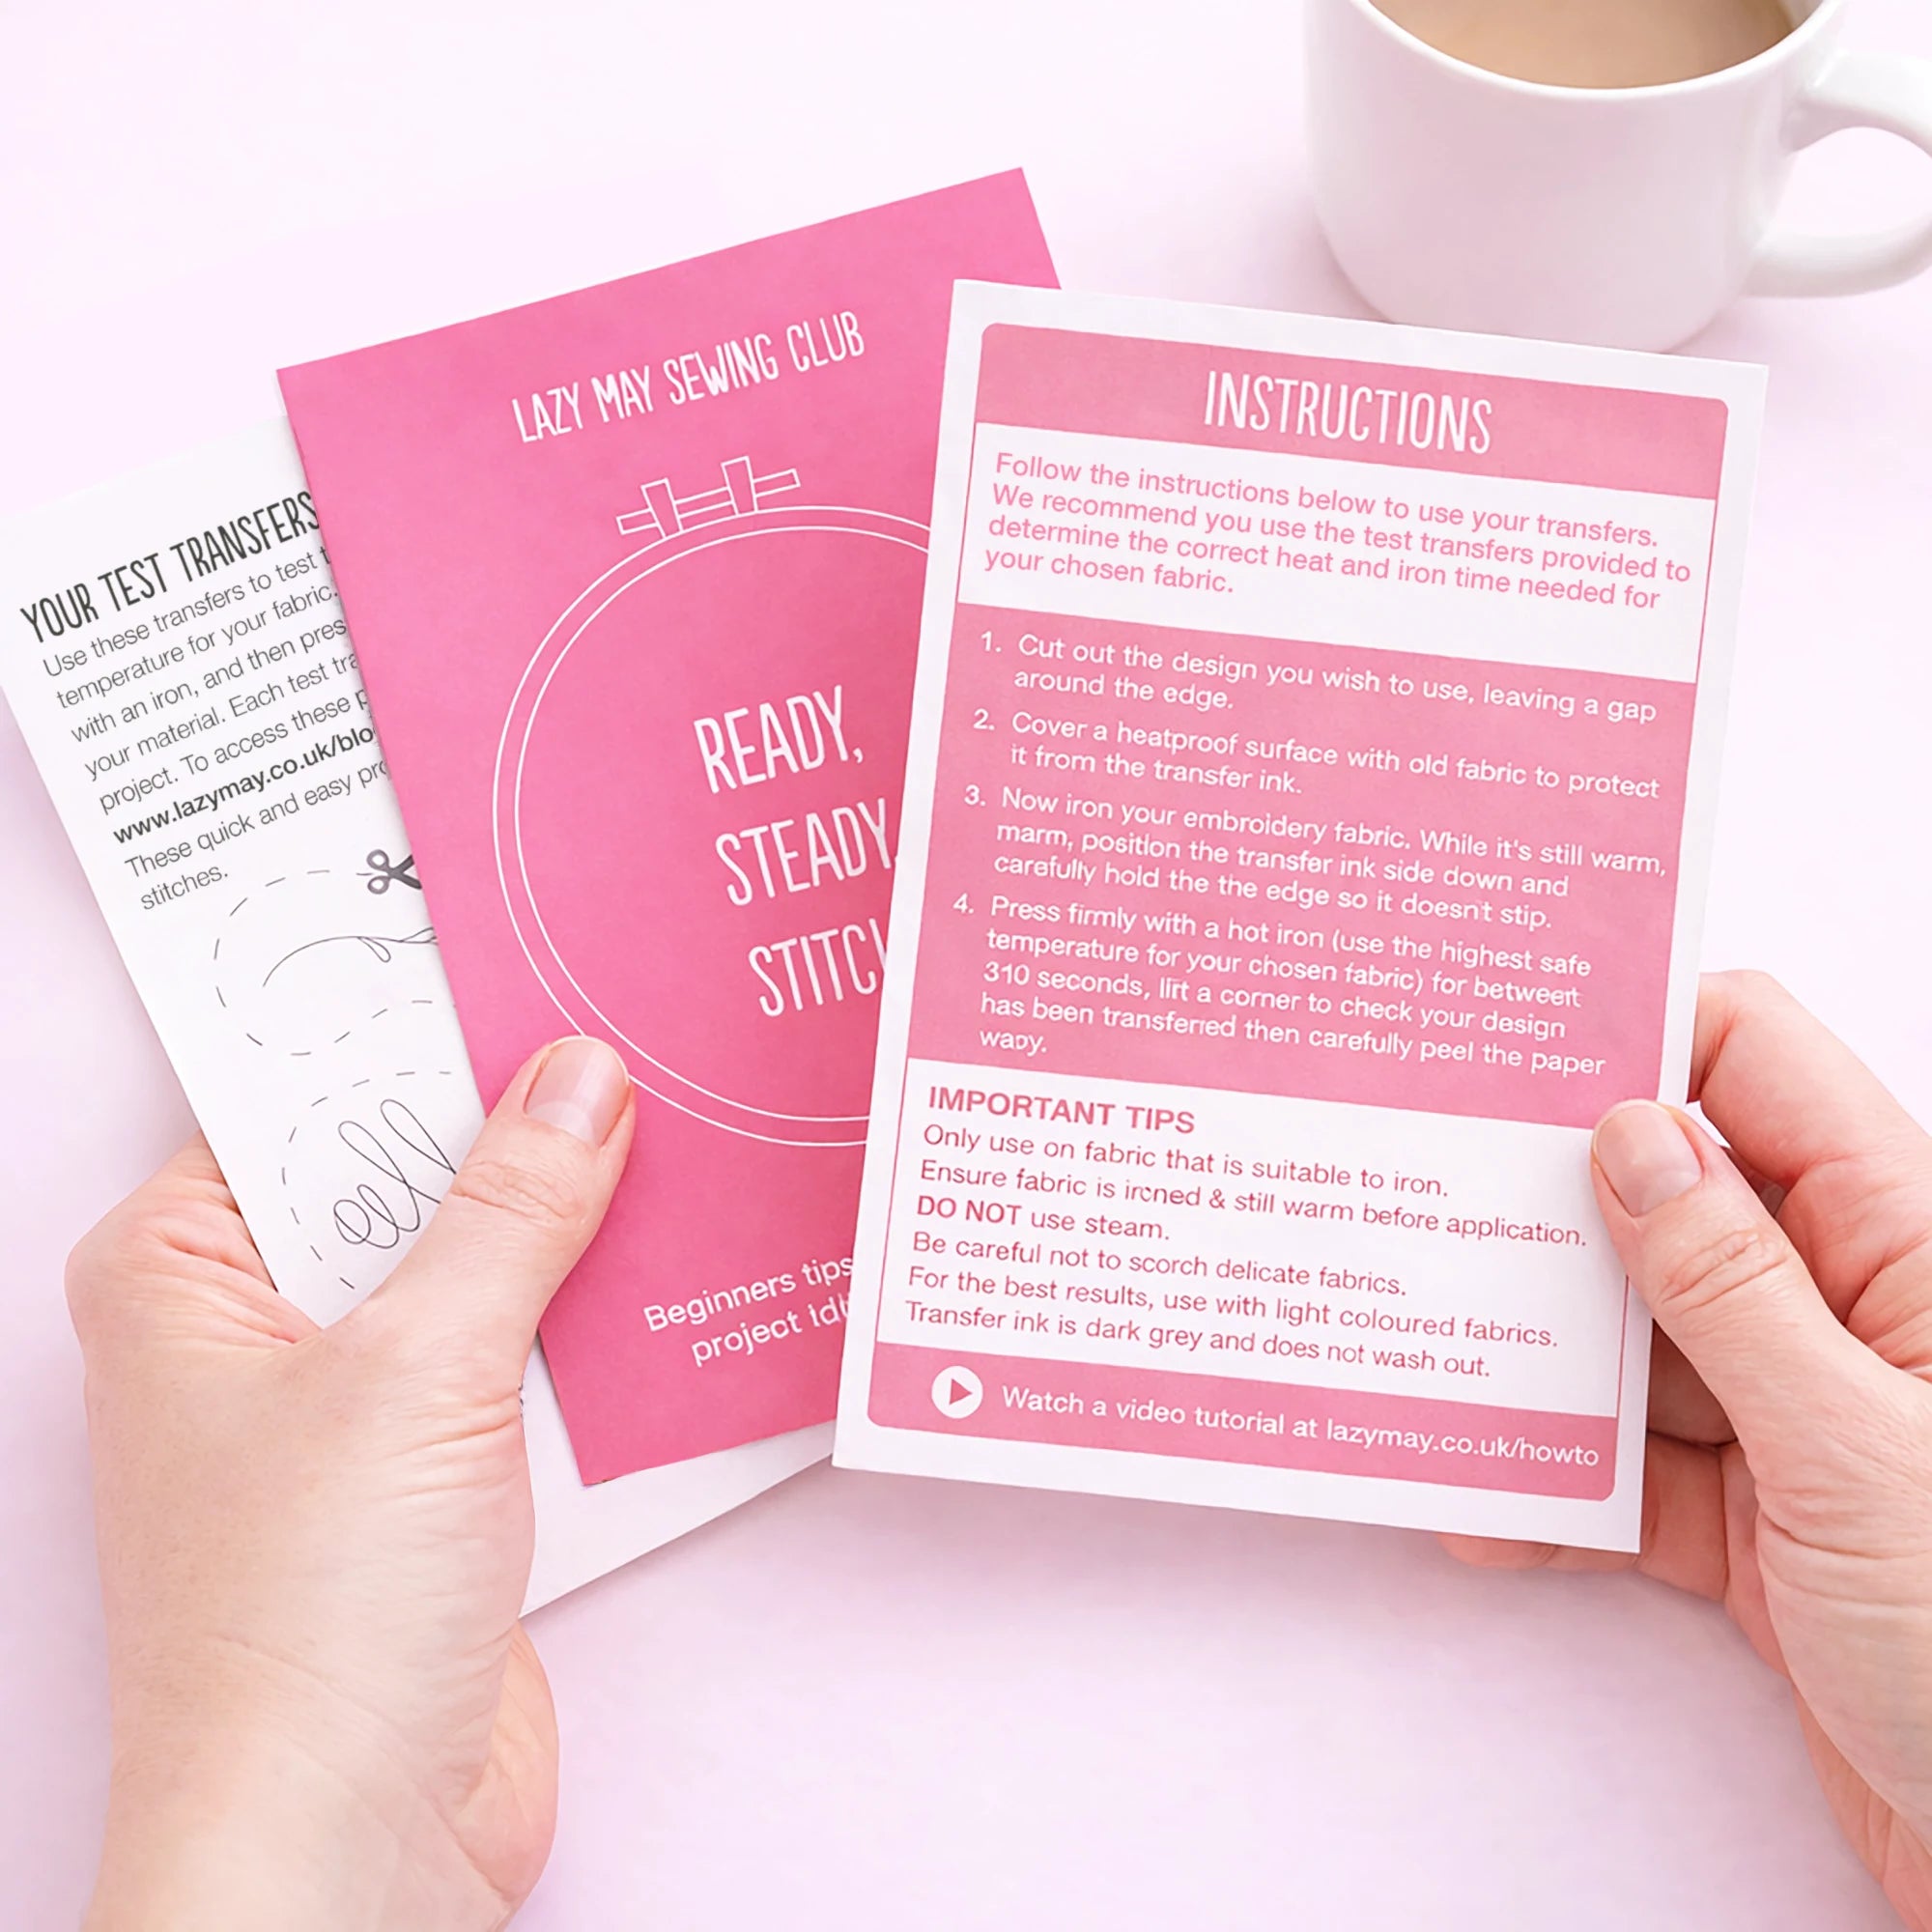
Cut out the flower design from your sheet of test transfers. Iron your blue fabric first so it is warm, then place the transfer in the centre of the fabric.
Make sure the flower transfer is straight and central before pressing it with a hot iron, following the instructions included with your pack.
Tip: place a piece of scrap fabric underneath your embroidery fabric before ironing on the transfer. This helps protect your ironing board or heatproof surface, as transfer ink can sometimes go through lighter fabric.

Once the design has transferred, carefully peel the paper away. Take care, as the transfer and fabric may still be hot.

Set up your embroidery hoop
Layer your cream backing fabric underneath the blue fabric, then place both layers into your embroidery hoop. Pull the fabric tight and make sure the flower design sits neatly in the middle.
If you are not sure how to do this, you can follow my full guide on how to set up your embroidery hoop.

How to embroider a flower step-by-step
Step 1: stitch the stem
Cut an arm’s length of blue embroidery thread and separate three strands from the six. Thread your needle with the three strands and tie a small knot at the end.
Start at the base of the flower stem and use stem stitch to cover the line. Keep your stitches fairly even and work slowly around any curves.

Step 2: stitch the leaves
Next, use lazy daisy stitch for the leaves along the stem. Still using three strands of blue thread, place one lazy daisy stitch over each leaf shape.
Lazy daisy stitch is perfect for small leaves and petals because it creates a neat looped shape.

Step 3: outline the flower centre
Now stitch around the small heart shape below the petals. Use three strands of blue thread and work around the outline with split stitch.
Continue stitching until the whole outline is covered. Split stitch gives a slightly textured line, which works well for small curved shapes.

Step 4: fill the petals with satin stitch
Fill each petal with satin stitch. Start each stitch at the edge of the petal and work towards the centre, keeping the stitches close together so the fabric underneath is covered.
Satin stitch can take a little practice, so don’t worry if your first petal is not perfect. Small flower shapes are a good way to get used to the stitch.

Step 5: add the white details
Thread your needle with three strands of cream or white thread. Add three simple straight stitches to each petal, as shown in the photo.
Then fill the inside of the heart shape with satin stitch. Finally, add two small straight stitches inside each petal for extra detail.

Finish your embroidery hoop
Once you have finished stitching, turn your hoop over and carefully trim away the cream backing fabric only.
Next, trim the blue fabric into a circle roughly 2cm bigger than your hoop. Sew a line of running stitch around the edge of the fabric circle, leaving both ends of the thread loose.
Pull the thread ends gently so the fabric gathers behind the hoop, then tie the ends together. You can also add a ribbon if you would like to hang your finished flower hoop on the wall.
For more help with this part, you can follow my full photo guide on how to back an embroidery hoop.
More floral embroidery projects to try
I hope you enjoyed learning how to embroider a flower. Once you have practised these simple stitches, you can use the same method for lots of other floral embroidery patterns, from tiny leaves and petals to bigger botanical designs.
Ready for your next flower embroidery project?
Browse my floral embroidery kits and patterns for beginner-friendly designs you can stitch onto hoops, clothes, fabric and accessories.
You’ll find complete embroidery kits, iron-on embroidery patterns and stick and stitch designs, all with relaxing flower-inspired designs.