Using iron on embroidery transfers is easy with our step-by-step photo guide:
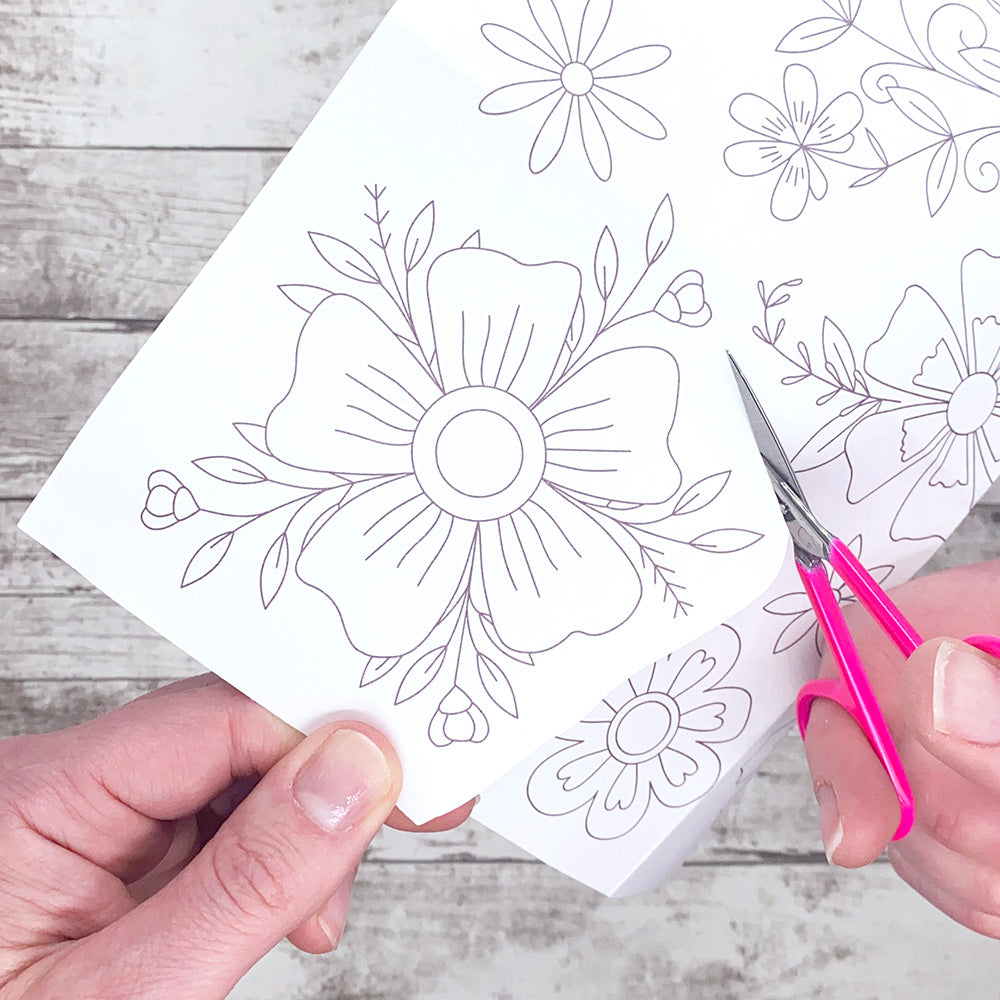
Step one
Choose a design and cut it out, leaving a small gap around the edges.
Step two
Place your cut out transfer fabric ink side down on your embroidery fabric. Iron your fabric first so that it is warm, this will help you transfer work more quickly.

Step three
Set your iron to the hottest temperature suitable for you chosen fabric. Press firmly with the hot iron, apply gentle pressure and move the iron across the transfer. It will take between 3 - 10 second for the ink to transfer. You can carefully lift a corner to check if you are happy with the print before removing the iron.

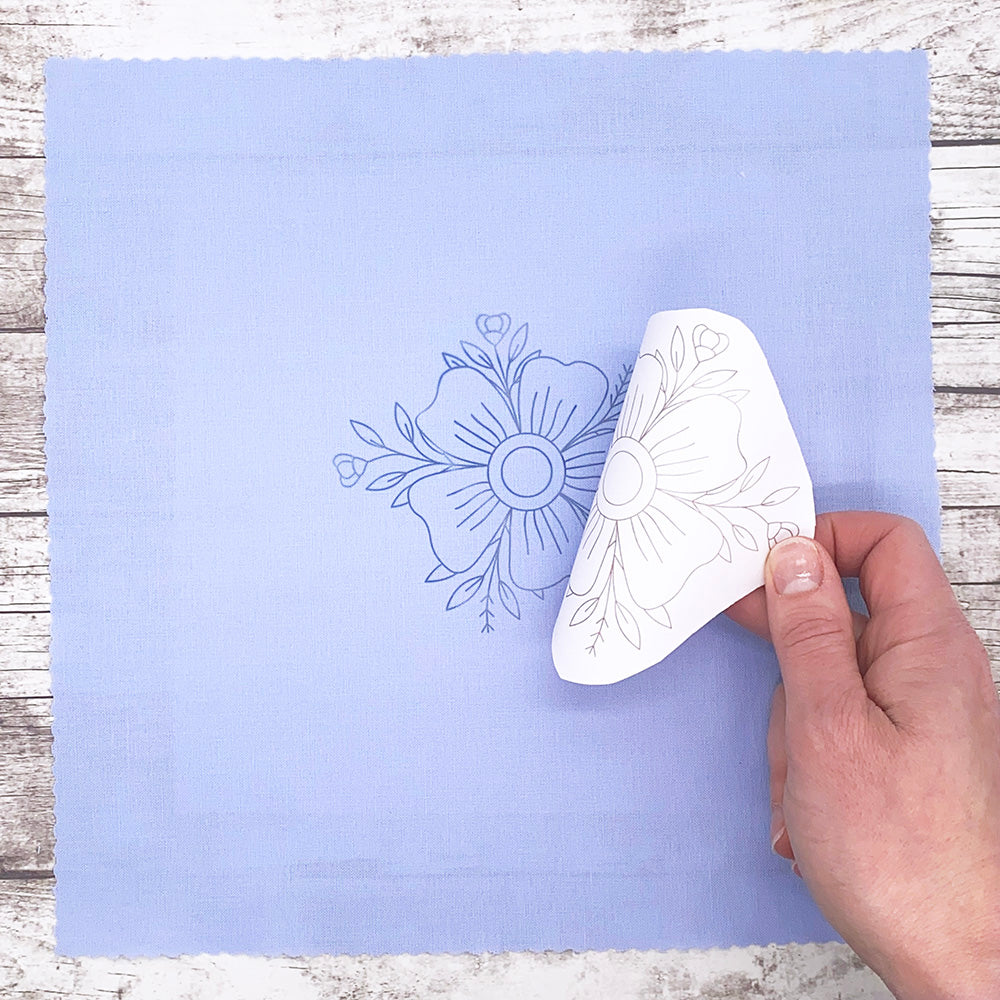
Step four
Carefully peel away the embroidery transfer.
Step five
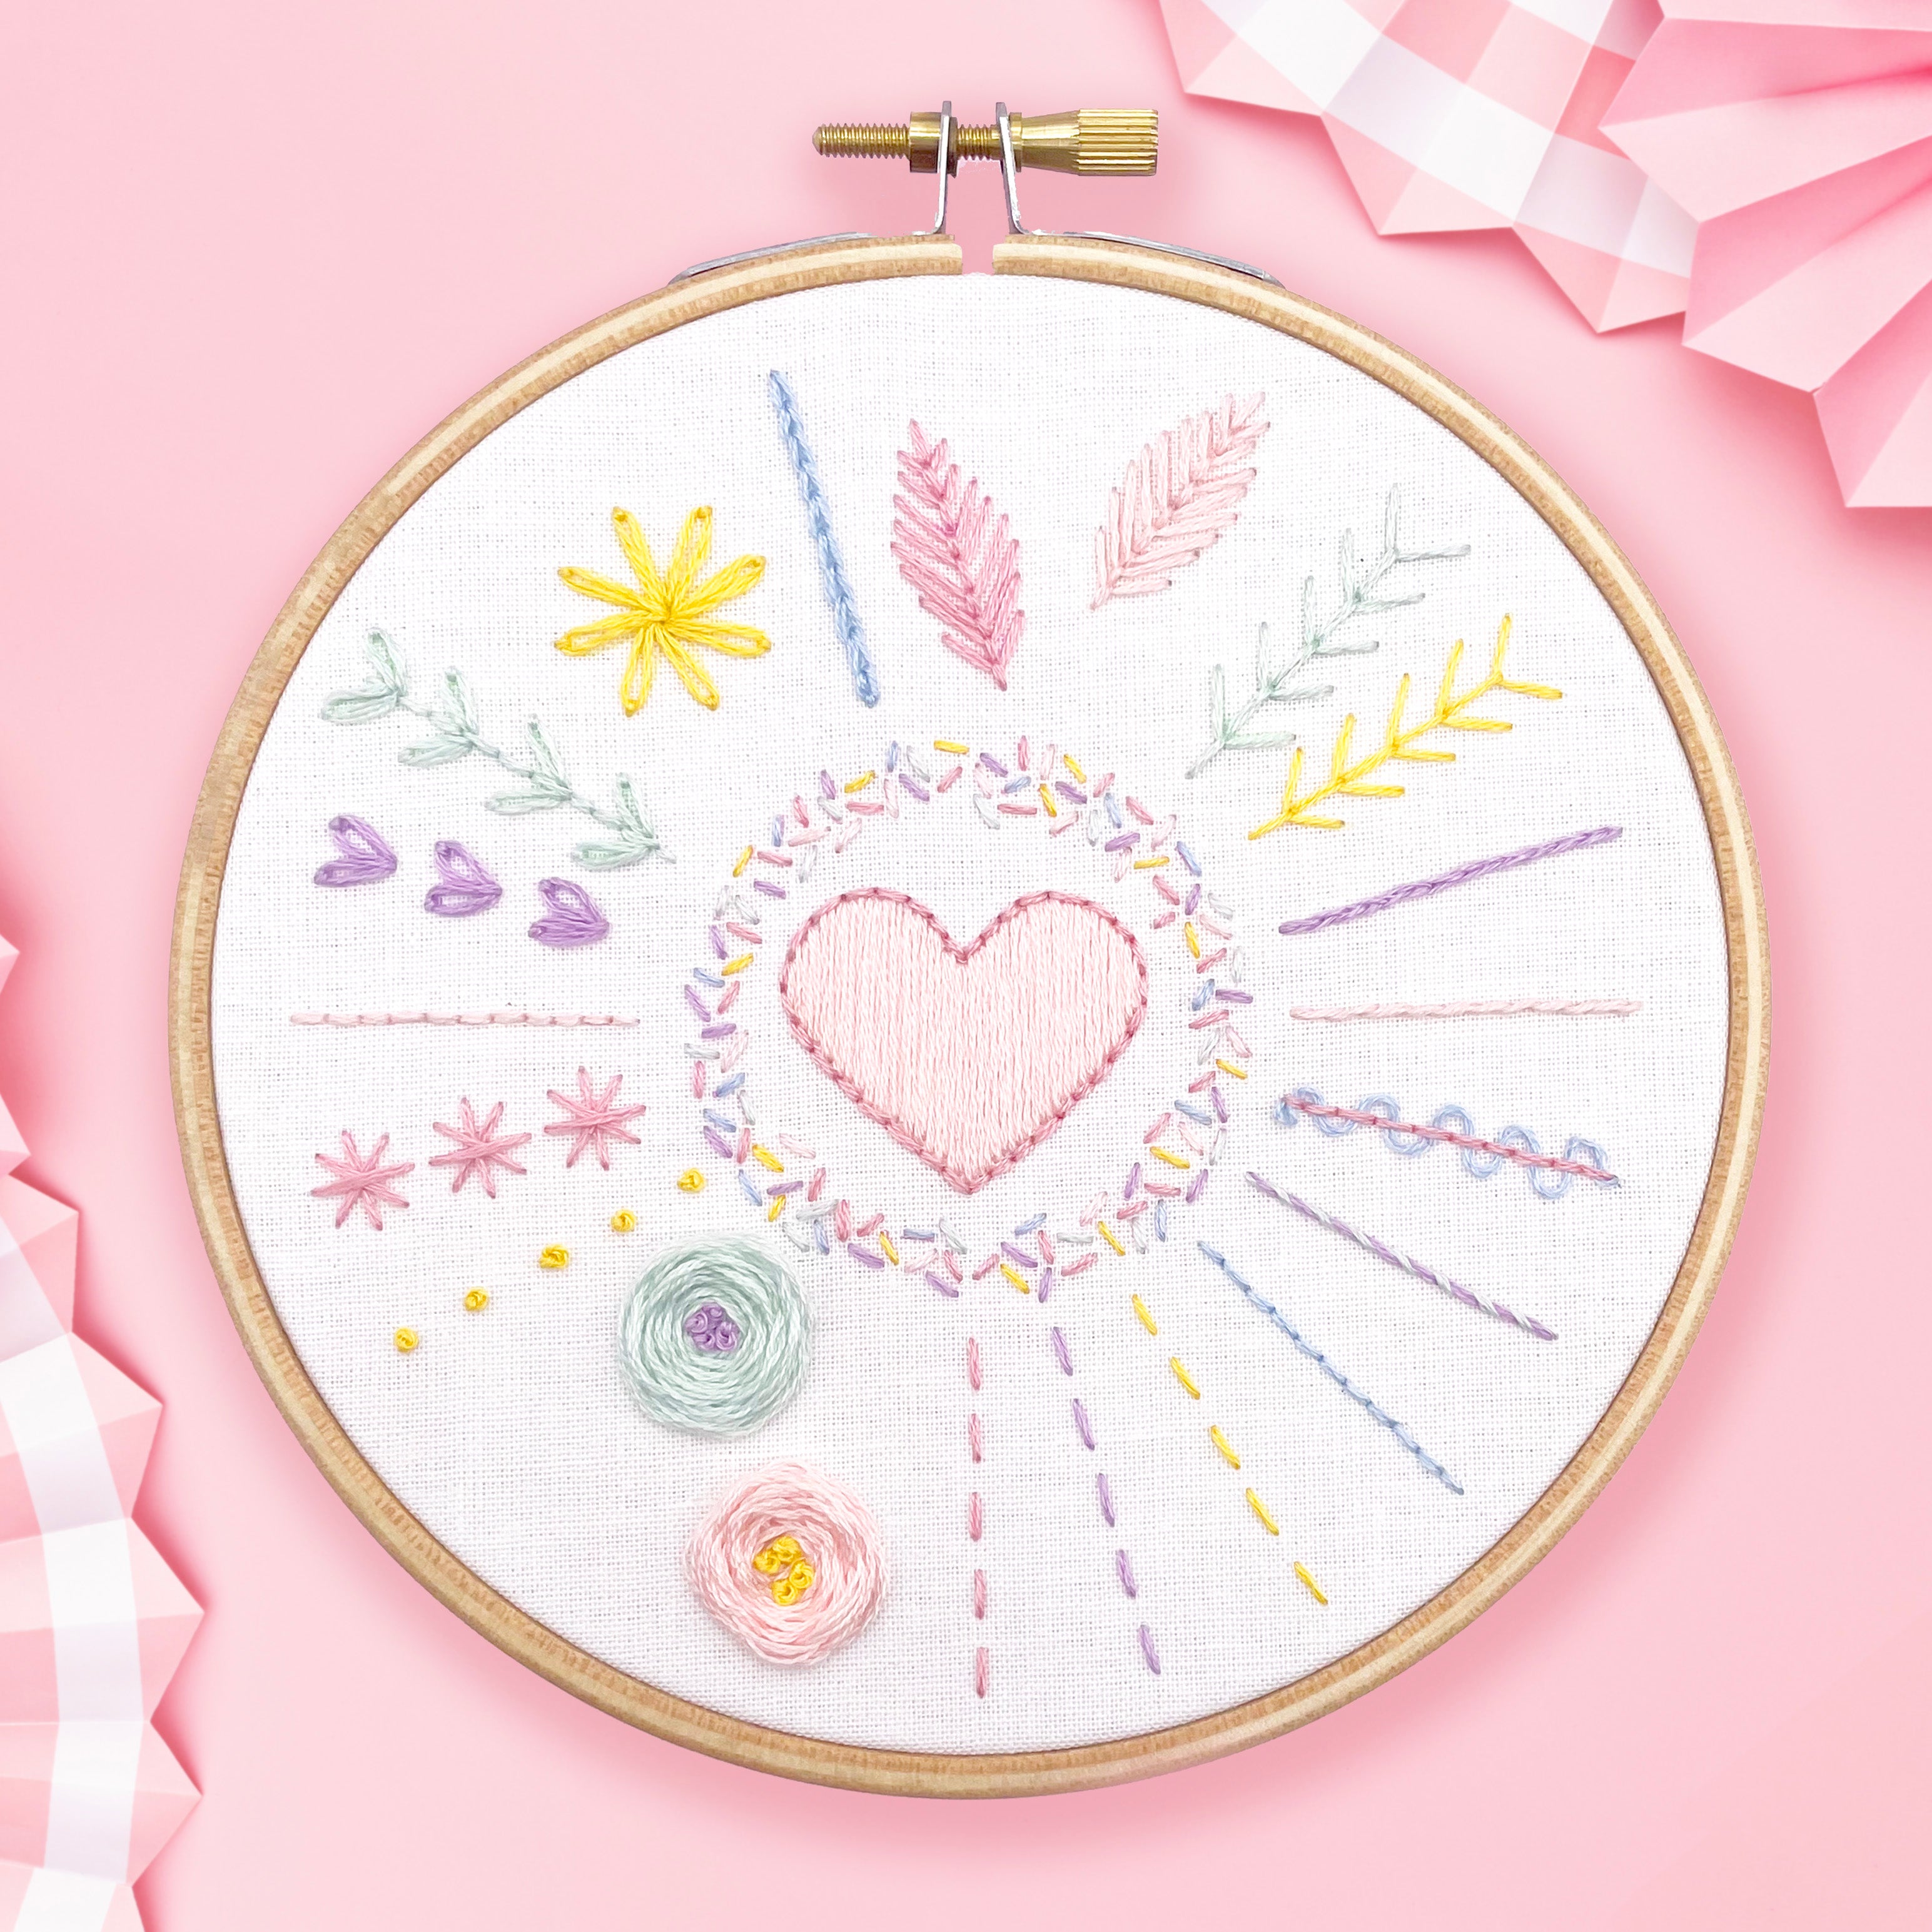
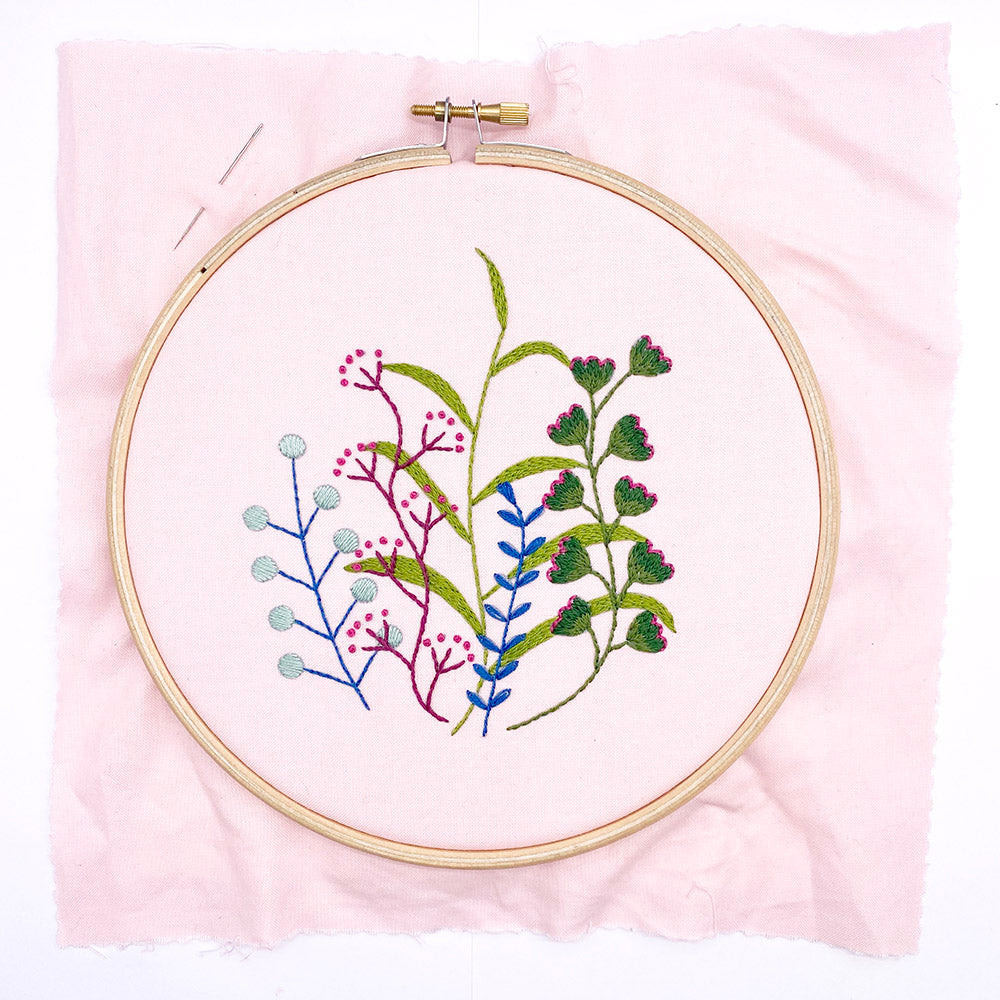
You can now mount your fabric in the hoop and begin stitching.

Patterns you may like:
Are embroidery transfers easy to use?
Yes, as you can see they are super simple to use. Each pack also comes with full detailed instructions.
Are embroidery transfers suitable if I am an embroidery beginner?
Yes, definitely! Inside your pack you will find a booklet filled with all the embroidery basics, from equipment to stitch guide. You will also find loads of info on pur 'Learn and Make' pages.
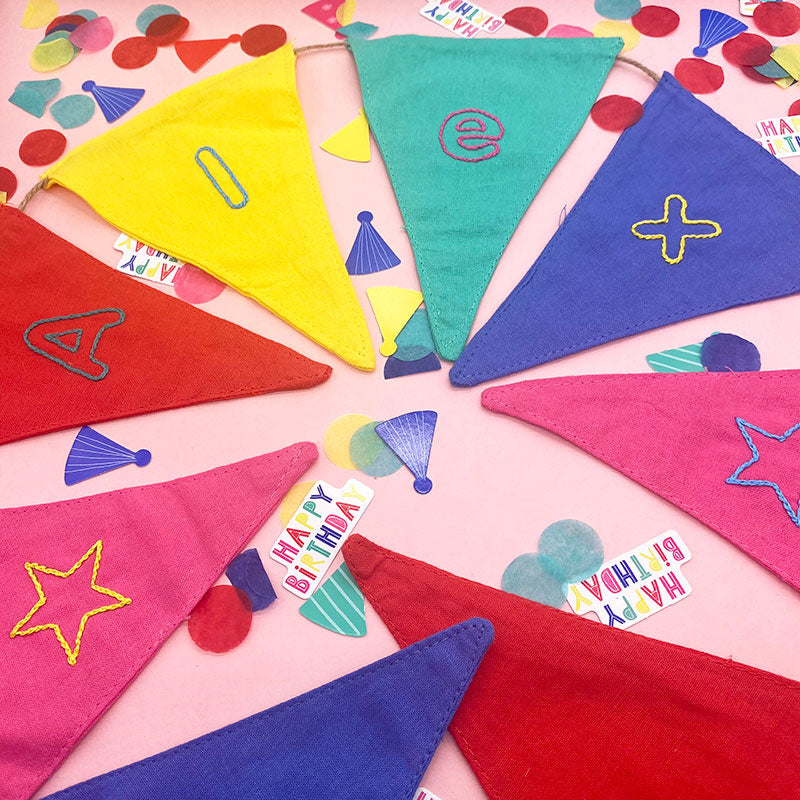
What can I make with my embroidery transfers?
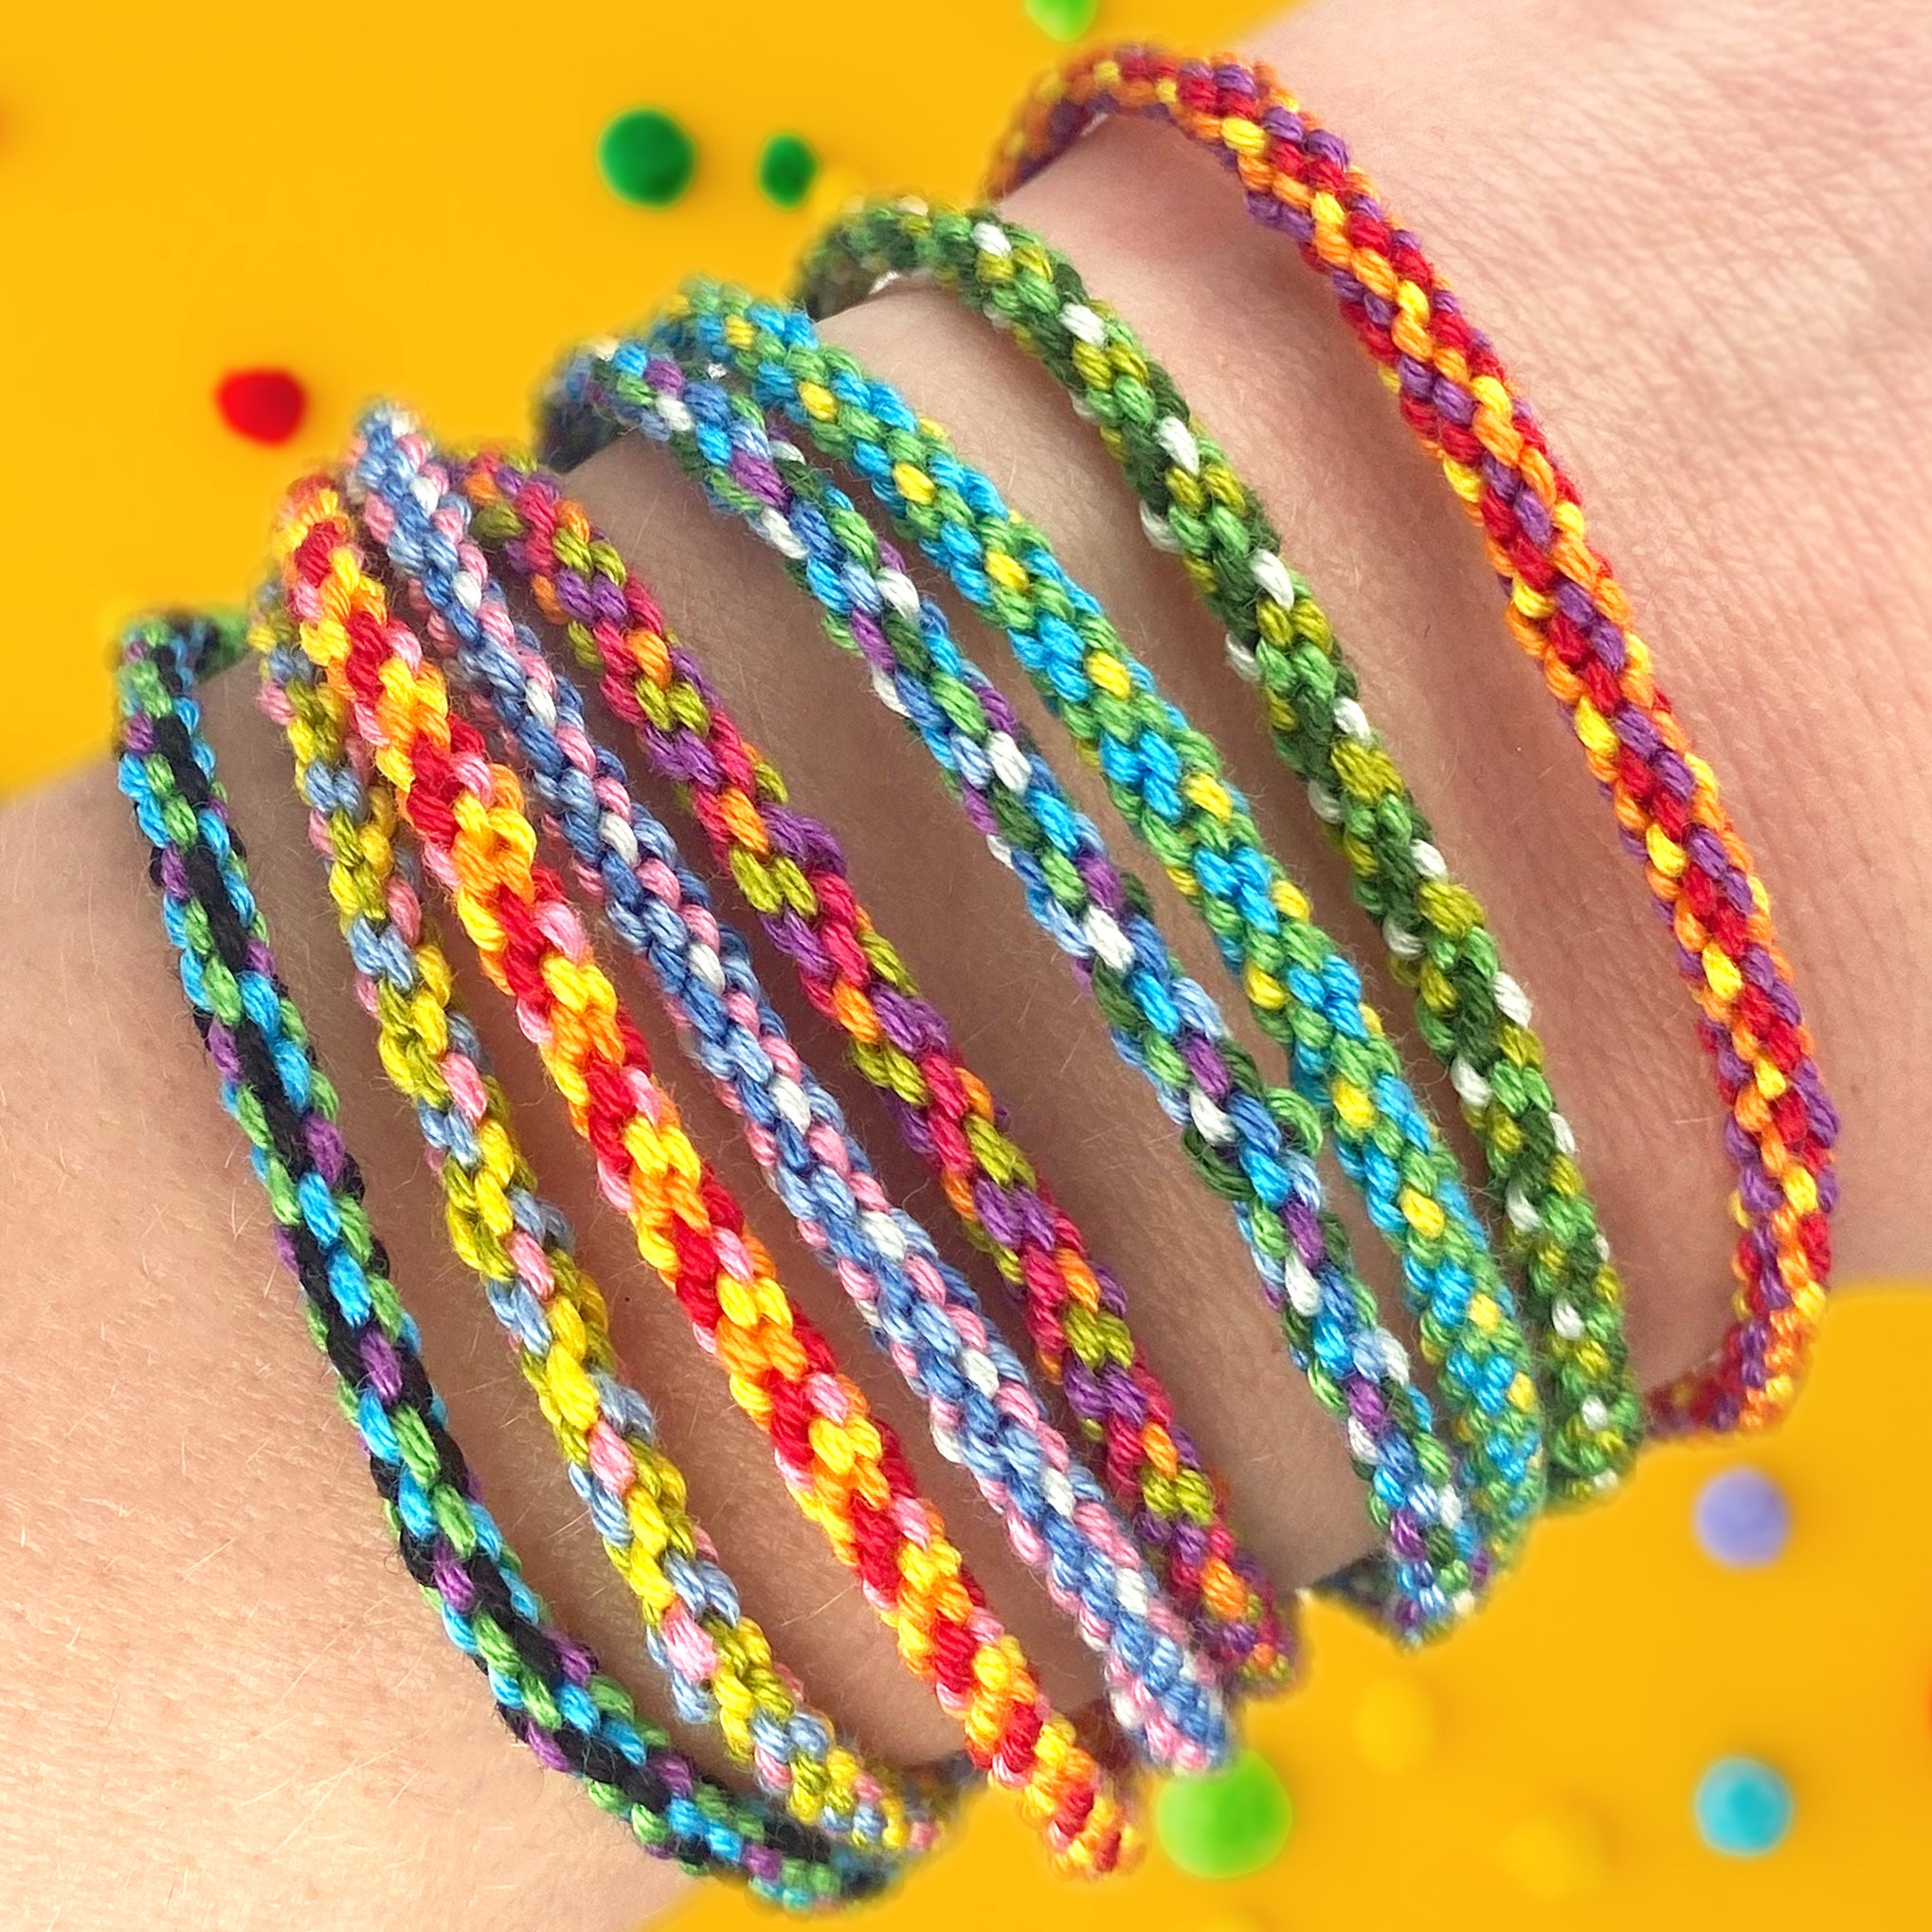
You can stitch a wide range of projects with your embroidery transfers, create hoop art, customise you clothes, stitch cards or decorate tote bags and cushions.
Here are a few examples to inspire you. You can loads of step-by-step projects for your transfers on our Learn and Make pages


Inside your embroidery transfer pack:

Each pack of Lazy May Sewing Club iron-on embroidery transfers comes packed with useful embroidery tips and project ideas. You will receive our beginners guide ' Ready, Steady, Stitch', full instructions for using your transfers, a sheet of test transfers and your sheet of embroidery patterns.


Inside your 12 page beginners booklet you will find information about:
- Embroidery equipment
- How to use an embroidery hoop
- Separating thread
- Stitching tips
- Finishing a hoop
- 3 pages of ways to use your transfers
- An illustrated guide to 4 basic embroidery stitches
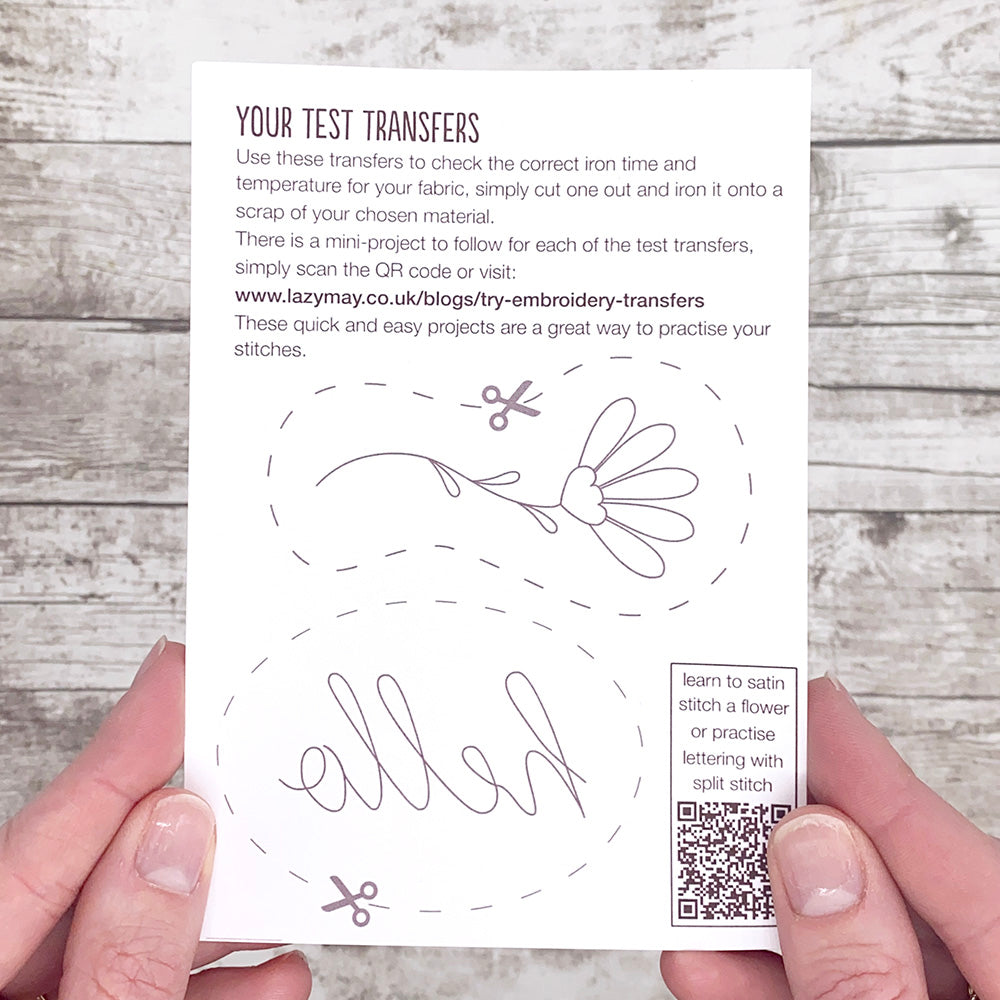
You will also find detailed instructions explaining how to use iron on embroidery transfers and a sheet of test transfers to use to practise ironing with. Each of the test transfers has instructions for a mini project for you to make.
I hope you can see that using iron on embroidery transfers is quick and simple. We have a growing range of designs that will help you create your own unique embroideries.