
How to use our embroidery transfers
Welcome! This is the quick start guide linked from the QR code in your transfer pack. You’ll be set up and ready to stitch in a few minutes.
Watch: how to use an iron-on embroidery transfer
Prefer photos? Scroll down for the step-by-step guide below.
How to use our embroidery transfers (step by step)
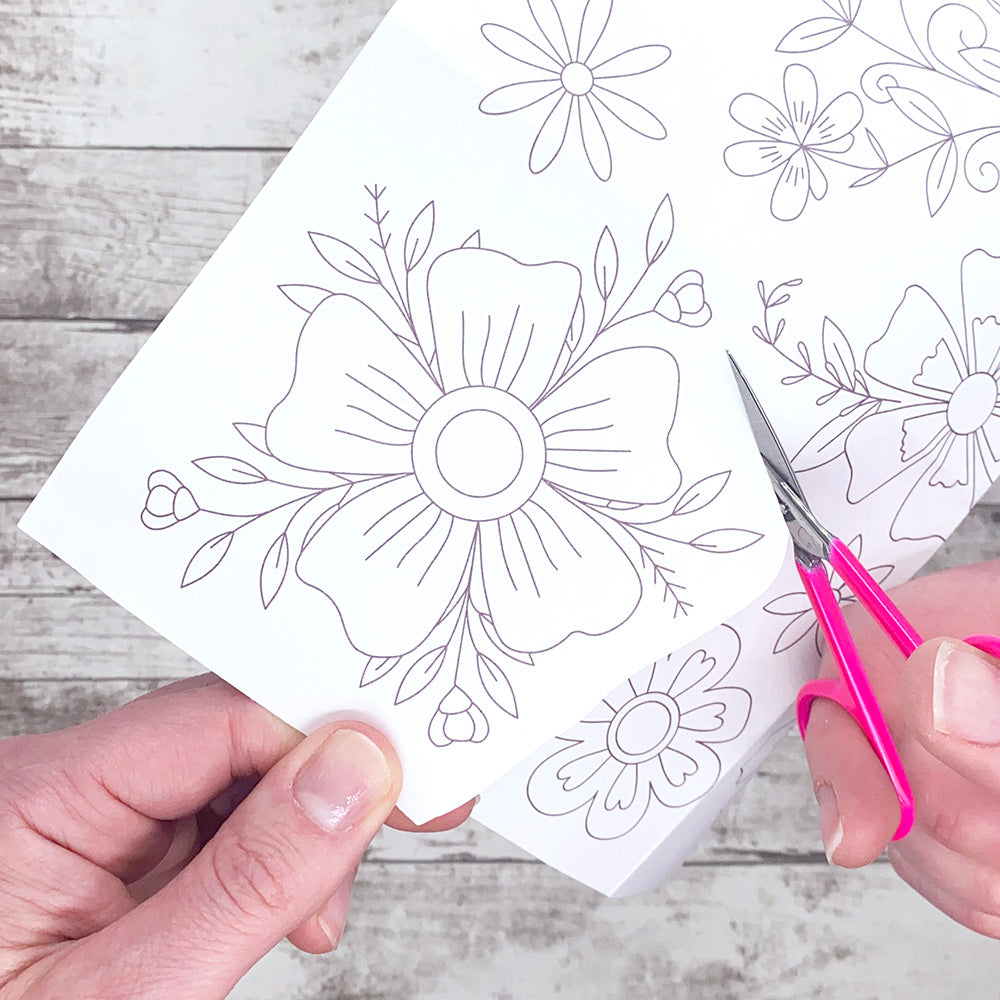
Step 1: Cut out your design
Choose a design and cut it out, leaving a small border around the edges. This makes it easier to handle and position.
Step 2: Position the transfer
Pre-heat your fabric with a hot iron. Place the transfer ink-side down onto your fabric.
Works best on: smooth, light-coloured cotton and linen.

Step 3: Iron the transfer
Set your iron to the hottest setting suitable for your fabric (no steam). Press firmly for 3–10 seconds.
Lift one corner to check the lines have transferred before removing the paper fully.

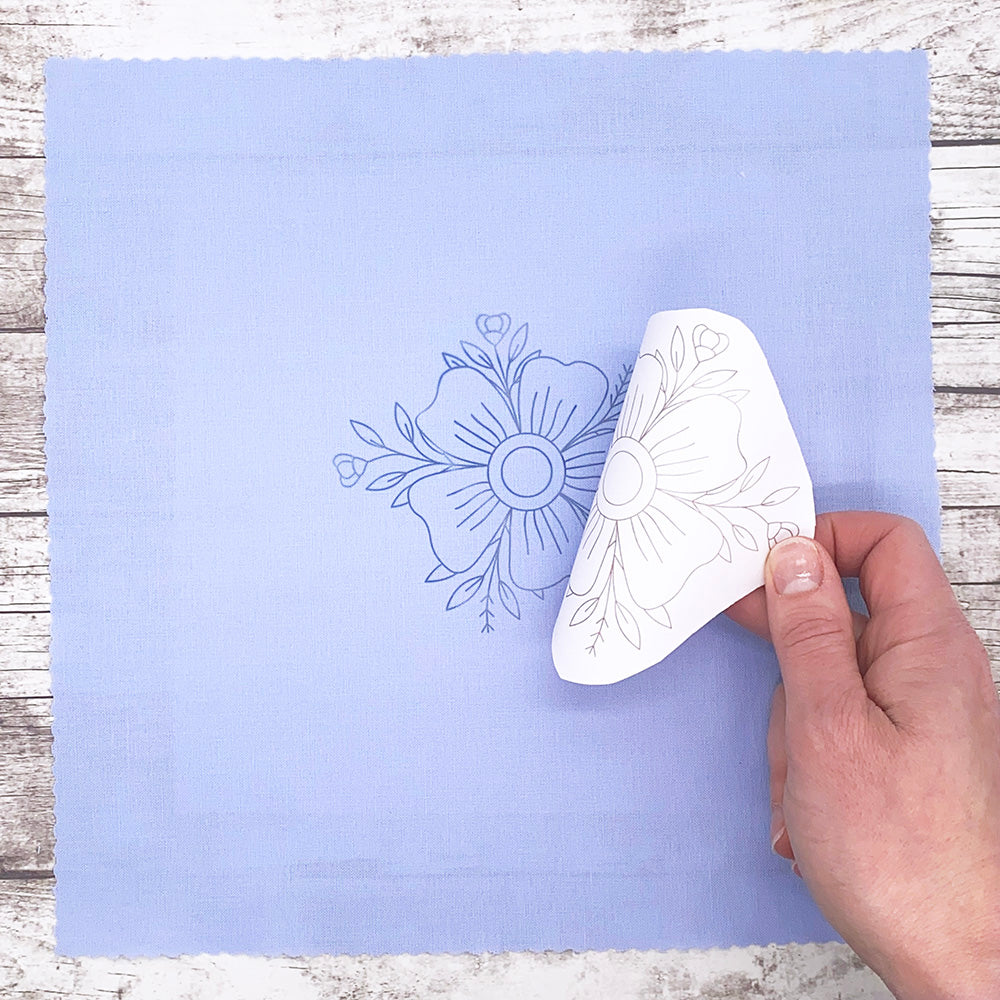
Step 4: Peel away the paper
Carefully peel away the transfer paper to reveal the printed design.
Step 5: Pop the fabric in a hoop and start stitching
Mount your fabric in a hoop and stitch straight over the printed lines.

Quick FAQs
Are embroidery transfers easy to use? ▾
Yes. Once you’ve done one, the rest are very quick. Each pack also includes printed instructions and a test transfer sheet for practice.
Are embroidery transfers suitable for beginners? ▾
Yes. They are ideal for beginners because the design transfers directly onto the fabric with clear lines to stitch over.
Can I use transfers on dark fabric? ▾
Iron-on transfers work best on light-coloured fabrics. If you’re stitching on darker fabric, stick and stitch embroidery patterns are usually a better choice.
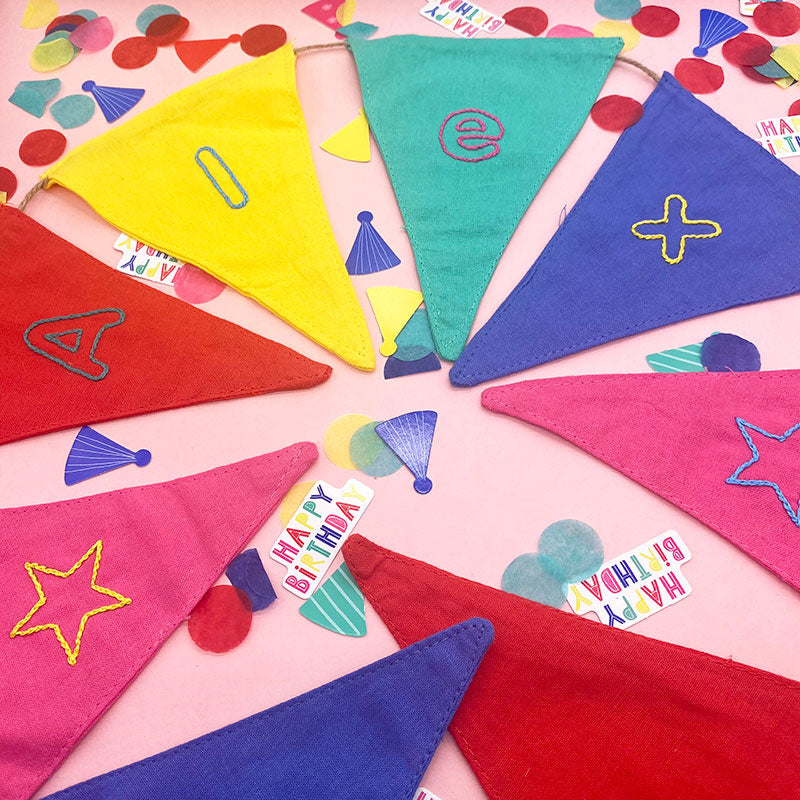
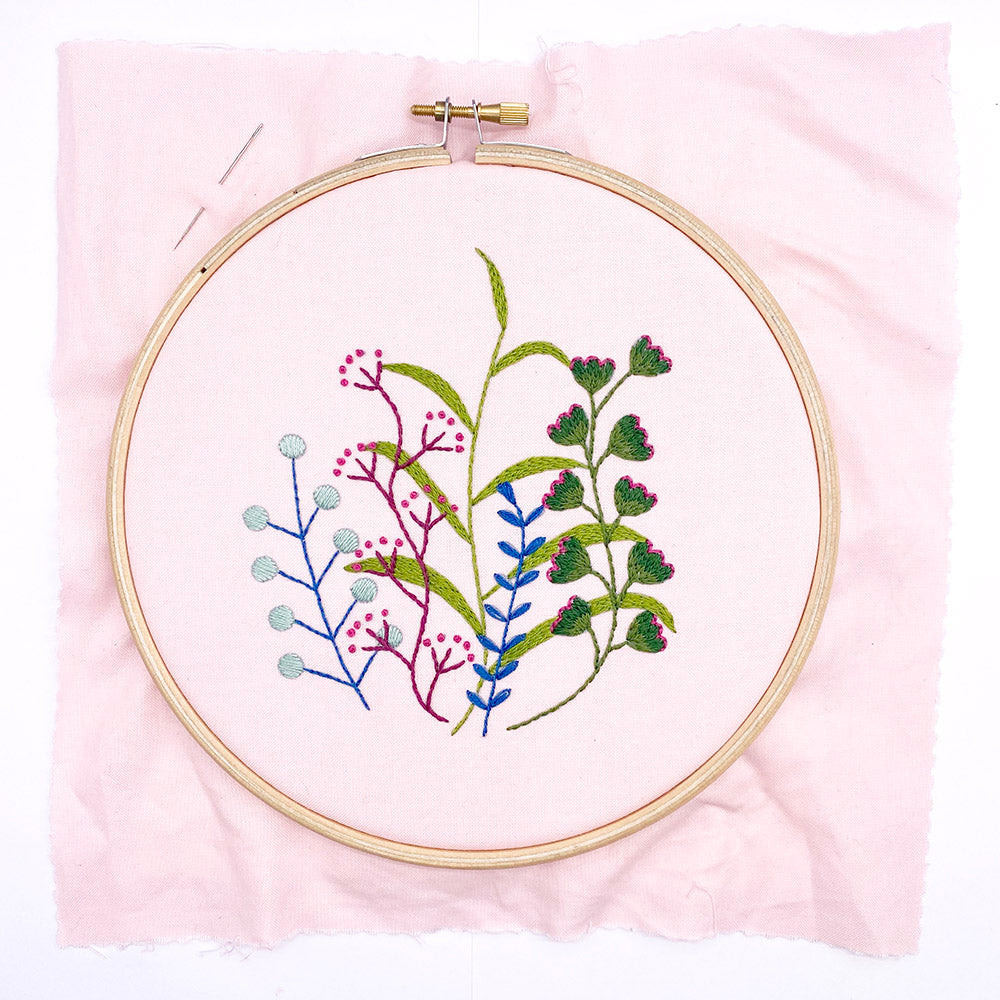
What can I make with my embroidery transfers?
You can stitch all sorts of projects, from hoop art to customised clothes, cards, tote bags and cushions. Here are a few ideas.


If you’d like more project ideas, you can browse the Beginner’s Embroidery Guides page.
Inside your embroidery transfer pack

Each pack of Lazy May Sewing Club iron-on embroidery transfers includes your sheet of designs, a sheet of test transfers, full instructions, and the beginner booklet Ready, Steady, Stitch.


In the booklet you’ll find:
- Embroidery equipment
- How to use an embroidery hoop
- Separating thread
- Stitching tips
- Finishing a hoop
- Ways to use your transfers
- An illustrated guide to 4 basic embroidery stitches
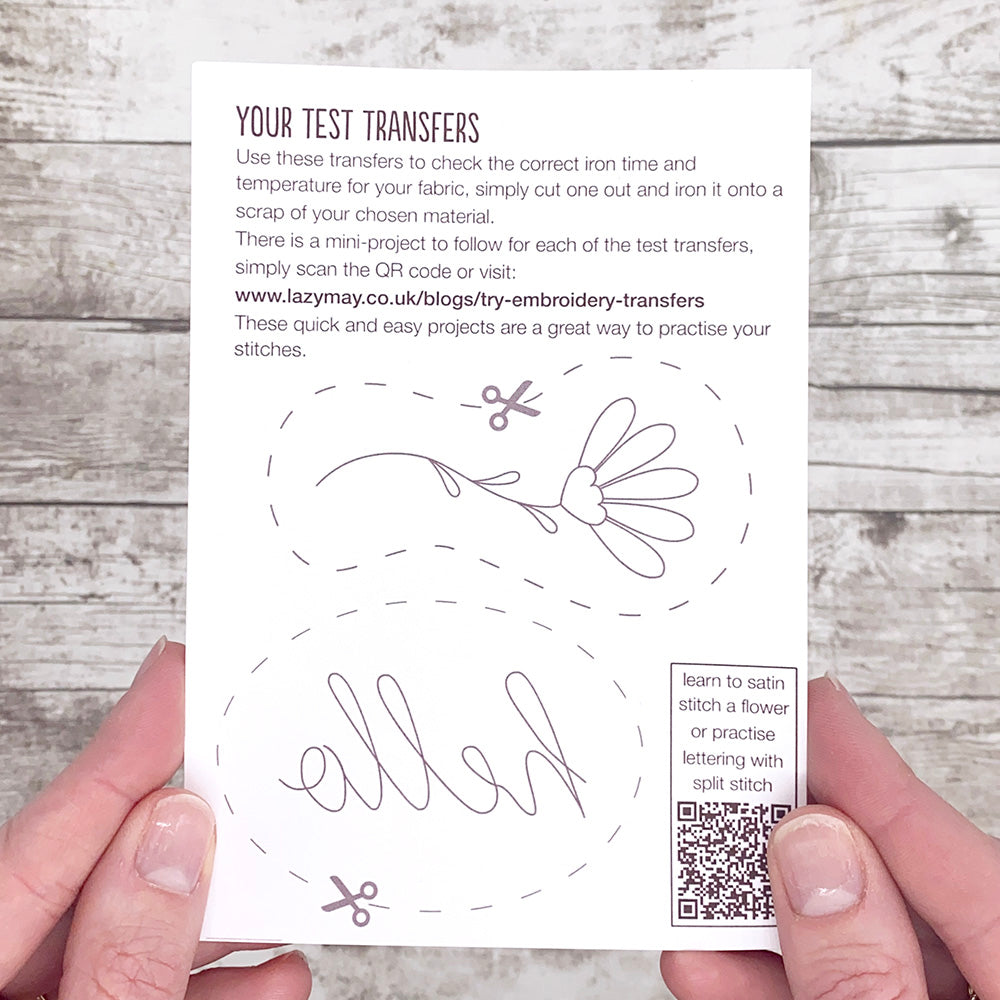
You’ll also find a sheet of test transfers to practise ironing with. Each test transfer includes instructions for a mini project.
Want more designs to stitch?
Have a browse of my transfers, kits and patterns, or grab the free sampler to practise your stitches.


