How to Do Whipped Back Stitch: Easy Step-by-Step Embroidery Guide
A fun twist on back stitch that adds texture and colour with a clean, rope-like finish.
What Is Whipped Back Stitch?
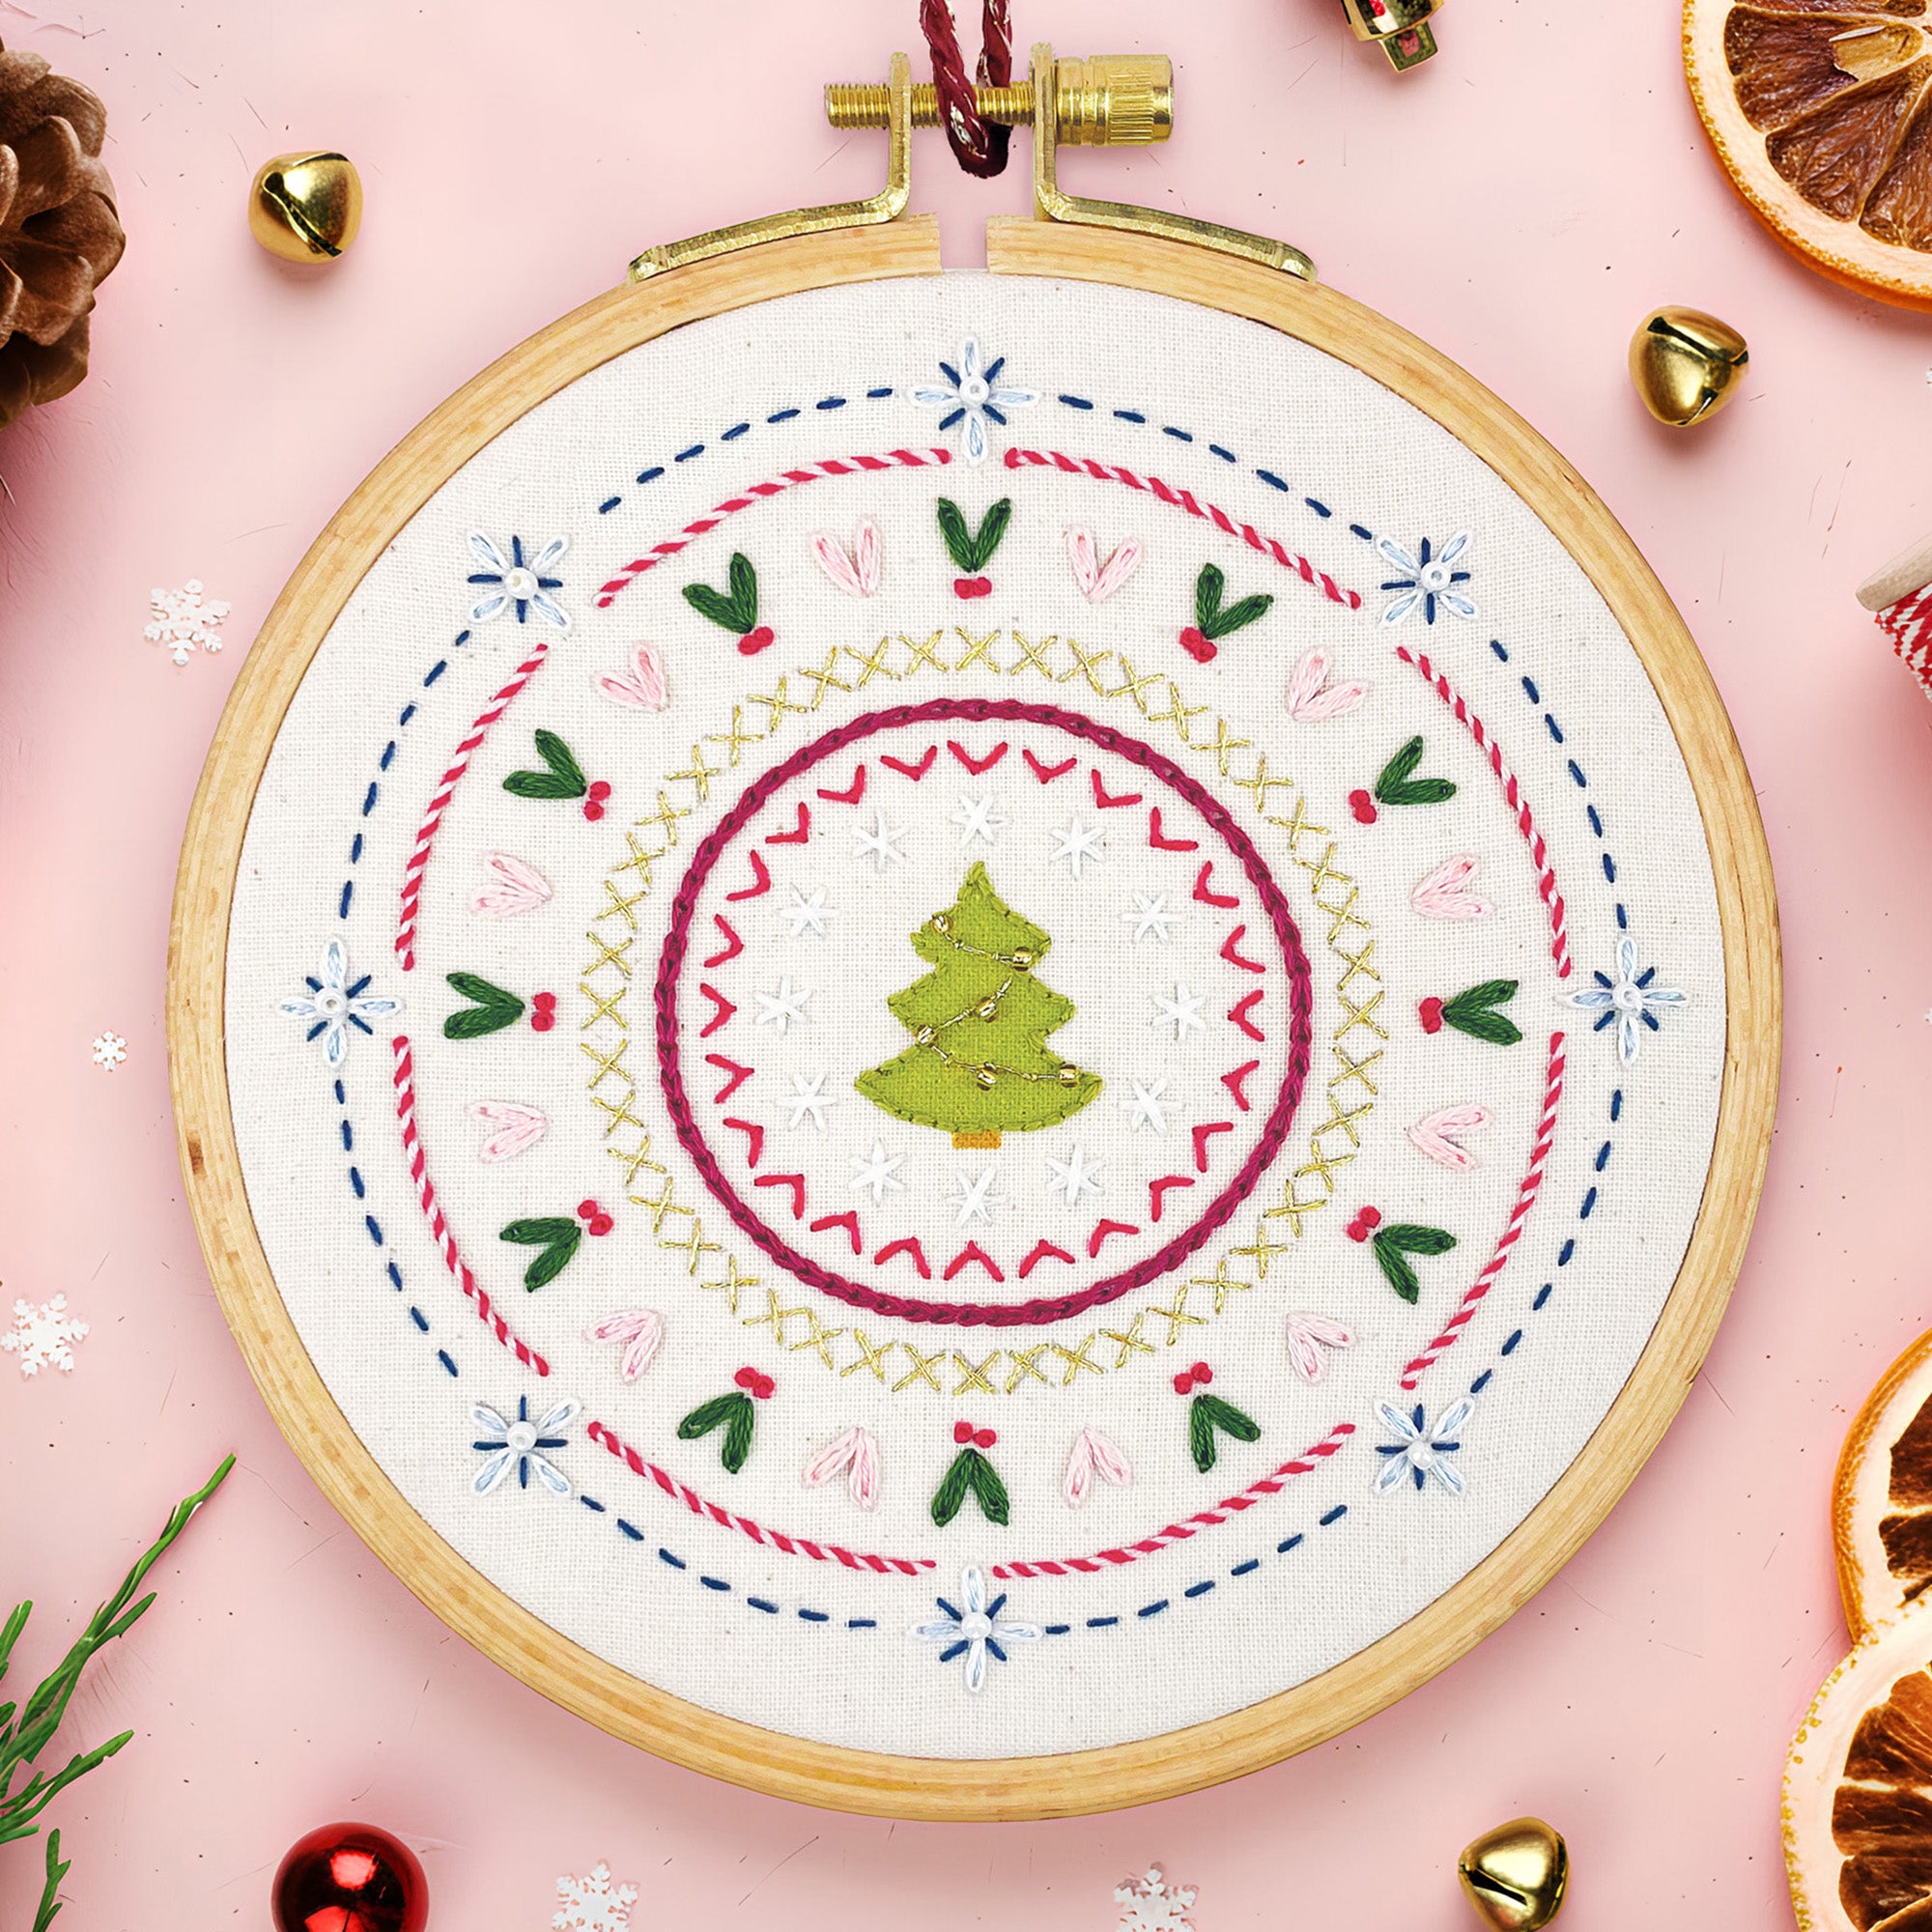
Whipped back stitch is a decorative variation of back stitch where you “whip” a second thread through the line of stitching to create a smooth, twisted effect. It gives your embroidery a neat, corded texture—great for outlines, stems, or text.
It’s especially effective when you use two contrasting thread colours, but you can also go subtle with tone-on-tone. The best part? It’s really easy to do and doesn’t require piercing the fabric again—just weave the second thread under the original stitches.
If you’re confident with back stitch and want to level it up with a bit of texture, this is the perfect next step.
How to Do Whipped Back Stitch (Step-by-Step)

- Step 1: Start with a completed row of back stitch using your first thread colour.
- Step 2: Bring a second thread up at the start of the row.
- Step 3: Use your needle to pass the thread under each back stitch, always in the same direction (e.g. top to bottom) to create a twisted effect.
- Step 4: Pull gently as you go, and finish by taking the thread to the back of the fabric at the end of the row.
Hope you’ve enjoyed learning whipped back stitch.
While you’re here, why not check out my beginner-friendly embroidery kits and patterns?
Tips for Whipped Back Stitch
- Keep your whipping thread loose enough to sit smoothly, but not too loose that it bunches.
- Use a blunt needle or weave carefully so you don’t accidentally pierce the thread underneath.
- Stick to one direction (e.g. always top to bottom) for a tidy, uniform twist.


