How to Do Fly Stitch: Easy Step-by-Step Embroidery Guide
A beginner-friendly stitch that’s perfect for leaves, branches, and decorative borders.
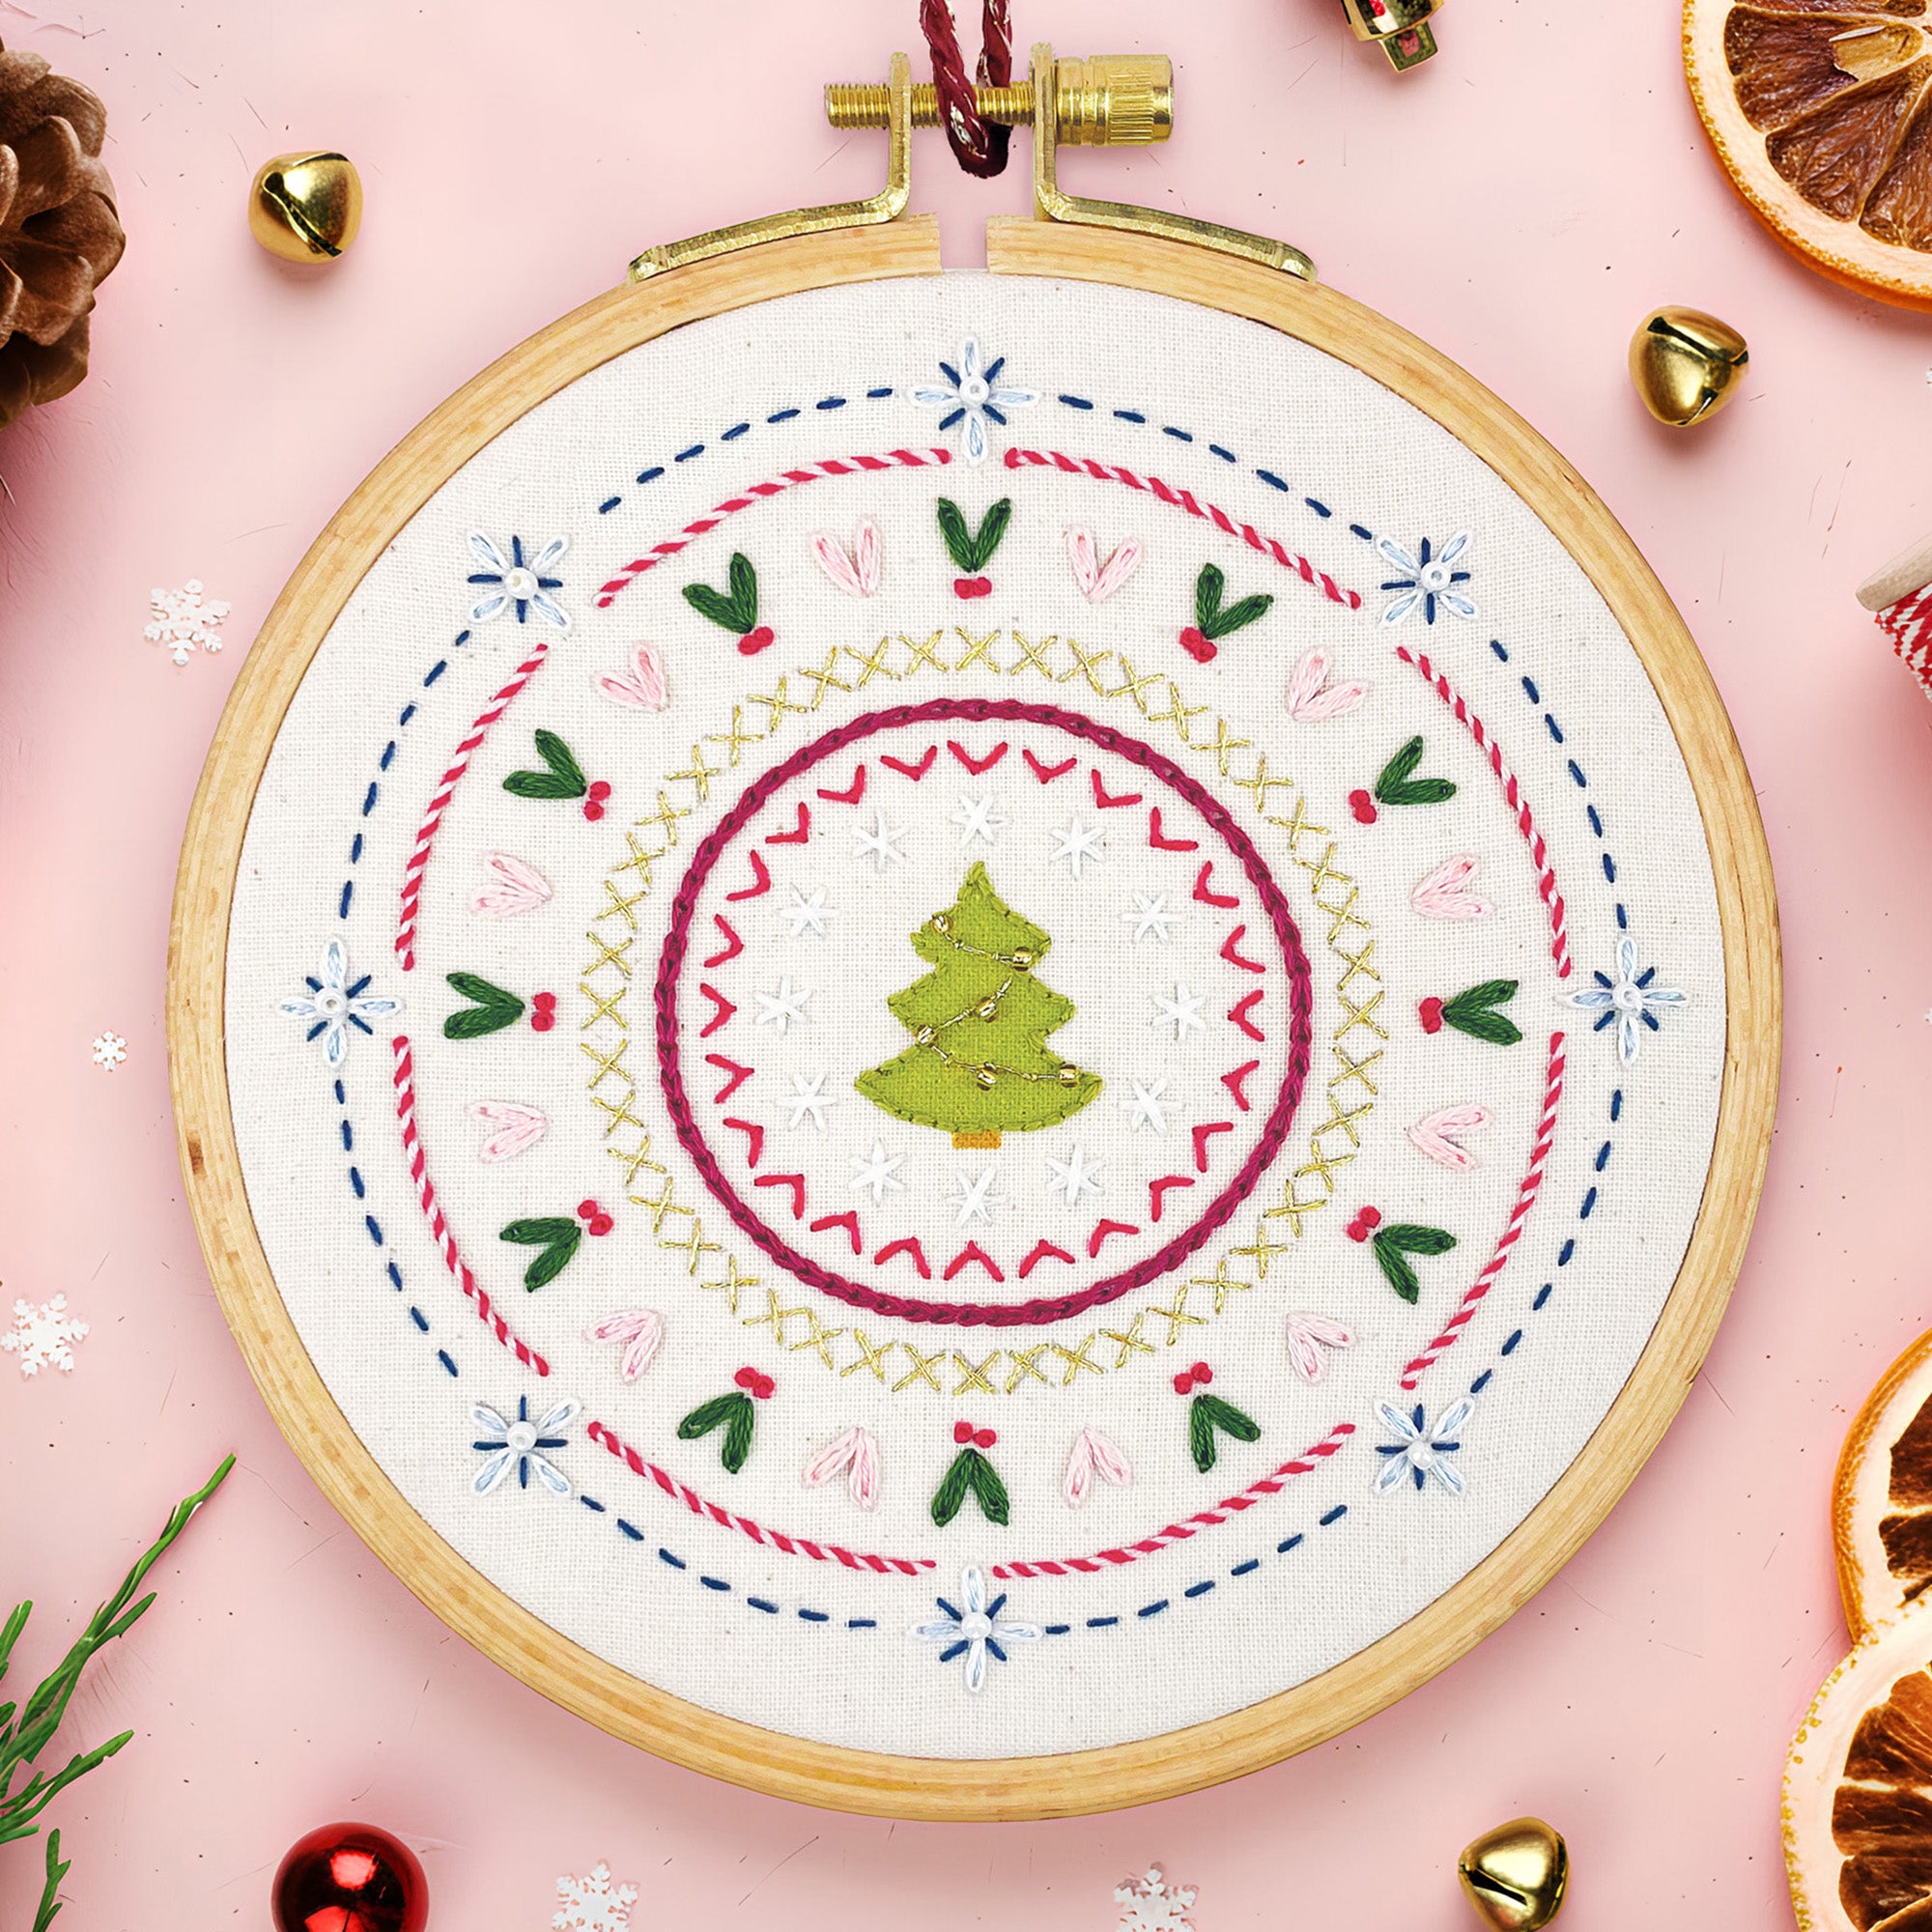
What Is Fly Stitch?
Fly stitch is a simple embroidery technique that forms a soft ‘V’ shape, a bit like a tiny wishbone. It’s one of the easiest embroidery stitches to learn, making it a great choice for beginners. You’ll often see it used in nature-inspired designs—like stitching leaves, flower petals, scattered sprigs, or flowing vines.
Because it’s so versatile, fly stitch works beautifully on its own or in repeating rows. It can be used to add light texture and detail, or to fill spaces with delicate patterns. You can also vary the length of the vertical anchor stitch at the bottom to create different looks—perfect if you’re going for a more relaxed, sketchy style.
Whether you’re embellishing a sampler, decorating a hoop, or adding detail to a stitched border, the fly stitch is a lovely one to have in your toolkit.
How to Do Fly Stitch (Step-by-Step)

- Step 1: Bring your needle up at the left point of the stitch (point 1).
- Step 2: Insert the needle down on the right side of the stitch (point 2), leaving a small loop of thread on the surface.
- Step 3: Bring the needle back up at the centre of the line (point 3), catching the loop with your needle as you pull it through.
- Step 4: To secure the loop and form a neat ‘V’ shape, make a small straight stitch down just under the loop (point 4).
- Step 5: Continue the process to form a row, or use the fly stitch individually as a decorative element (point 5).
Hope you’ve enjoyed learning this stitch.
While you’re here, why not check out my beginner-friendly embroidery kits and patterns?
Tips for Perfect Fly Stitches
- Keep your tension loose enough to form a clear loop but tight enough to stay in place.
- Use evenly spaced stitch points for consistent rows.
- Try the stitch with different thread weights for varied texture.