Learn how to use iron-on embroidery transfers with our easy photo guide and video tutorial. Perfect for beginners and seasoned stitchers alike!
Iron-on embroidery transfers are simple to use and make starting a new embroidery project quick and fuss-free. Watch our video or scroll down for the full photo guide.
Step-by-Step Video Guide
Step-by-Step: Using Iron-On Embroidery Transfers
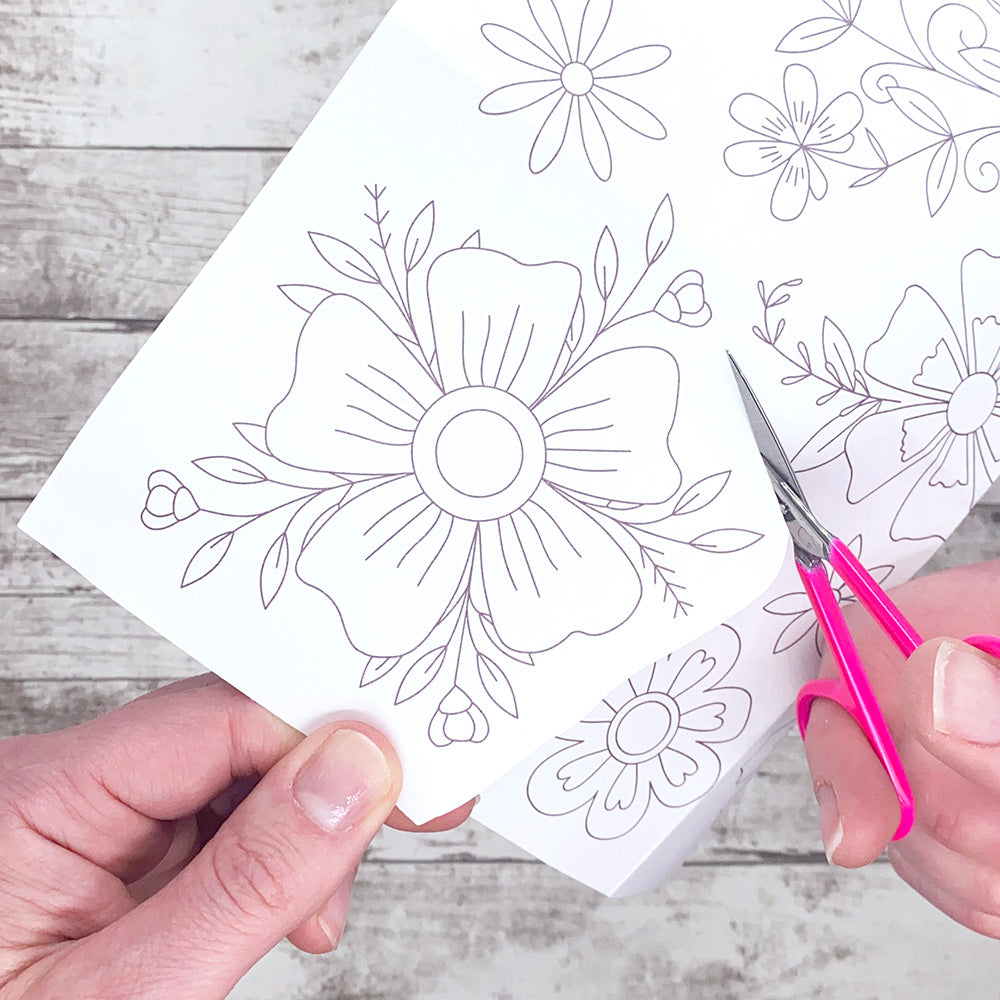
Step 1: Cut Out Your Design
Choose your design and cut around it, leaving a small gap at the edges.
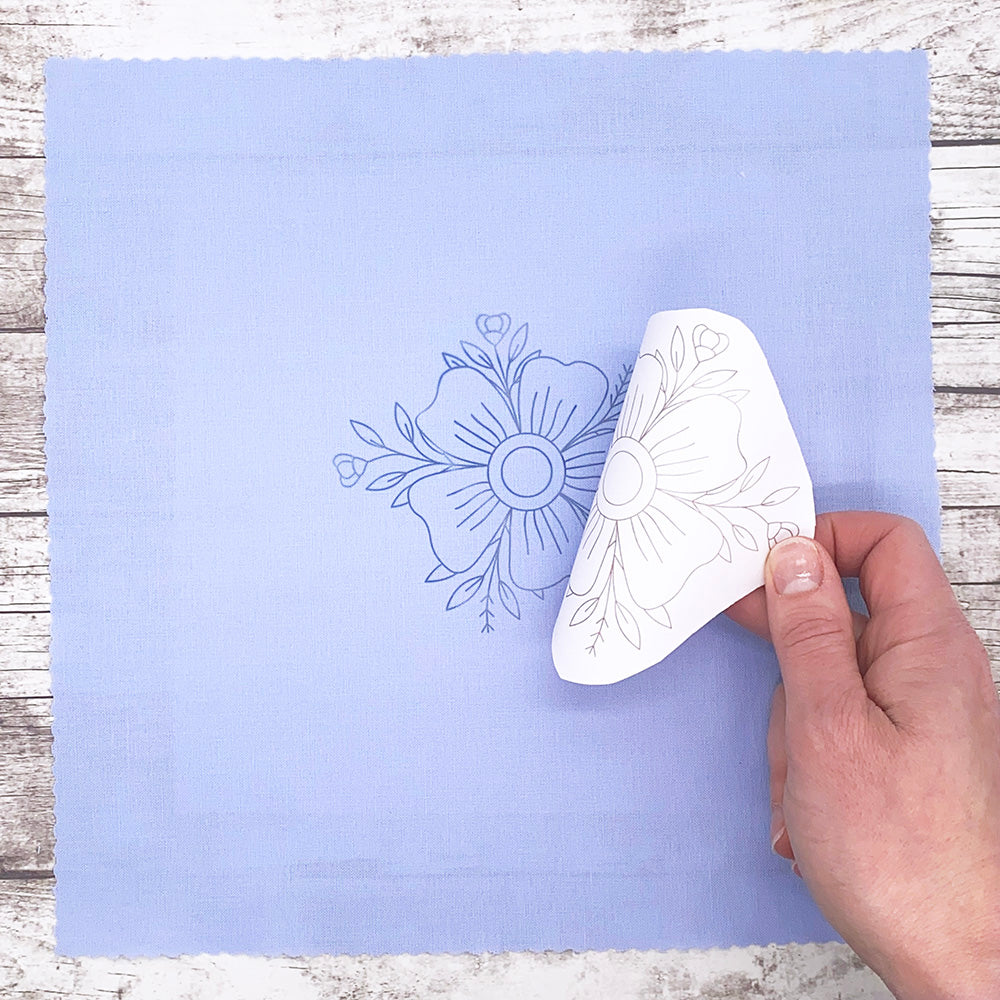
Step 2: Position the Transfer
Place your design ink-side down on pre-ironed fabric. A warm surface helps the ink transfer more easily.

Step 3: Iron the Transfer
Using the hottest setting suitable for your fabric, press and hold your iron over the transfer for 3–10 seconds. Check a corner before lifting completely.

Step 4: Peel Away the Transfer
Gently lift the transfer to reveal your printed design underneath.
Step 5: Start Stitching
Place your fabric in the hoop and begin stitching. If you're unsure, check out our guide to setting up your hoop.

Hope you’ve enjoyed learning about embroidery transfers.
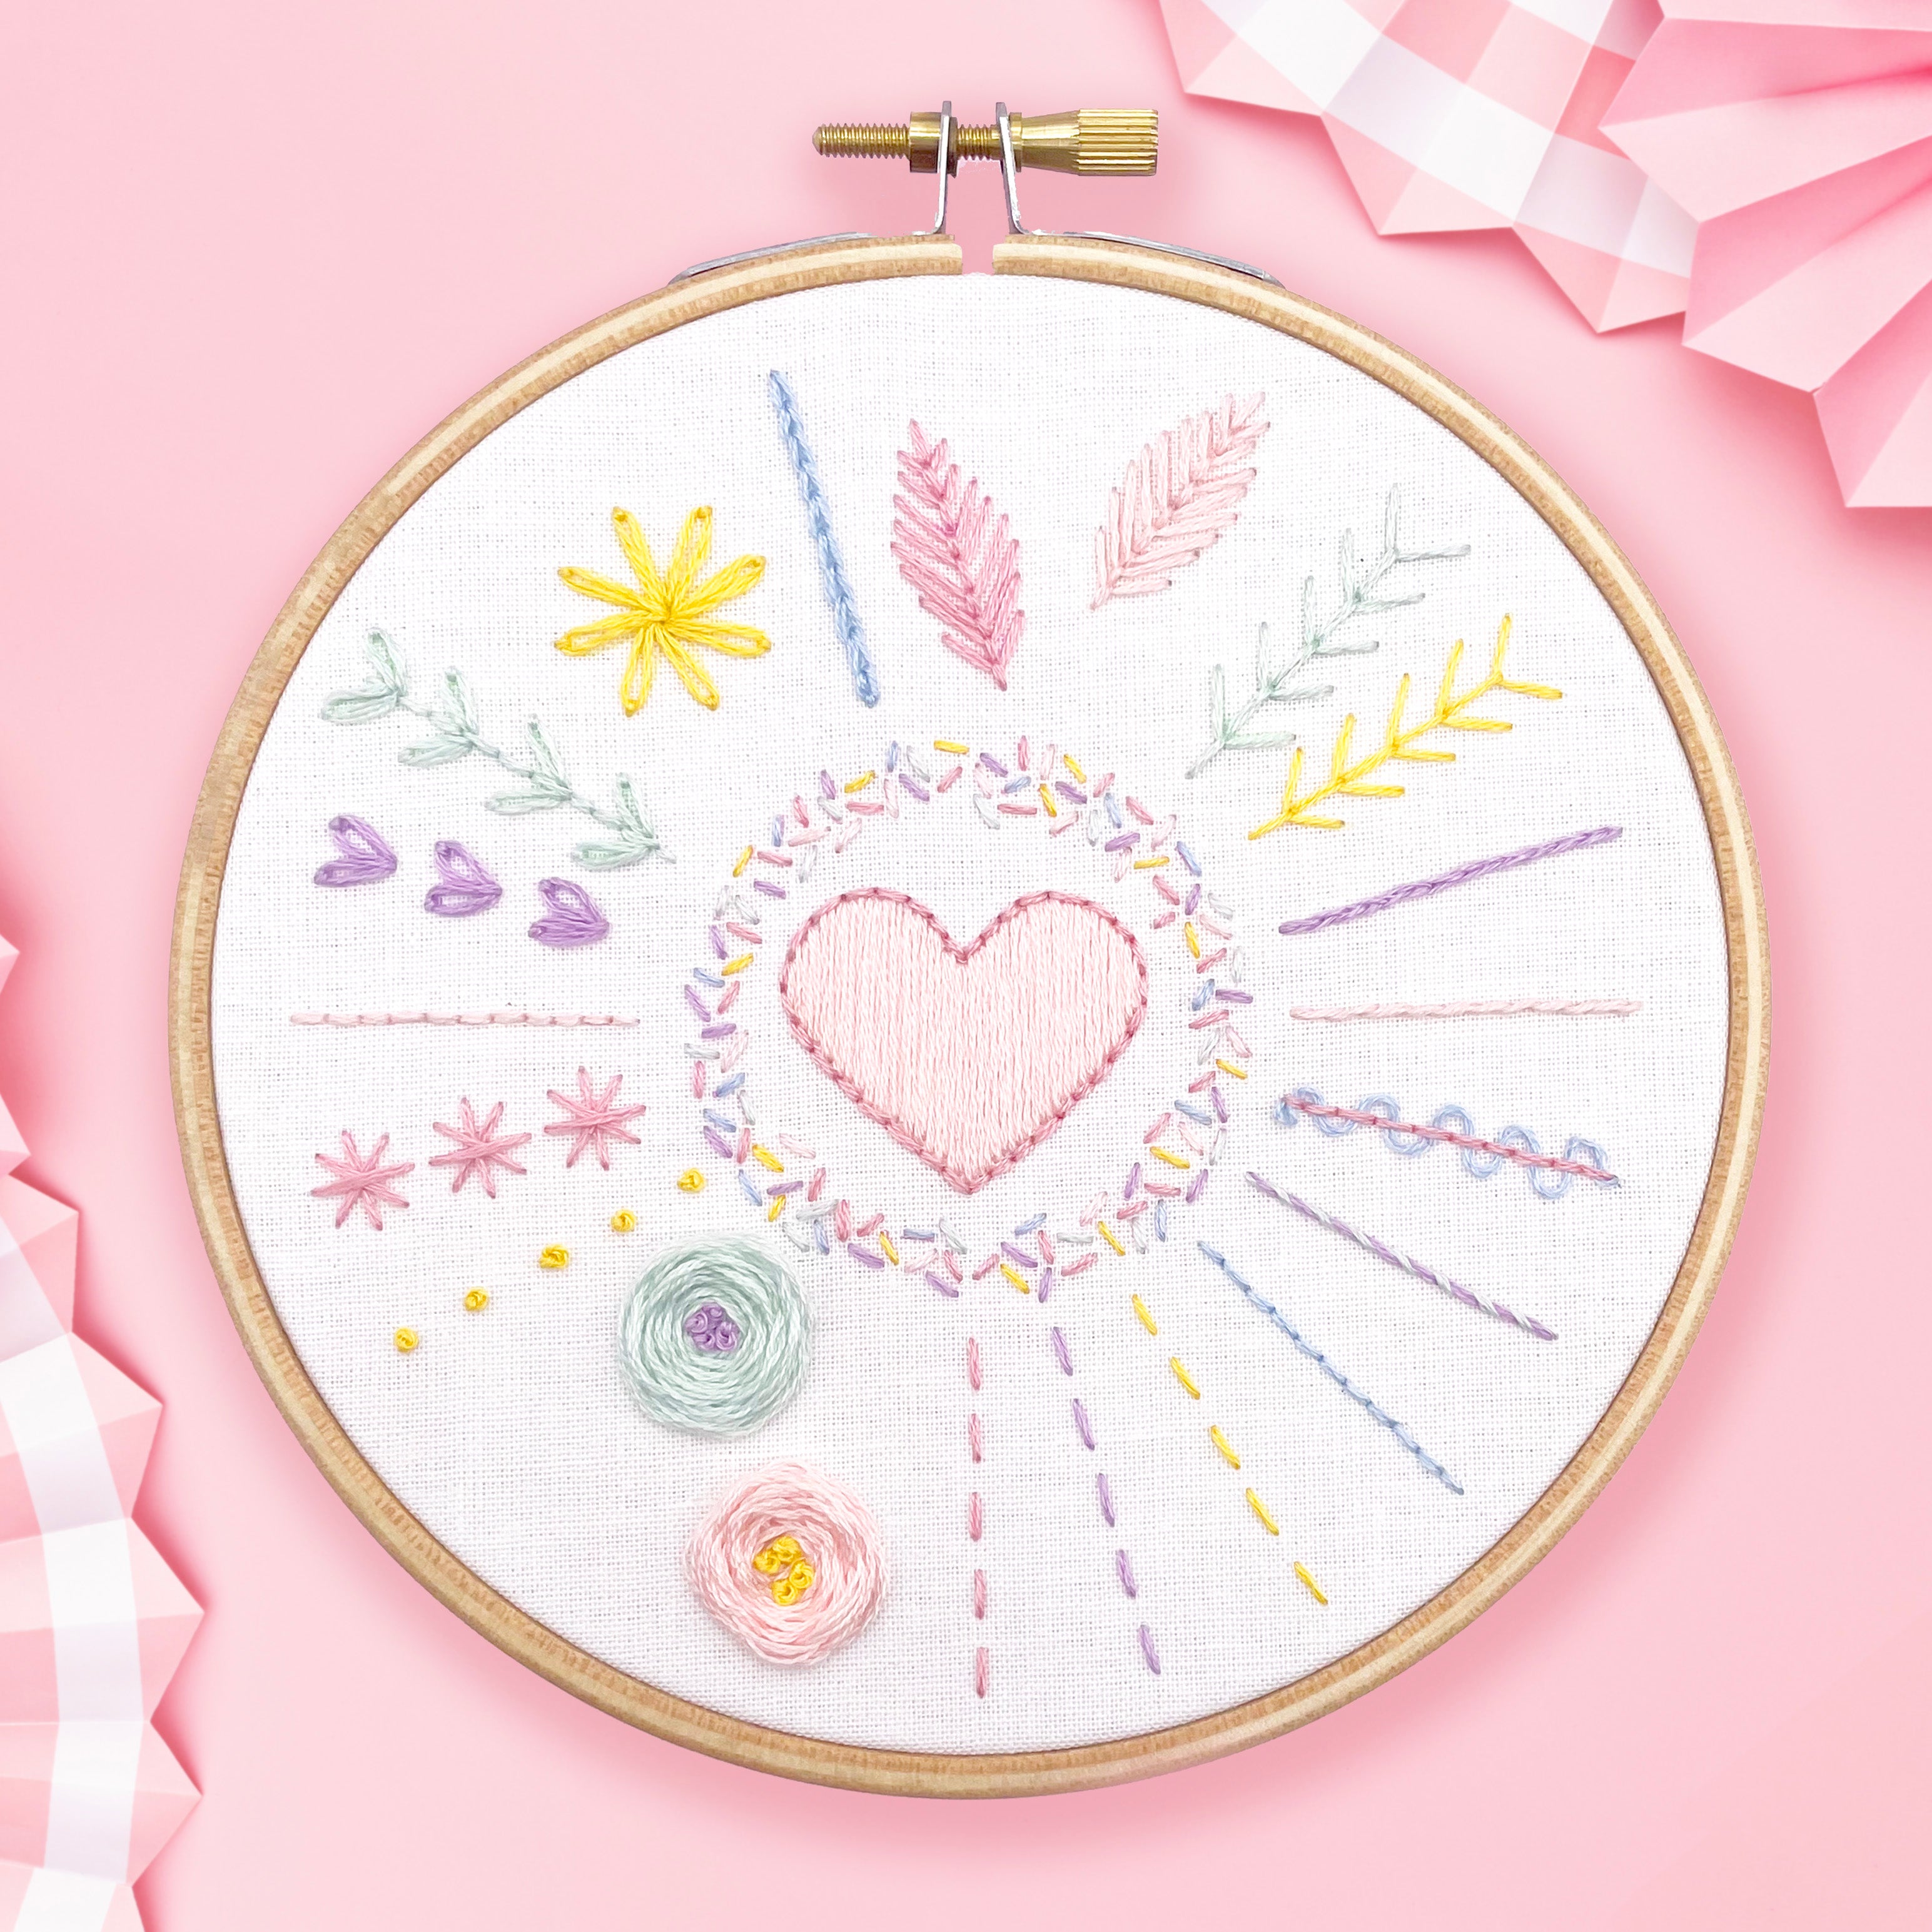
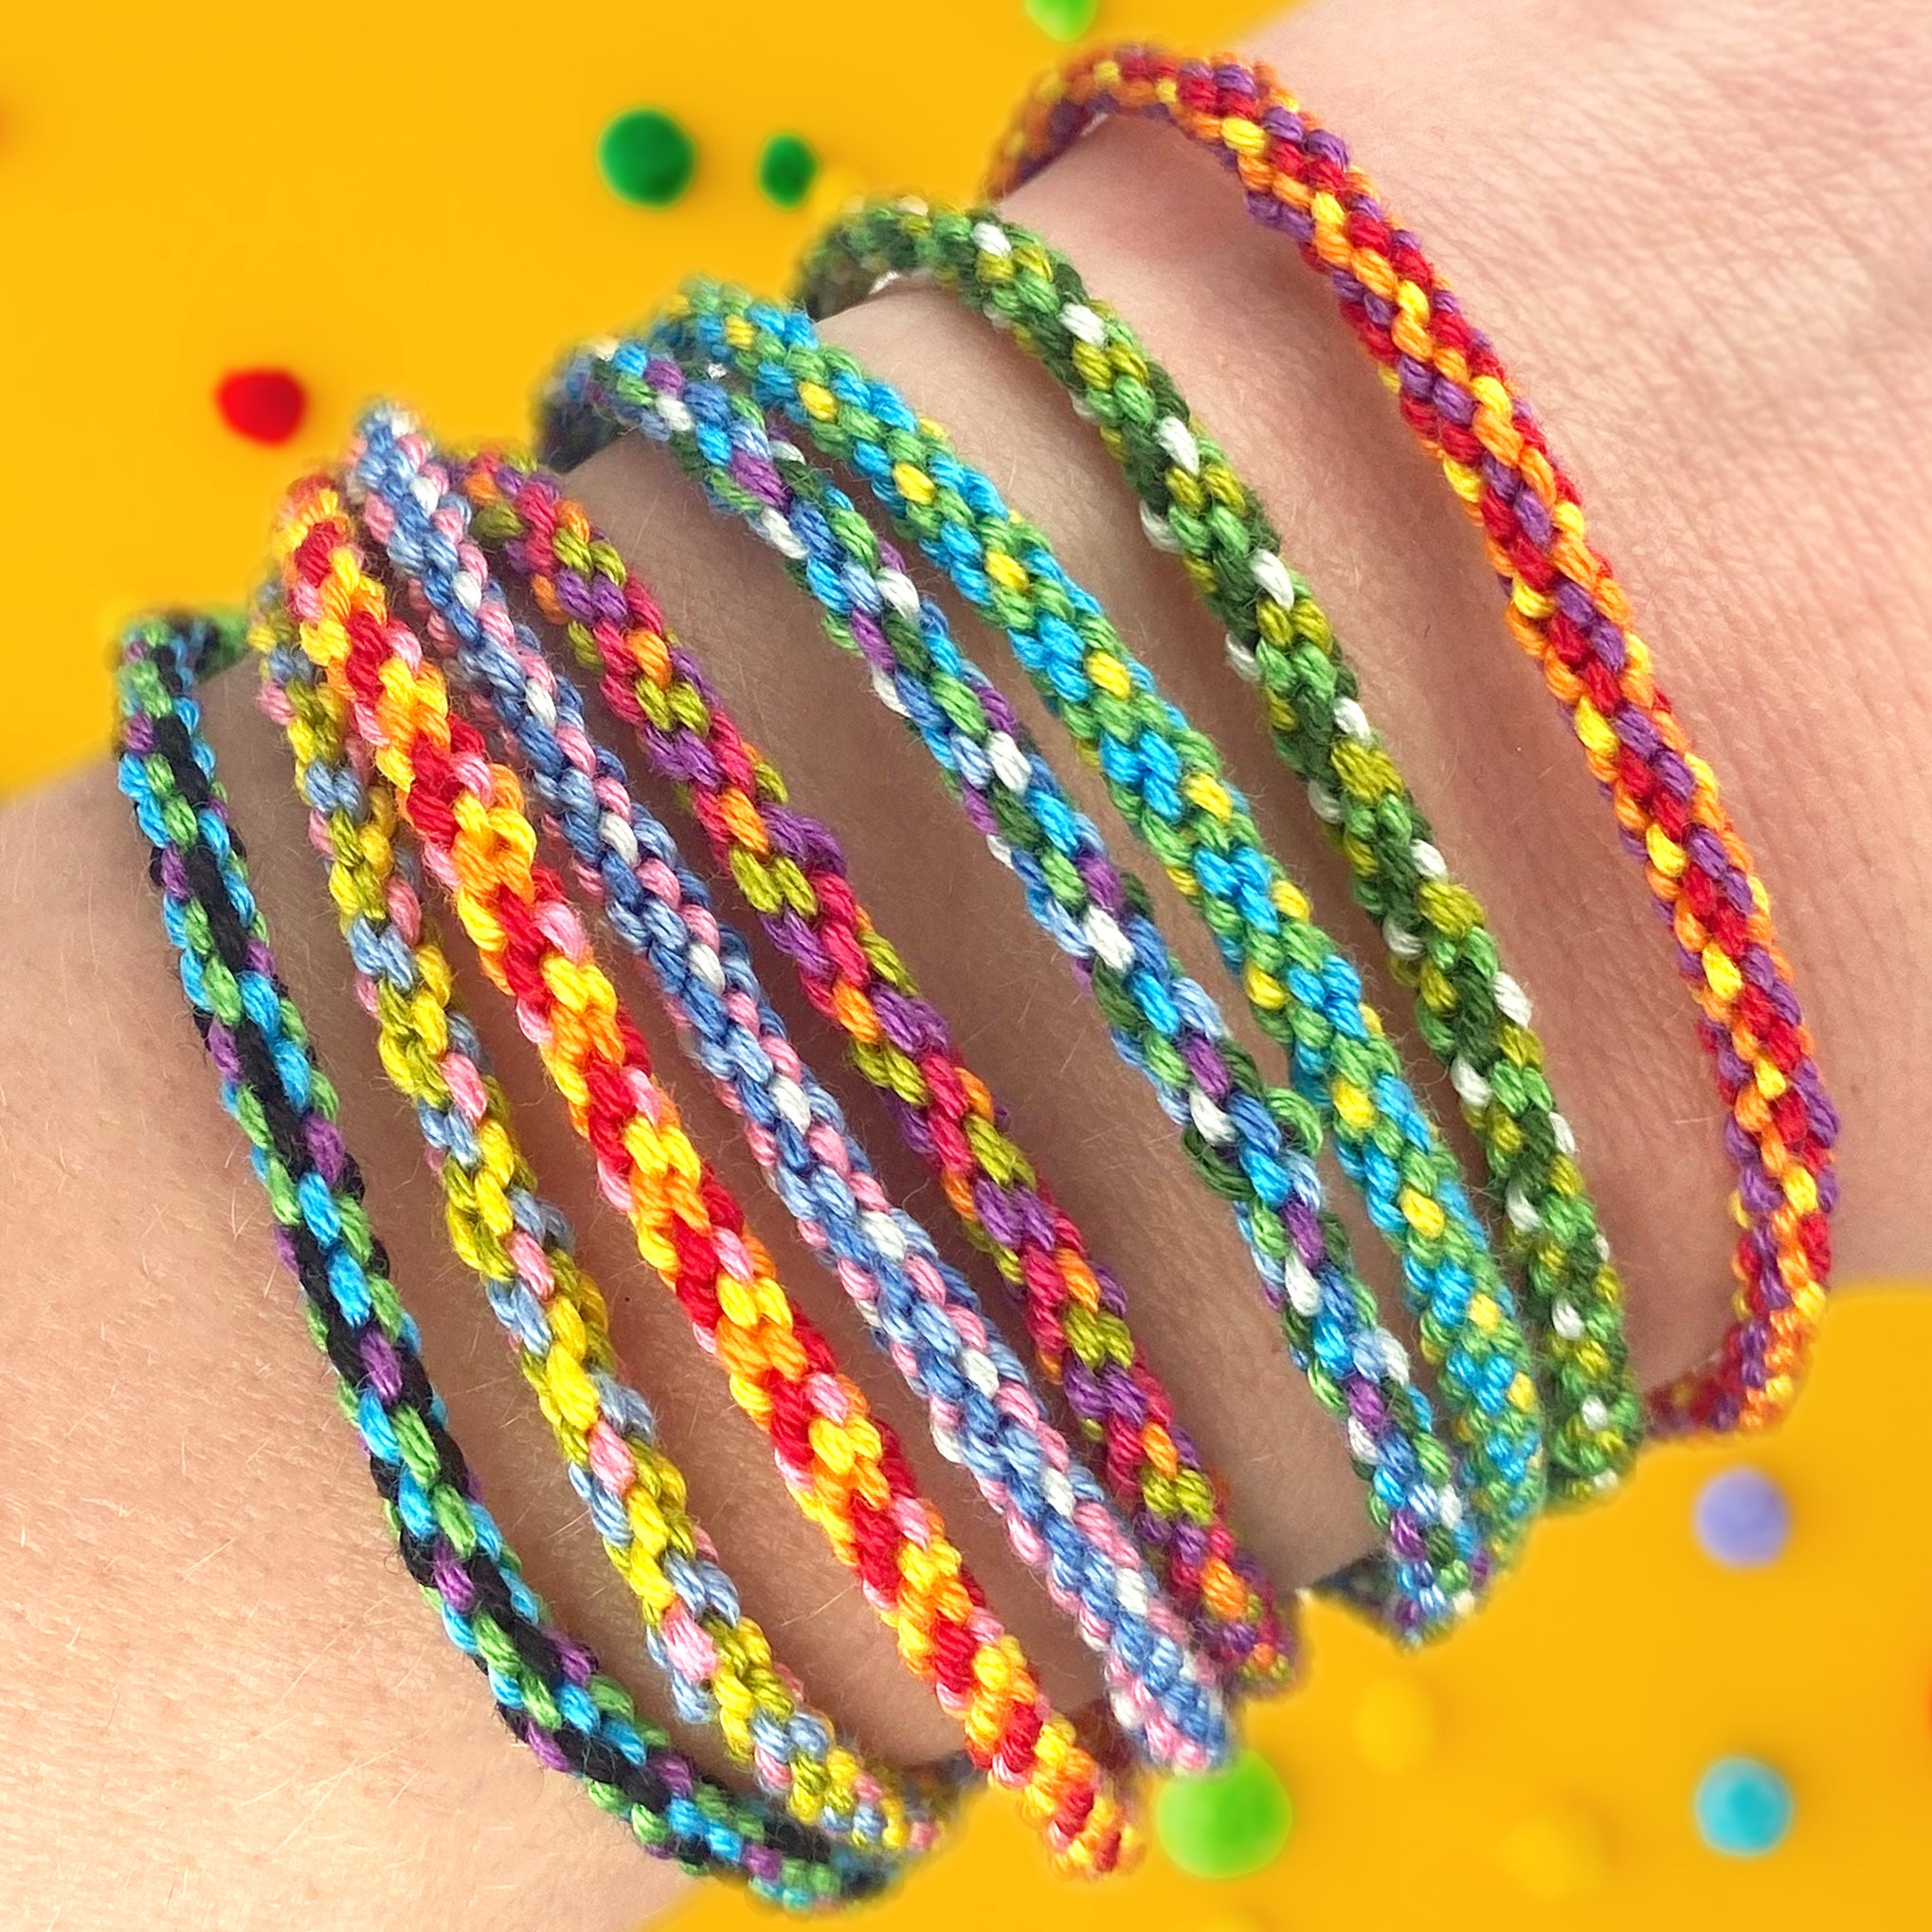
While you’re here, why not check out my beginner-friendly embroidery kits and patterns?
Each Lazy May iron-on embroidery transfer pack includes: The booklet covers:What’s Inside Your Transfer Pack?


Shop Iron-On Embroidery Transfer Patterns