
Iron-on embroidery transfers, sometimes called iron-on embroidery patterns, are a simple, fuss-free way to get a design onto fabric ready for stitching. This guide shows you exactly how to use them step by step, with photos and a video.
Watch: how to use iron-on embroidery transfers
Prefer to watch first? This short video gives you a quick look at how easy the transfers are to use. If you’d rather follow photos, scroll down for a detailed step-by-step guide.
If you’d like to try iron-on embroidery transfers for yourself, these are the two designs shown in this guide. They are easy to use, beginner-friendly, and a lovely way to start stitching straight onto fabric without tracing.

In Bloom: Floral Iron-on Embroidery Patterns
£6.50
A pretty floral set for beginner-friendly embroidery projects. These designs press straight onto fabric so you can get started without tracing.
Shop this pattern
Wildflowers: Iron-on Embroidery Patterns
£6.50
A natural floral set that works beautifully for small embroidery projects on clothes, accessories and fabric.
Shop this patternHow to use iron-on embroidery transfers (step by step)
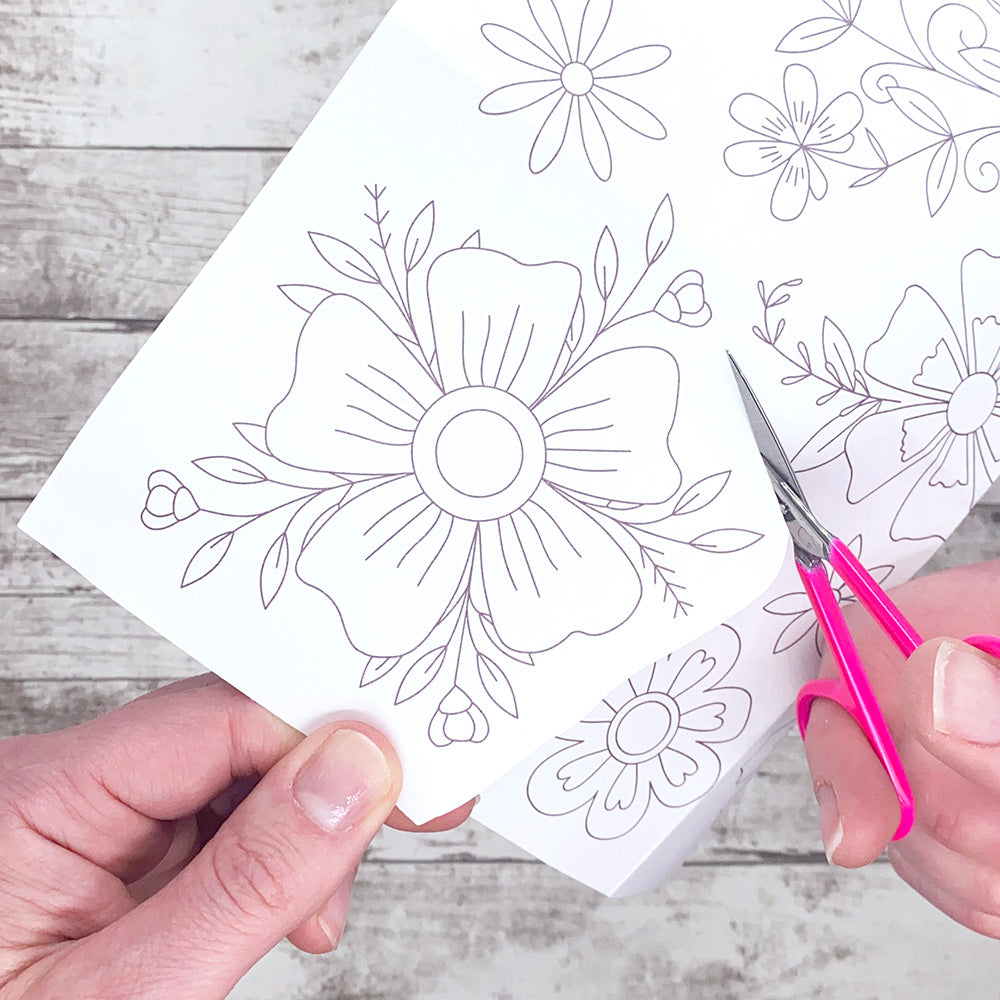
Step 1: Cut out your design
Choose your design and cut neatly around it, leaving a small border around the edges. This makes the transfer easier to handle and position.
Step 2: Position the transfer
Pre-heat your fabric with a hot iron. Place the transfer ink-side down onto your fabric.

Step 3: Iron the transfer
Set your iron to the hottest setting suitable for your fabric, with no steam. Press firmly for 3 to 10 seconds. Lift one corner to check the lines have transferred before removing the paper fully.

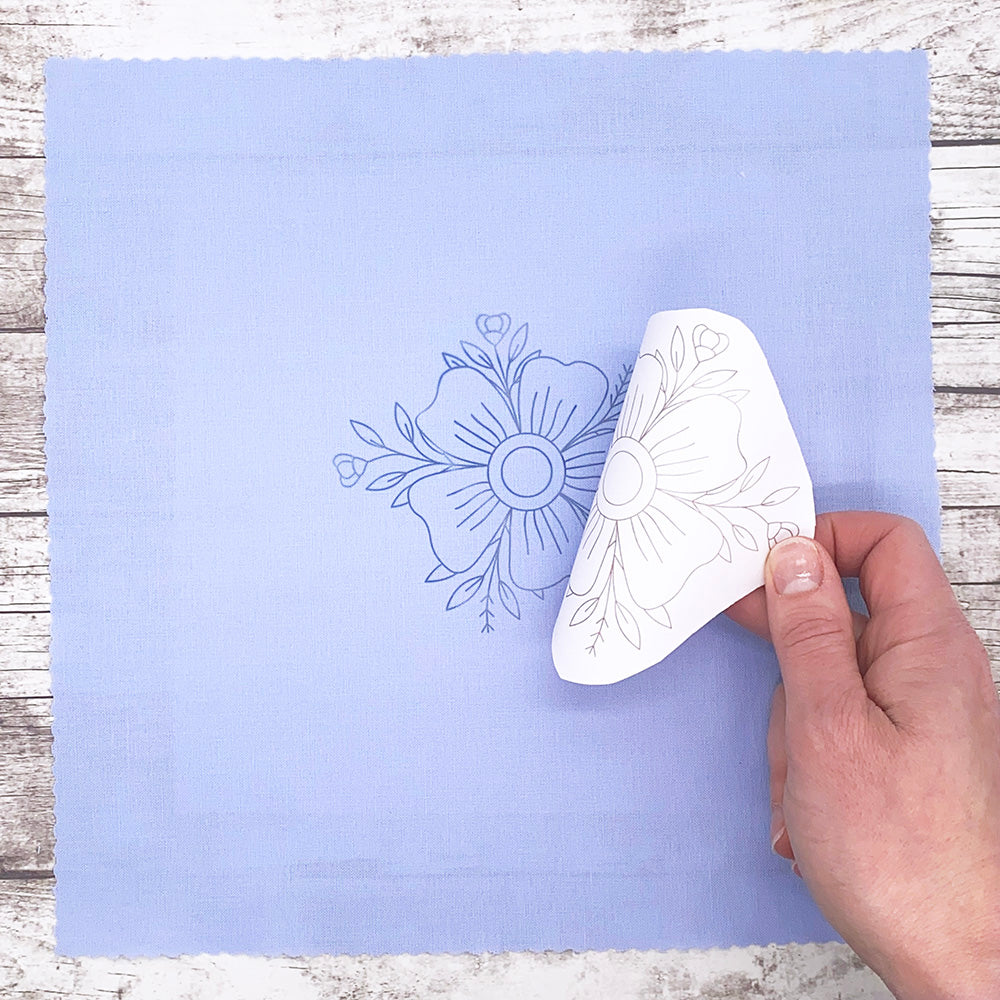
Step 4: Peel away the paper
Carefully peel away the paper backing to reveal the printed design on the fabric.
Step 5: Place in a hoop and start stitching
Pop your fabric into an embroidery hoop and stitch directly over the printed lines. If you need a refresher, here’s my guide to setting up an embroidery hoop.

Ready to try embroidery transfers for yourself?
You can browse all my iron-on embroidery patterns, beginner kits and free sampler here.


