
Learn how to back a hoop with felt for a neat finish to your embroidery
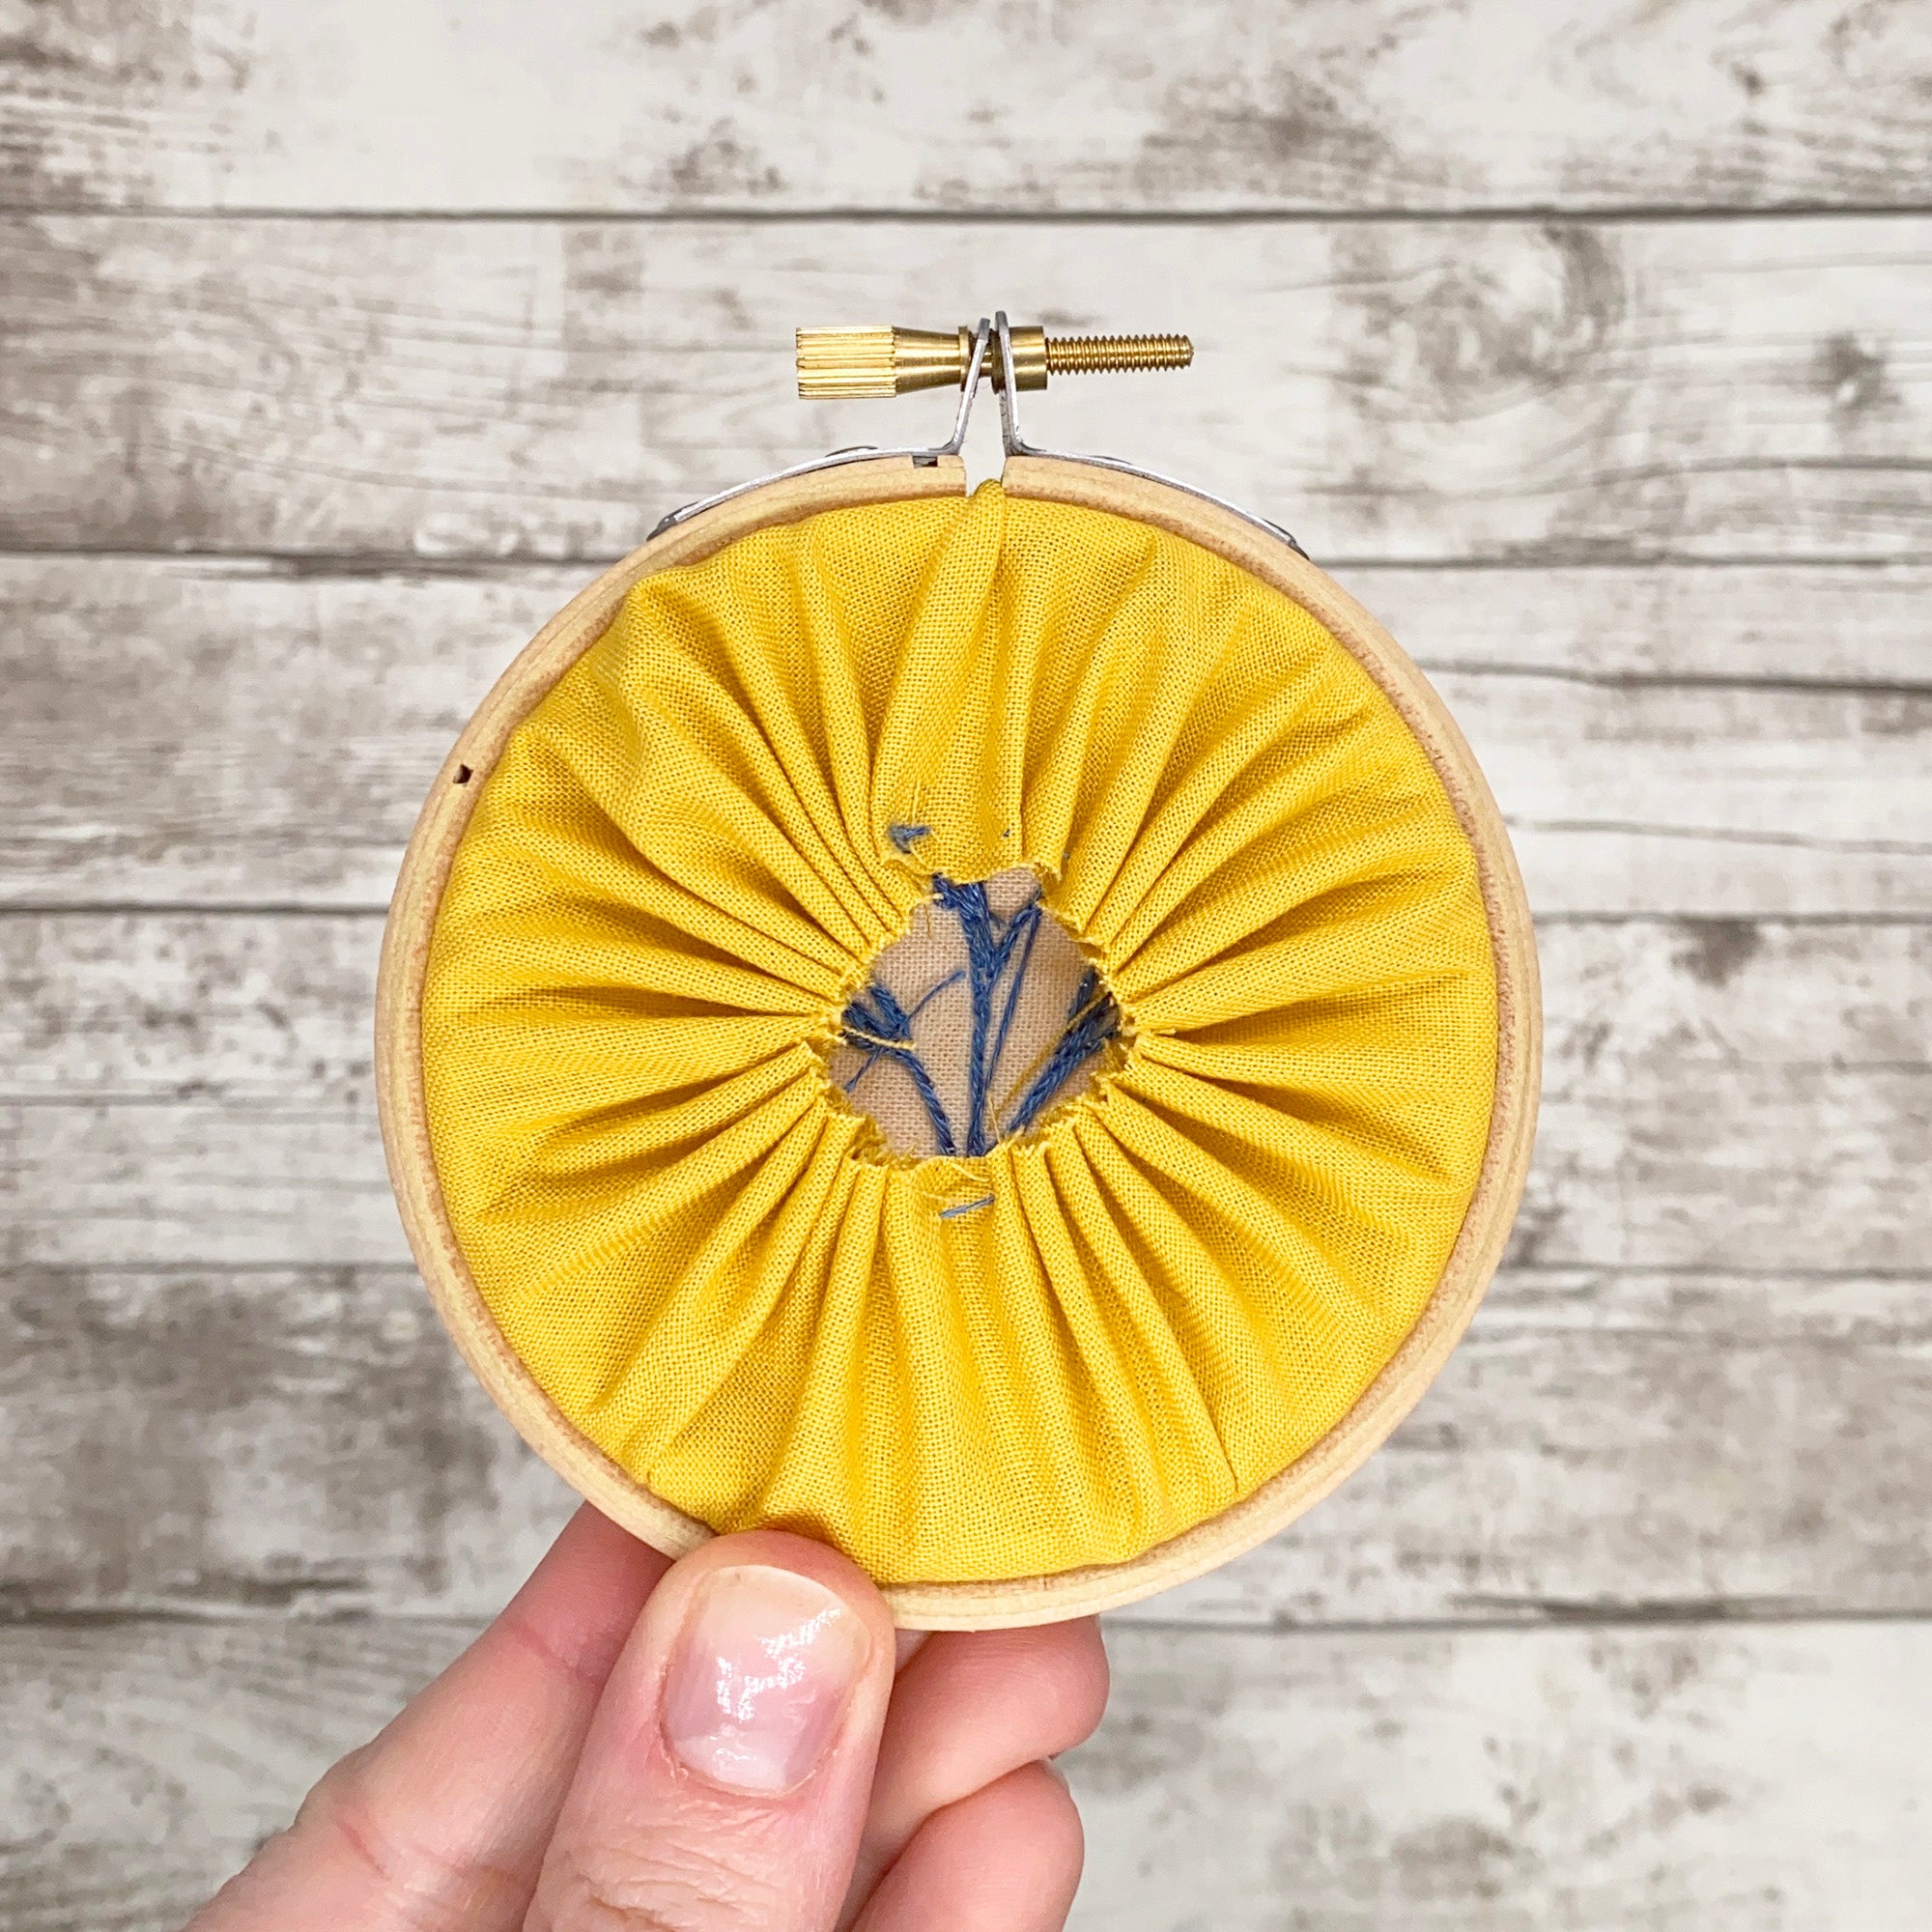
Once you have completed your embroidery you will want to tidy up the back, we have a simple guide that will show you how to gather the fabric behind the hoop (as shown below), click here to view it.
If you would like to give your embroidery as a gift or hang it on the wall you might want to add a backing too. This simple guide will show you how to give your hoop a colourful, tidy finish by learning how to back a hoop with felt.
You will need:
- Your completed embroidery
- Felt that is slightly larger than your hoop
- A pencil
- Needle, thread, scissors
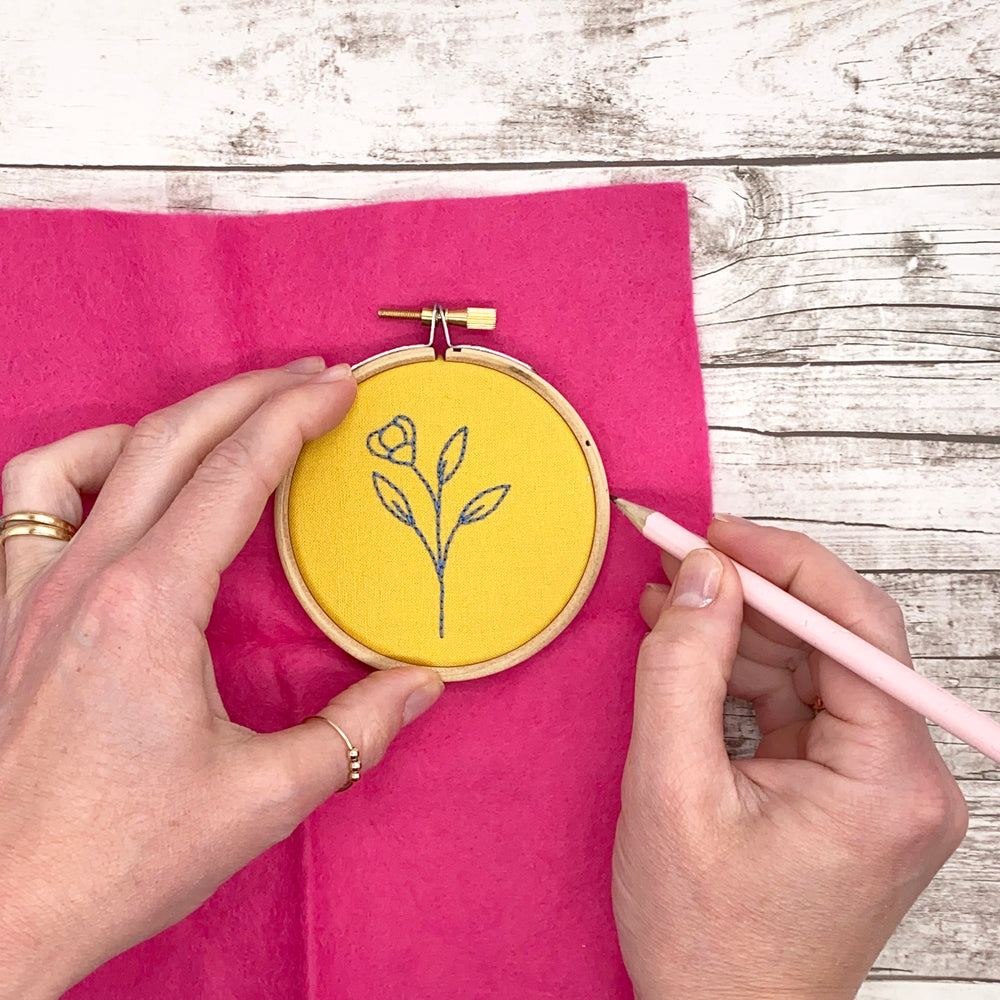
Step one:
Use a pencil to trace around the outside of your hoop on to the felt.
You can see I have chosen a bright, contrasting colour for my felt back. Complimentary colours will also work well.
Step two:
Cut out the felt along the pencil line. Place the felt circle on top of your hoop, you can make any adjustments to the felt now by trimming away felt to neaten up the circle.
You are aiming for the circle to cover all of the embroidery fabric but show the edge of the hoop, as you can see in the photo.

Step three:
Thread your needle with 3 strands of embroidery thread, if you need help separating you thread we have a handy guide here, tie a knot in the free end.
You want to hide the knot inside your hoop, so tuck the needle in though the circular gap left in gathered fabric and then out again towards the edge of the hoop, as shown in the photo.

Step four:
Lay the felt over the back of the hoop and pass you needle through the felt as well, pull the thread tight.
You will be attaching the backing using blanket stitch, to make your first stitch move you needle to the right by about half a centimetre, slide your needle in and out of the fabric diagonally as shown looping the excess thread behind the needle. Pull the thread tight.

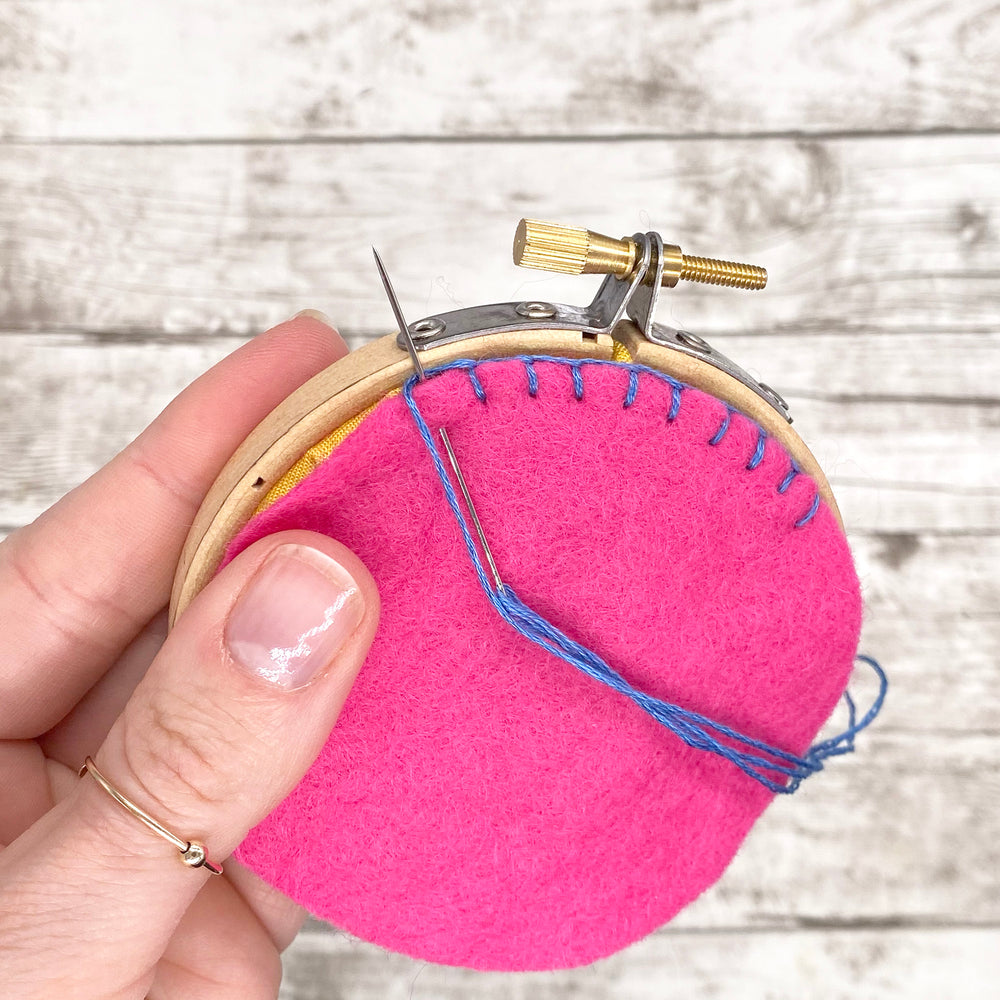
Step five:
Now begin to work your way around the hoop anti-clockwise, placing a stitch roughly every half centimetre. Weave your needle in and out of the fabric, making sure you catch both the felt and the embroidery fabric, vertically, as shown in the photo. Make sure you loop your thread under the needle each time.
Step six:
Pull the thread tight and move clockwise to the next stitch. Work your way around until you arrive back where you started.

Step seven:
When you have stitched all the way around, cut your thread short and split and ties the ends in a double knot. Trim away the excess thread.

All done:
Thats it, all done!
I hope you have enjoyed learning how to back a hoop with felt.
Make sure you check our other beginners guides here.

