
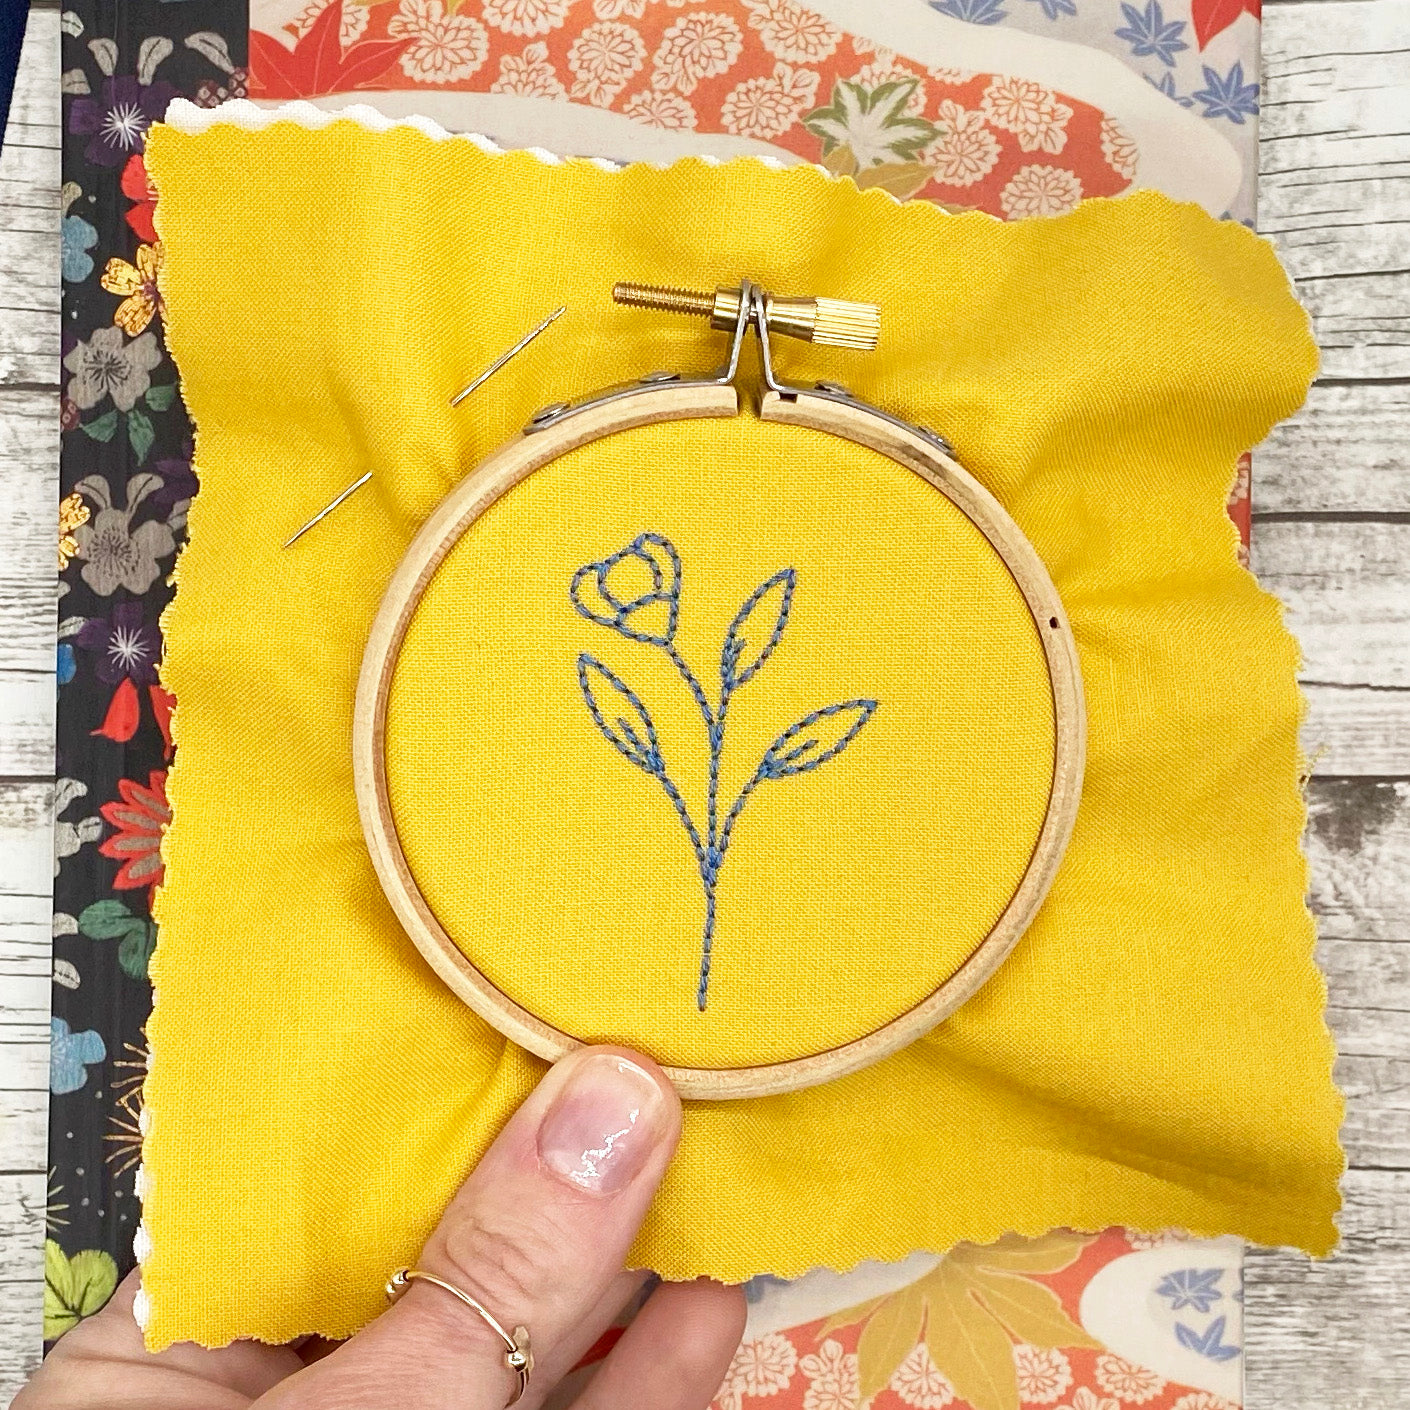
Welcome to our step-by-step guide showing you exactly how to back an embroidery hoop.
So, you have finished your embroidery, it looks amazing, all ready for giving as a gift or hanging on the wall. But theres fabric hanging all around the sides and on the back you can see all those loose ends and stitches. Urrrgh!
Fear not, follow the simple steps below to hide the back of your stitches and make your hoop gifting ready.
A quick note before we start to say there are many ways to finish an embroidery hoop, this is the one I have found works best for me, it gives a nice neat finish and is quick to do. If you would like to add a felt backing to your hoop after you have followed these step you can find my guide here.
How to back an embroidery hoop:
You will need:
- Your finished embroidery
- Embroidery thread
- A needle
Step One:
Note: When I am embroidering I often use two layers of fabric, my embroidery fabric and then a white or cream coloured piece of cotton behind. I find this makes it easier to tighten the fabric in the hoop, makes the colour of the fabric really stand out and helps to hide any thread on the back.
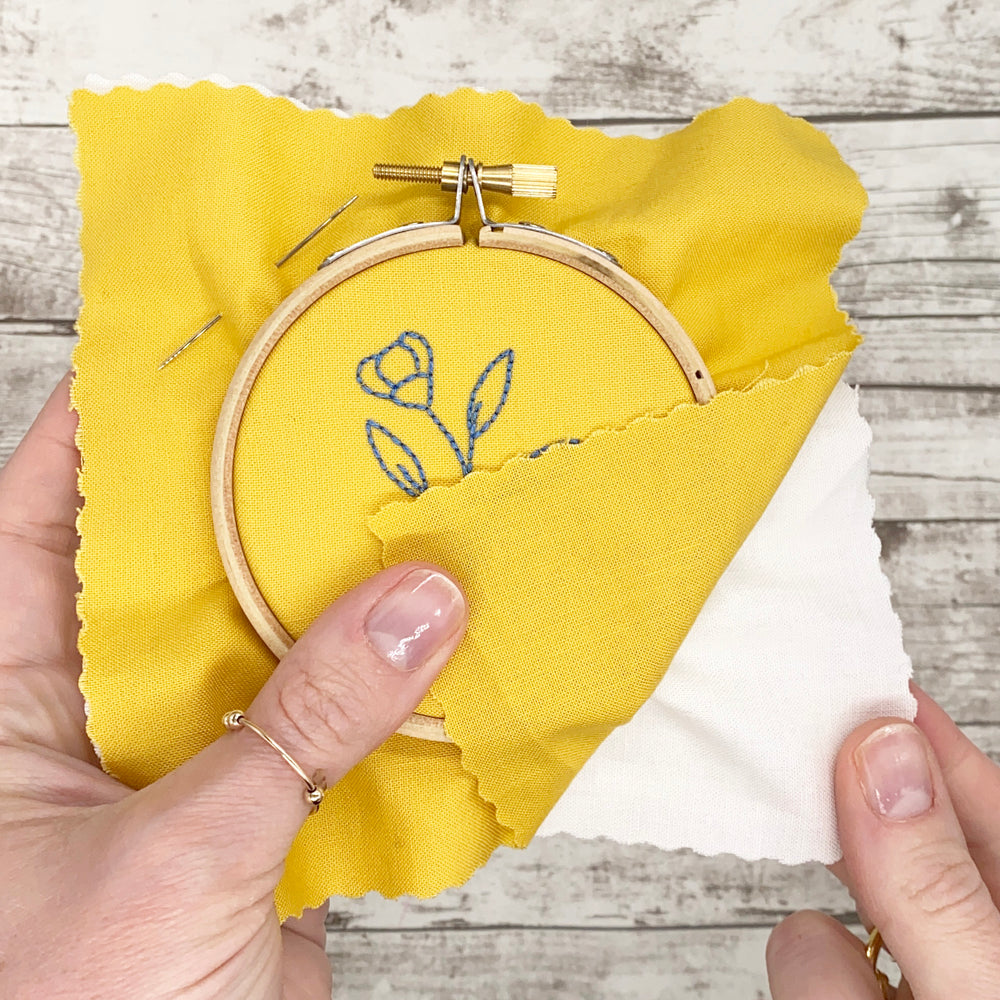
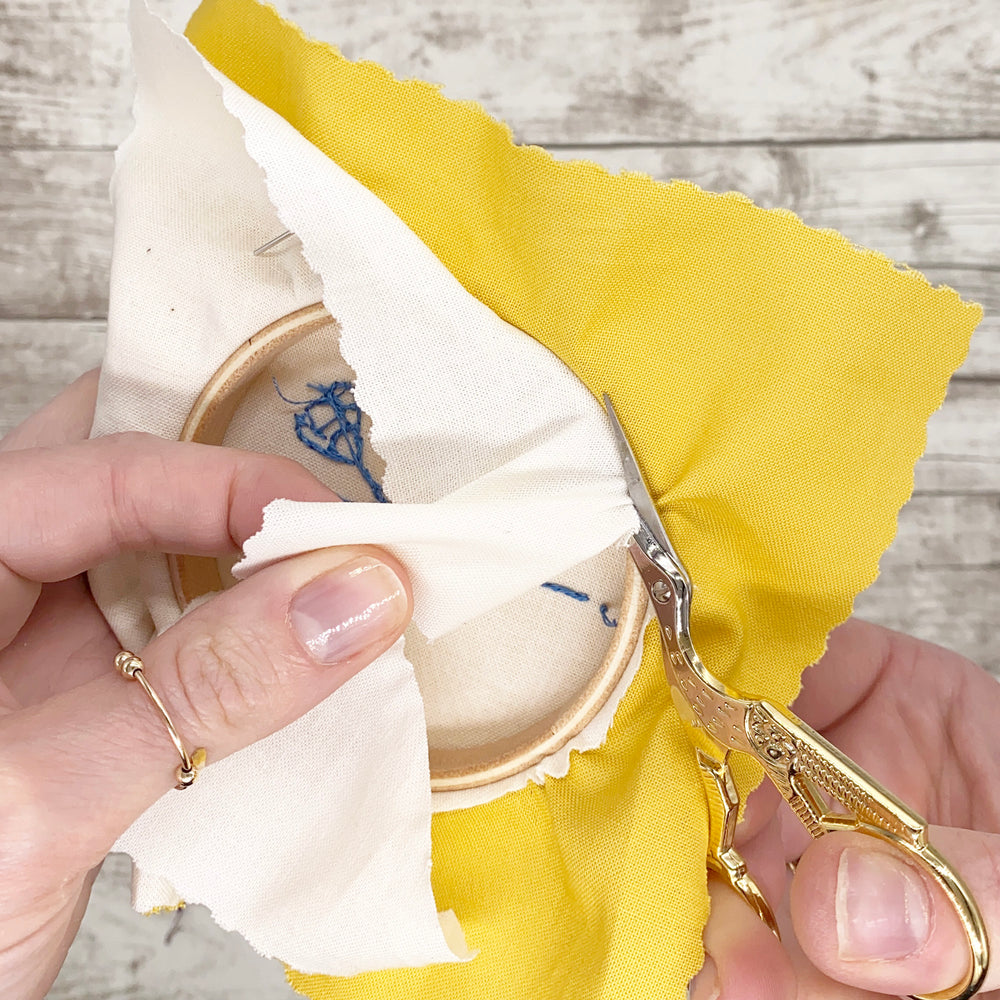
If you have used two layers of fabric you will need to trim away the second layer of fabric before you tidy up your hoop. Work your way around the edge of the hoop carefully cutting away the fabric as shown in the photo.
Once you have done that check the bak of you embroidery for any loose ends of thread and trim them away.
Step Two:
Now trim your embroidery fabric in to circle. Make the circle roughly 2cm bigger than the hoop. You can mark this with a pencil or cut it free hand. It doesn't need to be too precise.

Step 3:
Cut an arms length of embroidery thread and separate 3 strands. If you are not sure how to separate your thread you can find our guide here.
Do not tie a knot in one end. Begin to weave your needle in and out of the fabric all around the edge of the circle in a simple running stitch. You can find our guide to running stitch here. Leave a long loose end at the start of your stitches and be careful not to let it slide though the fabric.

Continue until it looks like this, with the long ends of thread hanging free.

Step 4:
Now pull the two end of thread together so the fabric gathers behind the hoop. You can see how in the video and also the video below.

Step 5:
Finally tie the two ends of thread together in a double knot and trim away the loose ends and you are done.
I hope you have found this guide to how to back and embroidery hoop useful and will continue to use the skills you have learnt.


