
Learn how to embroider personalised bunting
This fun bunting project is great for any celebration and your bunting can be used year after year. Add any name or text to shop bought bunting using simple embroidery stitches to make this unique personalised bunting.
Difficulty Level: Easy
Project Length: MEDIUM
To make our embroidered personalised bunting you will need:
- 'School Letters' iron on embroidery patterns
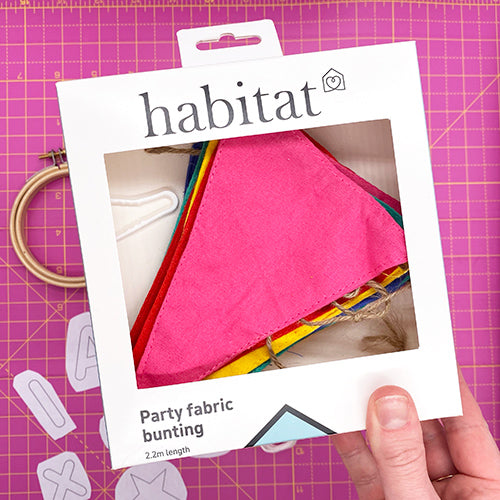
- Shop bought bunting ours is from Habitat at Sainsbury
- Thread in the following colours; red DMC666 / Madeira 210, yellow DMC907 / Madeira 1410, pink DMC 986 / Madeira 1312
- 3" embroidery hoop
- Iron, Needle, Scissors
Preparation
The first step in creating your personalised bunting is cutting out your chosen letters. Select and cut out the letters you wish to use from the embroidery transfer sheet.
Follow the instructions on the pack to iron one letter on to each flag of the bunting. Make sure to position your letters centrally within each triangle of the bunting. It's a good idea to lay out the bunting and arrange all your letters before you start ironing them in to position, as you can see in the photo.
TOP TIP: Iron each flag to get rid of any creases before applying the transfers.
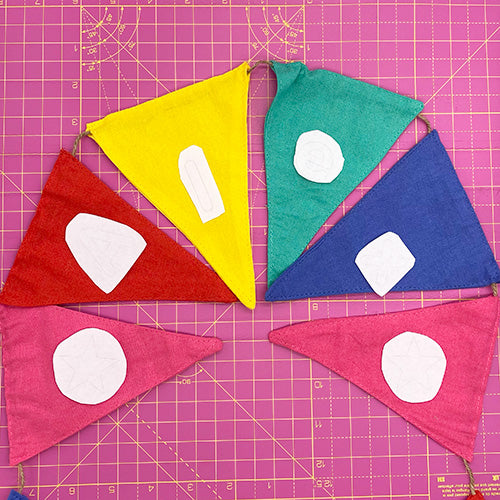
Once you have ironed each letter on the bunting will look like this.
Position a single triangle across the small ring of the hoop, place the larger ring on top and tighten it. you are now ready to begin stitching.

Stitching Notes
Step one:
You are now ready to embroider your personalised bunting.
Every element of this design is stitched using 4 strands of thread and a simple split stitch. To begin cut an arm's length of any colour thread and separate 4 of the six strands by untwisting the thread (if you are new to embroidery and have not done this before you will find more instructions in our beginner's embroidery guide).
Thread your needle with the 4 strands and tie a knot in the other end.
You can see in the photo how we have chosen the colour of thread to contrast the bunting. You can choose any colour you wish, but our choices are below if you would like to use them.
| Bunting Colour | Thread Colour |
| Pink | Yellow |
| Red | Green |
| Yellow | Blue |
| Green | Pink |
| Blue | Yellow |
Now begin to stitch one of the letters, you will be stitching through both layers of the bunting. Bring you need up through the pattern line and begin stitch over the line using split stitch, as shown below.
Keep the stitches small and tight.
Spilt stitch:

Bring your needle up through the fabric at the start of your pattern line and then back through the fabric to make a simple stitch (a)
Push the needle back up through the fabric in the middle of the previous stitch, splitting the threads on either side of the needle (b). Bring your needle back down through the fabric and repeat the previous steps (c & d).
Step two:
Continue stitching until your letter is complete, as shown below. Then change your thread colour and move on to the next.

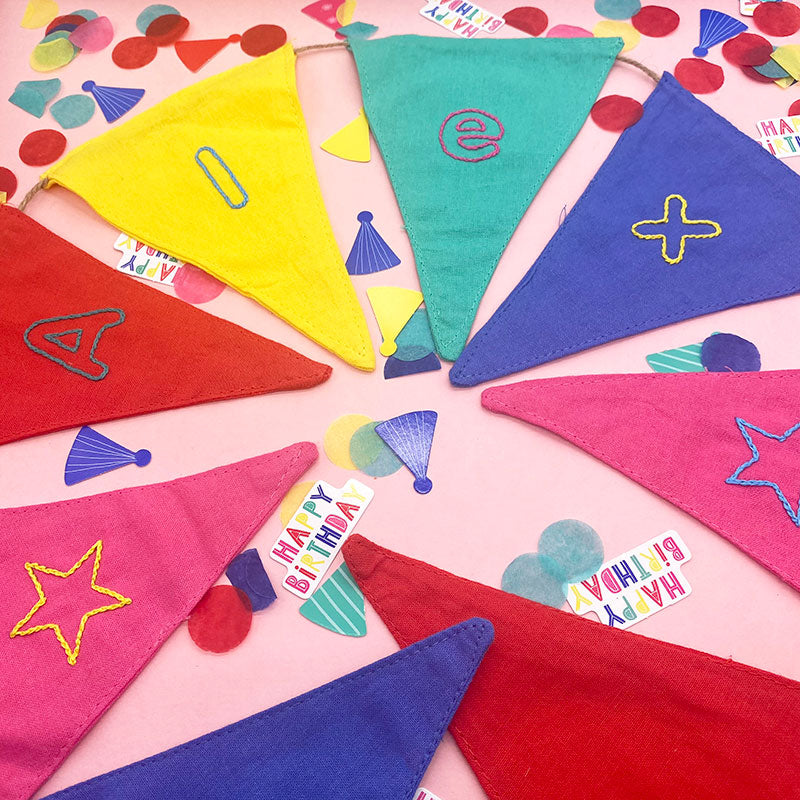
And that's it, all done, you have stitched some bright colourful bunting ready to hang for someone special.
This personalised bunting embroidery project is made using "School Letters' Iron-on embroidery transfer patterns, click the link below to view and purchase the pattern.


